


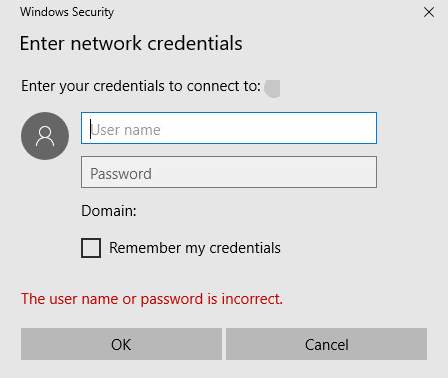
User with more than one PCs usually find it handy to access to files on other PCs with Windows operating system. They just need to join in the home group to share files on other PCs. But we have received complaints from users saying that Windows Security will prompt them to enter their network credentials when they are to connect to the other PCs.
This is rather a headache for some. Since this message will also pop up when users are to use certain programs or apps installed on their computer, and a lot of them are not sure what the Username and Password it is referring to, or the notification keeps saying that the username or password is incorrect.
Please don’t freak out, this is not at all a hard question and there are indeed solutions available. The options below are going to help you solve this problem fast and easily.
Option 1: Change Advanced Sharing settings
Option 2: Change settings in Credentials Manager
Option 3: Use your Microsoft account
Options 4: Check if your IP addresses are properly assigned
Option 1: Change Advanced Sharing settings
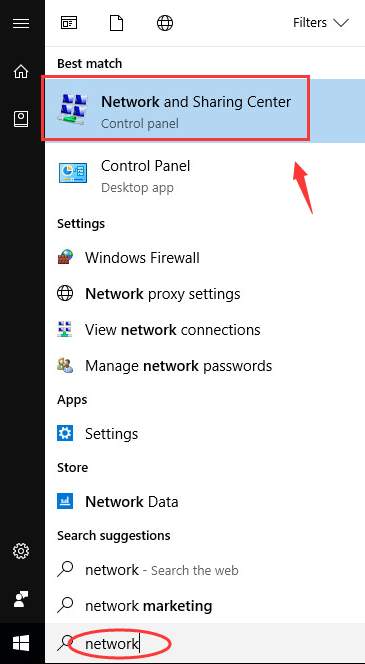
1) Press Windows key and S at the same time, then type network in the search box and choose Network and Sharing Center option from the list of choice.
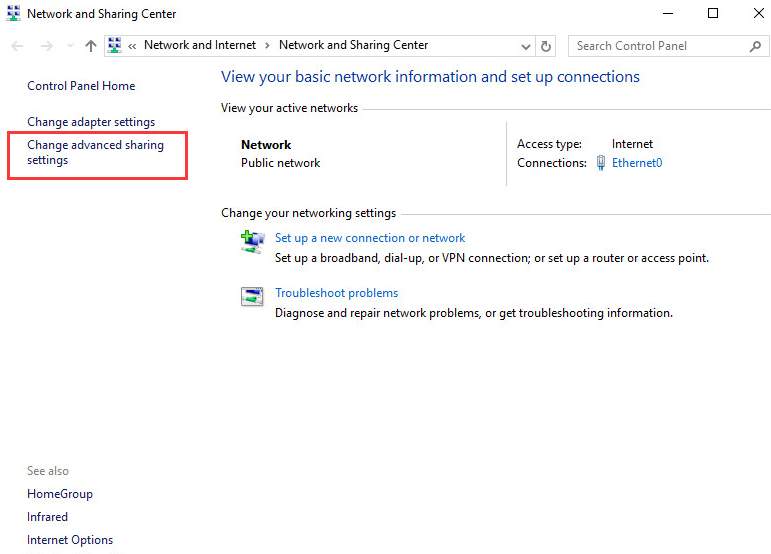
2) On the left side of the pane, choose Change advanced sharing settings.
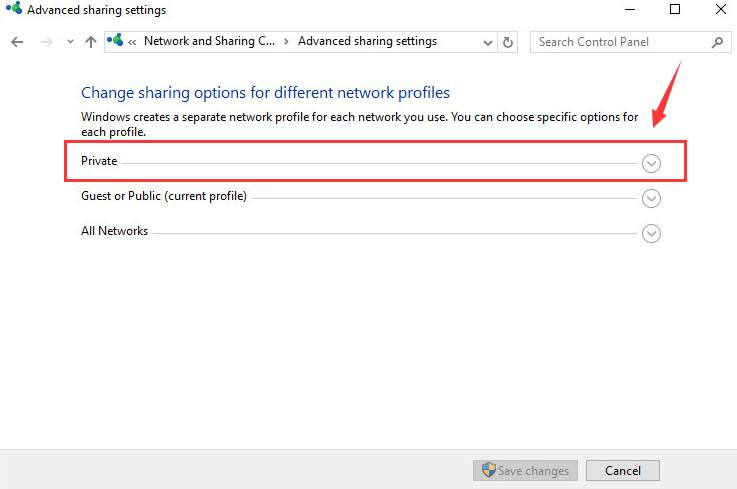
3) Click the down-arrow on the right side and expand Private section.
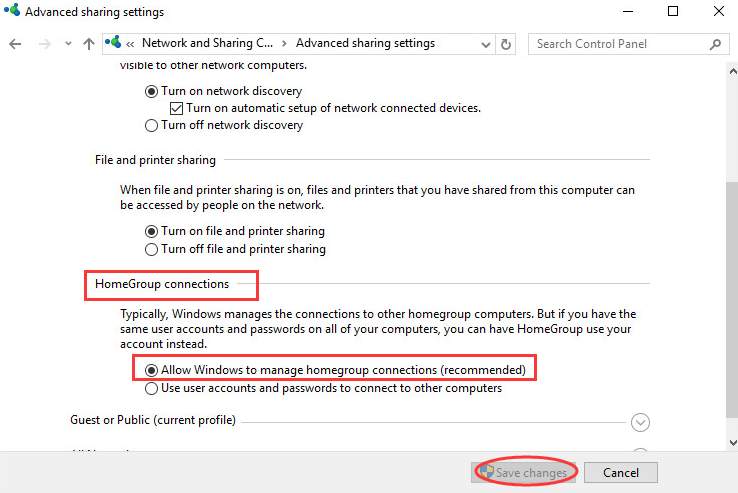
4) Scroll down a little bit and locate HomeGroup connections section. Make sure that you have selected the option for Allow Windows to manage homegroup connections (recommended). Then click Save changes button to save your change.
Option 2: Change settings in Credentials Manager
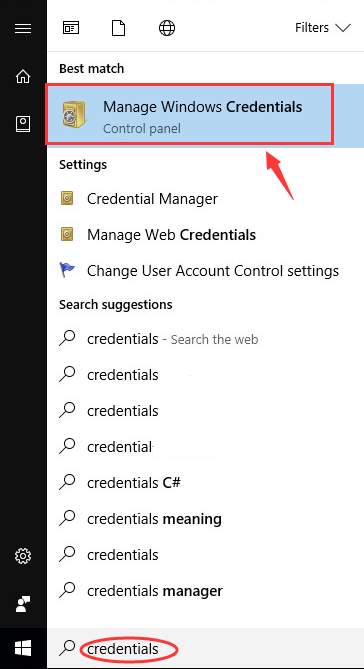
1) On your keyboard, press Windows key and S at the same time, then type credentials in the search box and choose Manage Windows Credentials from the list of choices.
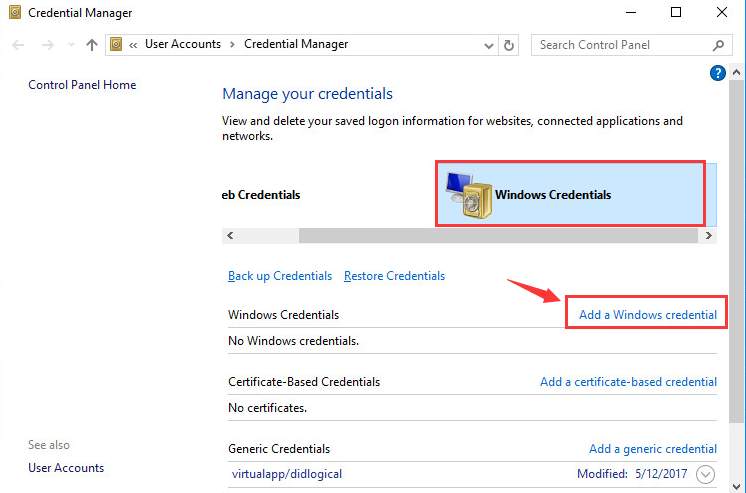
2) Make sure that Windows Credentials is highlighted, and click Add a Windows credential.
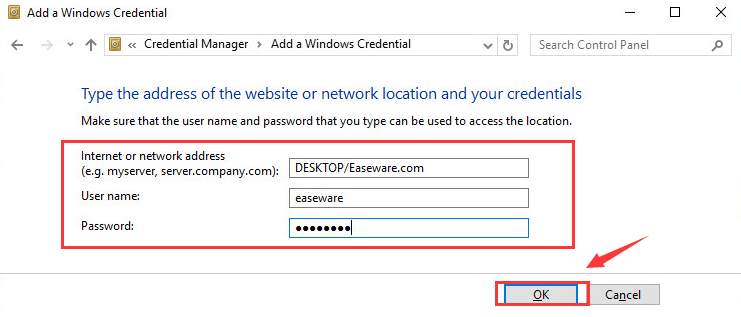
3) Fill in the network address, user name and password related to the computer that you want to have access to. Make sure that there is no typo and hit OK.
4) Now you should be able to log in with not further problems.
Option 3: Use your Microsoft account
Some users commented saying that they are able to solve this problem by typing in their Microsoft username and password, which is not hard to understand, since Windows 10 relies heavily on Microsoft account.
Try use the username and password for your Microsoft account instead of that of your local account’s and see if this helps you as well.
Option 4: Check if your IP addresses are properly assigned
If you have previously NOT assigned your PCs static IP addresses as a way to have easier access, then you need to check if this is the culprit here.
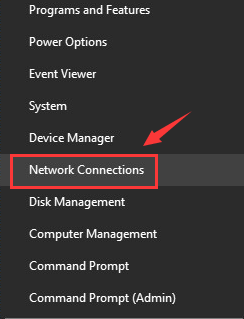
1) On the PC that you want to connect to, press Windows key and X at the same time, then choose Network Connections.
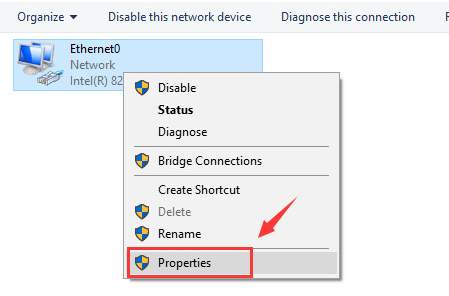
2) Right click the network connection and choose Properties.
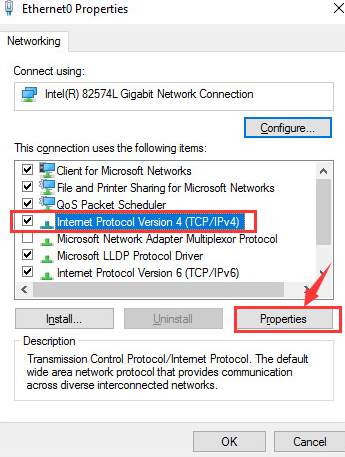
3) Highlight Internet Protocol Version 4 (TCP/IPv4) and then choose Properties.
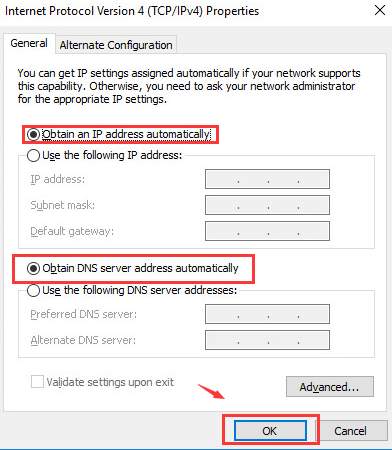
4) Make sure that the options Obtain an IP address automatically and Obtain DNS server address automatically are selected. Then hit OK to save the change.
5) Try re-connect one more time now.