


If you want to open an app or program on your Windows 10, but if fails, and you’re seeing this error saying: Class not registered. Reset assured, you’re not alone. Many Windows users encounter this error. More importantly, you can fix it easily by yourself.
This error occurs on your Windows 10 mainly due to the app or the program with unregistered DLL files. You can probably fix it by these following solutions:
Try one at a time:
- Fix DCOM(Distributed Component Object Model) errors
- Re-register ExplorerFrame.dll file
- Start Internet Explorer ETW Collector Service
- Set Windows Photo Viewer as a default image viewer
- Disable iCloud
Fix 1: Fix DCOM(Distributed Component Object Model) errors
1) On your keyboard, press the Windows logo key ![]() + R key at the same time to invoke the run command.
+ R key at the same time to invoke the run command.
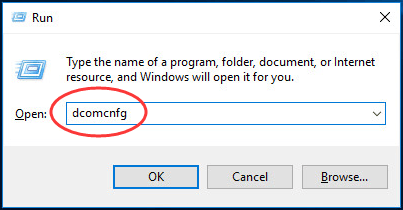
2) Type dcomcnfg and press Enter to open Component Services.
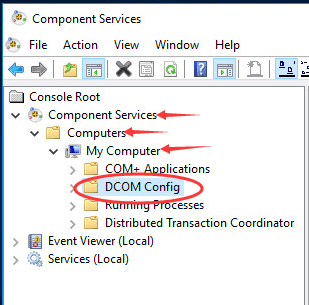
2) Go to Component Services > Computers > My Computer on the Component Services window. Then double-click on DCOM Config.
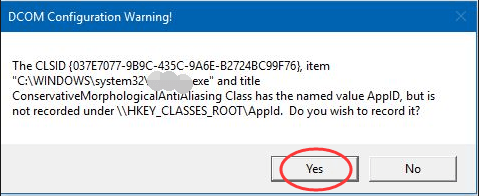
3) Then a few DCOM Configuration warning messages will pop up. Click Yes for each one.
4) Reboot your Windows 10 and open the app again to see if it goes fine.
Fix 2: Re-register the ExplorerFrame.dll file
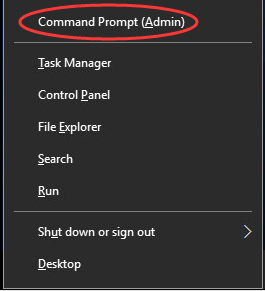
1) Press the Windows logo key ![]() + X key together, then click Command Prompt(Admin).
+ X key together, then click Command Prompt(Admin).
Click Yes when prompted by User Account Control.
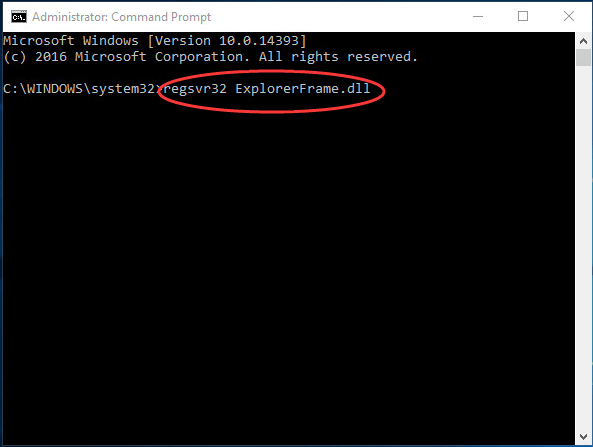
2) Type regsvr32 ExplorerFrame.dll in the command prompt window and press Enter to run it.
3) Open the app again to see if it goes fine.
Fix 3: Start the Internet Explorer ETW Collector Service
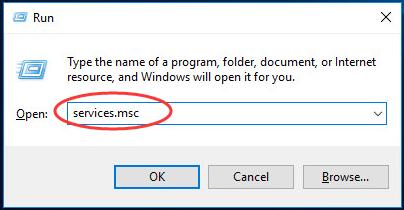
1) On your keyboard, press the Windows logo key ![]() + R key at the same time to invoke the run command.
+ R key at the same time to invoke the run command.
2) Type services.msc in the box and press Enter to open Windows Services.
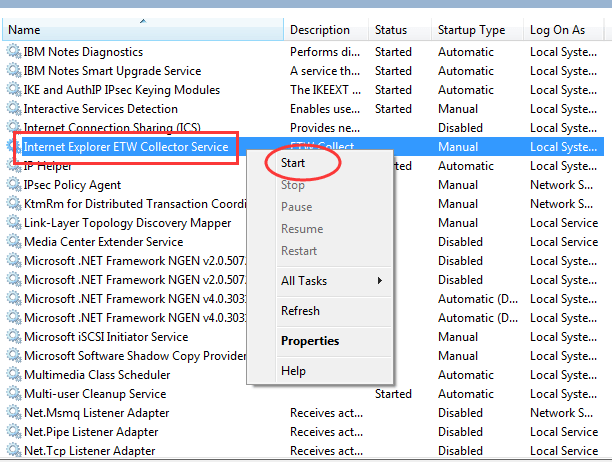
3) Find and right-click on Internet Explorer ETW Collector Service. Then click Start.
4) Open the app again to see if it goes fine.
Fix 4: Set Windows Photo Viewer as a default image viewer
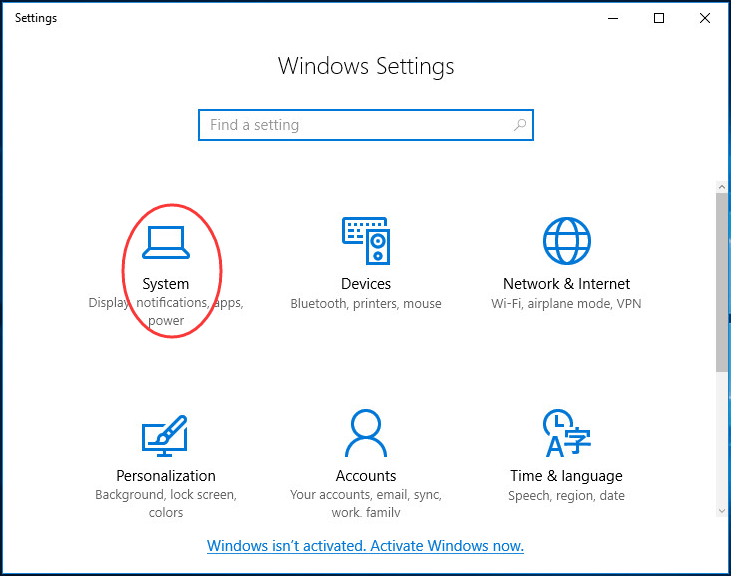
1) On your keyboard, press the Windows logo key ![]() + I key at the same time to open the Windows Setting window.
+ I key at the same time to open the Windows Setting window.
2) Click System.
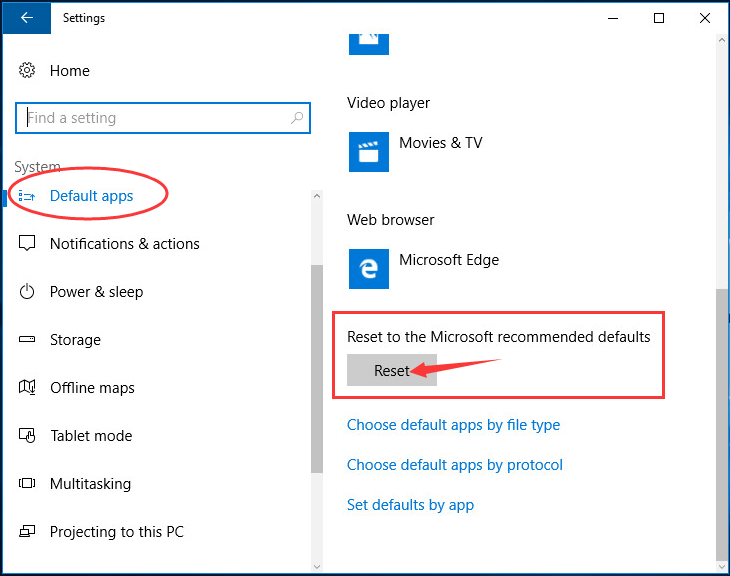
3) Click Default apps on the left pane. Then on the right pane, scroll down to click Reset under the Reset to the Microsoft recommended defaults section.
4) Open the app again to see if it goes fine.
Fix 5: Disable iCloud
Some users reported that to disable iCloud in Task Manager fix the error for them. So make sure to try to disable icloud if you install one on Windows 10.
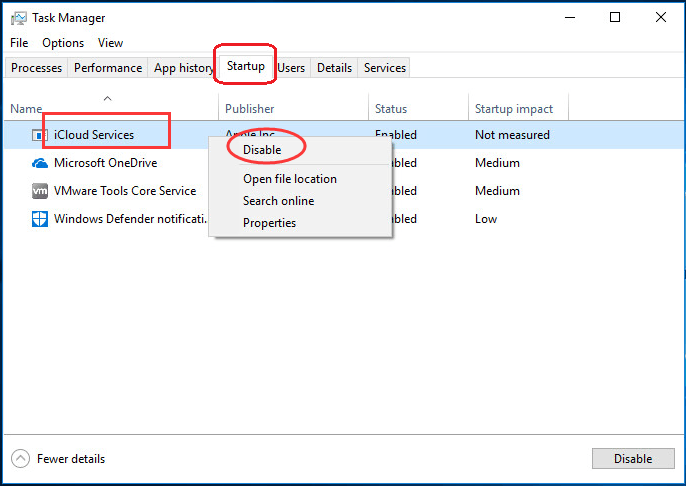
1) Press Shift + Ctrl + Esc keys at the same time to open Task Manager.
2) On Task Manager window, tap on the Startup pane. Then find and right-click on iCloud Services. Click Disable.
3) Open the app again to see if it goes fine.
That’s it!
Hopefully you have got your Windows 10 out of Class not registered error.