Many Windows 10 users are having problems installing the 1709 feature update. Their system keeps failing to install the update, and shows multiple entries of “Feature update to Windows 10, version 1709 Failed to install on …” on Windows Update.
This is a frustrating issue. You can’t access the new features of the 1709 feature update because of this issue. But don’t worry. It can be fixed…
Fixes to try
The following are a few methods that have helped many Windows 10 users fix this issue. You don’t have to try them all; just work your way down the list until you find the one that works for you.
- Temporarily disable your antivirus software
- Reset your Windows Update components
- Update your device drivers
- Run the DISM utility
- Install the update with the Windows 10 Update Assistant
Method 1: Temporarily disable your antivirus software
Sometimes your system can’t install new updates due to the interference from your antivirus software. You can temporarily disable your antivirus and see if the problem persists. (Consult your antivirus program documentation for instructions on disabling it.)
If this resolves the problem, contact the vendor of your antivirus software and ask them for advice, or install a different solution.
Method 2: Reset your Windows Update components
The 1709 update may fail to install because there are problems with your Windows Update services or cache. You should try resetting these components and see if this resolves your problem.
To reset your Windows Update components:
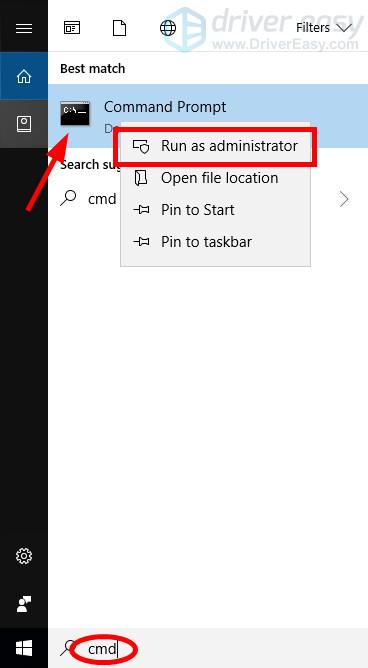
1) Click the Start button in the lower left corner of your screen, then type “cmd“. Right click Command Prompt in the results and select Run as administrator.
2) In Command Prompt, type the following lines of command, then press Enter on your keyboard after typing each:
net stop bits
net stop wuauserv
net stop appidsvc
net stop cryptsvc
3) Type the following lines of command and press Enter after typing each:
ren %systemroot%\softwaredistribution softwaredistribution.old
ren %systemroot%\system32\catroot2 catroot2.old
4) Type the following commands and press Enter after each:
net start bits
net start wuauserv
net start appidsvc
net start cryptsvc
5) Run Windows Update and see if you are able to install the 1709 update.
If this helps you resolve your problem, great! But if not, there are three more fixes for you to try…
Method 3: Update your device drivers
The update may fail to install if you’re using a wrong device driver or its out of date. You should update your drivers on your computer to see if this fixes your update issue. If you don’t have the time, patience or skills to update your drivers manually, you can do it automatically with Driver Easy.
Driver Easy will automatically recognize your system and find the correct drivers for it. You don’t need to know exactly what system your computer is running, you don’t need to risk downloading and installing the wrong driver, and you don’t need to worry about making a mistake when installing.
You can download and install your drivers by using either Free or Pro version of Driver Easy. But with the Pro version it takes only 2 clicks (and you get full support and a 30-day money back guarantee):
1) Download and install Driver Easy.
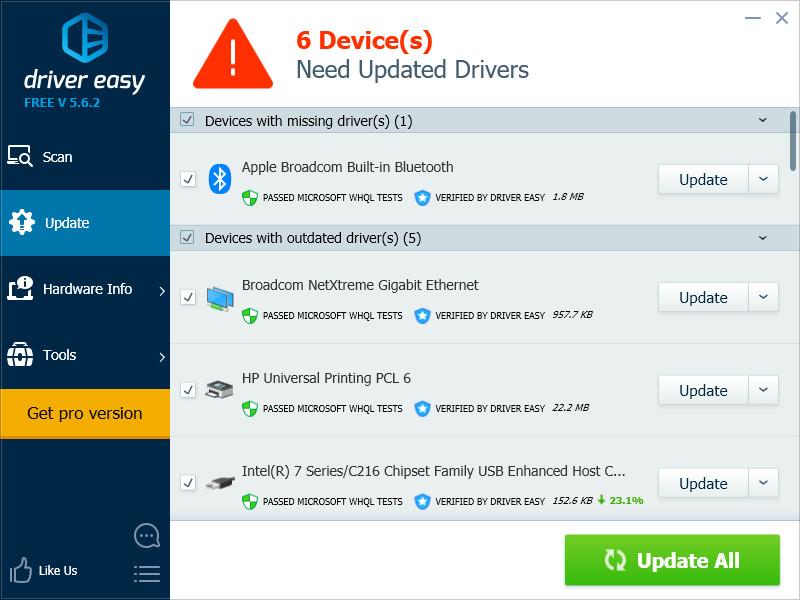
2) Run Driver Easy and click the Scan Now button. Driver Easy will then scan your computer and detect any problem drivers.

3) Click the Update button next to each device to download the latest and correct driver for it. You can also click the Update All button at the bottom right to automatically update all outdated or missing drivers on your computer (this requires the Pro version — you will be prompted to upgrade when you click Update All).
4) Restart your computer. Then check to see if you’re able to install the 1709 update.
Method 4: Run the DISM utility
You may not be able to install the 1709 update because your system files are corrupted. You should run the DISM (Deployment Image Servicing and Management) utility to repair your system. To do so:
1) Click the Start button in the lower left corner of your screen, then type “cmd“. Right click Command Prompt in the results and select Run as administrator.
2) Type the following command and press Enter on your keyboard:
dism.exe /online /cleanup-image /restorehealth
3) Wait for the process to complete. Then restart your computer and see if this fixes your issue.
If the DISM utility is helpful, you’ll be able to install the update. But if not, you may need to…
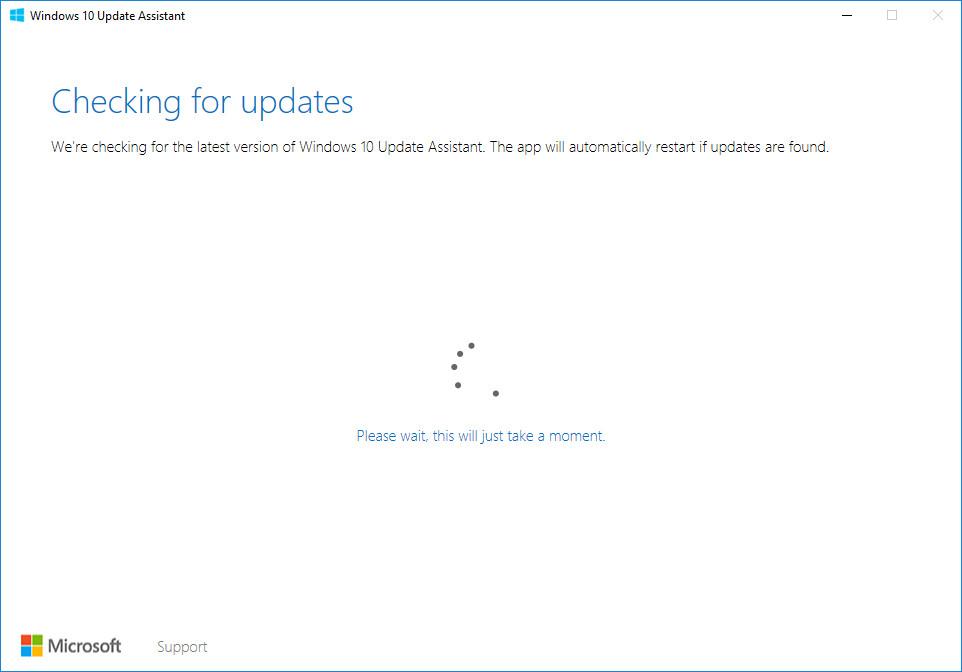
Method 5: Install the update with the Windows 10 Update Assistant
Microsoft offers another tool called Windows 10 Update Assistant for the Windows 10 users to install feature updates. You can try using it to install the 1709 feature update if Windows Update fails. Here’s how to use this tool:
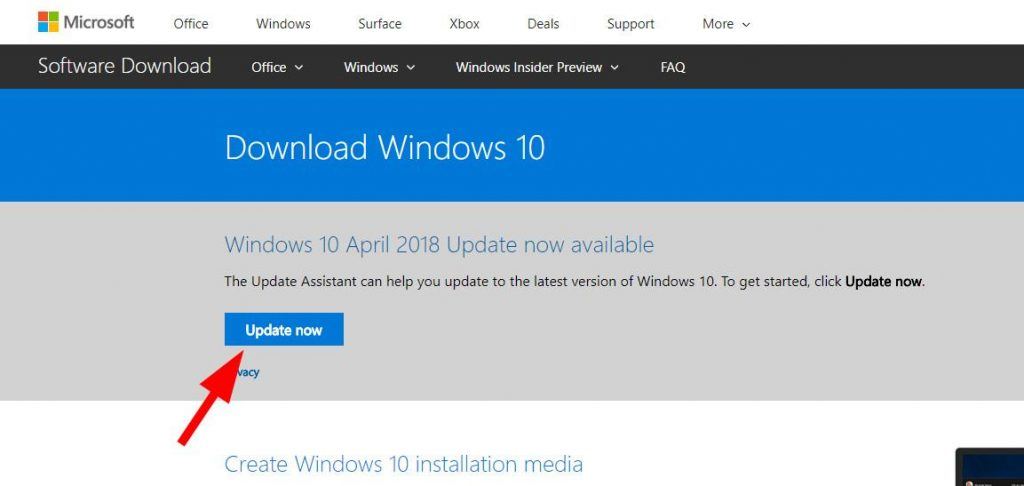
1) Go to the Windows 10 download site.
2) Click the Update now button.
3) Open the downloaded file (Windows 10 Update Assistant), then follow the on-screen instructions to install the latest update for your Windows 10 computer.