


Many people have reported that their Surface Pro 4 screen is flickering or shaking, which is very frustrating. Some of them even try putting the Surface Pro 4 into the freezer to temporarily fix the issue. If you’re experiencing this screen flickering issue in your Surface Pro 4, don’t worry. You can fix the screen flickering issue.
Why is my Surface Pro 4 flickering?
The most possible reason is the hardware faulty, as this issue happens to some certain devices. Therefore, Microsoft has launched a replacement program that would allow you to replace eligible Surface Pro 4 within a 3-year purchase.
Before contacting Microsoft Support to have Surface Pro 4 replaced, you can try these workarounds to fix the flicker screen issue.
Try these fixes
- Troubleshoot the hardware issue
- Install the Surface and Windows Update
- Change screen refresh rate
- Repair system files
Pro Tip: Keep your Surface Pro graphics driver updated
Fix 1: Troubleshoot the hardware issue
If your Surface Pro 4 is blinking on your screen, you should first check the hardware components:
- Make sure to put your Surface laptop in an open and wild place, to avoid interference. For example, the magnet around your Surface pro 4 can interfere with your screen and make your screen flicker. So make sure there is no magnet near your laptop.
- A simple check and make sure that the cables in your Surface Pro 4 are plugged in properly. If the connection cable is loose, you’ll have this flickering problem.
Fix 2: Install the Surface and Windows Update
As a large number of users have reported the Surface Pro 4 screen flickering issue, Microsoft has tried to make things easier for users to fix the issue.
Microsoft has released an official statement addressing this issue and refers to it as a “scramble“, which is a hardware-related problem. Only Surface Pro 4 devices experiencing this issue, of any configuration, are covered under their replacement program.
Before having your Surface replaced, read carefully the statement, and follow the instructions to install the Surface and Windows Update on your laptop first. This hopefully can fix your screen flickering issue.
Fix 3: Change screen refresh rate
The refresh rate of your display has an impact on the input lag. So you can try changing the screen refresh rate to fix the screen flickering issue in Surface Pro 4. Here’s what you need to do:
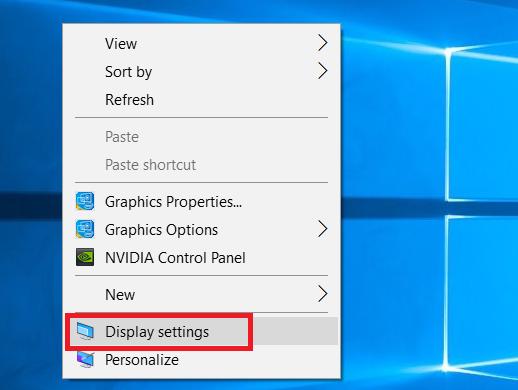
1) Right-click on the empty area on your desktop, and click Display settings.
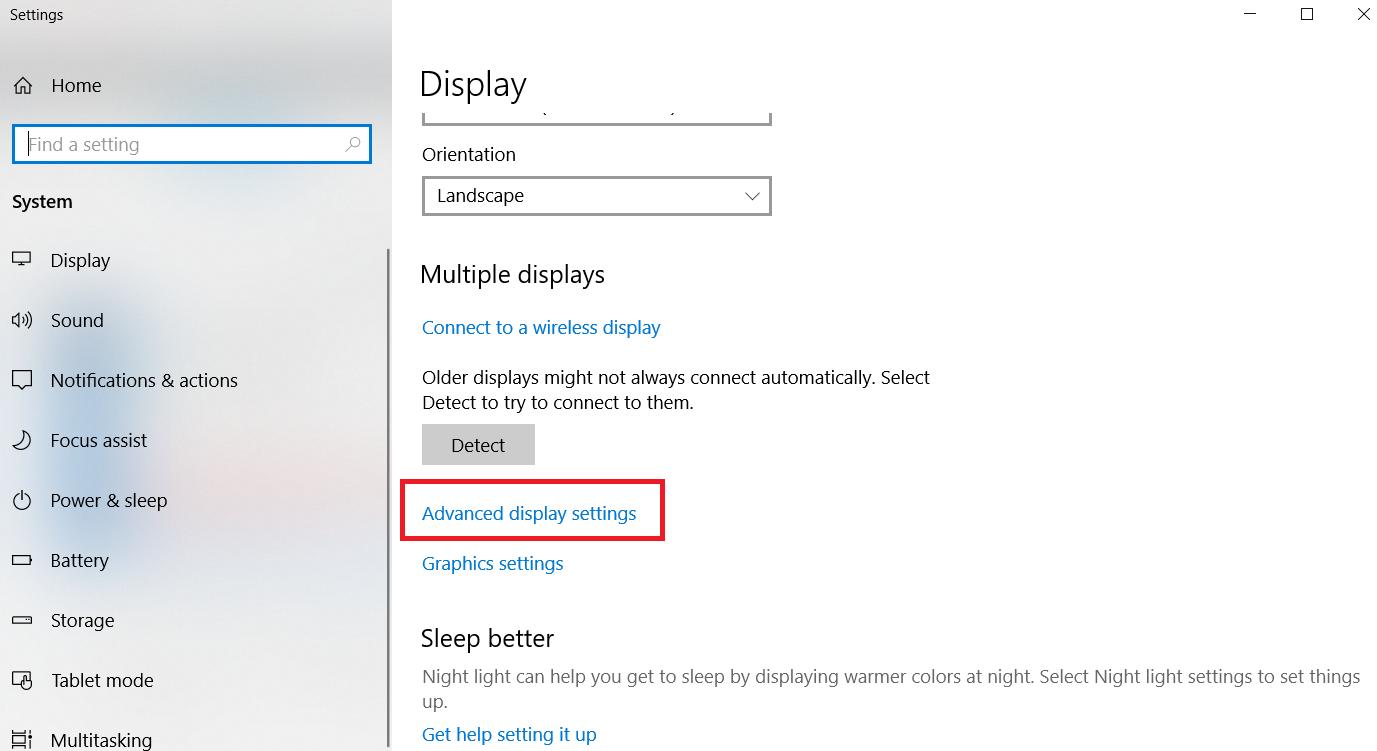
2) Click Advanced display settings in the Settings app.
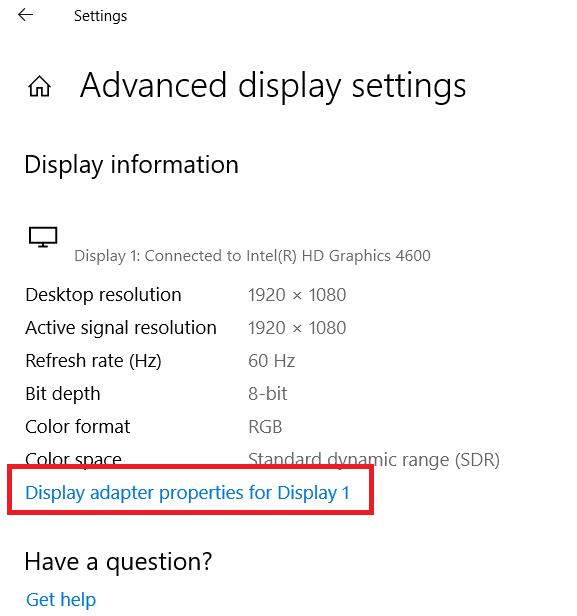
3) Click Display adapter properties for Display 1.
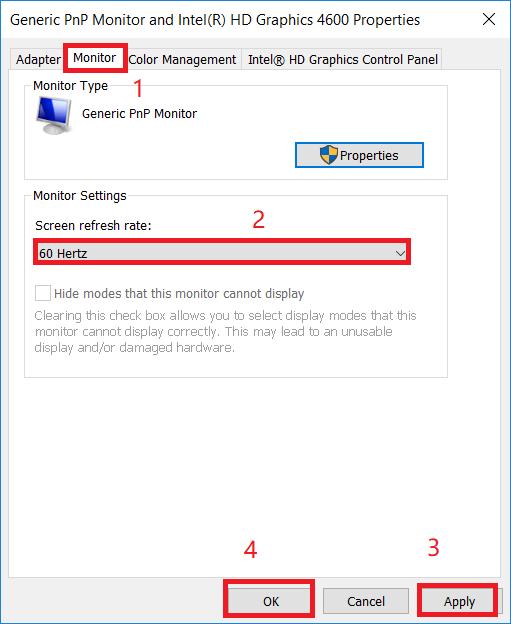
4) In the popup dialog pane, click the Monitor tab, and select 60 Hertz in Screen refresh rate. Then click Apply > OK.
5) Check if your screen stops flickering.
Still no luck? If the flickering or scrambling persists whatsoever, even with all current updates installed, you can start the replacement process by contacting Microsoft support.
Pro Tip: Keep your graphics driver updated
Note that Microsoft claims that the Surface Pro 4 screen flickering issue can’t be fixed by updating your firmware or driver update. However, if you’re experiencing other display-related issues with your Surface Pro 4, such as gaming crashing, you can try updating your graphics driver.
A missing or outdated display driver in your Surface Pro can also lead to various screen issues. So you should make sure that your display adapter driver is up to date, and update it if it’s not.
If you don’t have time or patience, you can do it automatically with Driver Easy.
Driver Easy will automatically recognize your system and find the correct drivers for it. You don’t need to know exactly what system your computer is running, you don’t need to risk downloading and installing the wrong driver, and you don’t need to worry about making a mistake when installing.
You can update your drivers automatically with either the 7 days free trial or the Pro version of Driver Easy. But with the Pro version, it takes just 2 clicks (and you get full support and a 30-day money-back guarantee):
1) Download and install Driver Easy.
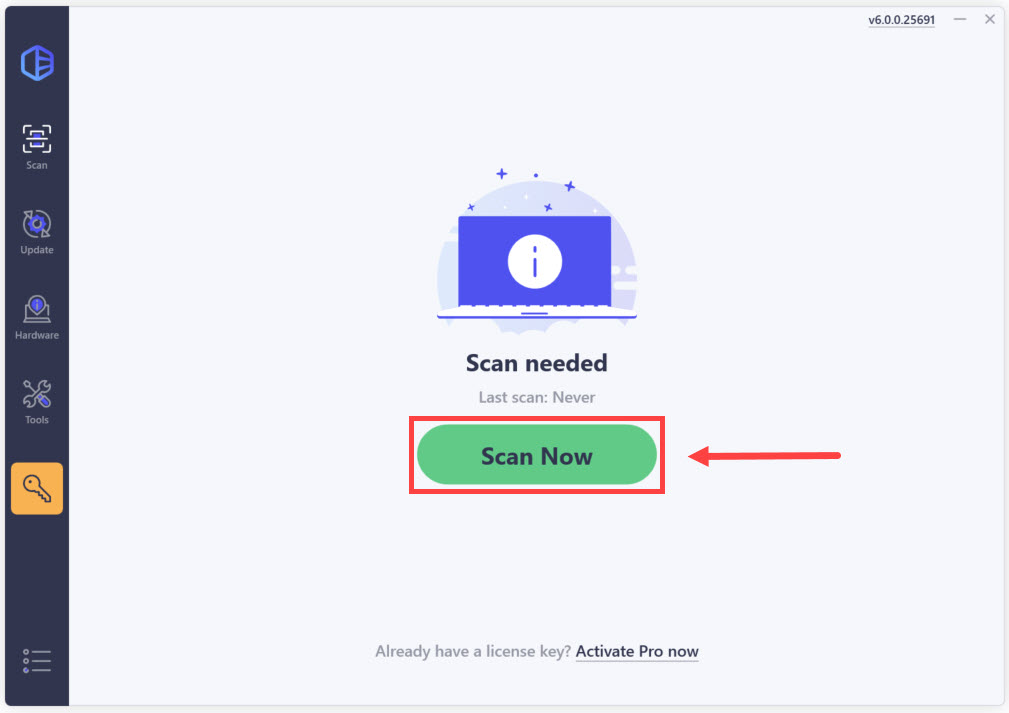
2) Run Driver Easy and click the Scan Now button. Driver Easy will then scan your computer and detect any problem drivers.
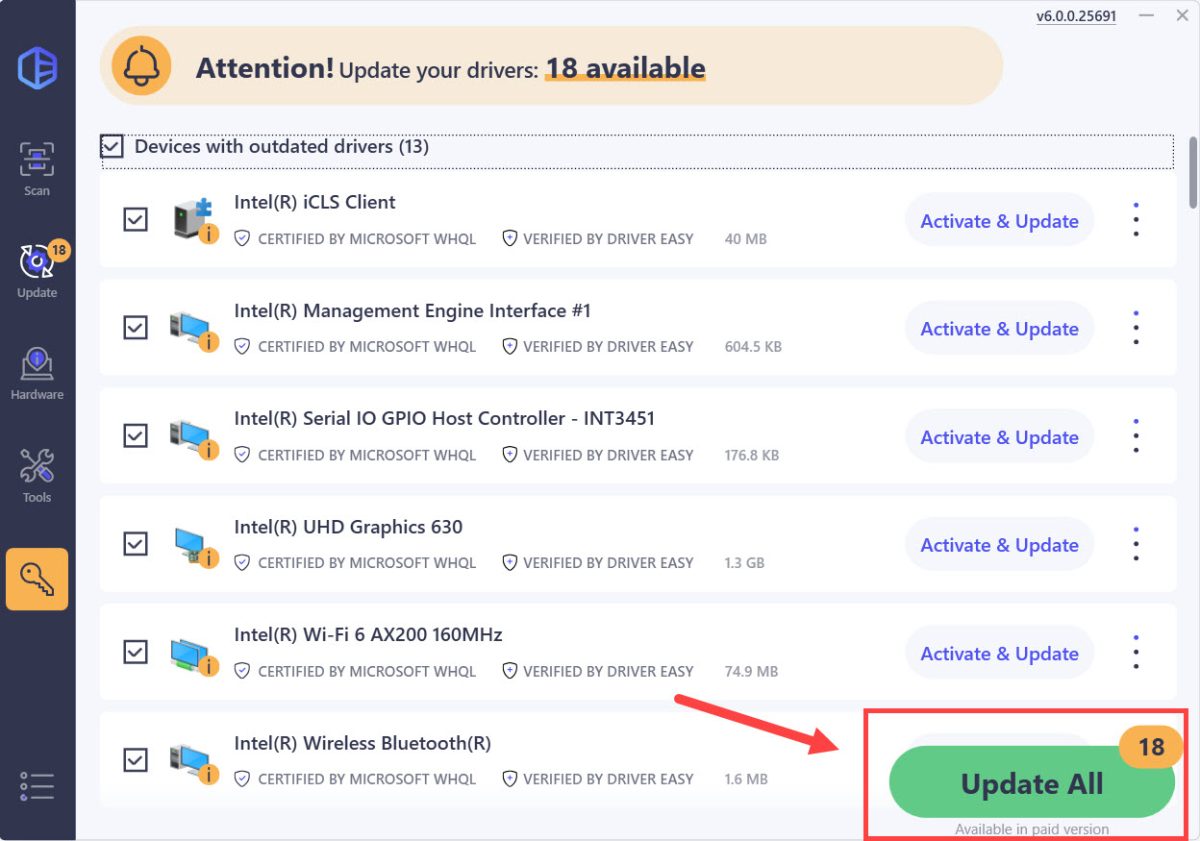
3) Click the Activate & Update button next to the flagged device to automatically download and install the correct version of this driver.
Or click Update All to automatically download and install the correct version of all the drivers that are missing or out of date on your system (You’ll need the Pro version for this – when you select Update All, you’ll get a prompt to upgrade. If you’re not prepared to purchase the Pro version yet, Driver Easy provides a 7-day trial at no cost, granting access to all Pro features like fast downloads and easy installation. No charges will occur until after your 7-day trial period ends.)
Note: If you experience any problems using Driver Easy Pro, you get our full support at support@drivereasy.com.
4) Restart your computer and see if the screen works properly.
Fix 4: Repair your system files
Screen flickering can often be traced back to corrupt or missing system files that disrupt your computer’s normal functioning and lead to screen flickering issues. Fortunately, Windows provides two powerful built-in tools to repair potential system files:
Step 1. Scan corrupt files with System File Checker
System File Checker (SFC) is a Windows utility that is designed to scan and repair corrupted or missing system files.
1) On your keyboard, press the Windows logo key and R at the same time to open the Run box. Type cmd and press Ctrl+Shift+Enter to run Command Prompt as administrator.
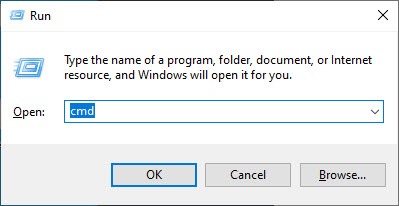
Click Yes when prompted for permission to make changes to your device.
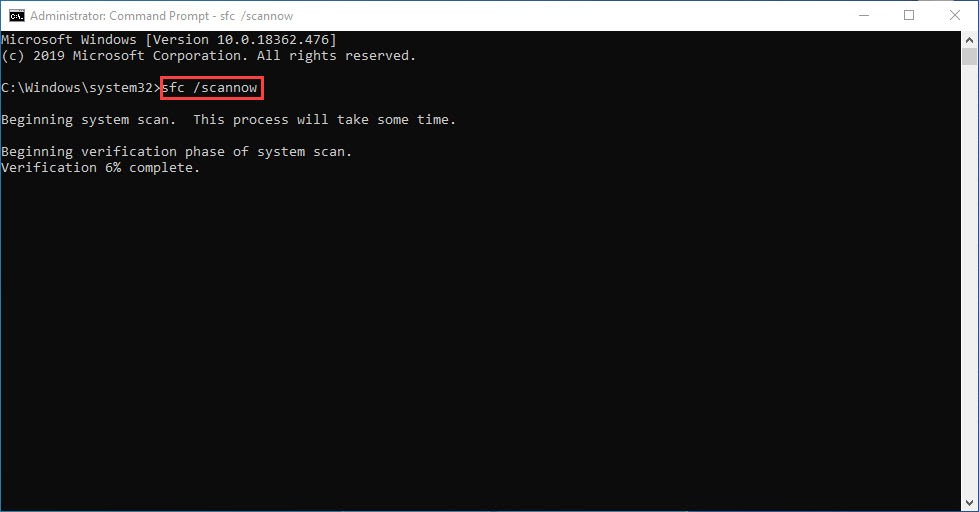
2) In the Command Prompt, type the following command and hit Enter.
sfc /scannow
3) System File Check will begin to scan all system files and repair any corrupted or missing ones it detected. This may take 3-5 minutes.
4) You may receive something like the following messages after the verification.
- no errors
- it fixed some errors
- could not fix all errors
- could not fix errors at all
- ……
No matter what message you receive, you can try running dism.exe (Deployment Image Servicing and Management) to check the device performance and health of your PC.
Step 2. Run dism.exe
If SFC cannot fix all the issues, DISM can perform a deeper scan of your system image and repair problems related to system health, making sure your computer’s operating system functions properly.
1) Run Command Prompt as admin and enter the following commands.
- This command line will scan the health of your PC:
dism.exe /online /cleanup-image /scanhealth
- This command line will restore the health of your PC:
dism.exe /online /cleanup-image /restorehealth
2) After the restore health process finishes, you may get some error messages.
- If restoring heath gives you errors, you can always try this command line. This will take up to 2 hours.
dism /online /cleanup-image /startcomponentcleanup
- If you get Error: 0x800F081F with the restore health scan, reboot your PC and run this command line.
Dism.exe /Online /Cleanup-Image /AnalyzeComponentStore
If the System File Check finds any files corrupted, follow the on-screen instructions to repair them, and then restart your computer for the changes to take full effect.
So there you have it – three effective ways to fix the flickering screen in your Surface Pro 4. Hope it helps you through.

