


Your U.are.U 4500 Fingerprint Reader not working after a Windows update or just for no apparent reason? This problem may occur if you are using the wrong fingerprint reader driver or it’s out of date.
It’s always important to keep your fingerprint driver up-to-date so that you can make sure the fingerprint reader on your PC is working in proper condition and prevent issues like being unable to log in with a fingerprint.
In this article, we’re showing you 2 easy ways to get the latest U.are.U. 4500 fingerprint driver.
How to update U. are. U 4500 fingerprint reader driver
Option 1 – Manually – You’ll need some computer skills and patience to update your drivers this way because you need to find exactly the right driver online, download it and install it step by step.
OR
Option 2 – Automatically (Recommended) – This is the quickest and easiest option. It’s all done with just a couple of mouse clicks even if you’re a computer newbie.
Option 1: Manually
Step 1: Download the driver from the official website
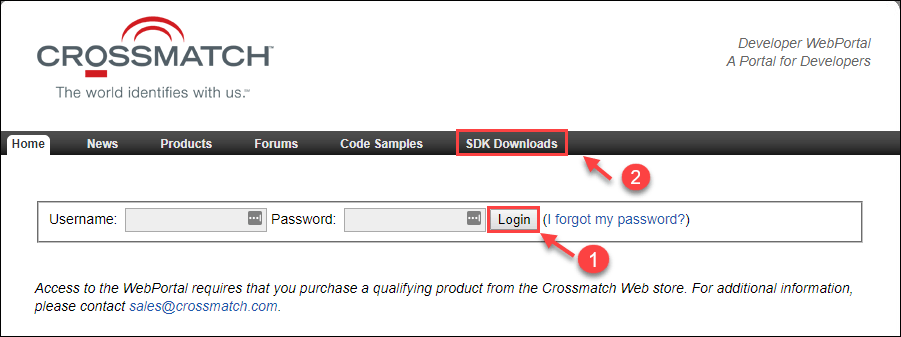
1) If you’d like to update your U.are.U 4500 driver manually, you can download the correct and latest driver from the official website of Digital Persona. Log in and download the exact driver according to your Windows version (such as Windows 10 Pro, 64-bit).
2) Or you can obtain the driver from your PC vendor. You’ll need to visit the official website of Lenovo, Dell, or any other vendors, and locate its Support section. Then select Drivers & Software or Drivers & Download to enter the download page of drivers. Search for U.are.U 4500 fingerprint reader driver and download the exact driver according to your Windows variant.

Step 2: Install the driver manually
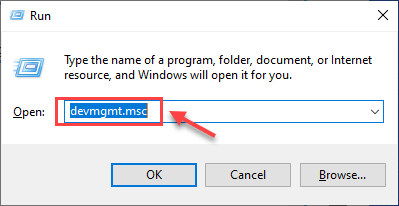
1) On your keyboard, press the Windows logo key + R at the same time, type devmgmt.msc, and press Enter.
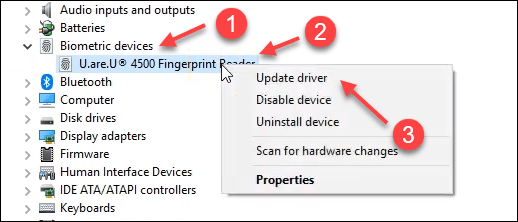
2) Double click Biometric devices, then right-click U.are.U 4500 Fingerprint Reader, and select Update driver.
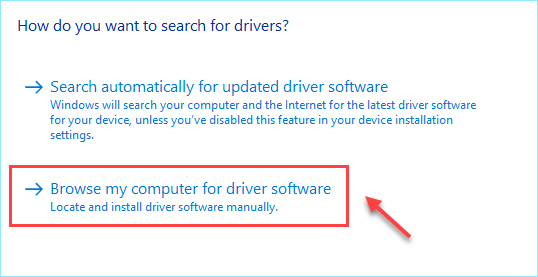
3) Click Browse my computer for driver software.
4) Select the driver file and click Next, then wait for the installation process to finish.
5) Click Close after you’ve updated your driver successfully, then restart your PC to let the changes take effect.
See if your fingerprint reader works properly again.
Option 2: Automatically (Recommended)
If you don’t have the time, patience or computer skills to update the fingerprint driver manually, you can do it automatically with Driver Easy.
Driver Easy will automatically recognize your system and find the correct drivers for it. You don’t need to know exactly what system your computer is running, you don’t need to risk downloading and installing the wrong driver, and you don’t need to worry about making a mistake when installing.
You can update your drivers automatically with either the FREE or the Pro version of Driver Easy. But with the Pro version it takes just 2 clicks:
1) Download and install Driver Easy.
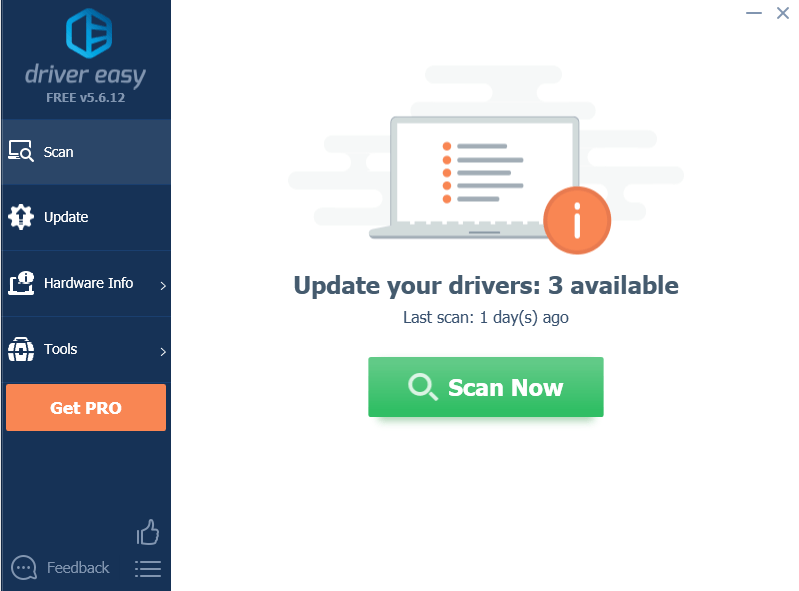
2) Run Driver Easy and click the Scan Now button. Driver Easy will then scan your computer and detect any problem drivers.
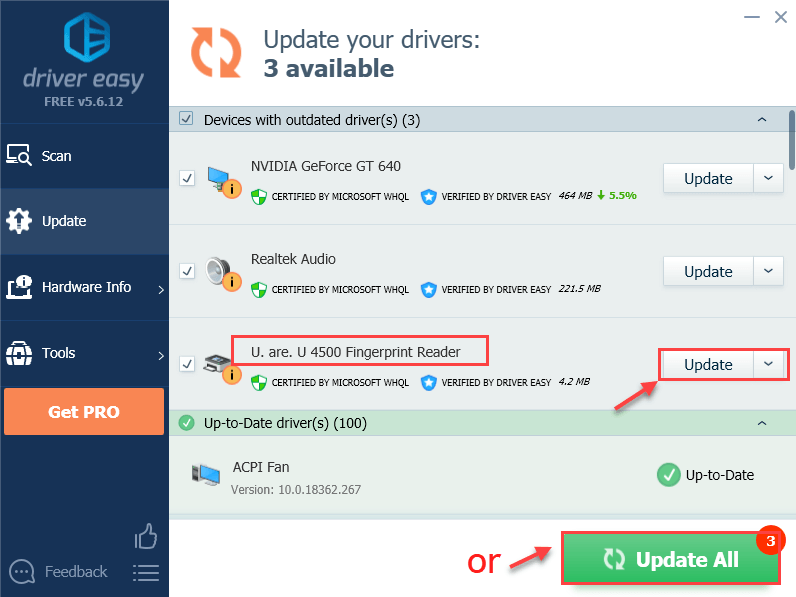
3) Click the Update button next to your device to download the latest and correct driver for it, then you can manually install it.
Or click the Update All button to automatically update all outdated or missing drivers on your computer (this requires the Pro version – you’ll be prompted to upgrade when you click Update All. You get full support and 30 day money-back guarantee. )
4) Restart your PC after finishing installing.
Now you’ve already installed the latest fingerprint driver, see if you can use your fingerprint reader again.
Did the fixes above solve your problem? Feel free to drop us a comment if you have any further questions.