


If you’re having an issue with your StarTech USB VGA drivers in your Windows computer, don’t worry. This post will show you how to download or update StarTech USB VGA drivers to solve your issues.
Quick Fix: Update StarTech drivers automatically
Repair your USB drivers in one click!
Why you need StarTech USB VGA driver?
StarTech USB VGA external video adapter is the perfect multi-monitor for office applications and internet browsing. This device can be used as an external graphics card for laptop or desktop applications. The adapter can be used up to five adapters to creat multiple VGA connections to extend the desktop on the existing display without open the computer case to add extra video cards.
The StarTech USB VGA driver enables the smooth connection and functionality between your StarTech USB to VGA adapter and your Windows computer. If the operating system changes the way it speaks to devices and drivers haven’t updated, devices can’t receive correct commands and cause problems. So you should keep your StarTech drivers up to date in order to have the best experience.
How to update StarTech USB VGA driver?
There are two ways you can update StarTech USB VGA driver.
Option 1 – Manually– You’ll need some computer skills and patience to update your drivers this way, because you need to find exactly the right driver online, download it and install it step by step.
OR
Option 2 – Automatically (Recommended)– This is the quickest and easiest option. It’s all done with just a couple of mouse clicks – easy even if you’re a computer newbie.
Option 1 – Download and install the driver manually
To manually update your StarTech USB VGA driver, you’ll need to go to the manufacturer’s website and search for your device, then download the install it into your computer.
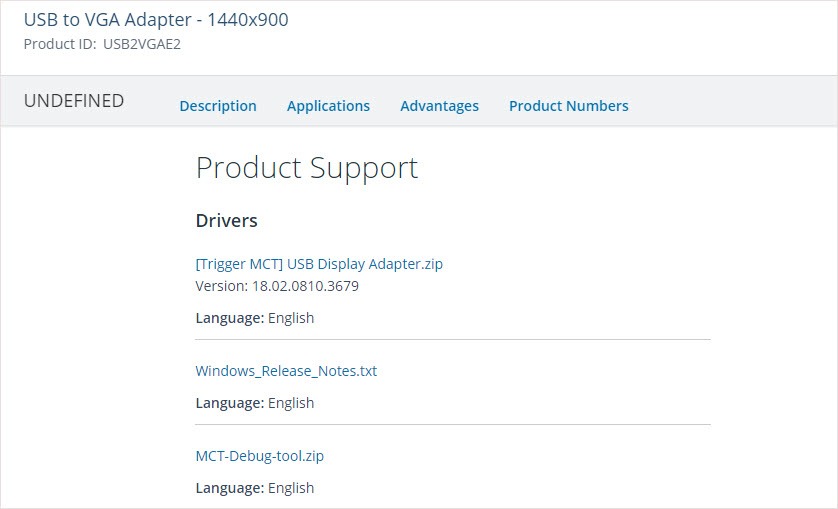
- Go to the StarTech Support page.
- Enter your product ID and search.

- Find your product and go to your product page.
- Download the driver and install it manually.
Option 2 – Automatically update drivers
If you don’t have time or patience to manually update your Acer drivers, you can do it automatically with Driver Easy.
Driver Easy will automatically recognize your system and find the correct drivers for it. You don’t need to know exactly what system your computer is running, you don’t need to risk downloading and installing the wrong driver, and you don’t need to worry about making a mistake when installing.
You can update your drivers automatically with either the FREE or the Pro version of Driver Easy. But with the Pro version it takes just 2 clicks (and you get full support and a 30-day money back guarantee):
- Download and install Driver Easy.
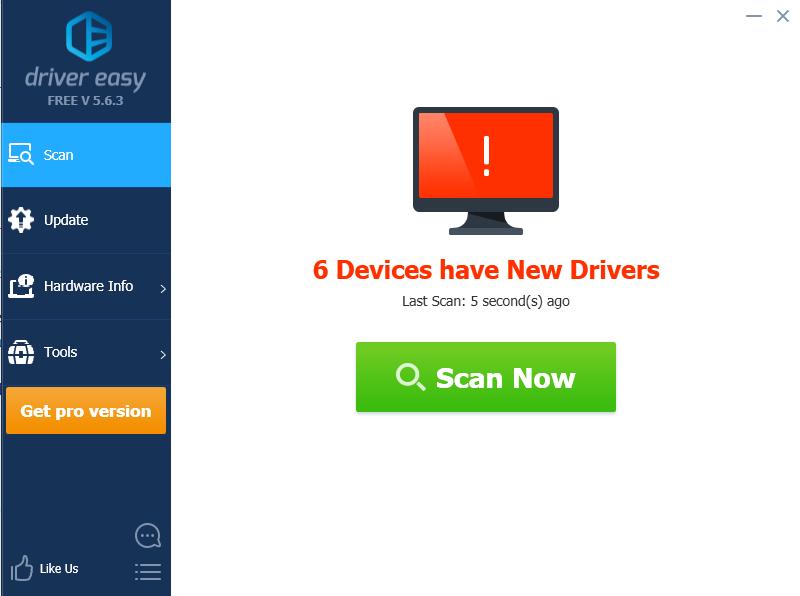
- Run Driver Easy and click the Scan Now button. Driver Easy will then scan your computer and detect any problem drivers.
- Click the Update button next to the flagged driver to automatically download the correct version of that driver, then you can manually install it (you can do this with the FREE version).
Or click Update All to automatically download and install the correct version of all the drivers that are missing or out of date on your system. (This requires the Pro version which comes with full support and a 30-day money back guarantee. You’ll be prompted to upgrade when you click Update All.)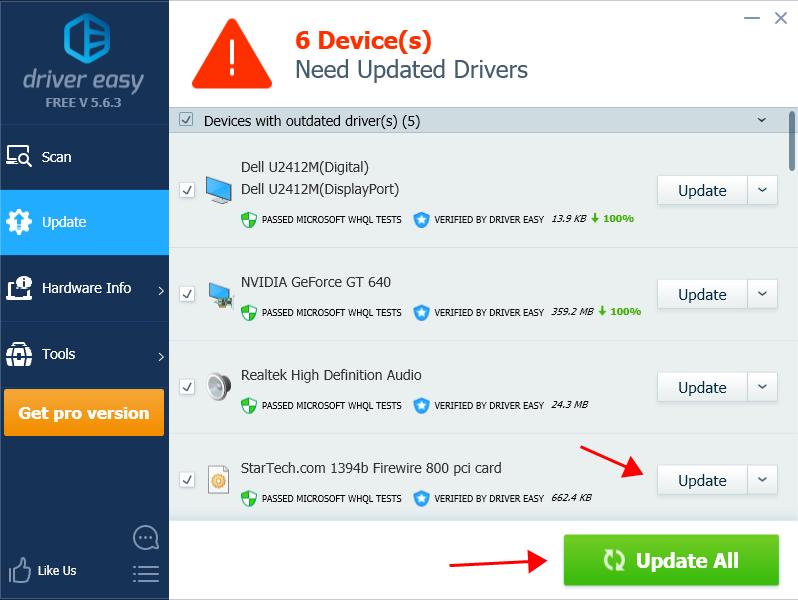
- Restart your computer to take effect.
Be sure to attach the URL of this article if needed for more expedient and efficient guidance.
That’s it! If you have any questions, feel free to leave a comment below and we’ll see what more we can do.