


The error code OXC4EB827F commonly occurs due to incompatible drivers, connection errors, and defective hardware. But before taking your printer to a repair store for professional help, try the solutions provided here.
Fixes to try:
Here are three solutions that have proven helpful for many HP users. You may not need to try them all—simply work your way down the list until you find the one that works for you.
- Update your printer driver
- Reconnect your printer to your computer
- Check your ink cartridges and printhead
Fix 1: Update your printer driver
This problem may occur if you’re using the wrong printer driver or it’s out of date. To keep your printer running smoothly, it’s essential that you have the latest correct driver at all times. There are two ways you can update your printer driver:
Option 1 – Manually – Updating drivers manually requires computer skills and patience. You need to find the correct driver online, download it, and install it step by step.
OR
Option 2 – Automatically (Recommended) – This is the quickest and easiest option. It’s all done with just a couple of mouse clicks – easy even if you’re a computer newbie.
Option 1 – Download and install the driver manually
HP regularly updates printer drivers. To get them, you need to go to the HP support website, find the driver corresponding with your specific flavor of Windows version (for example, Windows 32 bit) and download the driver manually.
Once you’ve downloaded the correct drivers for your system, double-click on the downloaded file and follow the on-screen instructions to install the driver.
Option 2 – Automatically update your printer driver
If you don’t have the time, patience or computer skills to update the printer driver manually, you can do it automatically with Driver Easy.
Driver Easy will automatically recognize your system and find the correct drivers for it. You don’t need to know exactly what system your computer is running, you don’t need to risk downloading and installing the wrong driver, and you don’t need to worry about making a mistake when installing.
You can update your drivers automatically with either the FREE or the Pro version of Driver Easy. But with the Pro version it takes just 2 clicks:
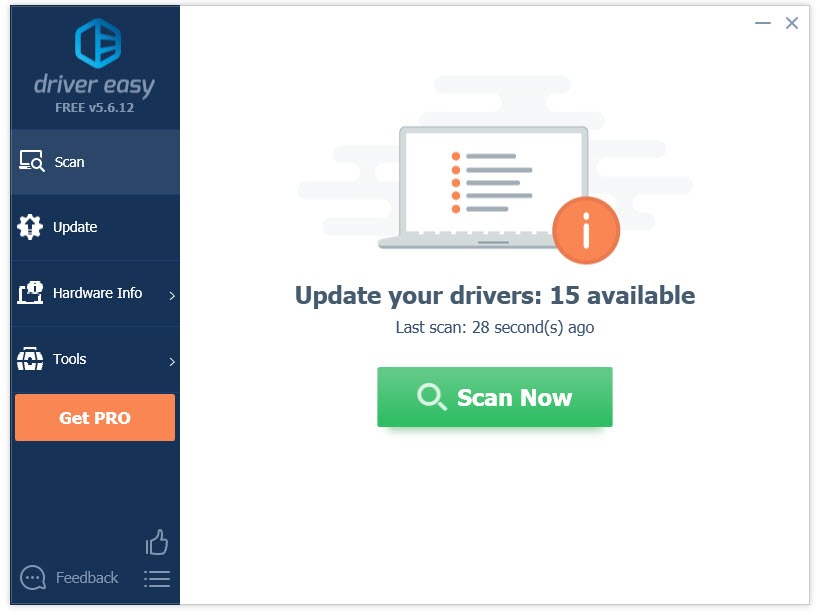
1) Download and install Driver Easy.
2) Run Driver Easy and click the Scan Now button. Driver Easy will then scan your computer and detect any problem drivers.
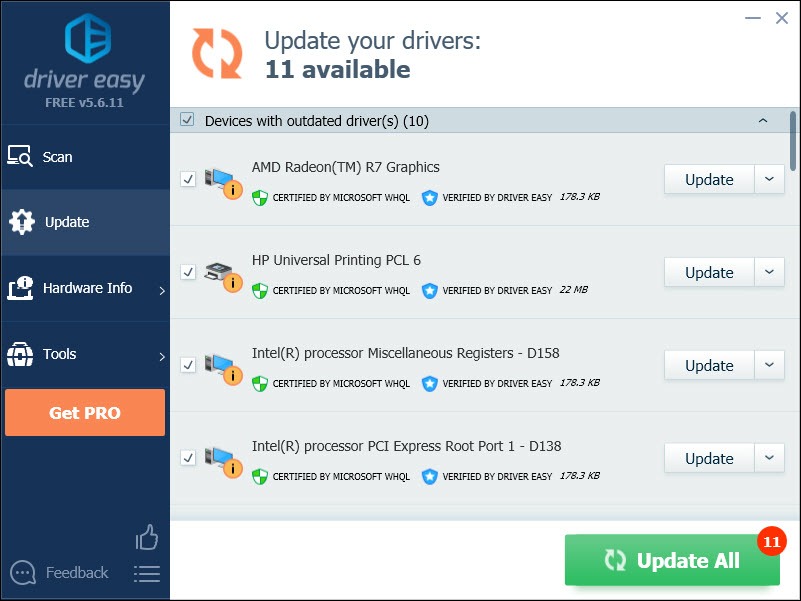
3) Click Update All to automatically download and install the correct version of all the drivers that are missing or out of date on your system (this requires the Pro version – you’ll be prompted to upgrade when you click Update All).
Fix 2: Restart your printer, PC and router
In some cases, the error code is caused by connection errors. Try restarting your devices to see if that’s the issue. Here’s how:
1) Turn off your printer and unplug it.
2) Turn off your PC and your router.
3) Wait for 1 minute.
4) Plug your printer back into the power outlet.
5) Turn on your printer, PC and router.
6) Try printing a page to see if this has resolved your issue.
If your issue continues to occur, check the fix below.
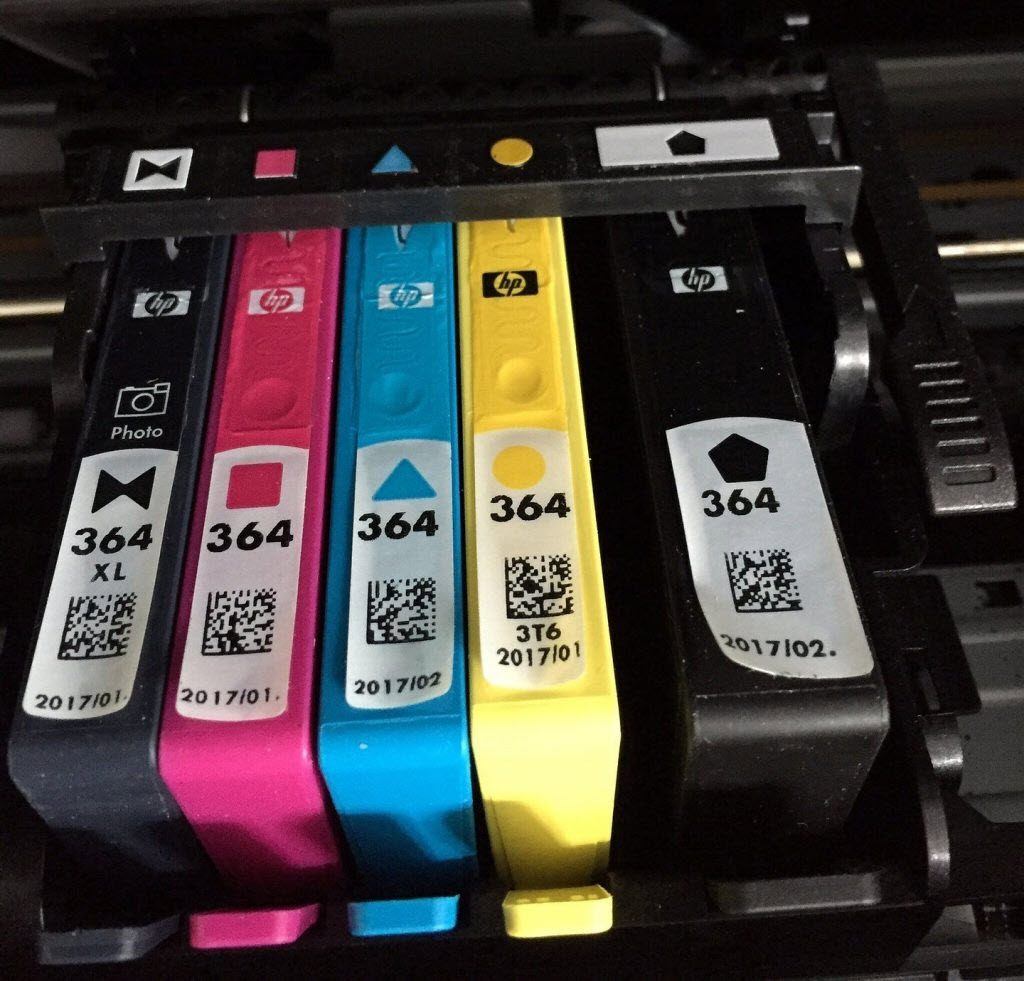
Fix 3: Check your ink cartridges and printhead
This error could also indicate defective hardware on your device. There are 2 things you should check on your printer: ink cartridges and printhead.
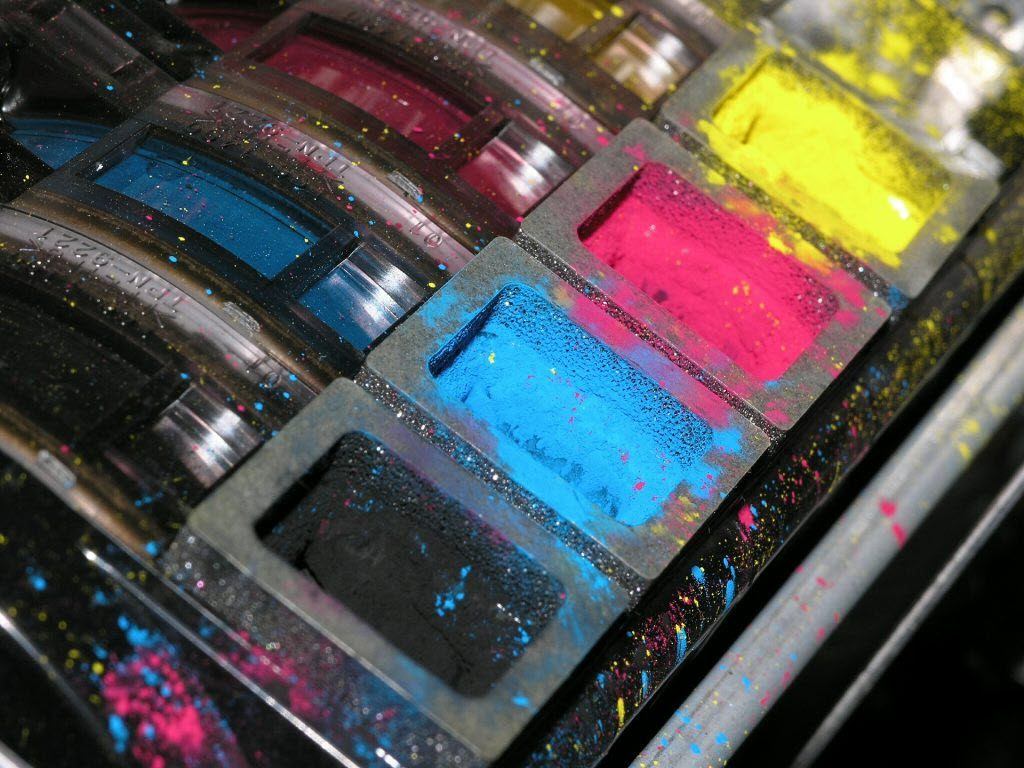
Check ink cartridges
Check whether your ink cartridges are clogged.
Blocked or clogged ink cartridges can cause the printer error B200. To see if that’s the problem for you, you can clean your ink cartridges from the printer control panel or clean it manually.
Check the ink levels on your printer.
Check the ink levels on your Canon printer and replace your cartridges if necessary.
Remove and reinstall your cartridges.
Defective or disconnected cartridges may also be the reason why your printer keeps showing the error code.
Remove your cartridges to check if any of them are defective. If you find any damaged cartridges, replace it.
Check your printhead
1) Uninstall your printhead.
2) Use pure alcohol or non-oily cleaning fluid to clean the gold contacts.
3) Flush the printhead under the hot water tap.
4) After the printhead is dried, reinstall it. Then, reopen your printer.
Hopefully, your printer works properly now! Feel free to leave a comment below if you have any questions or suggestions.