


When your printer is acting up and won’t print all pages of your documents, for example, skipping pages in between, it can be annoying. If you’re encountering similar issues, you’ve come to the right place. In this post, we’ll show you how to fix your printer when it’s not printing all pages.
Try these fixes…
You don’t have to try them all, just work your way down the list until you find the one that does the trick!
3: Restart the print spooler service
4: Repair corrupted system services
5: Disable SNMP in Printer Properties
7: Update your printer software
Fix 1: Check your printer
When your printer can’t print the full document and is skipping some pages, you need to check your printer first.
- Make sure your printer is securely connected to your PC.
- The ink isn’t running out and the ink cartridges are not clogged.
- There’s enough paper in the paper tray.
- Restart your printer and give it a refresh, it could be just a glitch.
If you’ve performed these basic troubleshooting steps but your printer still won’t print all pages of your document, try the next fix.
Fix 2: Update your printer driver
A common cause for most printer issues, including the printer not printing all pages problem, is a faulty or outdated printer driver. You may want to check if your printer driver is up-to-date and functioning properly.
There are two ways to keep your printer driver up-to-date. One is to manually update it via Device Manager. Just note that Windows doesn’t always give you the latest available update, and you may need to search on the manufacturer’s website. Be sure to choose only the driver that is compatible with your Windows version.
Automatic driver update – If you don’t have the time, patience, or computer skills to update your driver manually, you can, instead, do it automatically with Driver Easy. Driver Easy will automatically recognize your system and find the correct driver for your exact printer and your Windows version, then it will download and install the driver correctly:
- Download and install Driver Easy.
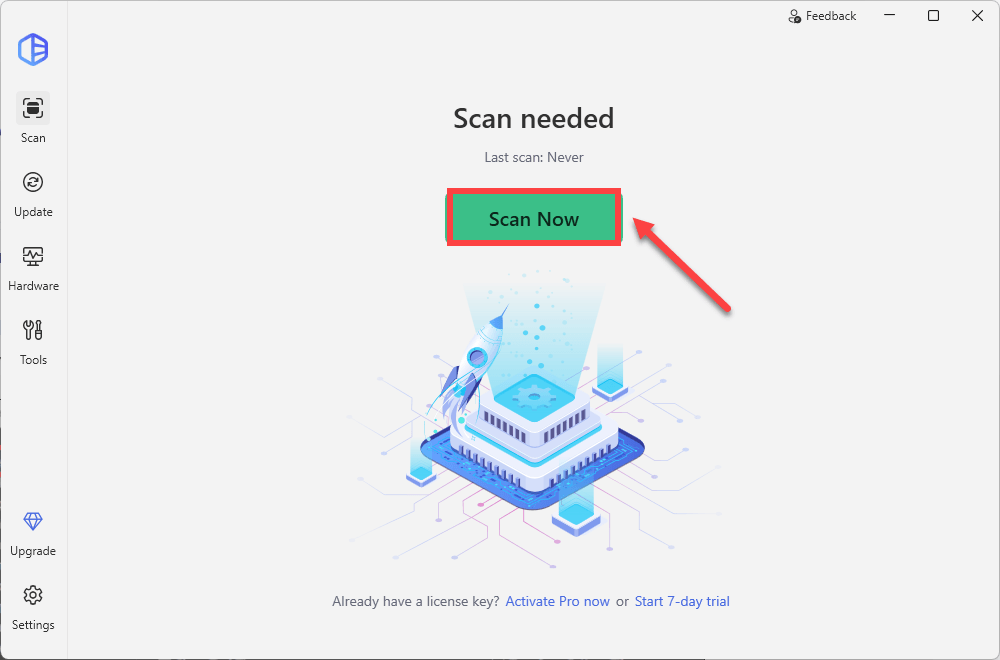
- Run Driver Easy and click the Scan Now button. Driver Easy will then scan your computer and detect any problem drivers.
- Click Activate & Update next to your device name. Or click Update All to update all drivers at once. You’ll be prompted to upgrade by clicking on these buttons. If you’re not ready for your purchase, sign up for the free trial to update drivers with no upfront cost.

If updating your printer driver doesn’t solve the problem for you, try the next fix.
Fix 3: Restart the print spooler service
The Print Spooler is a required Windows service when you’re printing from your PC. This service’s on by default, but if yours is not working properly, it may interrupt the printer’s function and cause it to print only partial pages of the entire document. You can try to restart it to see if it helps:
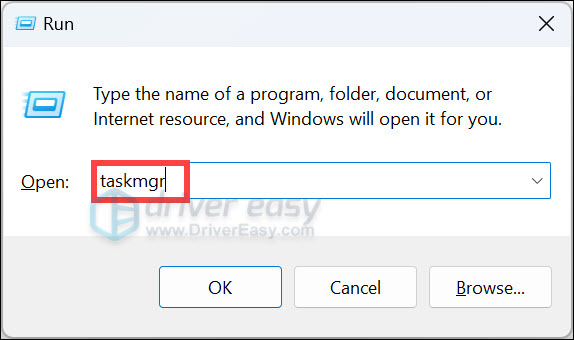
- On your keyboard, press the Windows logo + R keys simultaneously to open the Run box.
- Type taskmgr and hit Enter.
- Go to the Services tab, scroll down and find Spooler. Right-click it and select Restart.
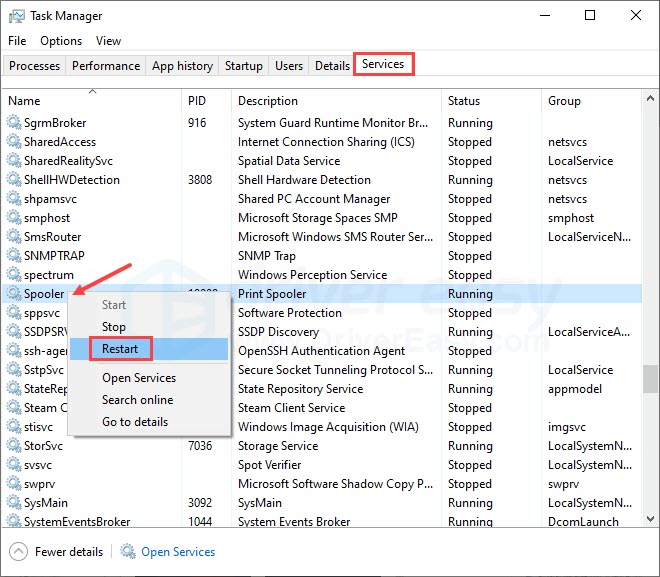
The screenshot above comes from Windows 10. If you’re running Windows 11, your screen may look slightly different. However, the steps you perform remain persistent.
If your printer still won’t print all pages, try the next fix.
Fix 4: Repair corrupted system services
If any of your system files or Windows services that are required for printing are corrupted, it could cause printer issues and thus your printer can skip printing pages.
To identify problematic system files, you can use the system checker tool. To do this, follow these steps:
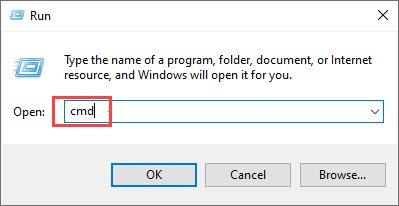
- Press the Windows logo key and R on your keyboard to invoke the Run box.
- On your keyboard, type cmd and press Ctrl, Shift and Enter at the same time to run Command Prompt as administrator.
- You’ll be prompted for permission. Click Yes to open Command Prompt.
- Type sfc/scannow, then press Enter.
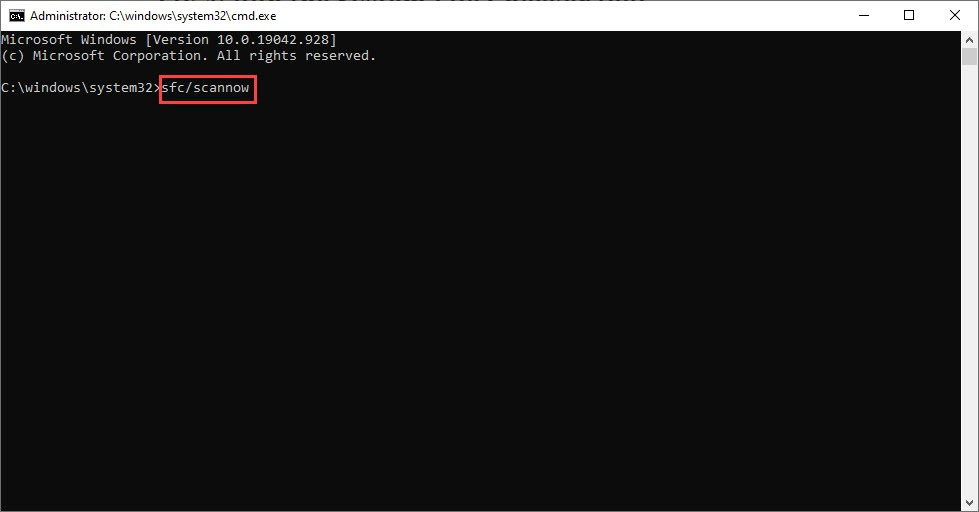
- The System Files Checker tool will automatically scan for corrupt or missing files and fix them, if there’s any.

Restart your PC to see if the issue persists.
If the problem persists, try the next fix.
Fix 5: Disable SNMP in Printer Properties
Simple Network Management Protocol (SNMP) is responsible for configuring network devices, for example, your printer. It’s not often used and may cause random printer issues sometimes. When your printer can’t print all pages, you can try to disable SNMP to see if it helps.
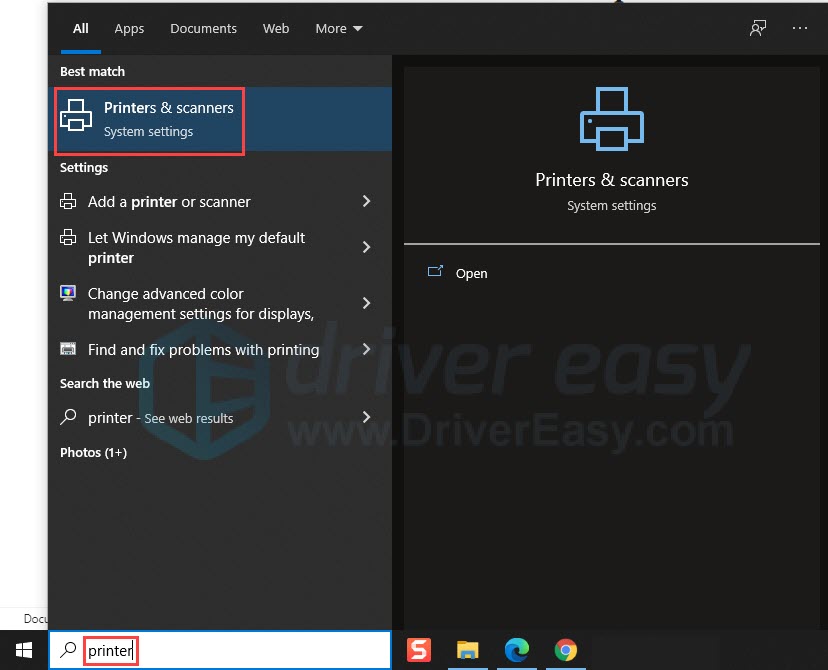
- In the search bar next to your Start button, type printer, and click Printers and scanners.
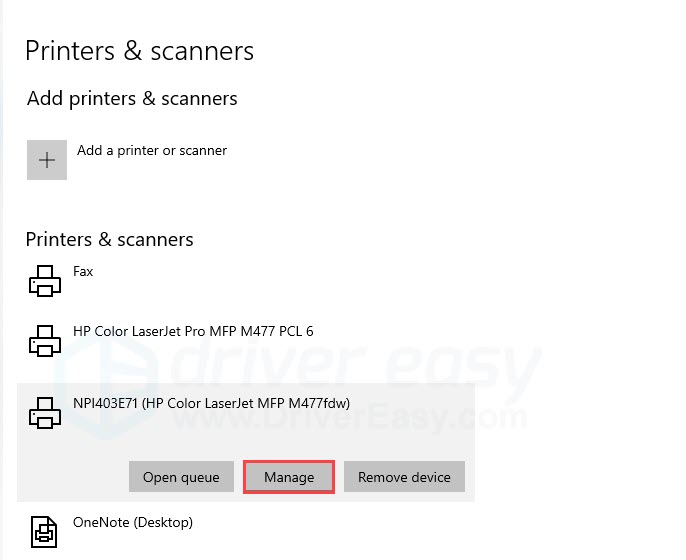
- Select your printer, then click Manage. (If you’re on Windows 11, simply click on your printer. )
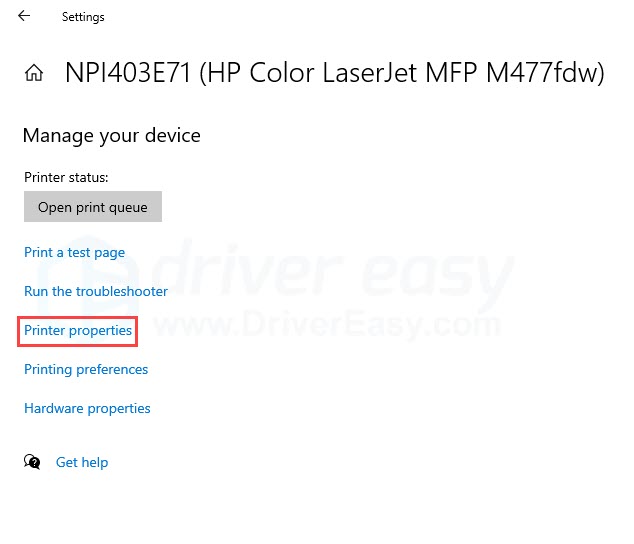
- Click Printer properties.
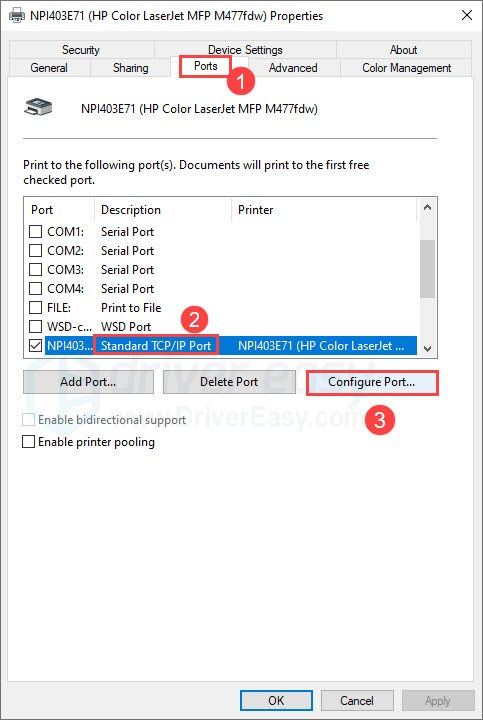
- Go to the Ports tab, select the TCP/IP port, then click Configure Port.
- Make sure SNMP Status Enabled is unchecked.
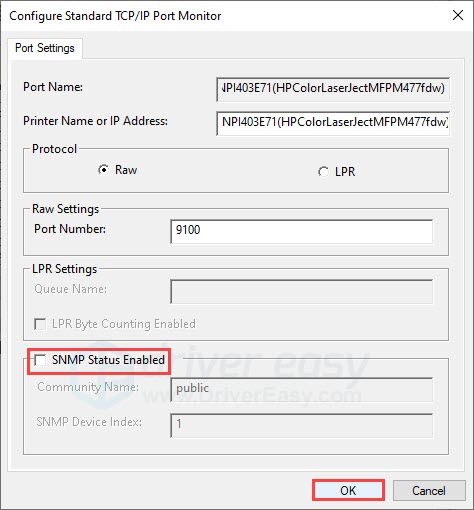
If the problem returns, you can repeat the steps above and re-enable SNMP in your printer’s properties.
Fix 6: Clear the spooler cache
A corrupted spooler cache could trigger random printer errors and cause the printer to act up. You can try to delete the spooler cache to see if it helps.
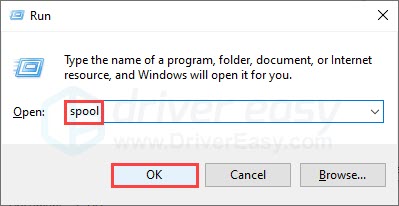
- Press the Windows logo key and R on your keyboard to invoke the Run box.
- Type spool in the textbox, then click OK.
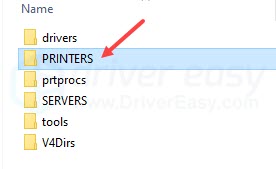
- Double-click the Printer folder, and delete all the files in the folder. (Do not delete the folder itself.)
If this doesn’t work, there’s one more fix you can try.
Fix 7: Update your printer software
If you’ve been using the printer software from its brand, you can try to update it and print via the software. It might or might not solve the problem, but keeping the printer software up-to-date can help troubleshoot any other random issues you may run into.
Hopefully, this article has been helpful! Please feel free to leave a comment down below if you have any questions or suggestions.