


Are you preparing to install your HP printer on your computer but don’t know how to install it? Here is a installation guide for you.
Step 1: Connect your HP printer to your computer
There are three methods that you can connect your HP printer to your computer.
- USB connection to your computer
- Wireless (Wi-Fi) connection to your computer (a wireless-capable printer is needed)
- Wired connection to your computer
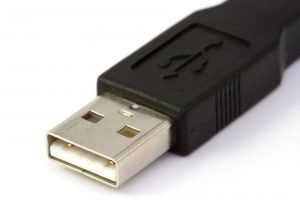
Method 1: USB connection to your computer
You can connect your HP printer with a USB cable.
1) Turn on your computer and your HP printer.
2) Use a USB cable to connect the USB port on the rear of your HP printer and your computer.
Method 2: Wireless (Wi-Fi) connection to your computer (a wireless-capable printer is needed)
If your HP printer is wireless-capable, you can connect your printer to your network with the guided Wireless Setup Wizard on the printer.
1) Turn on your HP printer, router, and computer.
2) Remove any USB or Ethernet cables from your printer.
3) Make sure your computer is connected to the same wireless network you are connecting the printer to.
4) On your HP printer control panel, go to the Setup, Network, or Wireless menu, and then open Wireless Setup Wizard to follow the on-screen instructions to connect the printer to your network.
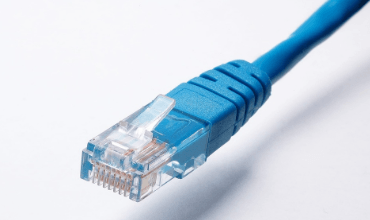
Method 3: Wired connection to your computer
You can also connect your HP printer and your computer to your router with a standard Ethernet cable.
1) Turn on your HP printer.
2) Remove any plug from the Ethernet port (the port with the ![]() logo) on the rear of your printer.
logo) on the rear of your printer.
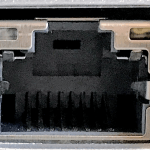
3) Use the Ethernet cable to connect the printer port and an available port on your router.
Step 2: Install the printer driver for your HP printer
Insert your printer driver CD that came with the your HP printer and run the printer setup application (usually “setup.exe”) to install the driver for your HP printer.
If you lose your printer driver CD, don’t worry, you can download Driver Easy to help you install the latest driver for your HP printer.
Driver Easy will automatically recognize your system and find the correct drivers for it. You don’t need to know exactly what system your computer is running, you don’t need to risk downloading and installing the wrong driver, and you don’t need to worry about making a mistake when installing.
1) Download and install Driver Easy.
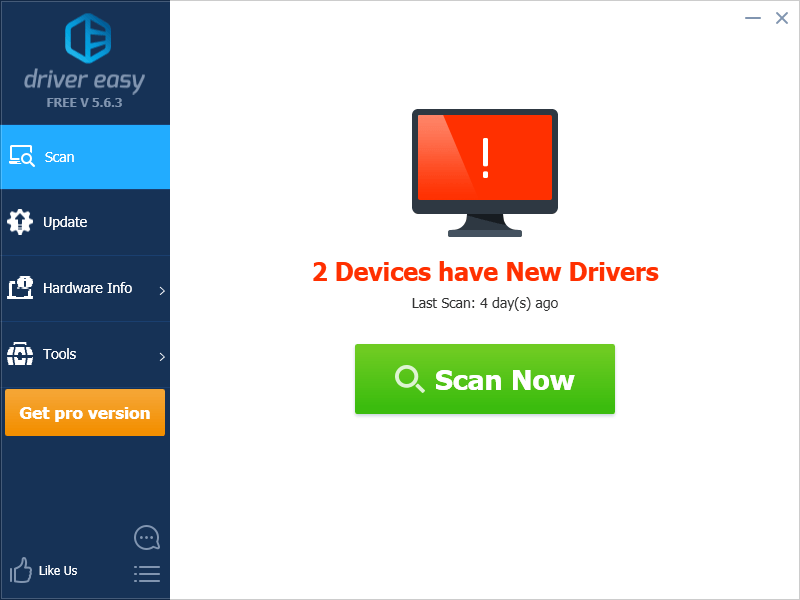
2) Run Driver Easy and click Scan Now. Driver Easy will then scan your computer and detect any problem drivers.
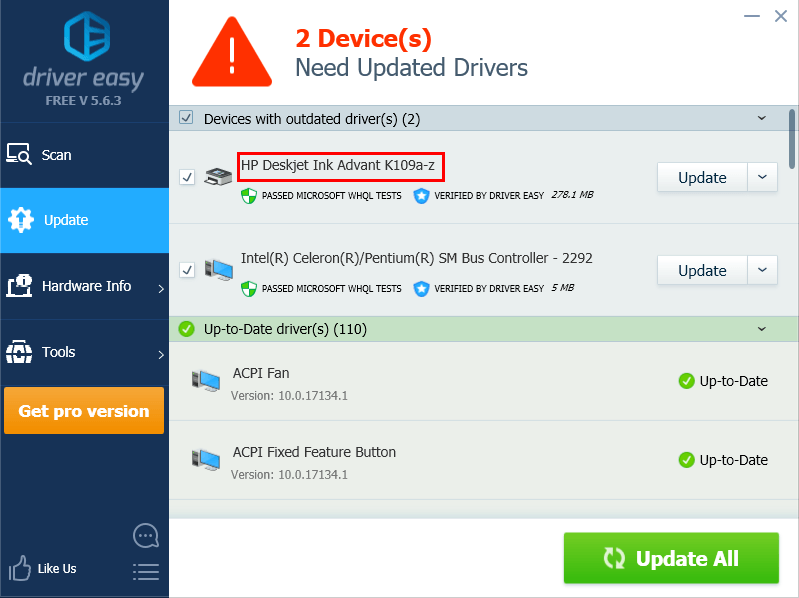
3) Click Update next to your HP printer to automatically download the correct version of this driver, then you can install it manually. Or click Update All to automatically download and install the correct version of all the drivers that are missing or out of date on your system (this requires the Pro version – you’ll be prompted to upgrade when you click Update All).
Step 3: Print test paper
Now, you can print test paper to check whether your HP printer works or not.
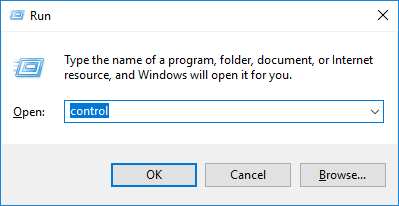
1) On your keyboard, press the Windows logo key and R at the same time to open the Run dialog, then type control and press Enter on your keyboard to open the Control Panel.
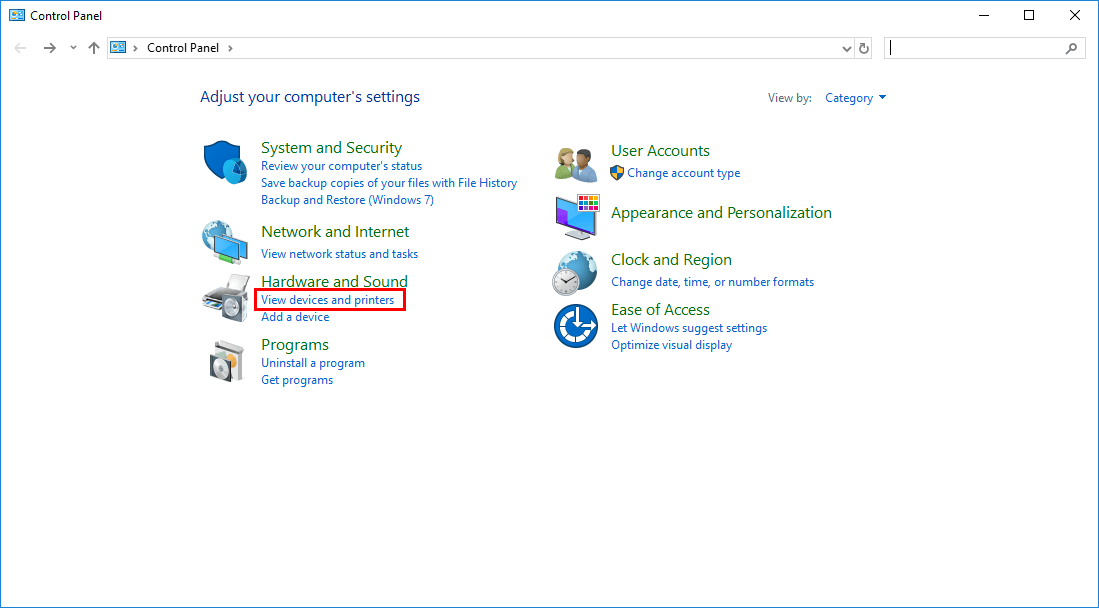
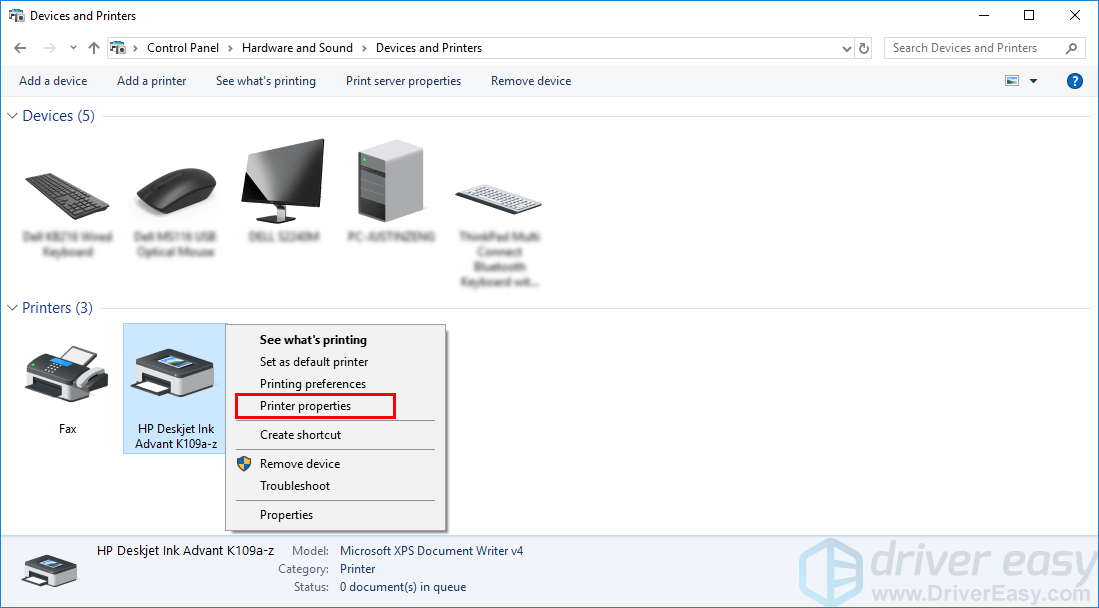
2) Click Devices and Printers to view your HP printer.
3) Right-click your HP printer and select Printer Properties.
4) In the pop-up window, click Printer Test Page.
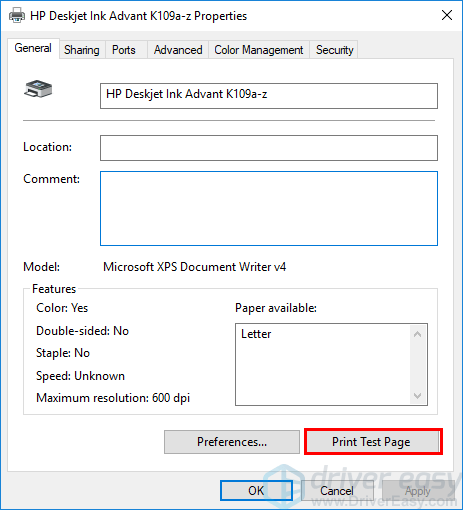
If a test paper is printed, congratulations! You’ve set up your HP printer.