


No idea how to get the wireless working on your HP printer? Don’t worry! Although it’s not always as easy as their marketing material would have you believe, it’s still very achievable.
Try these methods:
Below are 5 different ways you can set up the wireless connection on your HP printer. You may not need to try them all; just work your way down until you find the one that works for you. They’re all very easy to follow, step-by-step procedures, so you should be done in just a few minutes.
Option 1. HP auto wireless connect
Option 2. Wireless setup wizard (printer with display)
Option 3. WPS (Wi-Fi Protect Setup)
Option 4. Windows setup
Option 5. USB cable connection (printer without display)
Bonus: Troubleshoot problems in hp wireless printer connectivity
Option 1: HP auto wireless connect
Some newer printers can connect your printer to your wireless network automatically, but without any cables or enter your wireless network settings. To use this method, not only your printer should be a newer model but also your computer has to meet the following requirements.
- Your computer uses Windows 7/8/10.
- Your computer uses a wireless connection to your network and the computer can control the wireless adapter.
- Your computer uses a dynamic IP address. (How to check your IP address)
Now let’s start!
1) Search and download the printer software on the official website. You have to identify your printer to find the right one. If you can’t find it, you can consult customer service.
2) Run the software.
3) Turn on the printer.
Note: The printer will be in HP Auto Wireless Connect mode for two hours. So you’d better finish the whole process within two hours.
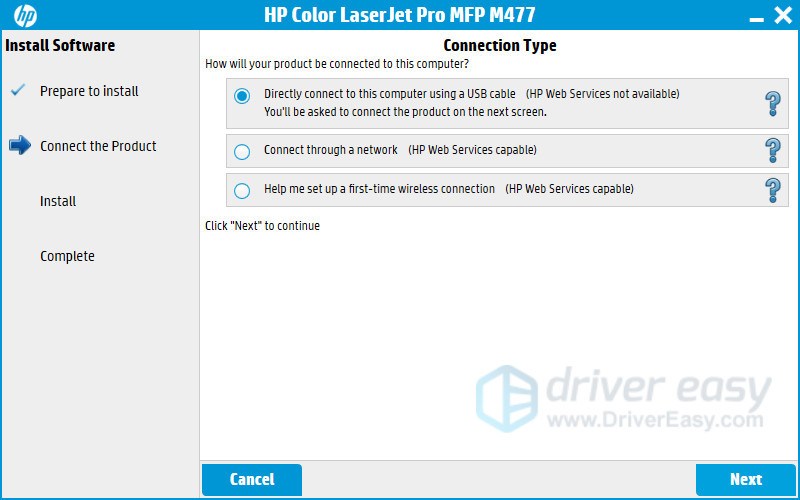
4) In your computer, follow the on-screen instructions until you are prompted to Connection Type.
5) Select “Wireless”, then click “Yes, send my wireless settings to the printer (recommended)”. The wording will vary depending on your printer model and computer operating system.
6) Wait for the connection and then finish the setup process by following the rest of the on-screen instructions.
Option 2: Wireless setup wizard (printer with display)
This method needs you to run from the printer’s control panel. So it’s not available for the printer without a touch display.
1) Open your printer and tap the wireless icon or go to the Network menu.
2) Select Wireless Settings and then tap Wireless Setup Wizard. Settings may be accessed differently depending on the product model. If you can’t find it, you can contact customer service for help.
3) Follow the steps on your printer screen.
4) Select your wireless network name and hit next. If you can’t see your network’s name, you can scroll down and enter your network’s full name to find it.
5) Enter the password of your wireless network.
6) Press OK to confirm the settings.
Option 3: WPS (Wi-Fi Protected Setup)
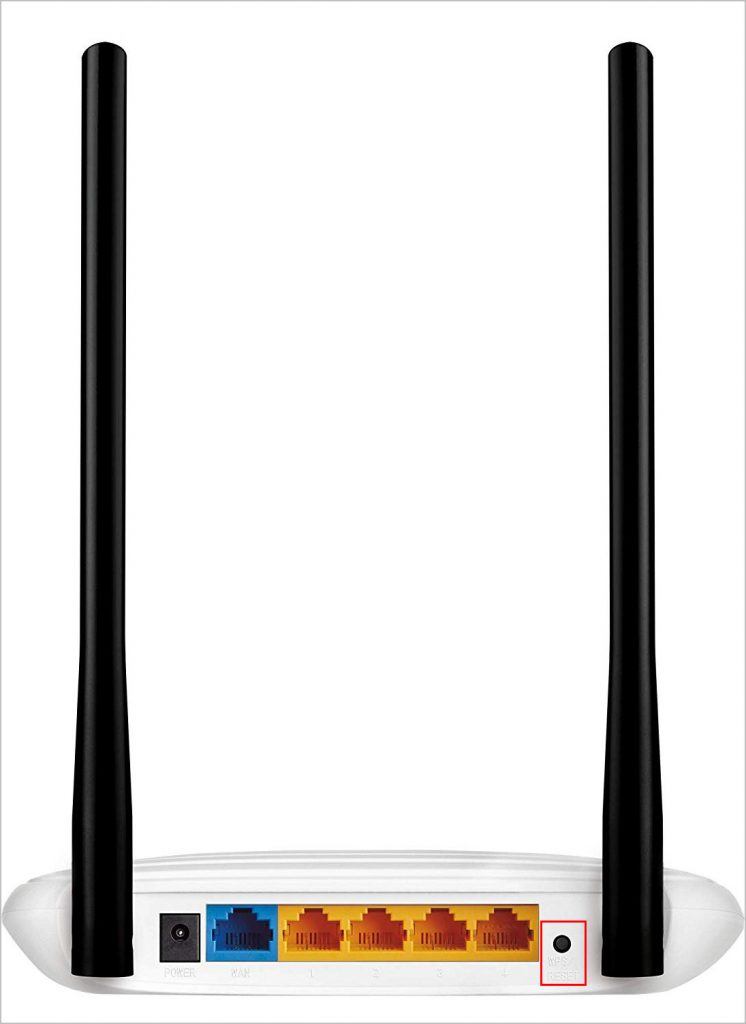
This method requires your printer to support WPS pushbutton mode, and your wireless router must have a physical WPS push button.
1) Open your printer and start the WPS pushbutton mode on it. Different models have different ways to start WPS mode. You can consult customer service if you don’t know how.
2) Within 2 minutes, press the WPS button on your wireless router.
Option 4: Windows setup
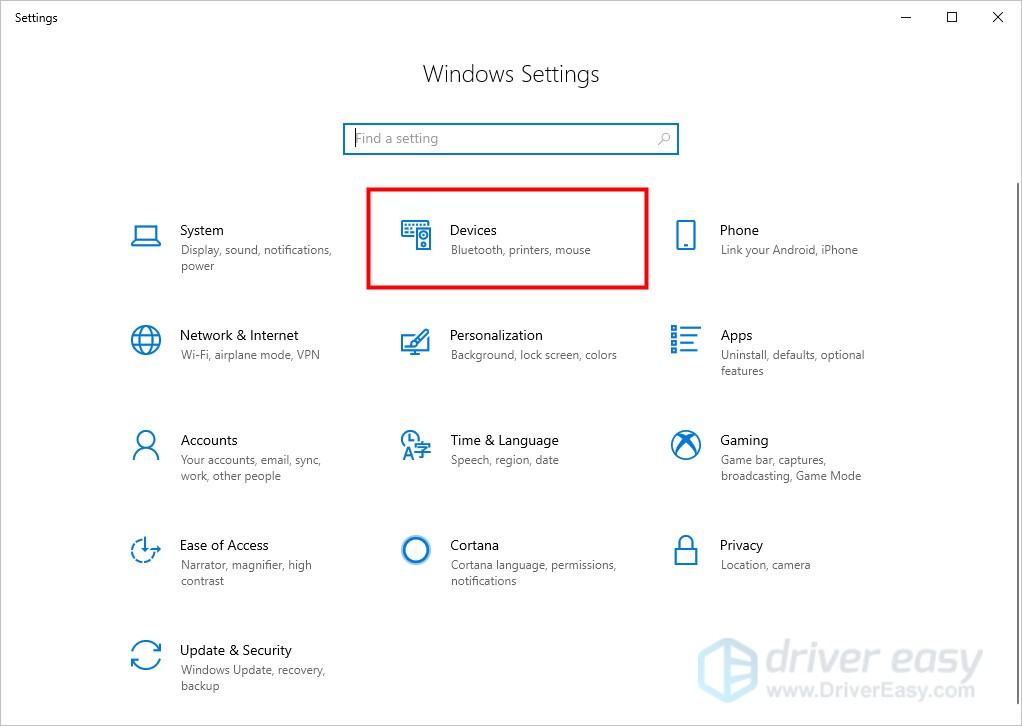
1) On your keyboard, press the Windows Key (with Windows logo on it) + I together.
2) Click Devices.
3) Turn on the printer and go to its Network menu.
4) In your printer, select your wireless network name and enter the password to connect it to your Wi-Fi manually. Settings may be accessed differently depending on the product model. If you don’t know how to get in, you can contact customer service for help.
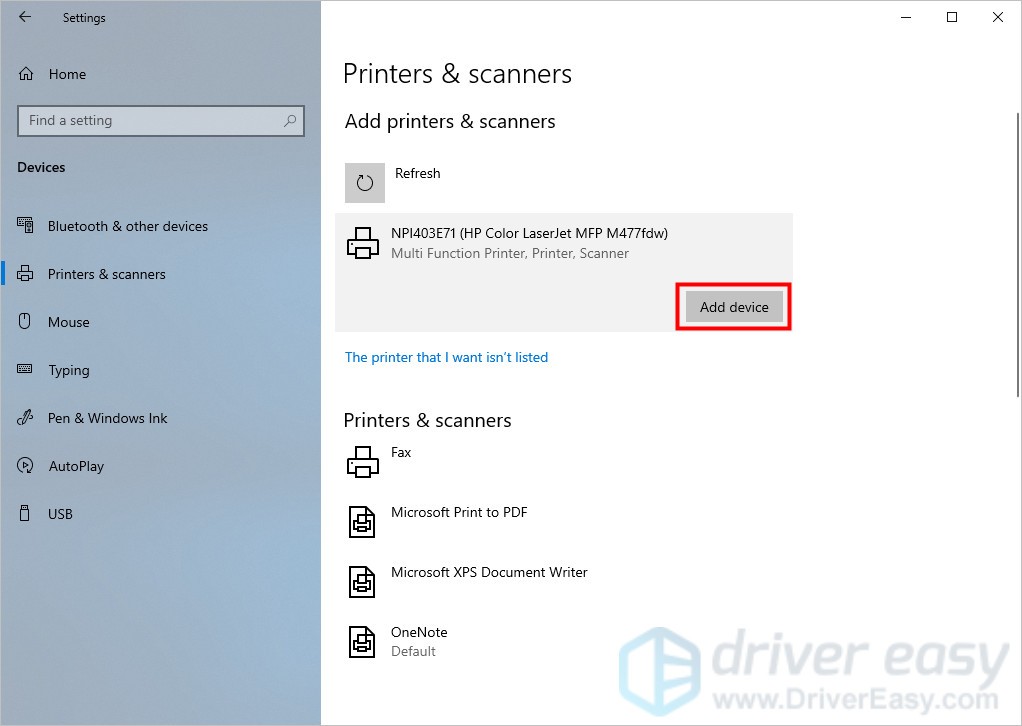
5) Back to your computer. Under Printers & scanners tab, click “+” button.
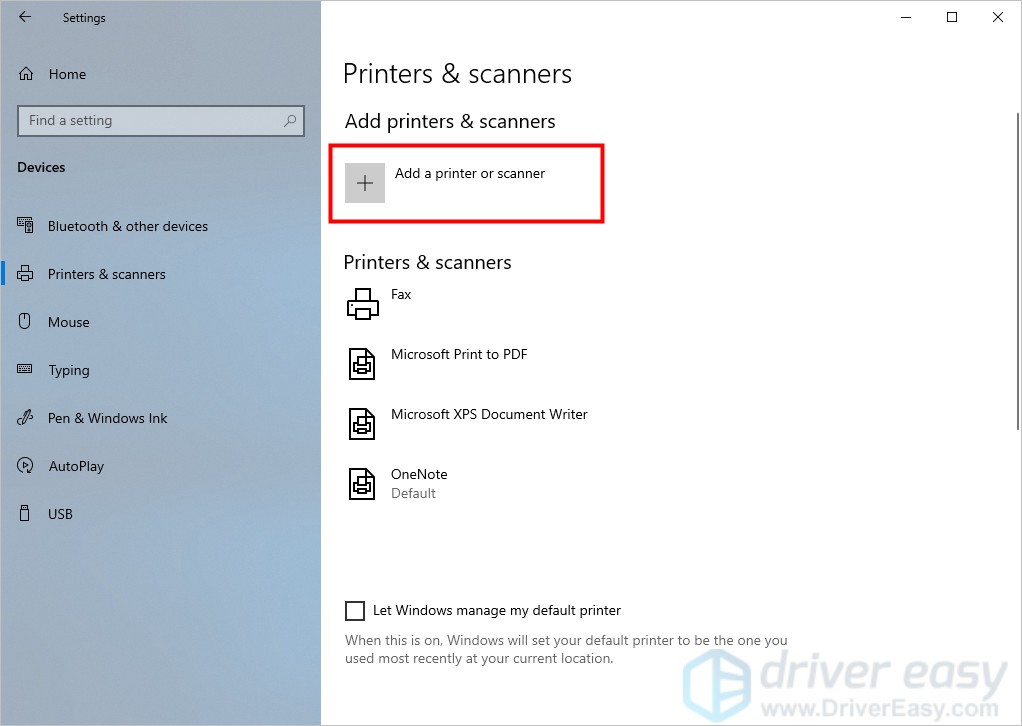
6) Select the printer from the results and click Add device. You should be good to go.
Option 5: USB cable connection (printer without display)
This method is for the printer without a display. To set up a wireless connection, it will need a USB cable for a few minutes. After setup, you don’t need it anymore.
1) Open your printer.
2) Connect a USB cable between the computer and the printer.
3) Search and download the printer software on the official website. You have to identify your printer to find the right one. You can consult customer service if you can’t find it.
4) Run the printer software installation and follow the on-screen instructions.
Bonus: Troubleshoot problems in hp wireless printer connectivity
One of the most common causes of problems in hp wireless printer connectivity is an outdated or a faulty HP wireless printer driver.
There are two ways you can get the right drivers for your printer: manually or automatically.
Manual driver update – You can update your drivers manually by going to the manufacturer’s website for your printer, and searching for the most recent correct driver. Be sure to choose only drivers that are compatible with your Windows version.
Automatic driver update – If you don’t have the time, patience or computer skills to update your video and monitor drivers manually, you can, instead, do it automatically with Driver Easy. Driver Easy will automatically recognize your system and find the correct drivers for your exact hp wireless printer, and your Windows version, and it will download and install them correctly:
1) Download and install Driver Easy.
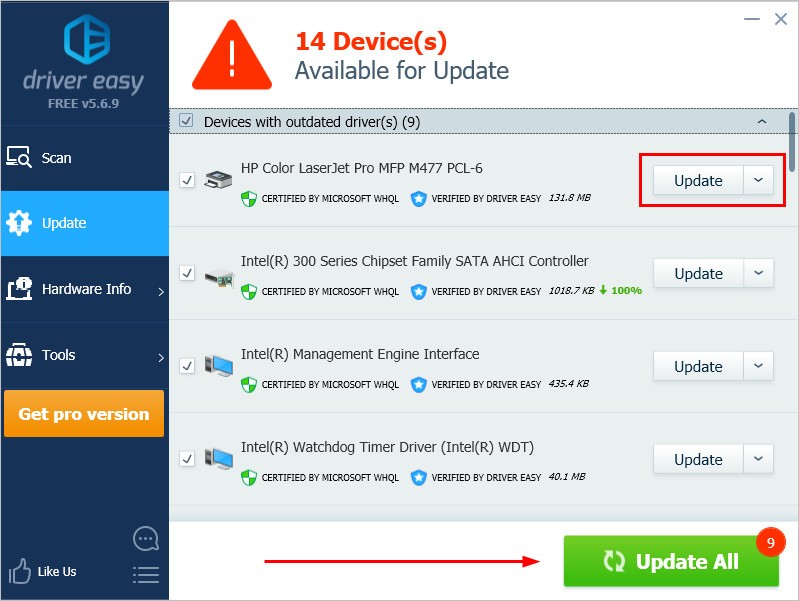
2) Run Driver Easy and click the Scan Now button. Driver Easy will then scan your computer and detect any problem drivers.

3) Click the Update button next to the HP printer driver or click Update All to automatically download and install the correct version of all the drivers that are missing or out of date on your system. (This requires the Pro version which comes with full support and a 30-day money back guarantee. You’ll be prompted to upgrade when you click Update All.)
We hope you find this article helpful. If you have any suggestions or questions, you’re welcome to leave comments below.