


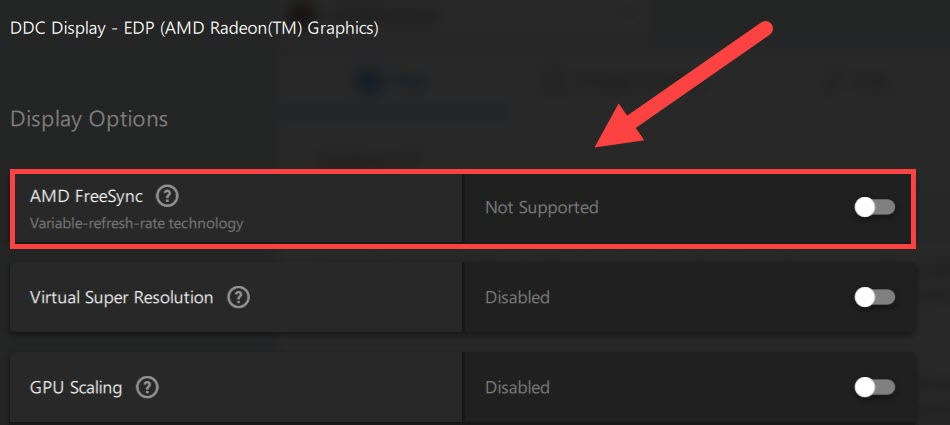
FreeSync is an AMD hack that can reduce screen tearing and stuttering. But 6 years after its release, gamers are still complaining about the FreeSync not working issue. And for some, their FreeSync monitors even say FreeSync is not supported.
But don’t worry if you’re on the same boat. We’ve gathered most of the working fixes down below. Just try them and get FreeSync working right away.
Try these fixes:
You might not need to try them all. Simply work your way down until you hit the one that does the charm.
- Try different ports
- Make sure you have the latest correct drivers
- Perform a clean boot
- Check for Windows updates
- Check the monitor settings
- Disable Fullscreen optimizations
- Configure the default GPU
Fix 1: Try different ports
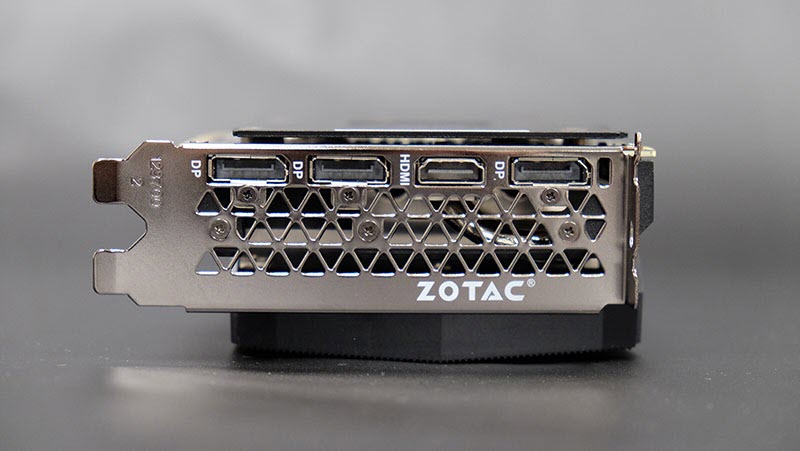
First you should check if it’s a hardware issue by changing to another port. For example, if you’re using HDMI, try DP instead and see how it goes. Note that you’ll need a HDMI 2.0 or DP 1.2 cable for FreeSync to work properly. If the other ports work perfectly, you might be looking at a faulty GPU/cable/monitor.
For your reference, here’s what HDMI and DP ports look like:
If the problem persists, take a look at the next fix.
Fix 2: Check the monitor settings
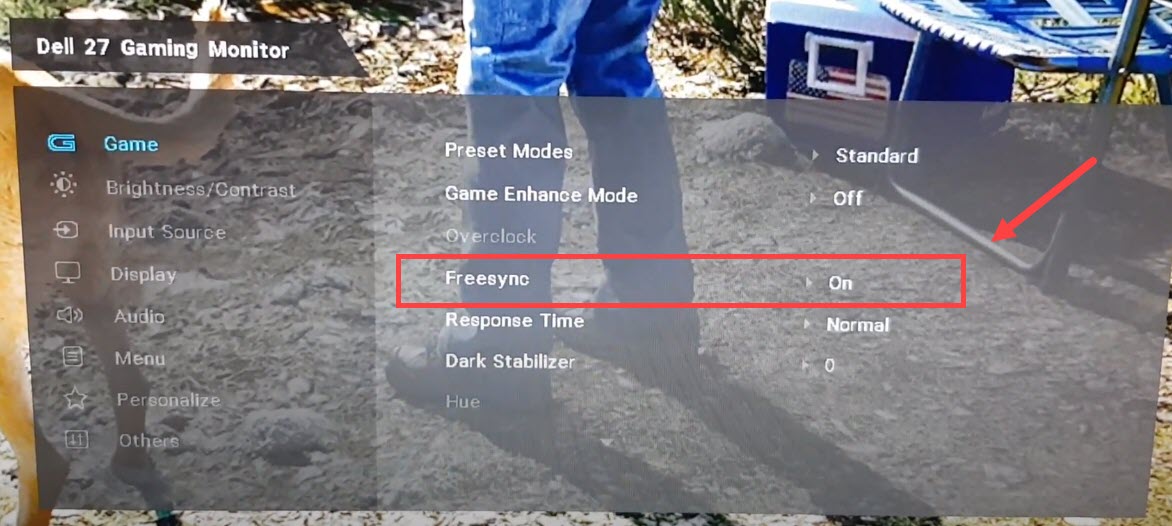
Some FreeSync monitors require users to configure this function manually in OSD (on-screen display). If you don’t know what OSD is, it’s a jargon for the monitor control panel, where you can change viewing options and adjust general settings like brightness and contrast.
To bring up OSD, look for buttons or joysticks at the bottom or the back of your monitor. You can also refer to the manual and explore the settings. If FreeSync is off in the monitor settings, turn it on and check back in AMD Adrenalin; if FreeSync is on by default, do a factory reset and see how it goes.
If this doesn’t fix the issue, simply continue to the next solution.
Fix 3: Make sure you have the latest correct drivers
This issue could also be graphics related. In other words, you could be using a buggy or outdated graphics driver. Before you try anything more advanced, first make sure you have the latest correct GPU driver.
You can update your graphics drivers manually, by visiting the AMD website, finding the latest correct installer and installing step by step. But if you’re not comfortable playing with device drivers, you can use Driver Easy to scan, repair and update all your drivers.
- Download and install Driver Easy.
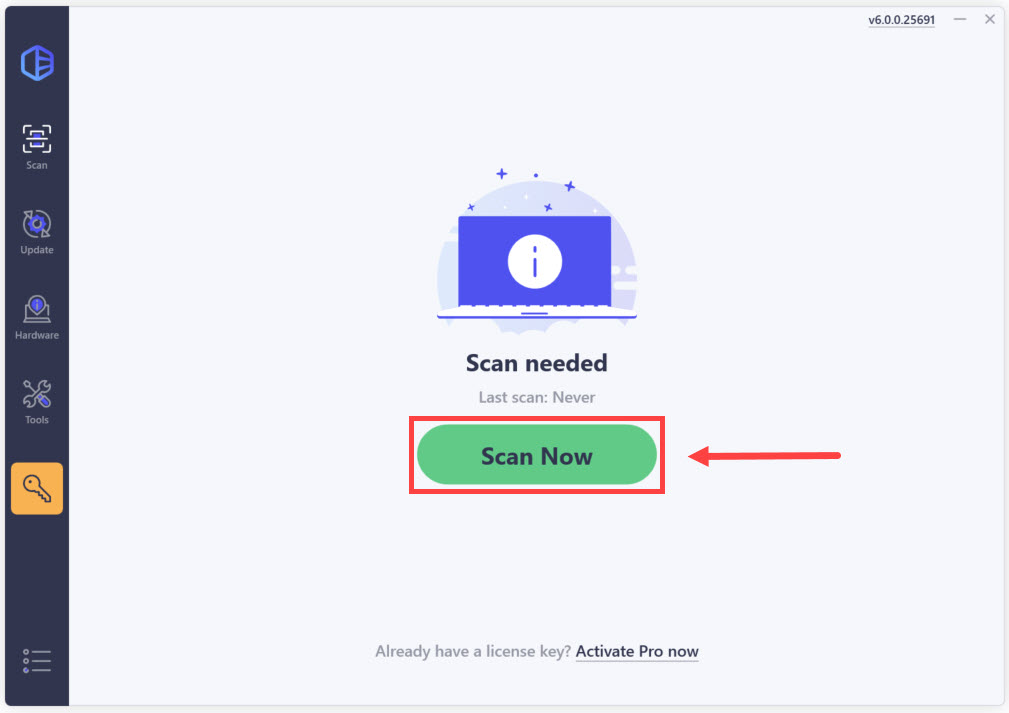
- Run Driver Easy, then click Scan Now. Driver Easy will then scan your computer and detect any problem drivers.
- Click Update All to automatically download and install the correct version of all the drivers that are missing or out of date on your system.
(This requires the Pro version – you’ll be prompted to upgrade when you click Update All. If you are not sure whether Driver Easy is right for you, you can use the 7-day free trial to test out all the Pro features. You won’t be charged until your trial ends and you can cancel anytime.)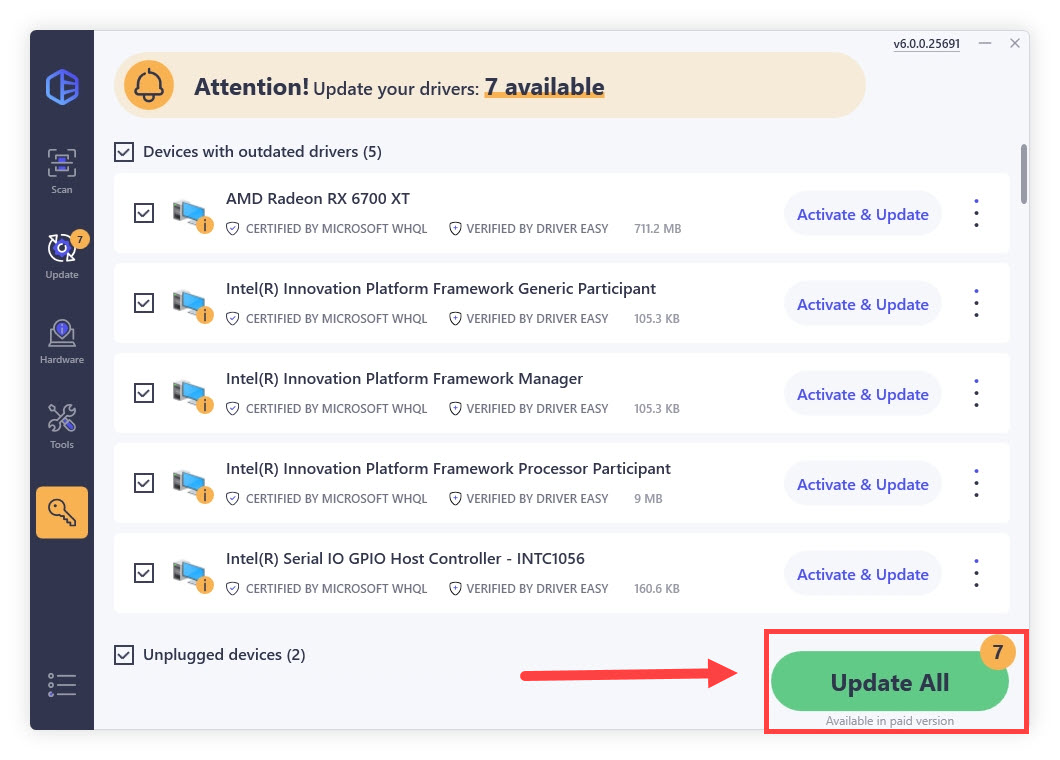
After updating all the drivers, restart your PC and check if FreeSync is working.
If the latest drivers can’t solve your problem, simply check out the next method. (Or you can follow this guide and do a clean reinstallation with DDU.)
Fix 4: Perform a clean boot
This issue could also indicate a compatibility issue, meaning that some other programs might be conflicting with each other. To rule out this possibility, you can do a clean boot.
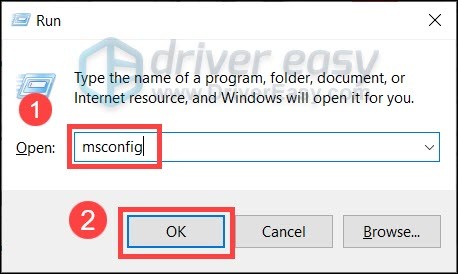
- On your keyboard, press Win+R (the Windows logo key and the r key) at the same time to invoke the Run box. Type or paste msconfig and click OK.
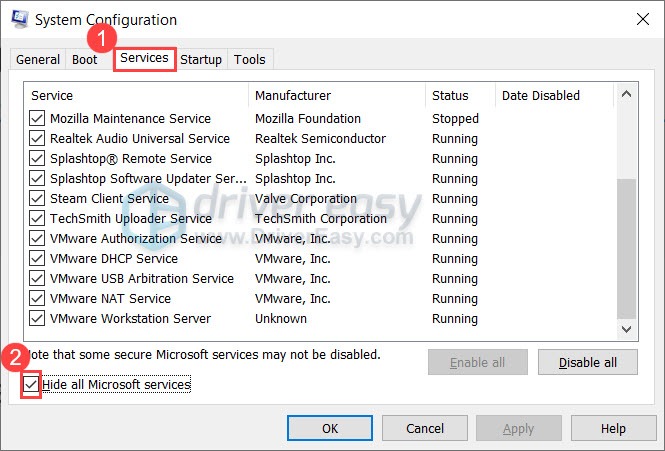
- In the pop-up window, navigate to the Services tab and check the box next to Hide all Microsoft services.
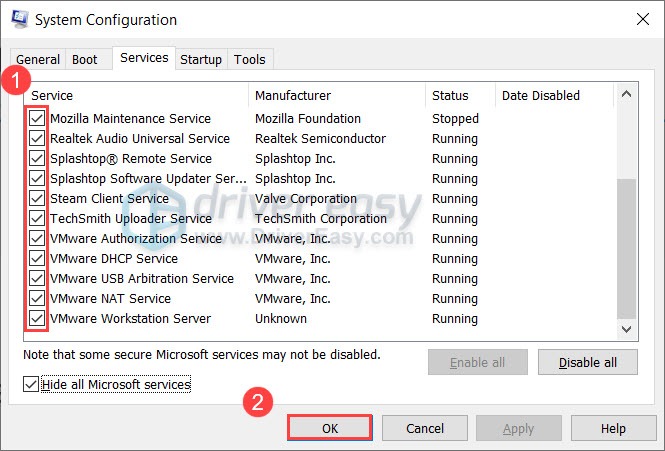
- Uncheck all the services EXCEPT those belong to your hardware manufacturers, such as Realtek, AMD, NVIDIA, Logitech and Intel. Then click OK to apply the changes.
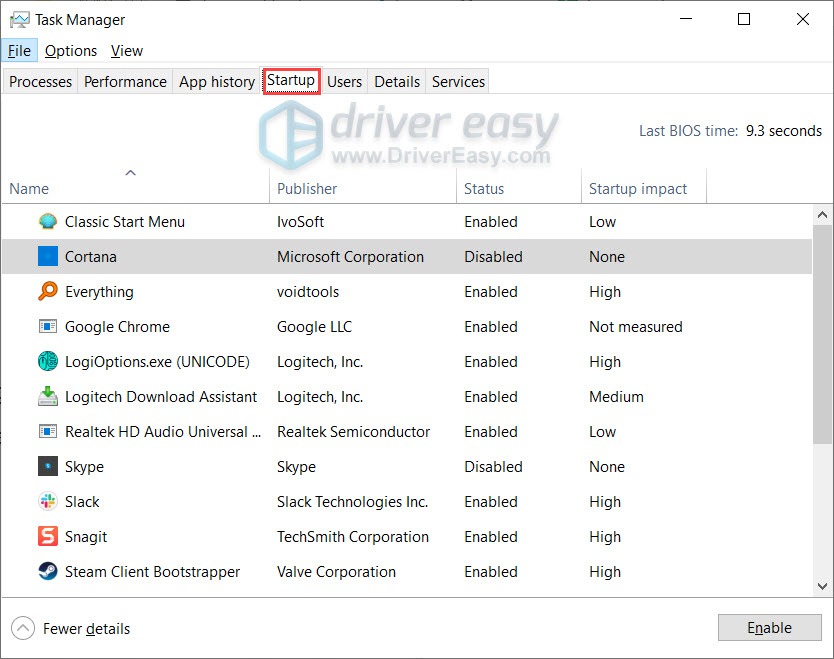
- On your keyboard, press Ctrl, Shift and Esc at the same time to open Task Manager, then navigate to the Startup tab.
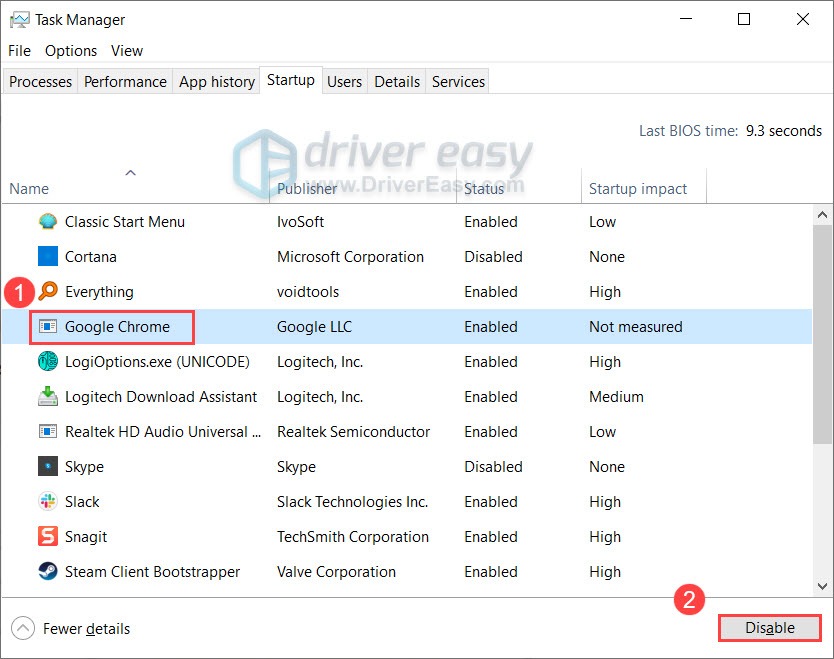
- One at a time, select any programs you suspect might be interfering, and click Disable.
- Restart your PC.
If FreeSync works after a clean boot, you can root out the offending program by repeating these steps and disabling half of the services every time.
If this trick doesn’t give you luck, take a look at the next one below.
Fix 5: Check for Windows update
You also need to make sure you have the latest patches for your system. Normally this is done automatically by your system, but you can also check if you’re missing any feature updates.
Here’s how:
on Windows 10
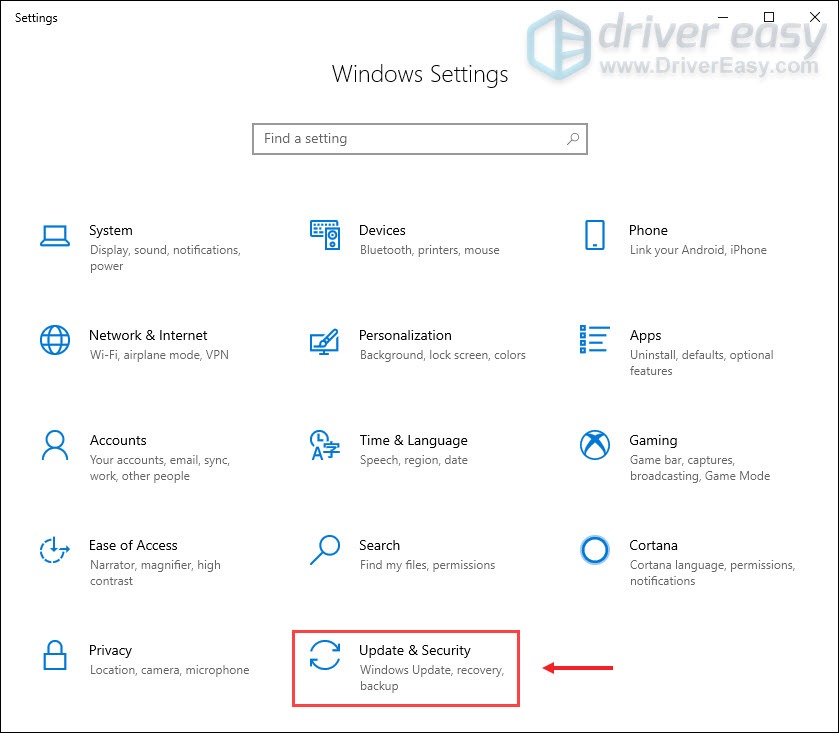
- On your keyboard, press Win+I (the Windows logo key and the i key) to open the Windows Settings app. Click Update & Security.
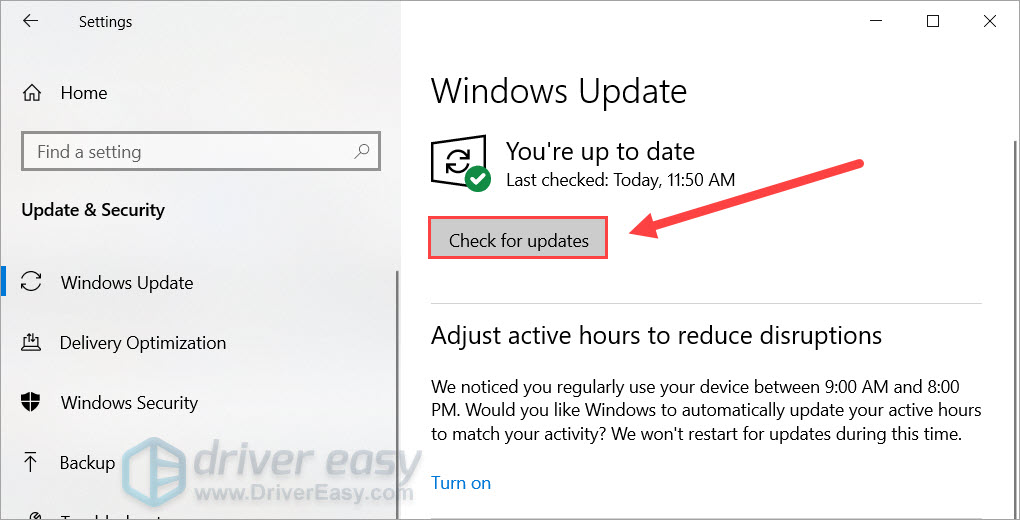
- Click Check for updates. Windows will then download and install the available patches. It might take some time (up to 30 mins).
on Windows 11
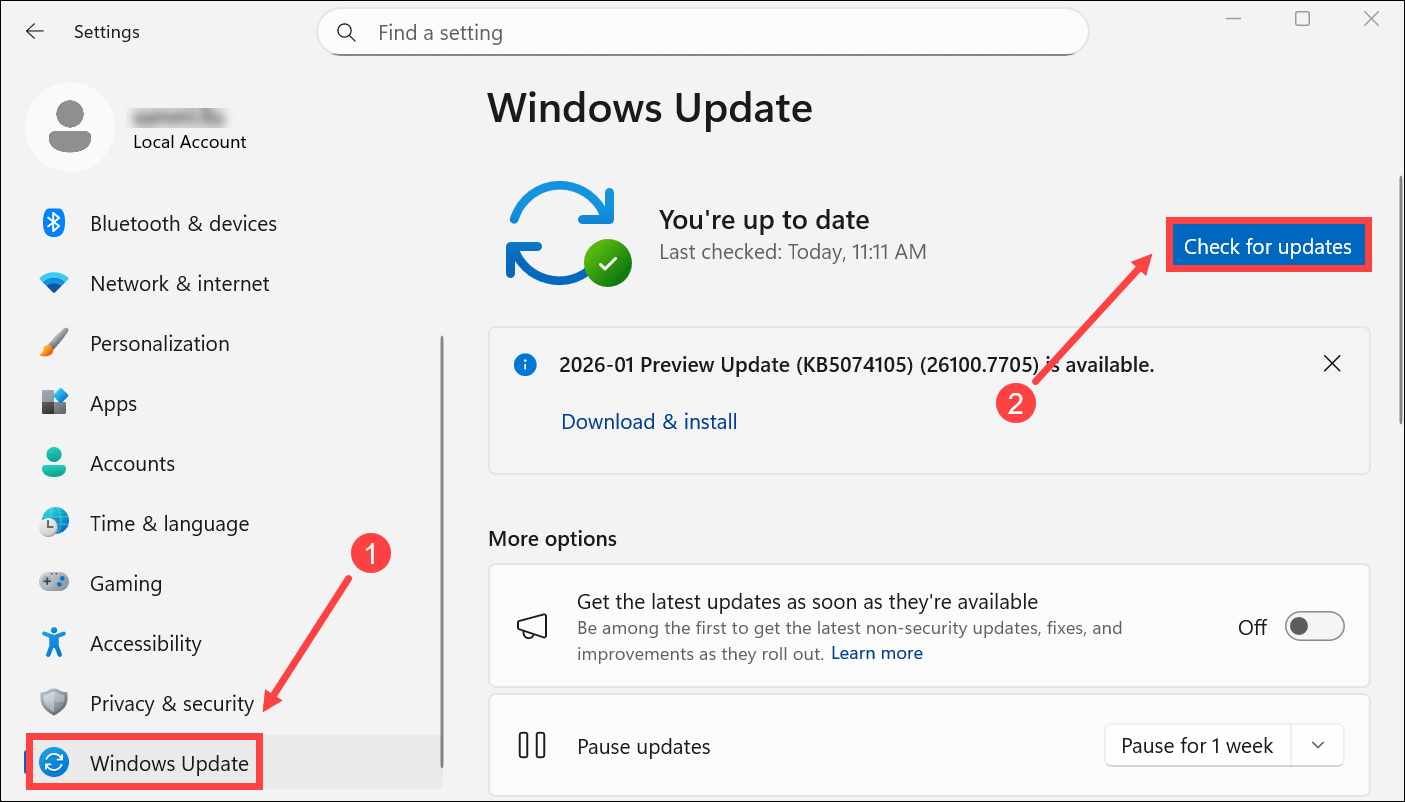
- On your keyboard, press Win + I (the Windows logo key and the I key) to open the Windows Settings app.
- Click Windows Update > Check for updates. Then follow the on-screen instructions to download and install all Windows updates for your system.
After installing all the system updates, restart and check if FreeSync is working.
If the issue is still there, simply try the next fix.
Fix 6: Disable Fullscreen optimizations
Fullscreen optimization is a Windows 10 feature which could improve the overall experience of full screen apps. But according to some users, this feature might be conflicting with FreeSync. You can try to disable it and see if that helps:
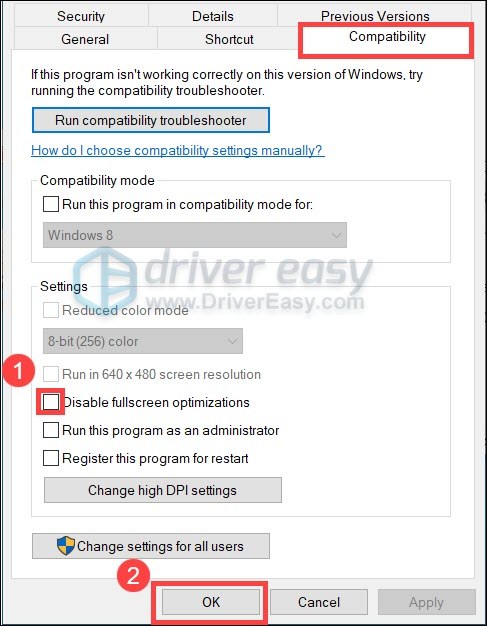
- Right-click the program and select Properties.
- Navigate to the Compatibility tab. Under the Settings section, check the box next to Disable fullscreen optimizations. Then click OK.
Now restart the program and check if FreeSync is working.
If this doesn’t help, you can continue to the next method.
Fix 7: Configure the default GPU
If your PC has dual GPUs, say an integrated one comes with the CPU and a dedicated one, you might need to specify the default GPU for your program. Since FreeSync is currently only compatible with AMD GPUs, besides connecting the monitor to an AMD graphics card, you can also configure the default GPU for the program.
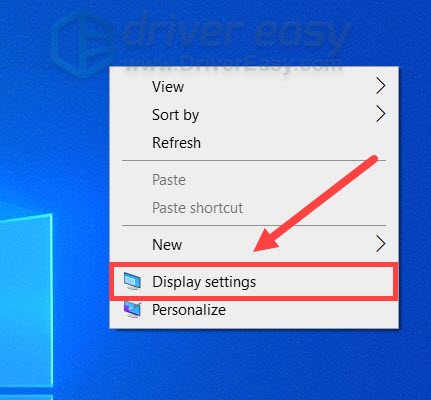
- At the empty area of your desktop, right-click and select Display settings.
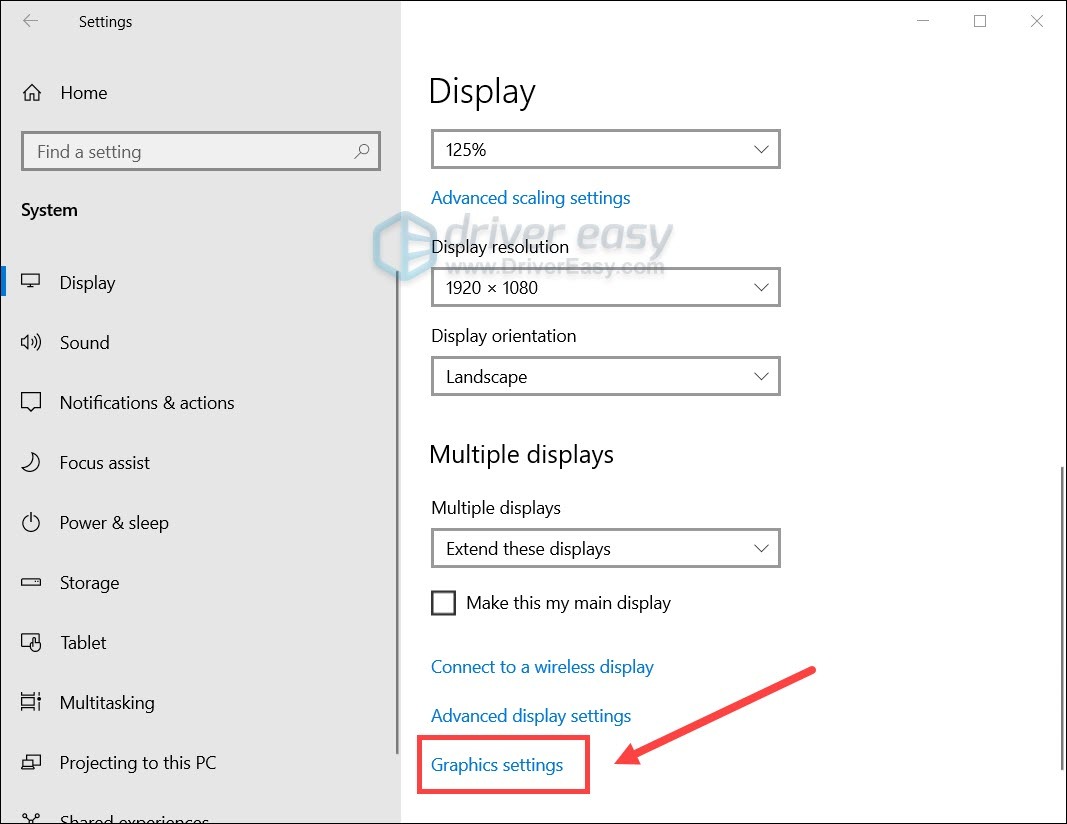
- Under the Multiple displays section, click Graphics settings.
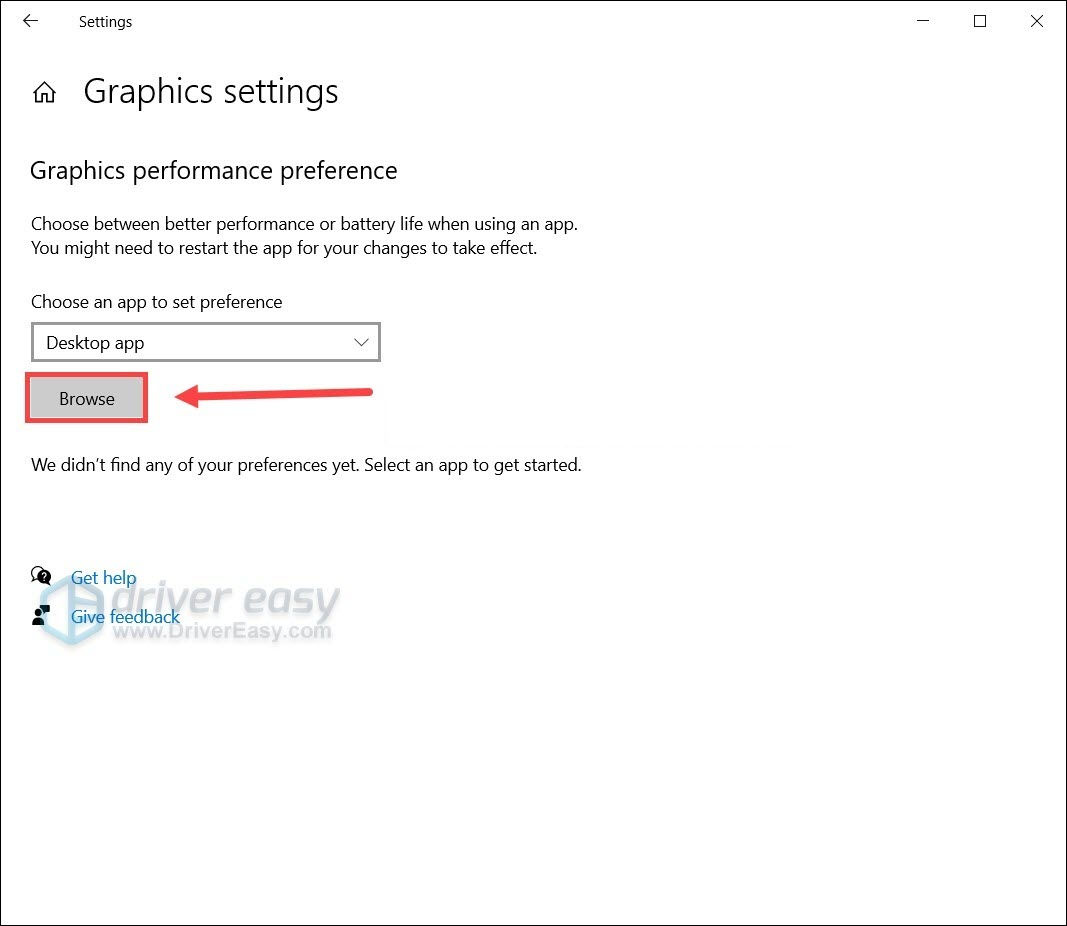
- Click Browse to specify the file location of the program/game launcher.
- Click Options.
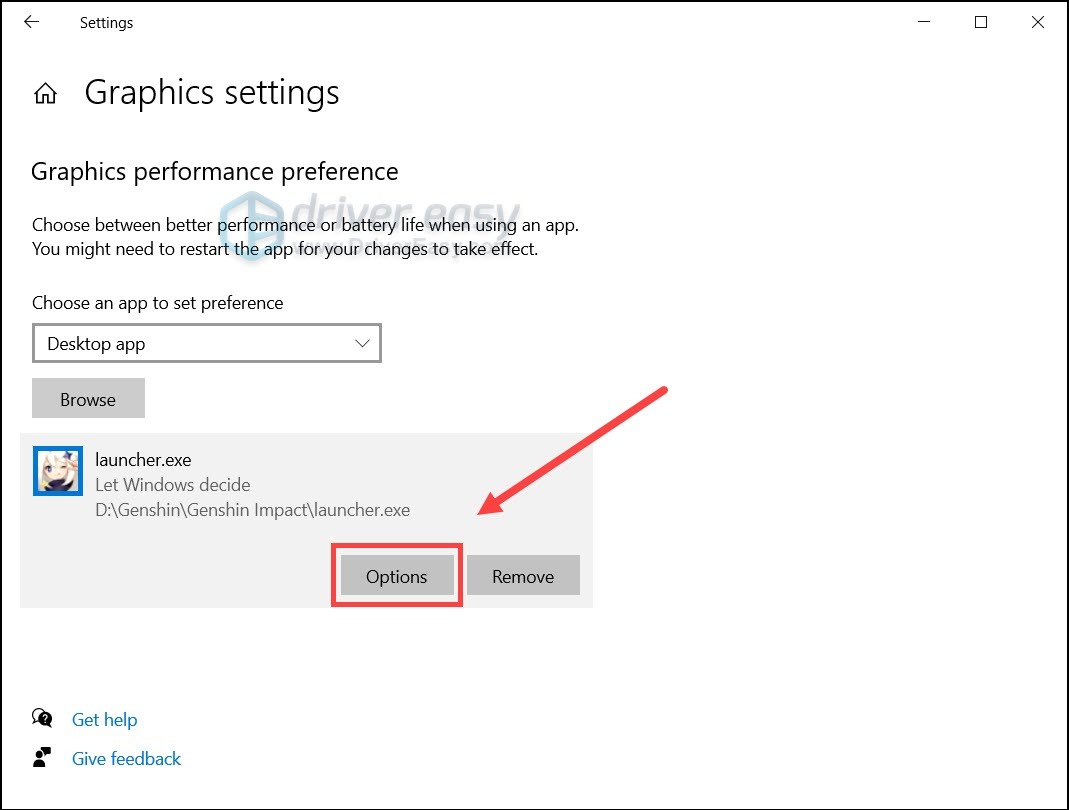
- You’ll see three graphics preference. Select the AMD one and click Save.
Now launch the program/game and check if FreeSync is working.
Hopefully you can now enjoy FreeSync with zero issues. If you have any questions or ideas, feel free to leave your thoughts in the comments below.