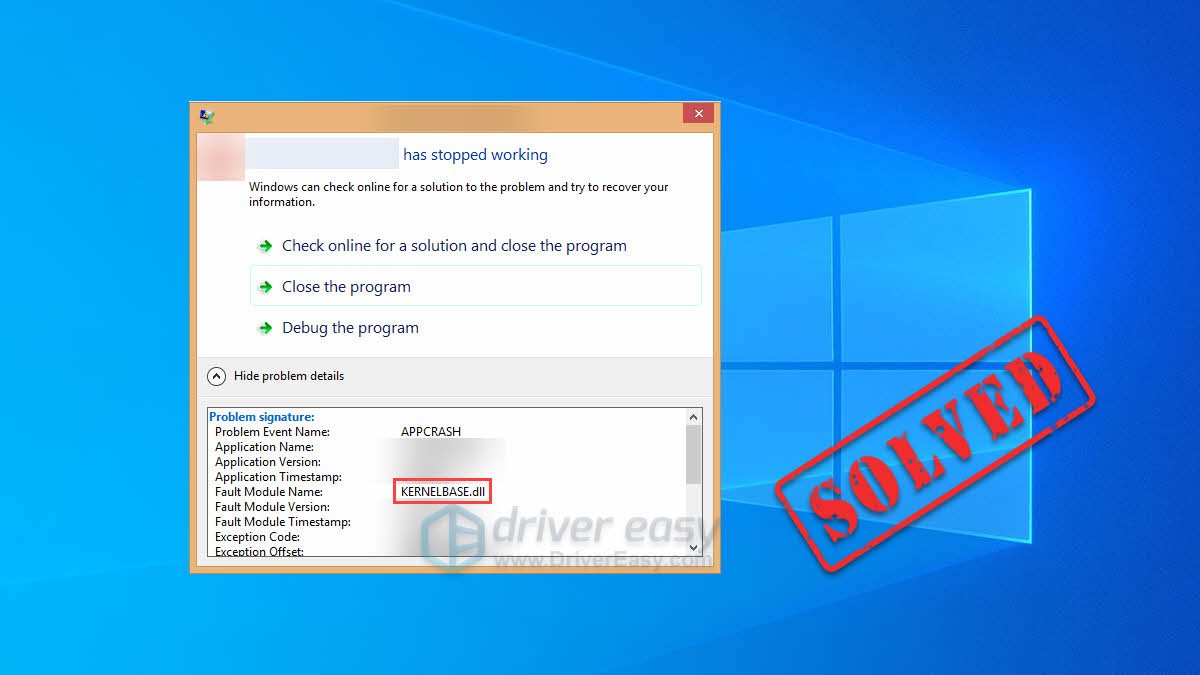
Recently, many Windows users have reported their programs sometimes crash with the KernelBase.dll error. Some of them bump into this error when opening or closing a program, while others encounter this issue just when the program is running. It is really annoying!
What is KernelBase.dll
The file KernelBase.dll is a DLL (Dynamic Link Library) file stored in the system folder of Windows operating system. It is usually created automatically during the installation of the Windows operating system. The file KernelBase.dll contains a set of procedures and driver functions, so it is essential for the normal function of the Windows operating system.
Since the file KernelBase.dll can be accessed by more than one program at a time, and the KernelBase.dll crash issue occurs on any Windows operating system including Windows 7, Windows 8 and Windows 10, it is difficult to narrow down the causes of the crash.
However, the good new is you can easily fix it with the methods below. You don’t have to try them all; just work your way down the list until you find the one that works for you:
Try these fixes
Here’s a list of fixes that have resolved this problem for other users. You don’t have to try them all. Just work your way through the list until you find the one that does the trick for you.
- Restore the KernelBase.dll file
- Update your Windows system
- Reinstall the problematic program
- Run System File Checker
- Copy the same file from another computer
- Pro tip: Update your drivers
Fix 1: Restore the KernelBase.dll file
If KernelBase.dll is missing or not found on your computer, you can fix this problem by restoring the missing file in your computer. Here’s how:
- Go to DLL-Files. Type KernelBase.dll in the search bar and hit Search DLL file.

- Click the kernelBase.dll file.

- Select the right KernelBase.dll file to download.

- Note that sometimes you may find multiple available files. Most of the time, the latest version works for you.
When the version numbers are the same, it could mean that the files work for different architectures. To find out the architecture of your system (64-bit or 32-bit), you can open Windows Settings and check the System type.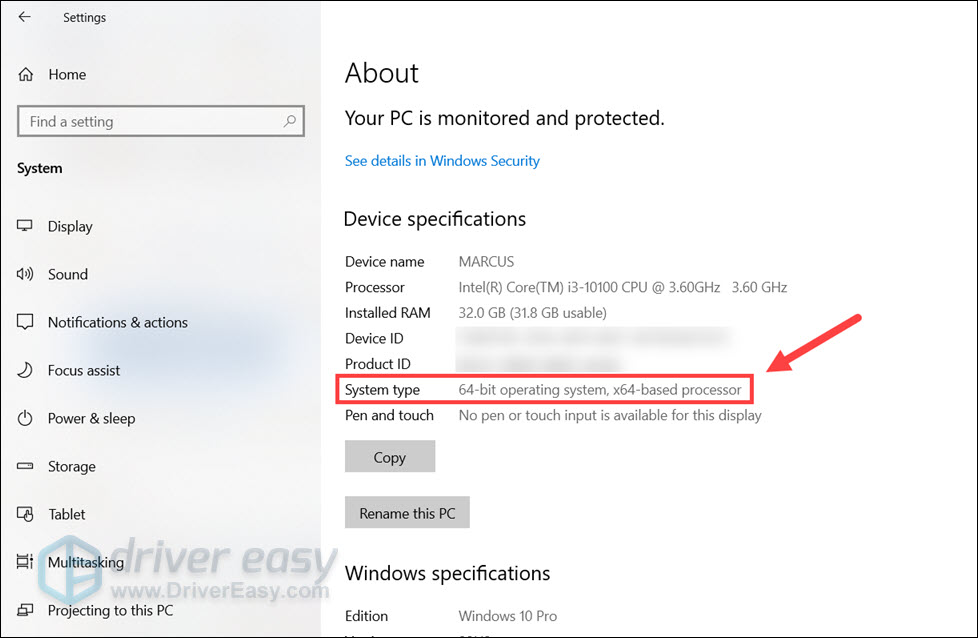
- When the KernelBase.dll file folder is downloaded, unzip it, and move the KernelBase.dll file in it to your C:\Windows\SysWOW64 folder if you’re on a 64-bit OS, and C:\Windows\System32 if 32-bit.

Check to see if you resolve this issue. If not, try the next fix, below.
Fix 2: Update your Windows system
Check if there are any new Windows-related patches or service packs available. The DLL error might be caused by an outdated Windows operating system. Try updating your Windows system and this issue may get resolved. Here is how to do it:
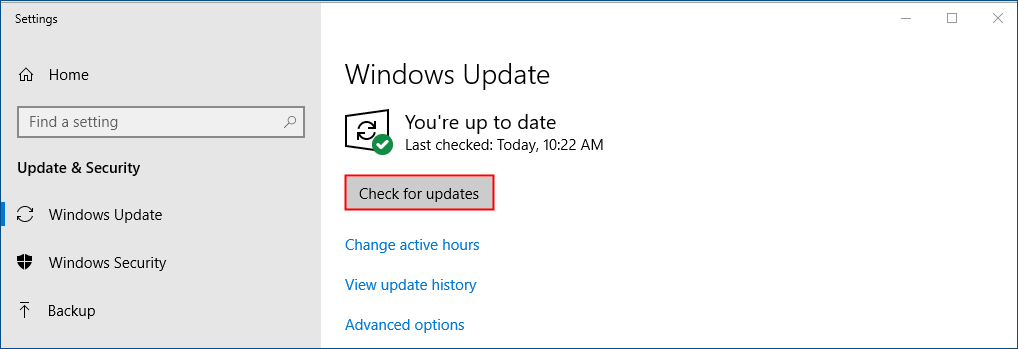
- On your keyboard, press the Windows logo key and type update. Click Check for updates to open Windows Update.
- Click the Check for updates button to update your Windows system.
- Restart your PC when the Windows update process is completed. If this fix works, your program won’t crash with the KernelBase.dll error again.
If the problem remains, please move on.
Fix 3: Reinstall the problematic program
If this issue occurs when you open or close a certain program, or when that program is running, try to reinstall that problematic program and maybe the KernelBase.dll error will be resolved.
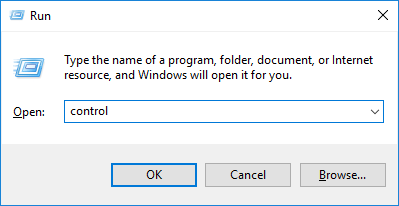
- On your keyboard, press the Windows logo key and R at the same time to open the Run dialog. Type control and press Enter to open the Control Panel.
- View the Control Panel by Category and select Uninstall a program.
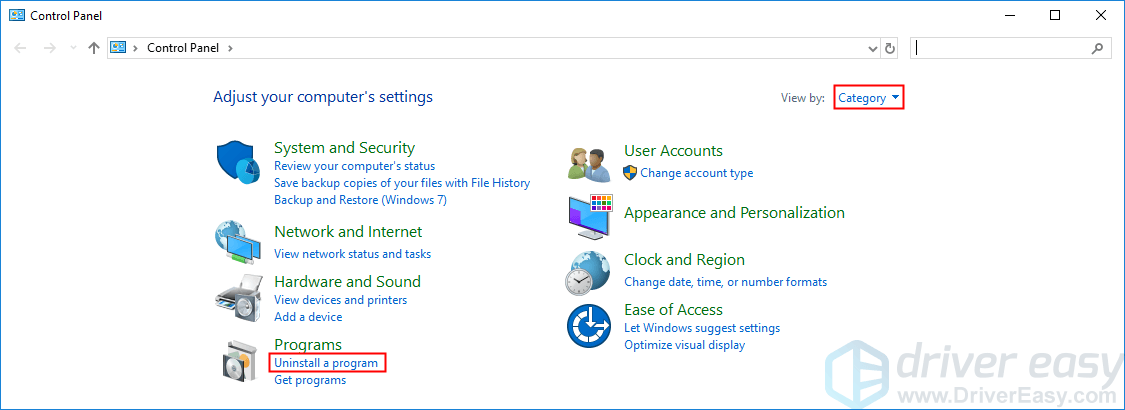
- Right-click your problematic program and select Uninstall.
- Restart your PC and then download the installation package for the problematic program from its official website, then install it as per the on-screen instructions.
Now run the program to see whether your program will crash with the KernelBase.dll error or not. If the problem remains, please move on.
Fix 4: Run System File Checker
If some of your system files are corrupted, your program may also crash with the KernelBase.dll error. In this case, running System File Checker may help you resolve this issue. System File Checker can scan for corruptions in Windows system files and restore corrupted files.
Here is how to do it:
- On your keyboard, press the Windows Logo Key and R at the same time to open the Run dialog. Type cmd and then press Ctrl, Shift, and Enter at the same time to run it as administrator.
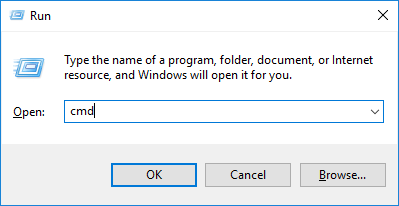
You will be prompted for permission. Click Yes to run the Command Prompt. - Copy and paste Dism /Online /Cleanup-Image /ScanHealth and press Enter.

If your current operating system is Windows 7, please skip this step. - Then copy and paste this command and hit Enter: Dism /Online /Cleanup-Image /CheckHealth

- Then copy and paste this command: Dism /Online /Cleanup-Image /RestoreHealth and hit Enter.

- When the command operation is completed, copy and paste this command sfc /scannow and press Enter.
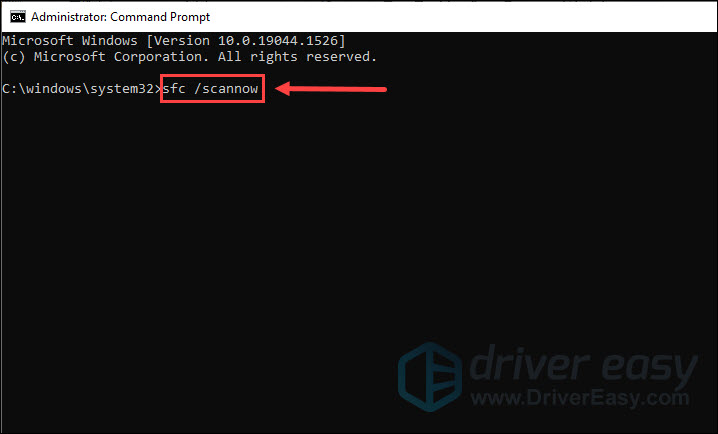
When this command operation is completed, close the Command Prompt. If this fix works, your program won’t crash with the KernelBase.dll error.
Fix 5: Copy the same file from another computer
Another fix to deal with KernelBase.dll crash issue is to replace the file KernelBase.dll from the original or legitimate source. You can copy the file KernelBase.dll from another trustworthy computer running the same version and edition of Windows operating system.
- On your keyboard, press the Windows Logo key and R at the same time to open the Run dialog. Type cmd and press Enter to open the Command Prompt.

- Type the command line systeminfo and press Enter to view your system type.

- Based on your system type, copy the file KernelBase.dll from another trustworthy computer running the same version and edition of the Windows operating system and paste it into your own Windows operating system.
- For 64-bit OS users, go to C:\Windows\SysWOW64 folder to find the KernelBase.dll file and paste the file into the same folder.
- For 32-bit OS users, go to C:\Windows\System32 folder to find the KernelBase.dll file and paste the file into the same folder.
Restart your PC to see whether this issue gets fixed or not.
Pro tip: Update your drivers
If there are outdated or missing drivers on your PC, it is a good idea to update your drivers to the latest version, since by doing that, you can avoid many computer issues. There are two ways to do it: manually and automatically.
Update your drivers manually – You can update your drivers manually by going to the official website of the manufacturer, and searching for the latest driver for your device.
Or
Update your drivers automatically – If you don’t have the time, patience or computer skills to update your sound card driver manually, you can, instead, do it automatically with Driver Easy.
Driver Easy will automatically recognize your system and find the correct drivers for it. You don’t need to know exactly what system your computer is running, you don’t need to risk downloading and installing the wrong driver, and you don’t need to worry about making mistakes when installing.
You can update your drivers automatically with either the 7 days free trial or the Pro version of Driver Easy. It takes just 2 clicks, and you get full support and a 30-day money-back guarantee with the Pro version:
- Download and install Driver Easy.
- Run Driver Easy and click the Scan Now button. Driver Easy will then scan your computer and detect any problem drivers.

- Click the Activate & Update button next to the flagged device to automatically download and install the correct version of this driver.
Or click Update All to automatically download and install the correct version of all the drivers that are missing or out of date on your system (You’ll need the Pro version for this – when you select Update All, you’ll get a prompt to upgrade. If you’re not prepared to purchase the Pro version yet, Driver Easy provides a 7-day trial at no cost, granting access to all Pro features like fast downloads and easy installation. No charges will occur until after your 7-day trial period ends.)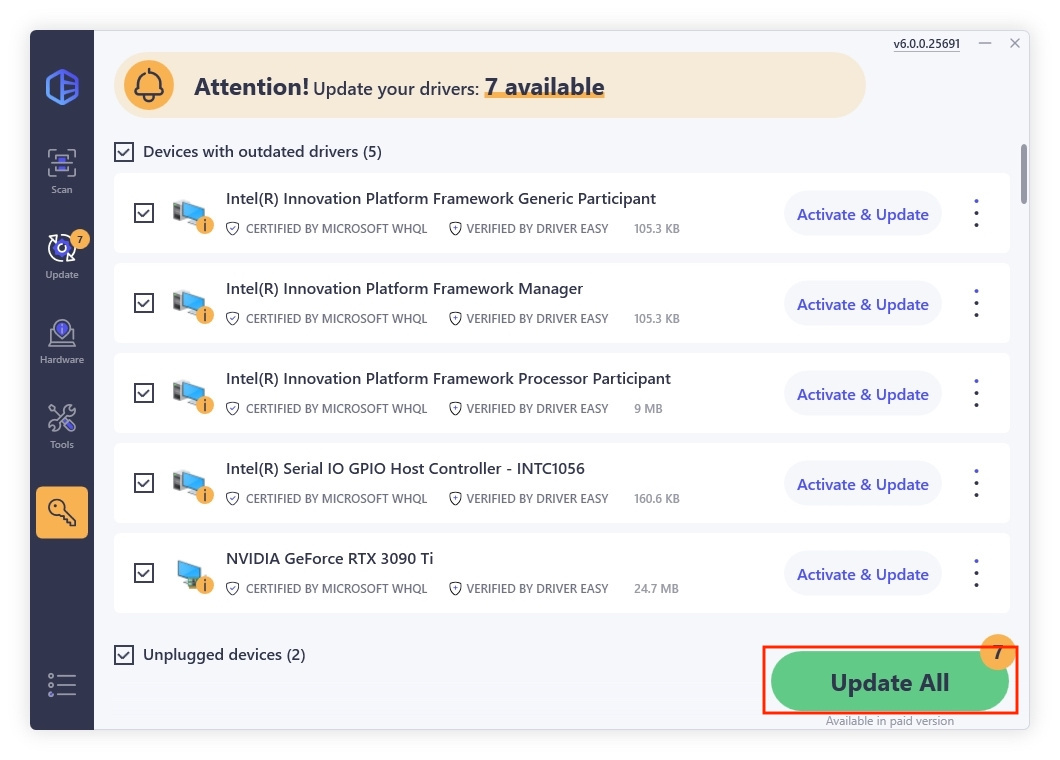
- After updating, restart your computer to take effect.
If you have any questions or suggestions, please leave your comment below.


