


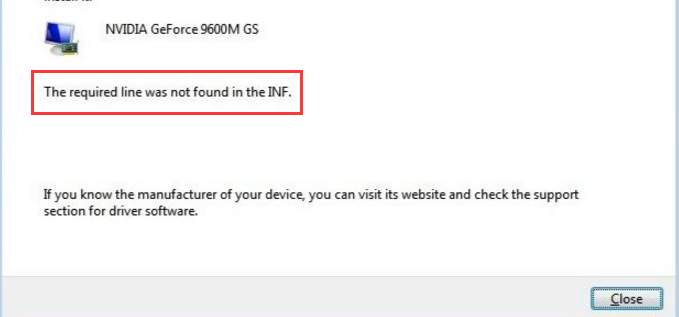
It could be frustrating if you can’t install NVIDIA Graphics driver due to error “The required line was not found in the INF”. To resolve the error, use the methods below.
Method 1: Uninstall NVIDIA entries in Device Manager then reinstall the driver
You can manually uninstall the driver:
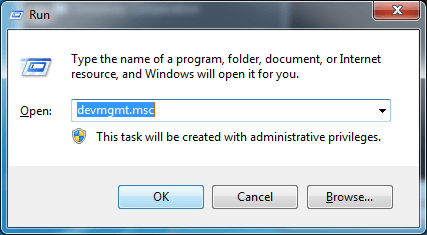
1) On your keyboard, press Win+R (Windows key and R key) at the same time to invoke the run box.
2) Type devmgmt.msc and click the OK button. This is to open Device Manager.
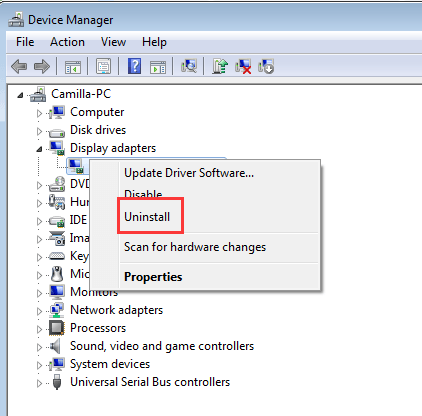
3) In Device Manager, expand category “Display adapters” and right-click NVIDIA device name and select Uninstall on the context menu.
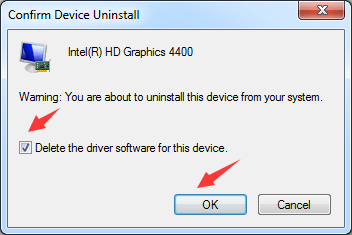
4) When prompted for the uninstall, check the box next to “Delete the driver software for this device” and click the OK button.
5) Restart your PC as soon as possible.
6) After restarting your PC, reinstall the driver and check to see if you can install it successfully.
If the error continues, follow below steps to manually install the driver via Device Manager. To do this, you must have NVIDIA installer stored in your computer.
1) Extract the installer file. (The downloaded installer file usually is in .exe format or .zip format. )
2) Open Device Manager again.
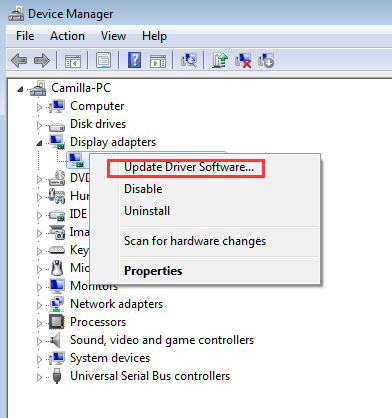
3) Right-click on NVIDIA graphics card and select Update Driver Software…
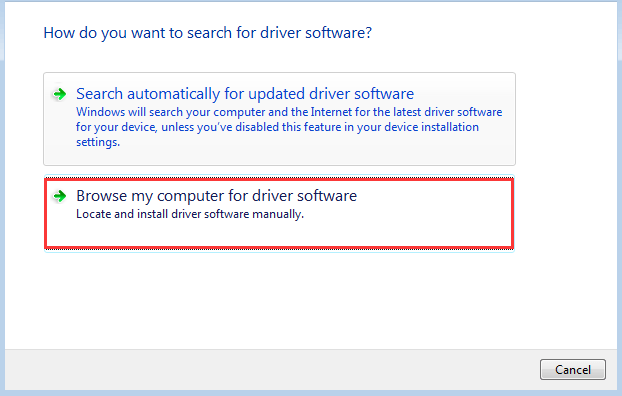
4) Click Browse my computer for driver software.
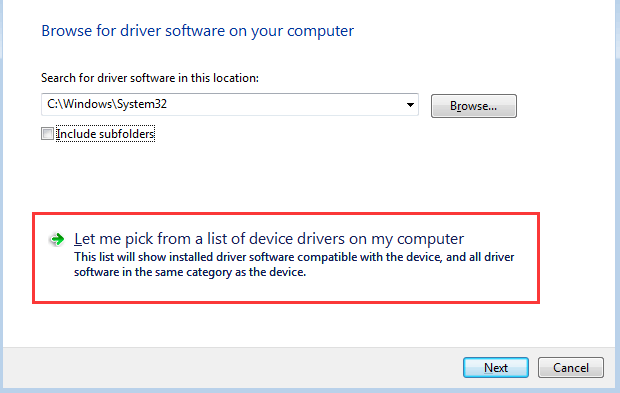
5) Click Let me pick from a list of device drivers on my computer.
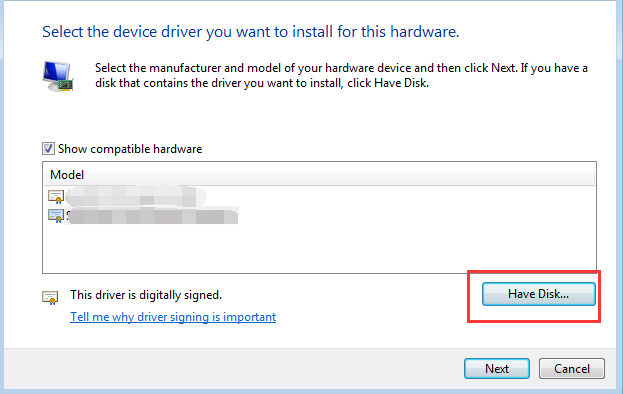
6) Click Have Disk…
7) Click the Browse… button. Then find the location where you extracted the installer file.
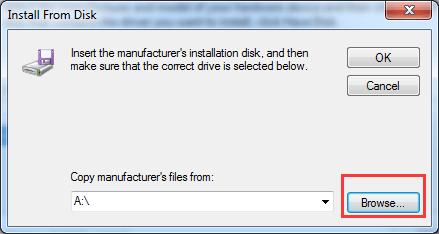
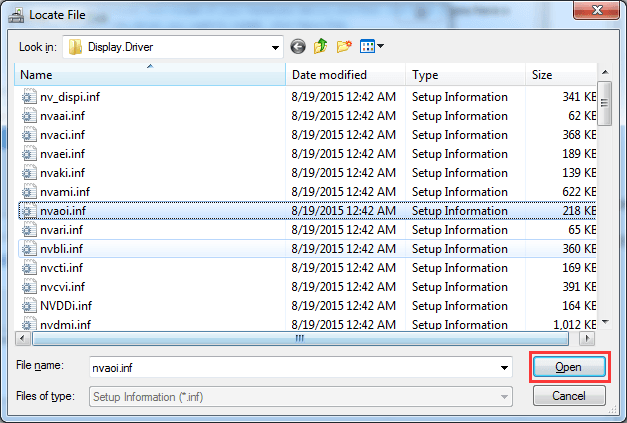
8) Windows will look for .inf files in the folder to install the driver. After selecting the .inf file, click the Open button. Then follow the on-screen instructions to install the driver.
Method 2: Install the driver using Driver Easy
If Method 1 doesn’t work for you, or if you can’t install the driver manually, you can do it automatically with Driver Easy.
Driver Easy will automatically recognize your system and find the correct drivers for it. You don’t need to know exactly what system your computer is running, you don’t need to risk downloading and installing the wrong driver, and you don’t need to worry about making a mistake when installing.
You can update your drivers automatically with either the FREE or the Pro version of Driver Easy. But with the Pro version it takes just 2 clicks (and you get full support and a 30-day money back guarantee):
1) Download and install Driver Easy.
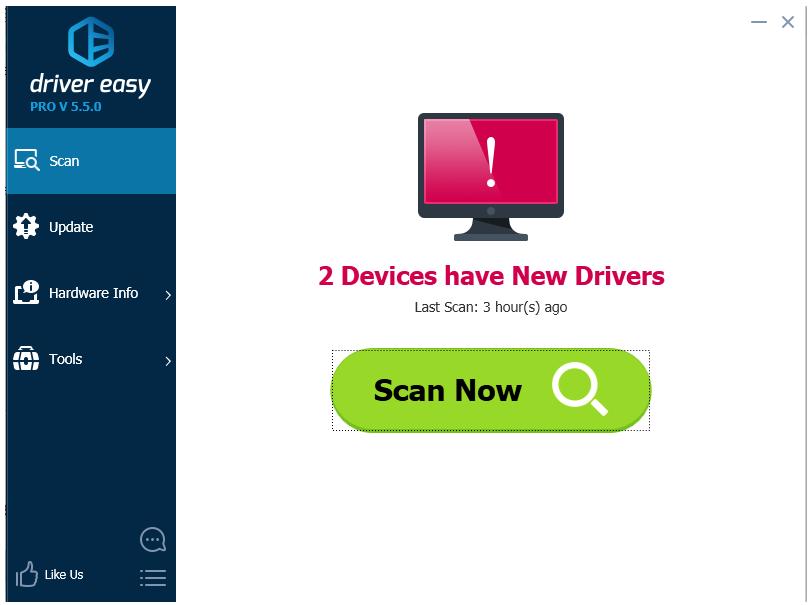
2) Run Driver Easy and click Scan Now. Driver Easy will then scan your computer and detect any problem drivers.
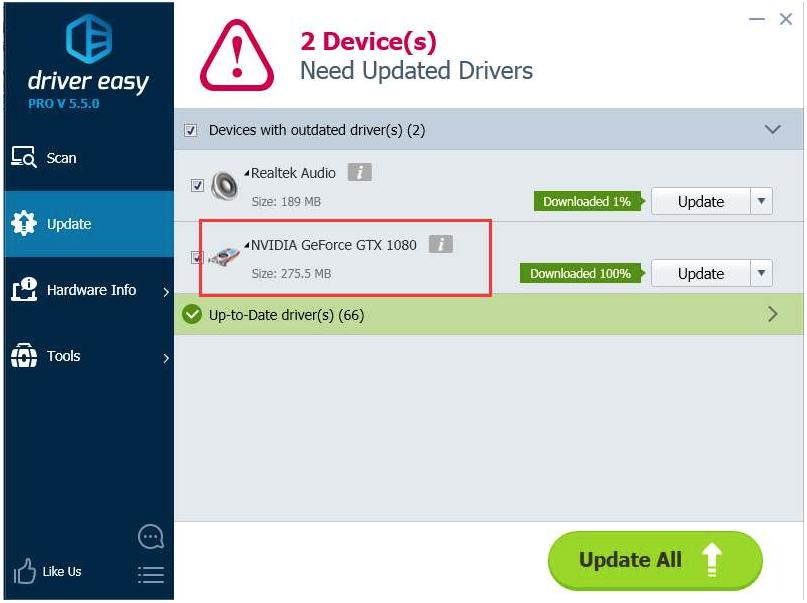
3) Click the Update button next to a flagged Nvidia driver to automatically download and install the correct version of this driver (you can do this with the FREE version). Or click Update All to automatically download and install the correct version of all the drivers that are missing or out of date on your system (this requires the Pro version – you’ll be prompted to upgrade when you click Update All).
Hope you can fix the problem with the methods above. If you have any questions or ideas, please feel free to leave you comments.