


Stellaris might crash or stop responding unexpectedly for various reasons, such as low RAM, software conflicts, driver issues, improper settings, corrupted game files, etc. The solutions here can help rule out some common causes of Stellaris crash. Check it out.
Fixes to try:
You may not have to try them all, just work your way down the list until you find the one that works for you.
- Run Stellaris as an administrator
- Update your graphics driver
- Verify the integrity of your game files
- Disable fullscreen optimizations
- Check the DEP setting
- Run your game on compatibility modes
- Check for Windows updates
- Perform a clean reboot
- Reinstall Steam
Fix 1: Run Stellaris as an administrator
To ensure Stellaris has full access to game files and folder on your computer, you should run the game and game launcher as as administrator. Follow the instruction below:
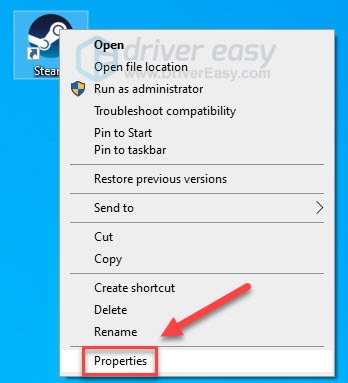
1) Right-click Steam on your desktop and select Properties.
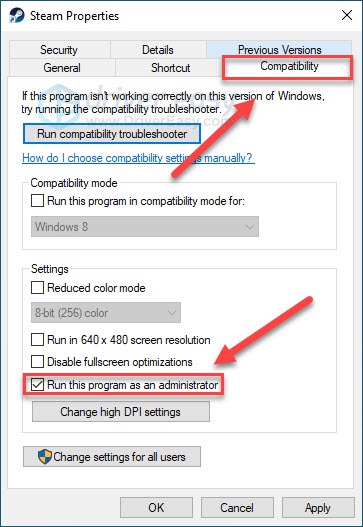
2) Click the Compatibility tab, then check the box next to Run this program as an administrator.
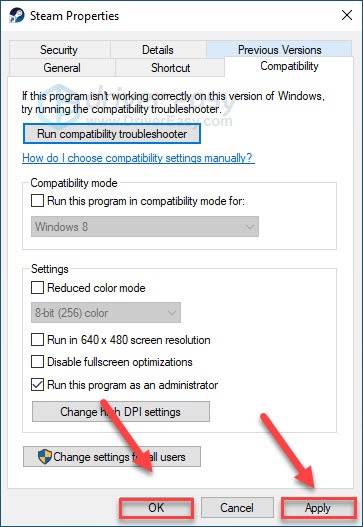
3) Click Apply > OK.
4) Right-click Stellaris, then select Properties.
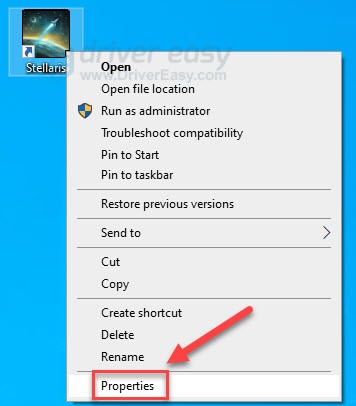
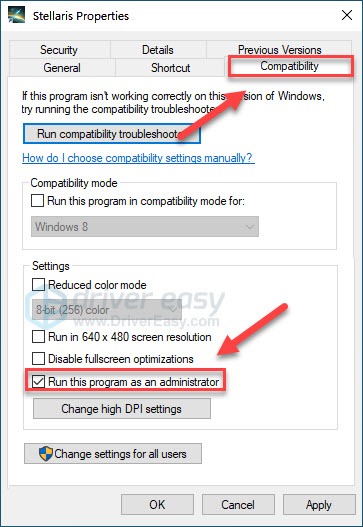
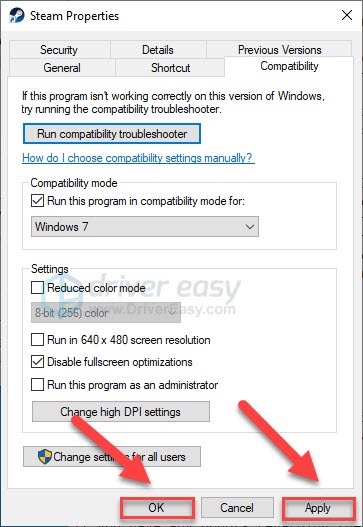
5) Click the Compatibility tab, then check Run this program as an administrator.
6) Click Apply, then OK.

7) Relaunch your game to test your issue.
If the crashing issue continues to occur, move on to the fix below.
Fix 2: Update your graphics driver
You may encounter the Stellaris crashing issue when you are using the wrong graphics driver or it’s out of date. When something goes wrong with your game, try updating your graphics driver to see if it fixes your problem. There are two ways you can do this:
Manual driver update – You can update your graphics driver manually by going to the manufacturer’s website for your graphics product, and searching for the most recent correct driver. Be sure to choose only driver that is compatible with your Windows version.
Automatic driver update – If you don’t have the time, patience or computer skills to update your graphics driver manually, you can, instead, do it automatically with Driver Easy. Driver Easy will automatically recognize your system and find the correct driver for your graphics product, and your Windows version, and it will download and install them correctly:
1) Download and install Driver Easy.
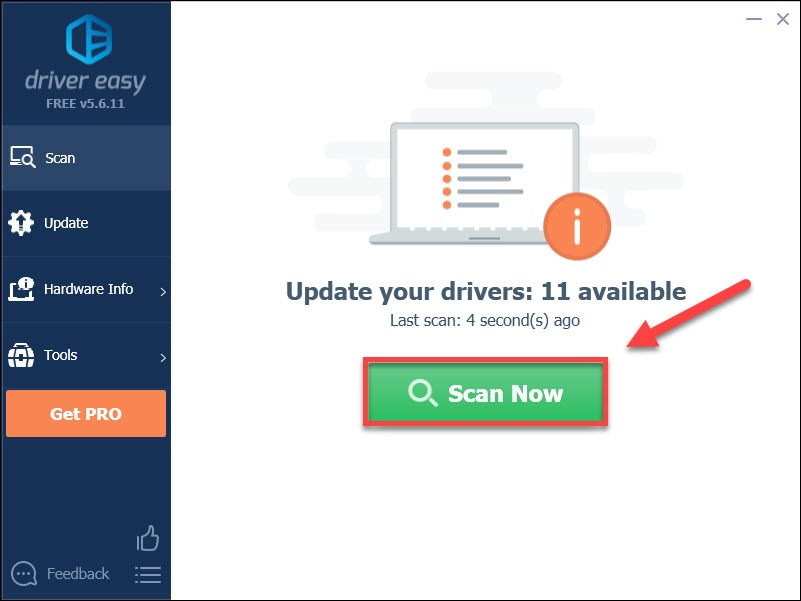
2) Run Driver Easy and click the Scan Now button. Driver Easy will then scan your computer and detect any problem drivers.
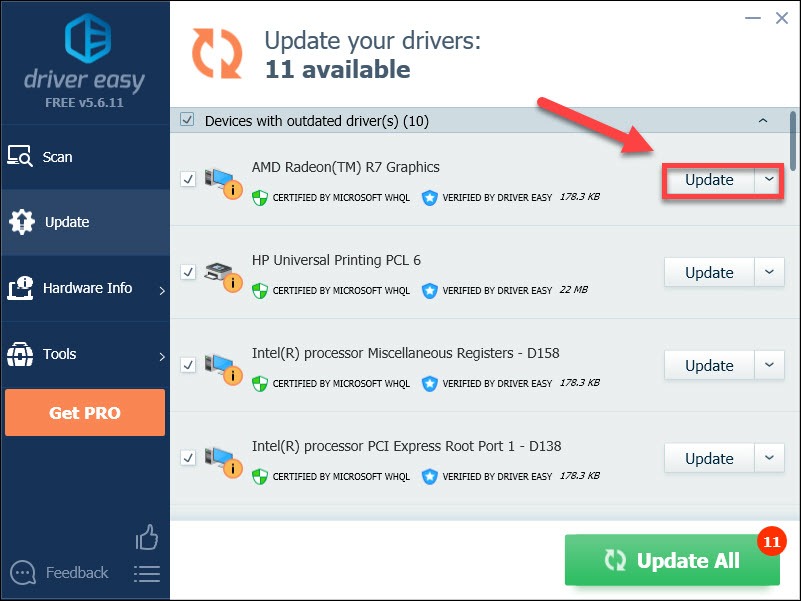
3) Click the Update button next to the graphics driver to automatically download the correct version of that driver, then you can manually install it (you can do this with the FREE version).
Or click Update All to automatically download and install the correct version of all the drivers that are missing or out of date on your system. (This requires the Pro version which comes with full support and a 30-day money back guarantee. You’ll be prompted to upgrade when you click Update All.)
Fix 3: Verify the integrity of your game files
You may run into the Stellaris crashing issue when certain game files are corrupted or missing. If you’re playing the game on Steam, try verifying the integrity of your game files. Here is how:
1) Run Steam.
2) Click LIBRARY.

3) Right-click Stellaris and select Properties.
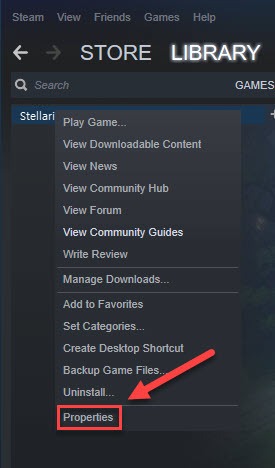
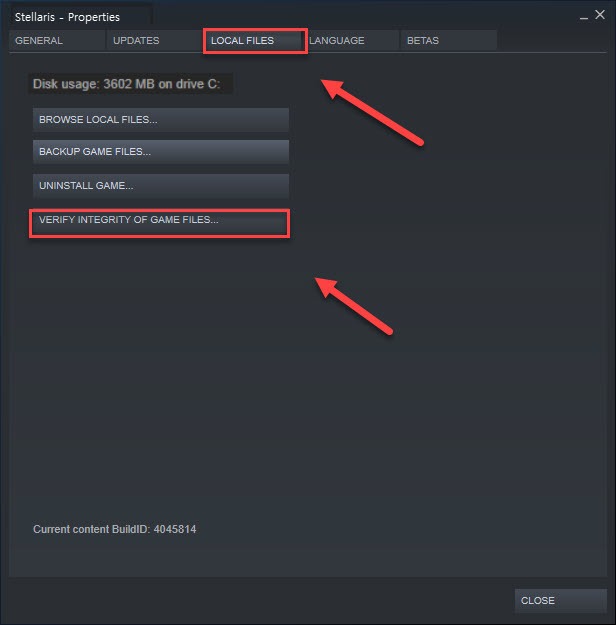
4) Click the LOCAL FILES tab, then click VERIFY INTEGRITY OF GAME FILES.
Relaunch your game to see if this has resolved your issue. If no, try the fix below.
Fix 4: Disable fullscreen optimizations
If you’re on Windows 10, try disabling fullscreen optimizations for your game. Follow the instructions below:
1) Right-click Stellaris, then select Properties.
5) Click the Compatibility tab, then check Disable fullscreen optimizations.
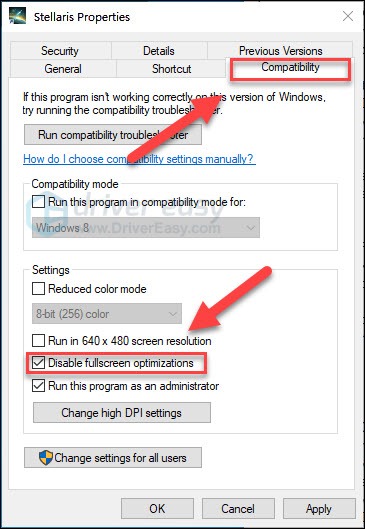
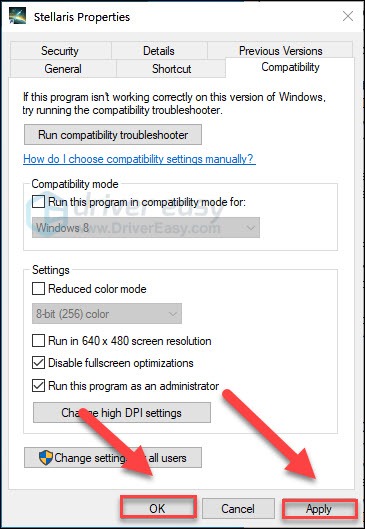
6) Click Apply, then OK.
Relaunch your game to see if it runs correctly now. If your issue still exists, try the fix below.
Fix 5: Check the DEP setting
Data Execution Prevention is a Windows feature that monitors your programs to make sure they use system memory safely. It can shut down a program automatically when the program is identified as malicious. So, you may run into the crashing issue when DEP blocks your game.
To see if that’s the problem for you, follow the instructions below to check your DEP setting:
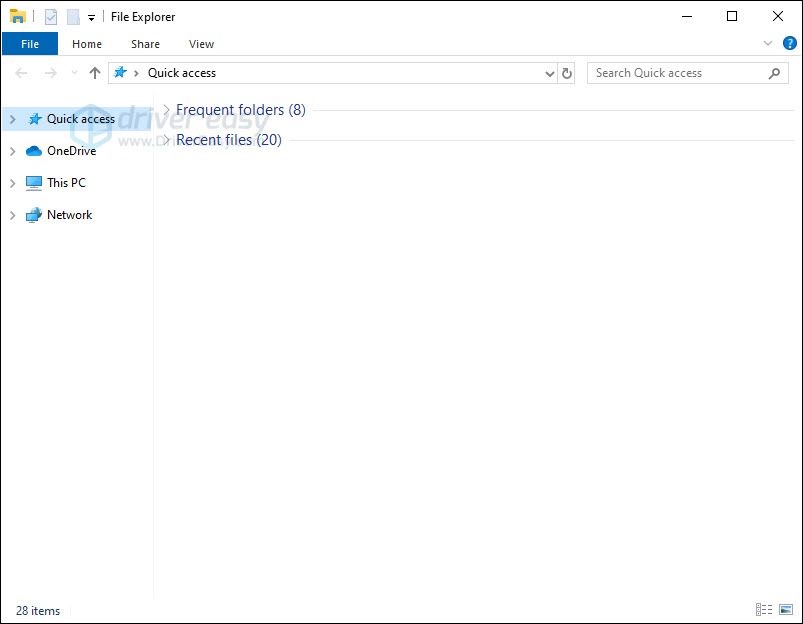
1) On your keyboard, press the Windows logo key and E at the same time.
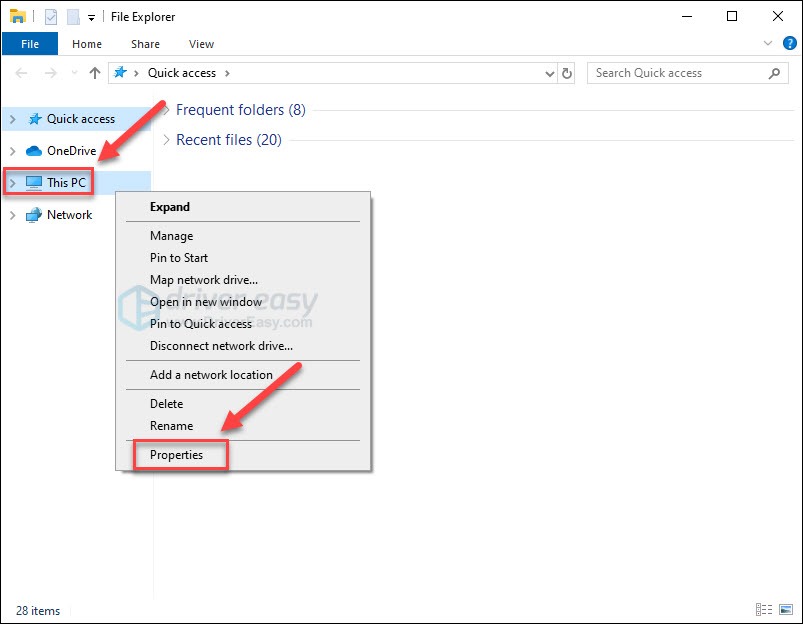
2) Right-click This PC, then click Properties.
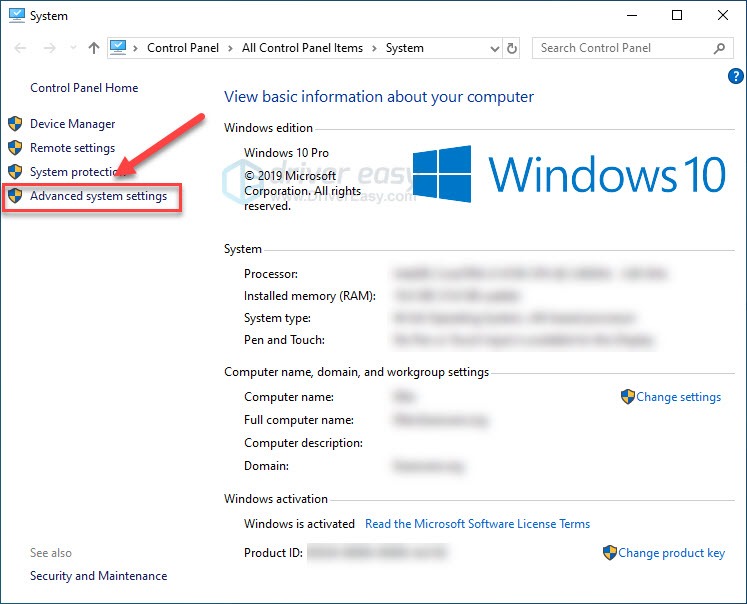
3) Click Advanced system settings.
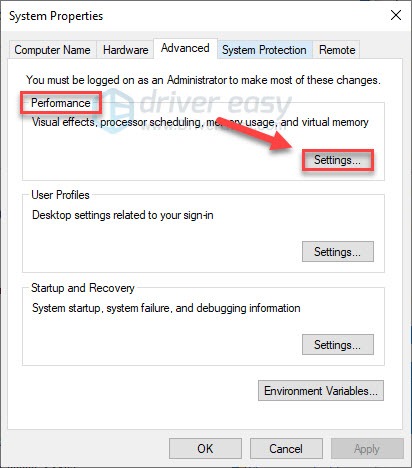
3) Under Performance, click Settings.
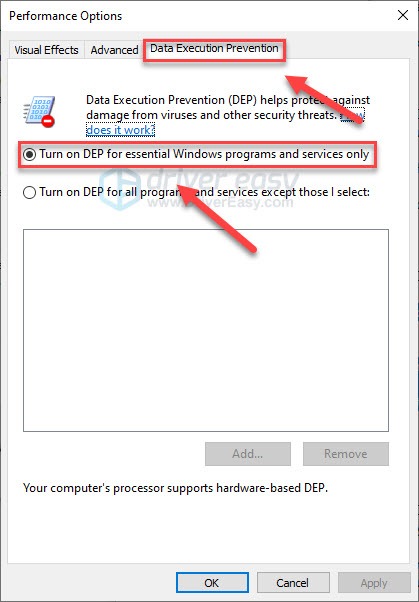
4) Click the Data Execution Prevention tab, then check the DEP setting is set to Turn on DEP for essential Windows programs and services only.
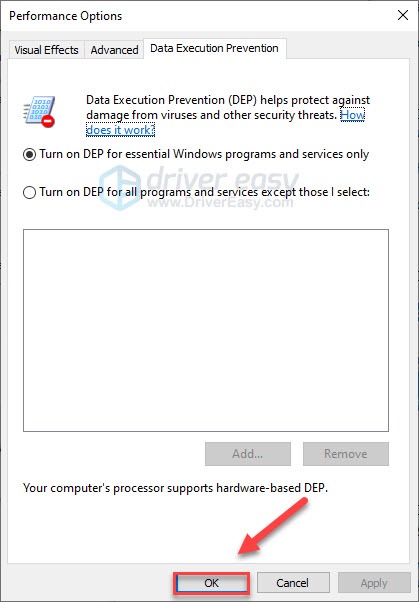
6) Click OK.
7) Relaunch your game to see if this worked for you.
If the game is still unplayable, read on and try the next fix.
Fix 6: Run your game on compatibility modes
Some Windows updates may not be compatible with Stellaris, causing it to crash constantly. If you’re on Windows 8 or 10, try running your game in compatibility mode to see if it can fix your problem. If you’re on Windows 7, skip this method and check Fix 7 below.
1) Right-click Stellaris, then select Properties.

2) Click the Compatibility tab. Then check the box next to Run this program in compatibility mode for.
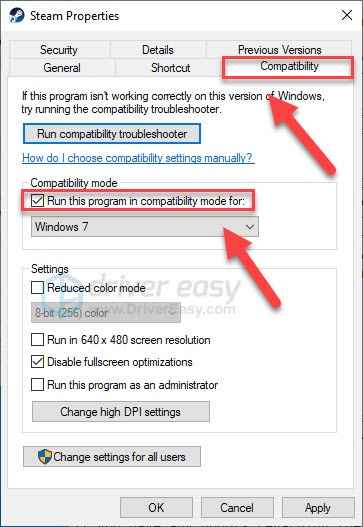
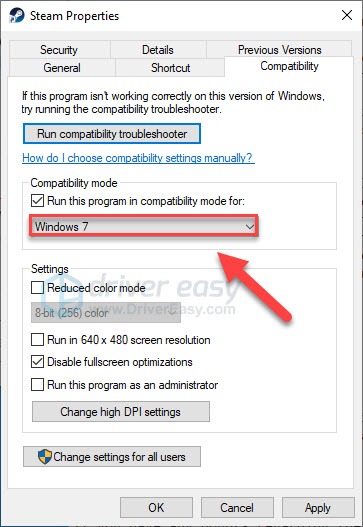
3) Click the list box below to select Windows 7.
4) Click Apply > OK.
5) Relaunch your game to check if your issue had been resolved.
If your issue still exists, move on to the next fix, below.
Fix 7: Check for Windows updates
Windows releases regular updates to fix bugs. If Stellaris has run previously, but is not running now, it’s probable that a recent update has stopped your game from running properly, and that a new update is required to fix it. To check if there is any update, follow the instructions below:
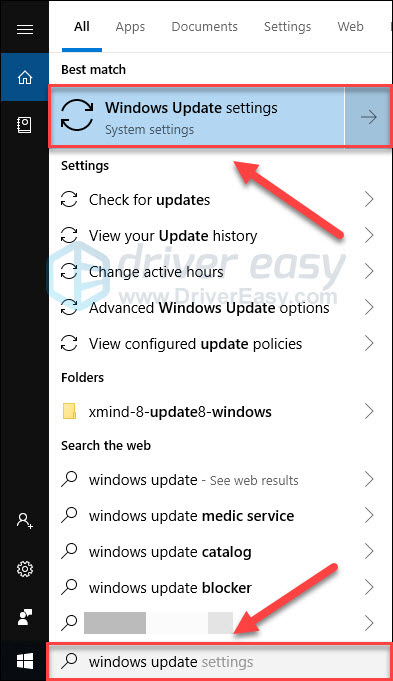
1) On your keyboard, press the Windows logo key. Then, type windows update and select Windows Update settings.
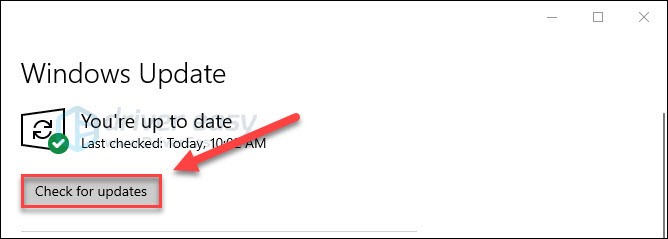
2) Click Check for updates, and then wait for Windows to download and install the updates automatically.
Restart your computer and your game. If your issue still exists, try the fix, below.
Fix 8: Perform a clean reboot
Your game may crash because of interference from certain services or programs running on your computer. To see if that’s the problem for you, try performing a clean boot. Here is how:
If you’re on Windows 7…
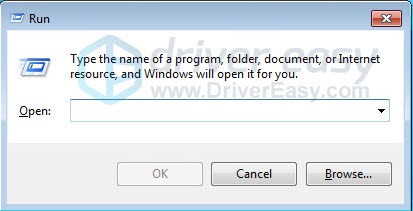
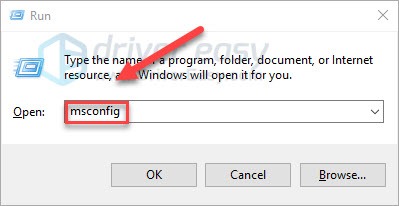
1) On your keyboard, press the Windows logo key and R at the same time to open the Run dialog box.
2) Type msconfig. Then, on your keyboard, press the Enter, Shift and Ctrl keys at the same time to run System configuration as administrator.

3) Uncheck the box next to Load startup items. Then click Apply.
4) Click the Services tab, and then check the box next to Hide all Microsoft services.
5) Click Disable all.
6) Click Apply.
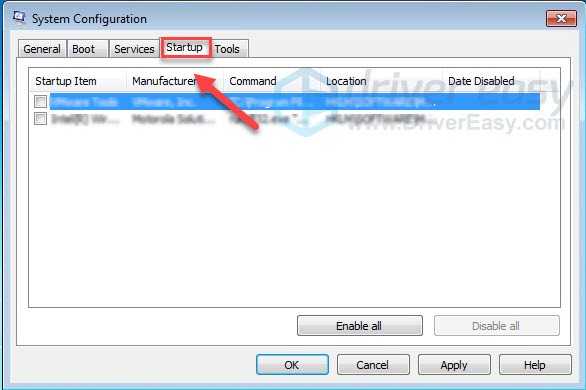
7) Click the Startup tab.
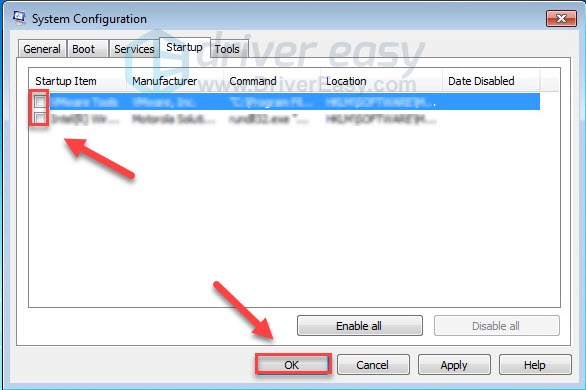
8) Uncheck the box next to the program that you want to prevent it from auto-launching, and then click OK.
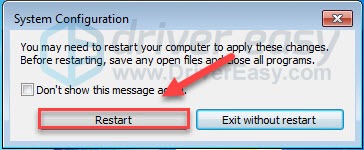
9) Click Restart and wait for your computer to restart.
10) After your computer restarts, relaunch your game to test your issue.
If your game runs correctly, that means one of the services or programs on your PC conflicts with your game.
To narrow down the problematic service or program, repeat steps 1-4, then disabled the upper half of the services (the lower half of the services being enabled). Next, restart your PC to see if the game runs properly. If the issue reappears, then the problematic service is among the lower half of the services – you can then follow the same logic and focus on the lower half of the services until you isolate the one that causes the error.
Once you’ve identified the problematic service, you can contact the game developer for assistance, or just run Stellaris with the service disabled.
If your game still crashes after clean boot troubleshooting, you should first reset your computer to start normally.
If you’re on Windows 10…
1) On your keyboard, press the Windows logo key and R at the same time to open the Run dialog box.

2) Type msconfig. Then, on your keyboard, press the Enter, Shift and Ctrl keys at the same time (to run System configuration as administrator).
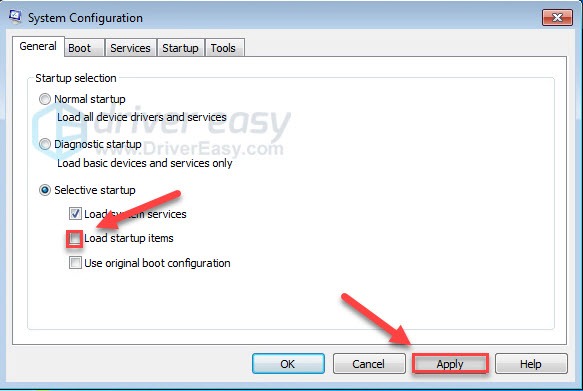
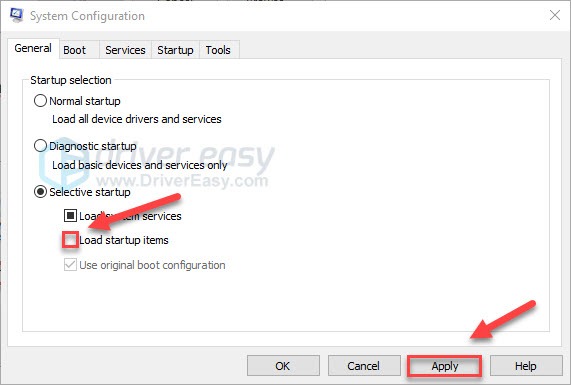
3) Uncheck the box next to Load startup items. Then click Apply.
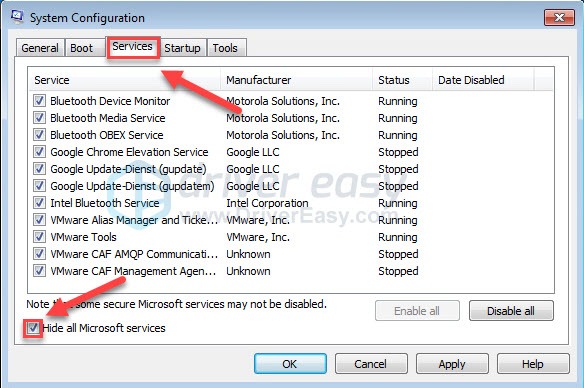
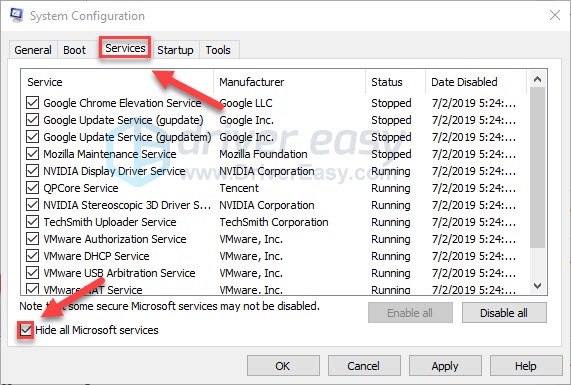
4) Click the Services tab, and then check the box next to Hide all Microsoft services.
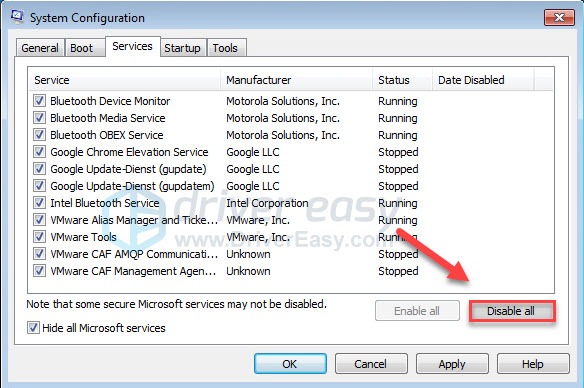
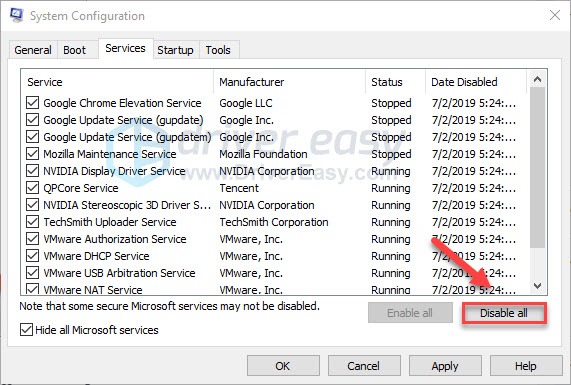
5) Click Disable all.
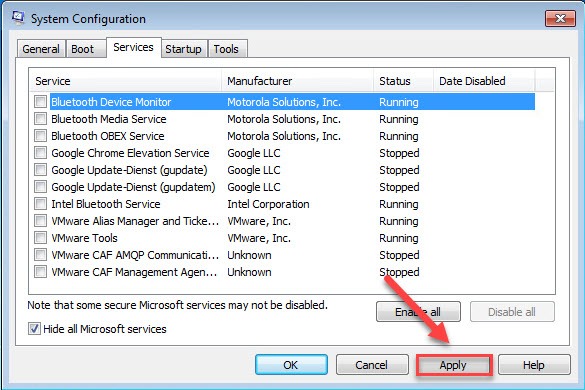
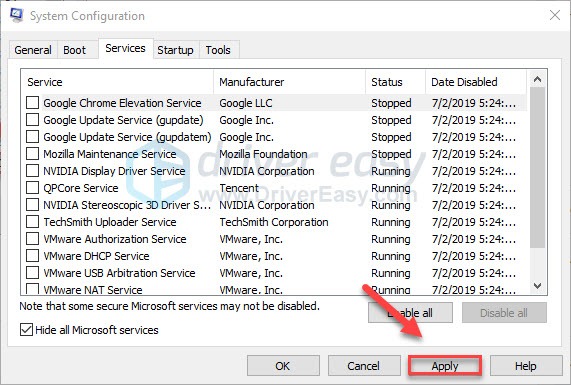
6) Click Apply.
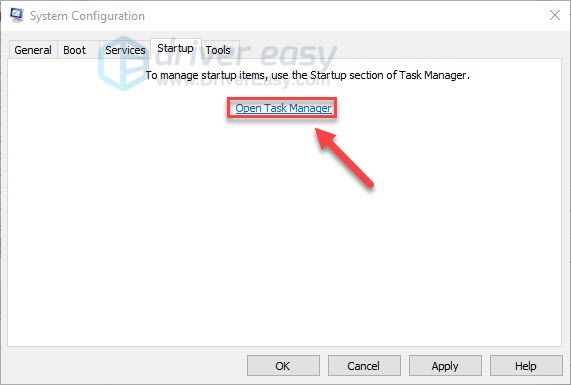
7) Click the Startup tab, then click Open Task Manager.
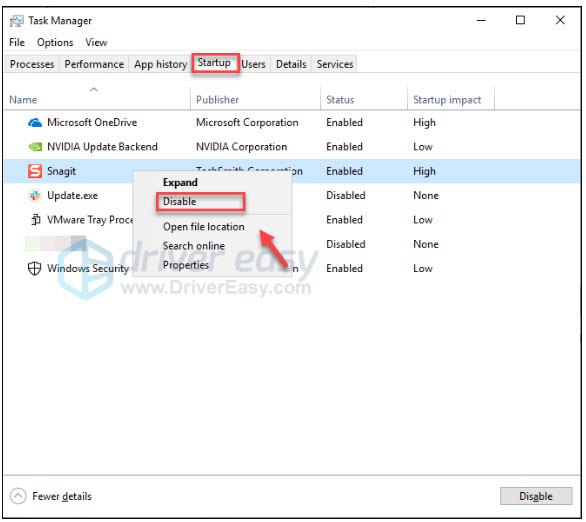
8) Right-click the program you want to prevent it from auto-launching and select Disable.
9) Restart your computer and check if this resolved your problem.
If your game runs correctly, that means one of the services or programs on your PC conflicts with your game.
To narrow down the problematic service or program, repeat steps 1-4, then disabled the upper half of the services and enable the lower half. Next, restart your PC to see if the game runs properly. If the issue reappears, then the problematic service is among the lower half of the services – you can then follow the same logic and focus on the lower half of the services until you isolate the one that causes the error.
Once you’ve identified the problematic service, you can contact the game developer for assistance, or just run Stellaris with the service disabled.
If your game still crashes after clean boot troubleshooting, you should first reset your computer to start normally. Follow the instructions below:
Reset your computer to start normally
1) On your keyboard, press the Windows logo key and R at the same time.
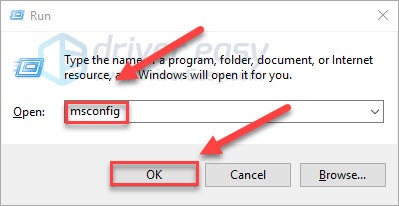
2) Type msconfig and click OK.
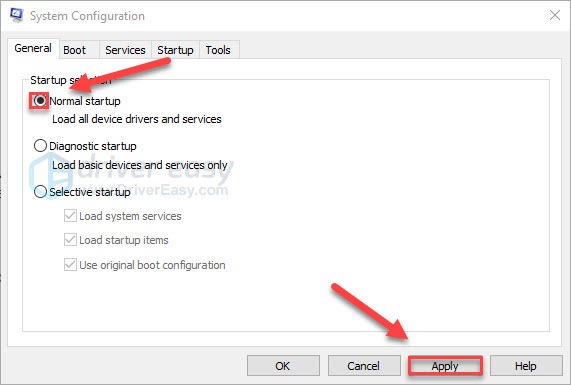
3) Click the button next to Normal startup, and then click Apply.
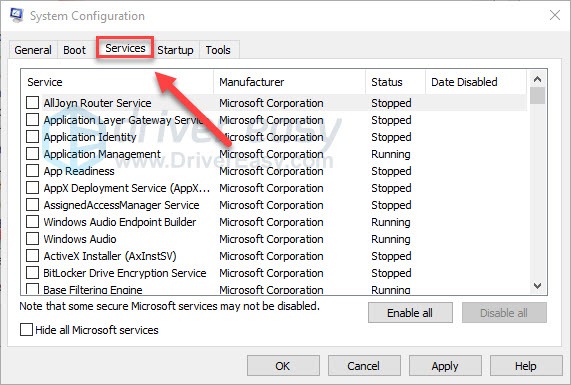
4) Click the Services tab.
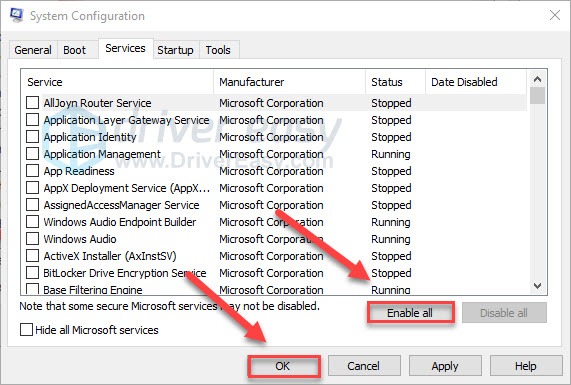
5) Click Enable all, then click OK.
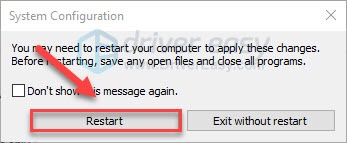
6) Click Restart.
Your computer will start normally after you finish this step. If your issue persists, move on to the fix below.
Fix 9: Reinstall Steam
If none of the fixes above worked for you, reinstalling Steam is very likely the solution to your issue. Here is how to do it:
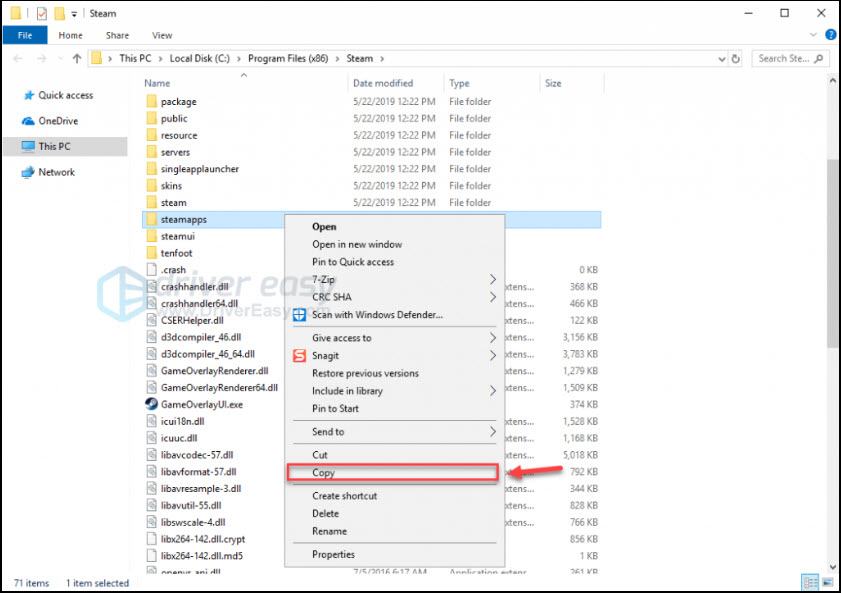
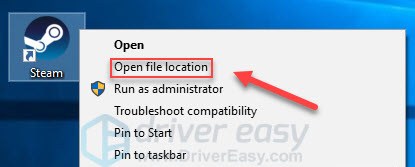
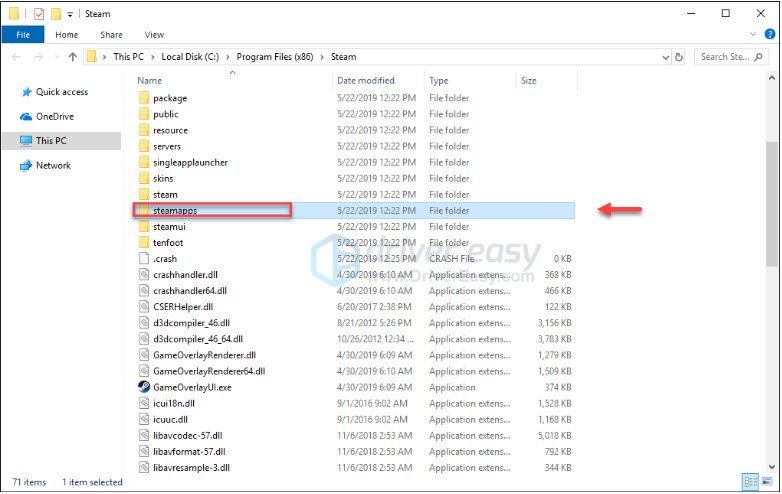
1) Right-click the Steam icon and select Open file location.

2) Right-click the steamapps folder and select Copy. Then, place the copy in another location to back it up.
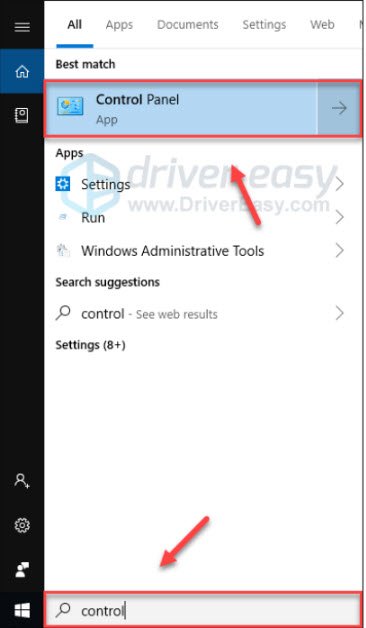
3) On your keyboard, press the Windows logo key and type control. Then, click Control Panel.
4) Under View by, select Category. Then, select Uninstall a program.

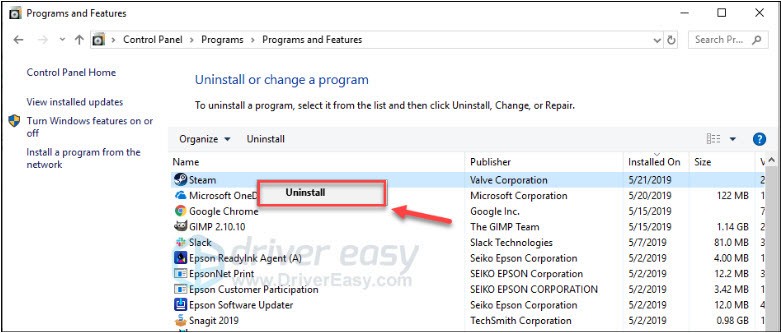
5) Right-click Steam, and then click Uninstall. Then, wait for the process to be complete.
6)Download and install Steam.
7) Right-click the Steam icon and select Open file location.
8) Move the backup steamapps folder you create before to your current directory location.
9) Restart your game to test your problem.
Hopefully, this article helped in resolving your issue. If you have any questions or suggestions, please feel free to leave a comment below.