


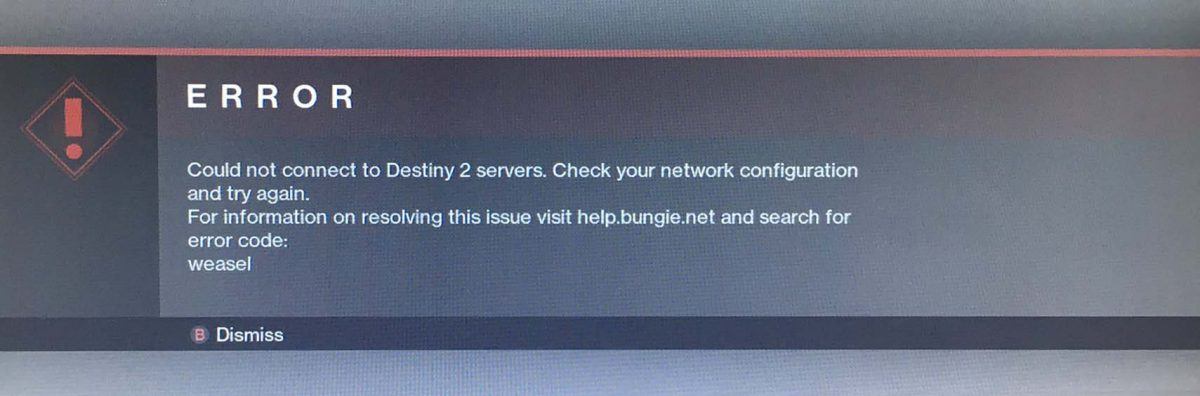
If you’re playing Destiny 2’s latest expansion, you may encounter this error code that will cause disconnected. Don’t worry, you’re not alone. Some people were getting this issue every 2 hours or even worse. If you’re eager to get a solution, try our fixes. Follow this guide, you’ll know how to deal with this Destiny 2 Weasel error code.
Try these fixes:
There’re 5 fixes that have helped many gamers solve their problems. You don’t have to try them all; just work your way down the list until you find the one that works for you.
- Get a quality connection
- Update your network adapter driver
- Power cycle your console and router
- Clear the Xbox One cache
- Unlink Destiny app from your phone
Fix 1: Get a quality connection
Quality of the connection is important in resolving Weasel errors in Destiny 2. If you’re using a Wi-Fi connection, swap it into an ethernet connection.
A wireless network is not stable as a wired one so you may resolve the error code by swapping Wi-Fi to an ethernet connection.
Or you can try using a powerline Ethernet adapter which extends the reach of your home network to places with poor wireless coverage.
Fix 2: Update your network adapter driver
To get a quality connection, your network driver is an important part. It’s because a driver is a software component that lets the device and the operating system communicate with each other. If you’re using an outdated or wrong driver, it may cause trouble.
There are two ways you can update your driver: manually and automatically.
Option 1 – Manually– You’ll need some computer skills and patience to update your drivers this way, because you need to find exactly the right the driver online, download it and install it step by step.
OR
Option 2 – Automatically (Recommended)– This is the quickest and easiest option. It’s all done with just a couple of mouse clicks – easy even if you’re a computer newbie.
Option 1 – Download and install the driver manually
You can download graphics drivers from the manufacturer official website. Search for the model you have and find the correct driver that suits your specific operating system. Then download the driver manually.
Option 2 – Automatically update drivers
If you don’t have time or patience to manually update your graphics drivers, you can do it automatically with Driver Easy.
Driver Easy will automatically recognize your system and find the correct drivers for it. You don’t need to know exactly what system your computer is running, you don’t need to risk downloading and installing the wrong driver, and you don’t need to worry about making a mistake when installing.
You can update your drivers automatically with either the FREE or the Pro version of Driver Easy. But with the Pro version it takes just 2 clicks (and you get full support and a 30-day money back guarantee):
- Download and install Driver Easy.
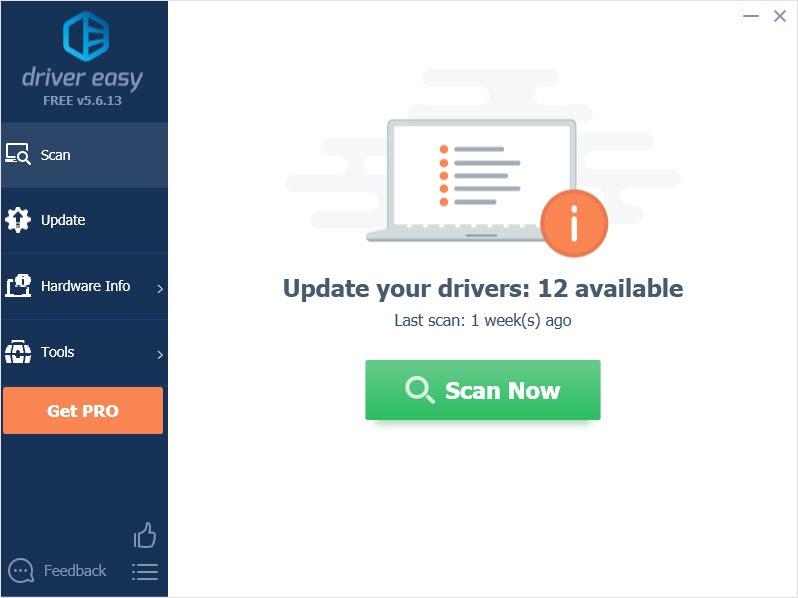
- Run Driver Easy and click the Scan Now button. Driver Easy will then scan your computer and detect any problem drivers.
- Click the Update button next to the flagged driver to automatically download the correct version of that driver, then you can manually install it (you can do this with the FREE version).
Or click Update All to automatically download and install the correct version of all the drivers that are missing or out of date on your system. (This requires the Pro version which comes with full support and a 30-day money back guarantee. You’ll be prompted to upgrade when you click Update All.)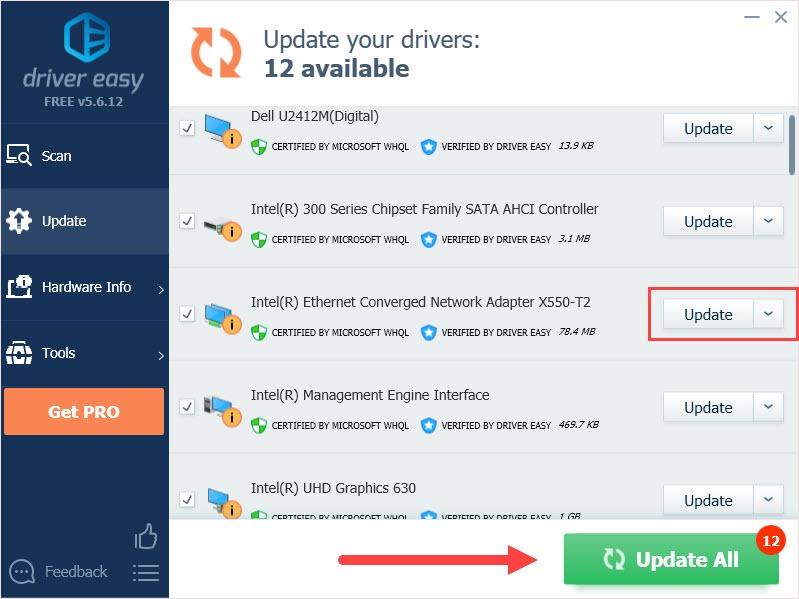
Fix 3: Power cycle your console and router
This fix is a common solution for most of the problems. You don’t need to know which part is going wrong but power cycle your console/computer and router. A completely fresh starting may trigger this error code. And this fix has been proved by many players who have met Destiny 2 error code.
- Unplug the internet router and your console.
- Hold the button on the back of the router for at least 15 seconds.
Hold the button on the front of the console for at least 15 seconds. - Leave the console and the router for a few seconds.
- Plug them back and turn them on.
- Wait for a few seconds and check to the issue is solve or not.
Change your NAT Type on whatever console you’re playing.
Fix 4: Clear the Xbox One cache
If you haven’t cleared the cache for a long time, try this to see if it could help. Also, clear temporary data files could improve your game experience.
- Go to the Xbox One Setting page and select the Network menu.
- Choose the Advanced Settings option.
- Scroll to the Alternate Mac Address and click the Clear option.
- Click Yes to clear the game’s cache.
- Check the Destiny 2 Weasel error code is fixed or not.
Fix 5: Unlink Destiny app from your phone
It sounds quite strange but players have reported unlink the mobile app and uninstalling the app works for them.
- Sign in to the Bungie.net.
- Go to the Setting page.
A. To unlink the mobile app, click Accounts and Links, then click the Unlink option.
B. To uninstall the app, go to the Apps and Notifications section. Find the app and click Uninstall.
Hopefully, these fixes could help you solve the problem. If you have any problems, you’re welcome to leave comments below, we’ll see if we can help.