


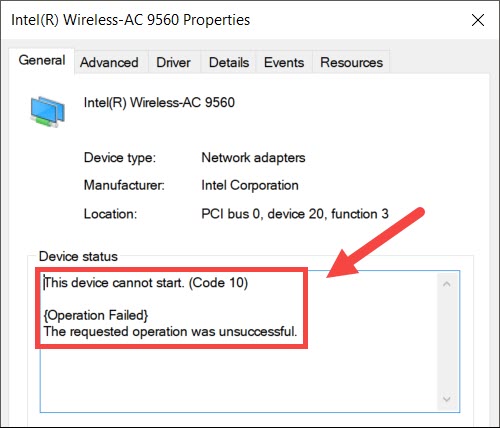
Your Intel Wireless AC-9560 isn’t working on your PC? You’re surely not alone! Many users are reporting the same issue. While this problem might seem tricky, it’s actually not that hard to fix.
Try these fixes
You might not need to try them all. Simply work your way down until you find the one that does the trick.
- Make sure Wi-Fi is turned on
- Re-enable the AC-9560 adapter
- Reinstall the AC-9560 drivers
- Turn on WLAN AutoConfig service
- Check if your system is corrupted
Fix 1: Make sure Wi-Fi is turned on
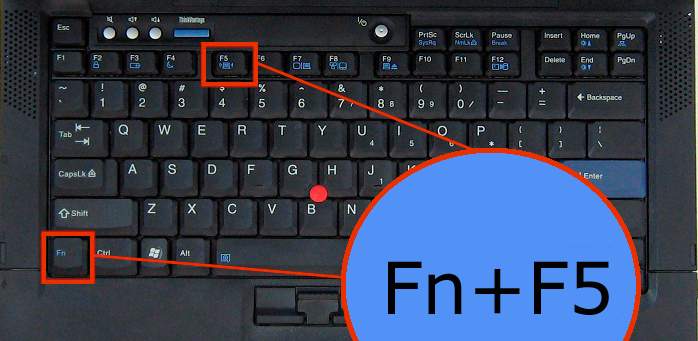
Some laptops come with a hardware switch, or a key combination that lets you turn on/off Wi-Fi. So before you try anything more complicated, first make sure Wi-Fi is enabled on your computer.
The switch may look like the following:
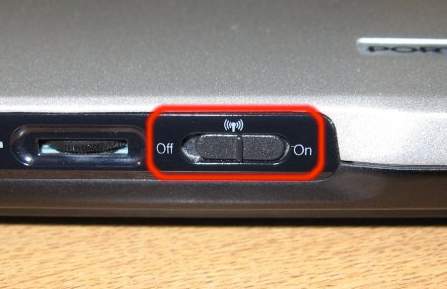
If you’re sure, or can’t determine your Wi-Fi is enabled, simply continue to the next fix below.
Fix 2: Re-enable the AC-9560 adapter
Sometimes it might just be a glitch of Windows. Some users reported that a “turn it off and turn it back on again” trick brings back their Wi-Fi. So you can try the same and see how it goes.
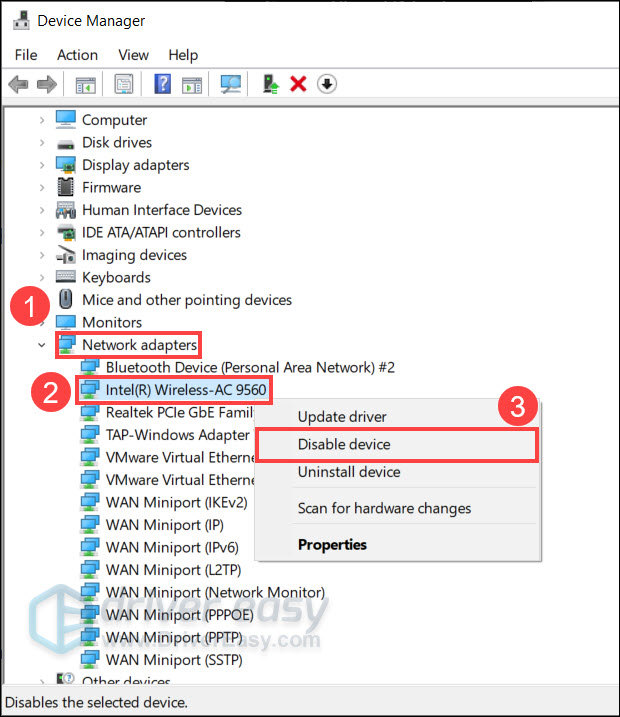
- On your keyboard, press Win+R (the Windows logo key and the R key) to invoke the Run dialog. Then type or paste devmgmt.msc and click OK.

- Double-click Network adapters to expand the node. Then right-click Intel(R) Wireless-AC 9560 and select Disable device. If you don’t see your AC-9560 adapter, try using Driver Easy to scan for missing drivers.
- Restart your computer and repeat these steps to enable the AC-9560 adapter.
If this trick doesn’t give you luck, take a look at the next one.
Fix 3: Reinstall the AC-9560 driver
When it comes to driver issues, one of the most effective fixes is to reinstall the driver. But be advised that you might need two computers to reinstall the network driver. And if you don’t know how, follow the steps below.
Uninstall the AC-9560 driver
First you need to uninstall the driver:
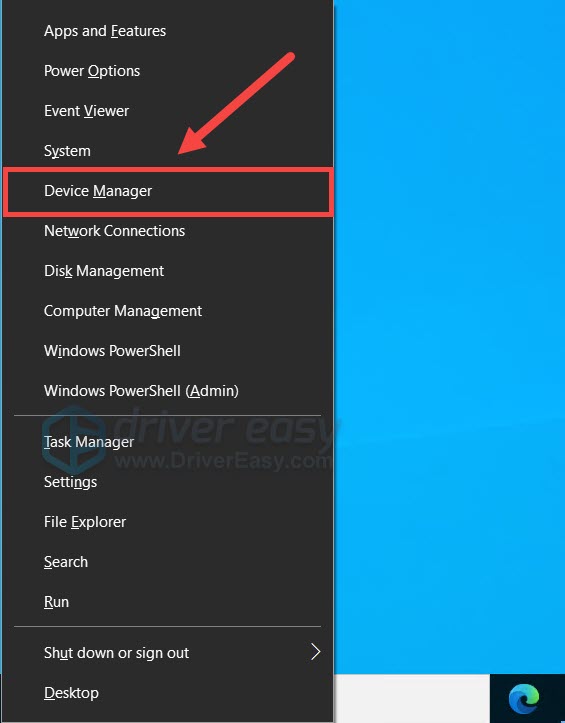
- On your keyboard, press Win+X (the Windows key and the X key) to open the WinX menu. Then select Device Manager.
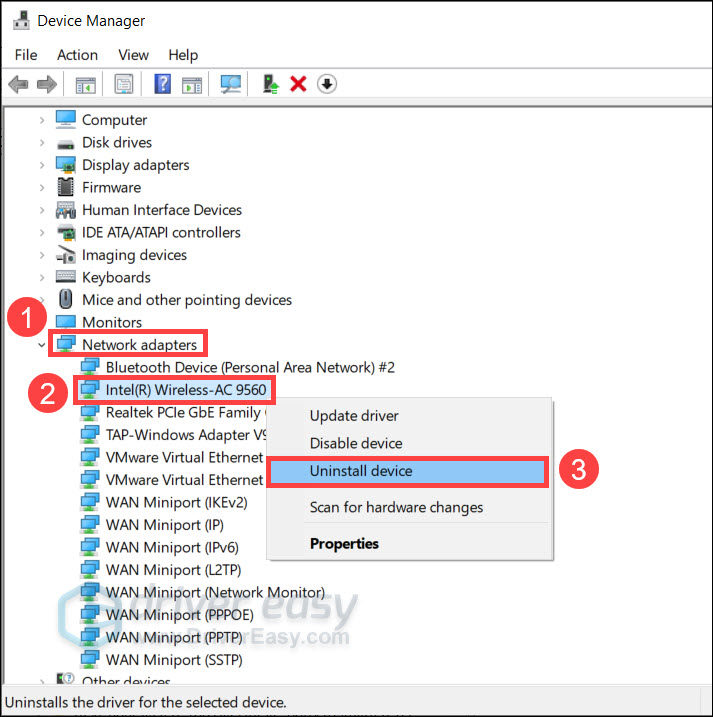
- Double click Network adapters to expand the node. Then right click Intel(R) Wireless-AC 9560 and select Uninstall device.
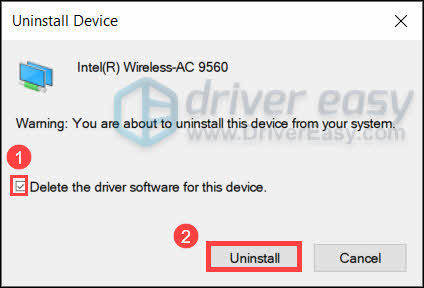
- Select the box in front of Delete the driver software for this device. Then click Uninstall.
- Now restart your computer.
Install the AC-9560 driver
Windows 10 should install the generic network driver after a reboot. But that’s not always the case. If Windows failed, or you’re on Windows 7 or 8, you can use the following steps to install the latest network driver.
There’re 2 ways you can do this. You can go to the Intel driver download page and search for your model, then download and install the driver manually. Or, if you don’t have the time, patience or computer skills, you can do all this automatically with Driver Easy.
- Download and install Driver Easy.
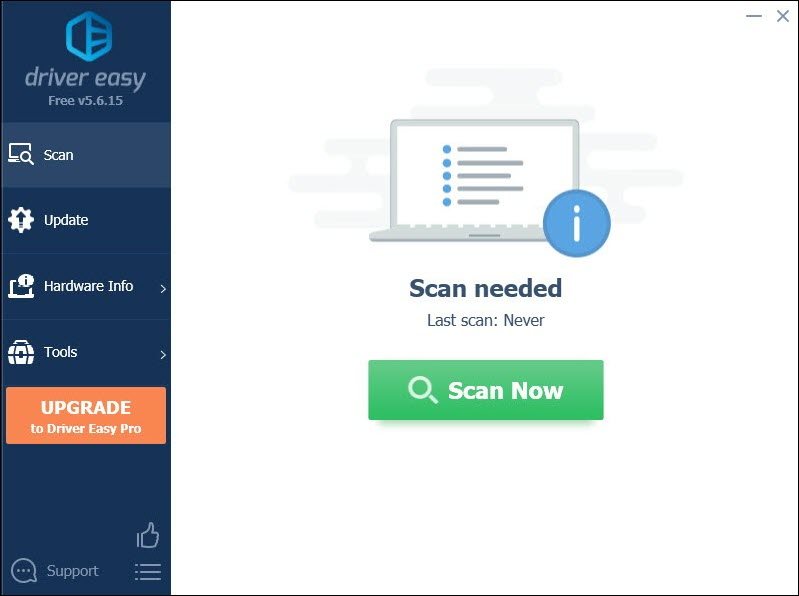
- Run Driver Easy and click the Scan Now button. Driver Easy will then scan your computer and detect any problem drivers.
- Click Update All to automatically download and install the correct version of all the drivers that are missing or out of date on your system.
(This requires the Pro version – you’ll be prompted to upgrade when you click Update All. If you don’t want to pay for the Pro version, you can still download and install all the drivers you need with the free version; you just have to download them one at a time, and manually install them, the normal Windows way.)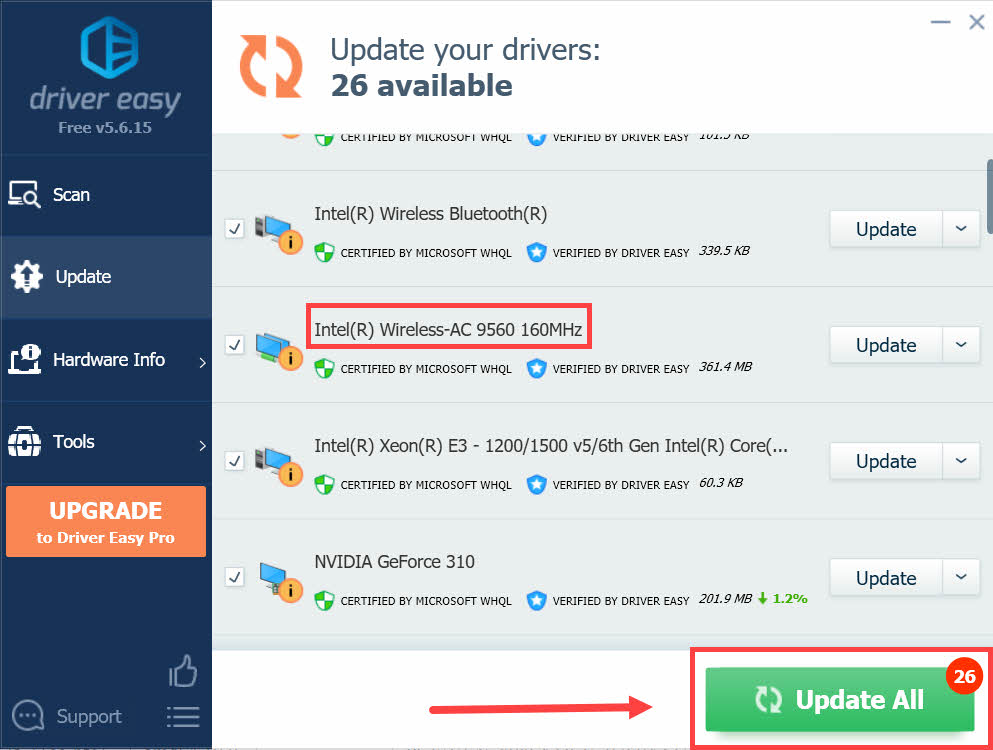
Once you’ve installed the latest AC-9560 driver, restart your PC for the changes to apply.
Fix 4: Turn on WLAN AutoConfig service
WLAN AutoConfig is a Windows service that controls how your Wi-Fi works. If this service is disable or is set incorrectly, your Wi-Fi won’t work. So you need to make sure it’s set to running automatically.
Here’s how you can check:
- On your keyboard, press Win+R (the Windows logo key and the R key) to invoke the Run dialog. Then type or paste services.msc and click OK.

- Find a service named WLAN AutoConfig. Right click and select Properties.
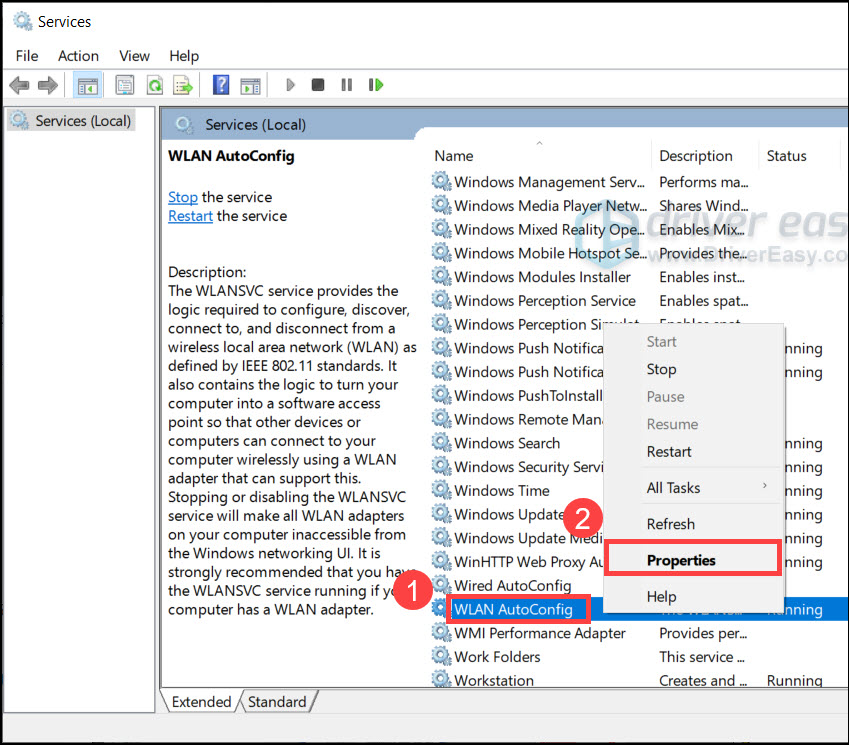
- Make sure Startup type is set to Automatic. And Service status is Running.

Fix 5: Check if your system is corrupted
The issue could indicate that your system is corrupted or misconfigured. You can try to use a Windows built-in repair tool to scan for and fix faulty system files.
Step 1. Scan corrupt files with System File Checker
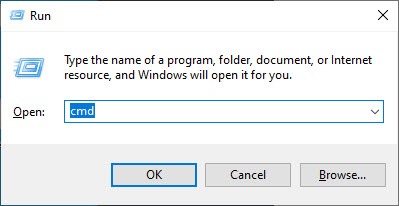
1) On your keyboard, press the Windows logo key and R at the same time to open the Run box. Type cmd and press Ctrl+Shift+Enter to run Command Prompt as administrator.
Click Yes when prompted for permission to make changes to your device.
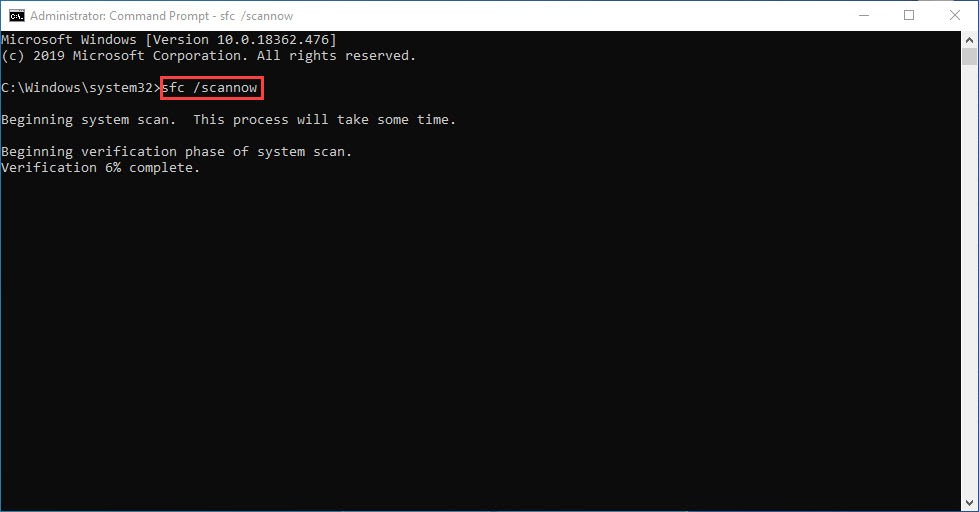
2) In the Command Prompt, type the following command and hit Enter.
sfc /scannow
3) System File Check will begin to scan all system files and repair any corrupted or missing ones it detected. This may take 3-5 minutes.
4) You may receive something like the following messages after the verification.
- no errors
- it fixed some errors
- could not fix all errors
- could not fix errors at all
- ……
No matter what message you receive, you can try running dism.exe (Deployment Image Servicing and Management) to further scan the health of your PC.
Step 2. Run dism.exe
1) Run Command Prompt as admin and enter the following commands.
- This command line will scan the health of your PC:
dism.exe /online /cleanup-image /scanhealth
- This command line will restore the health of your PC:
dism.exe /online /cleanup-image /restorehealth
2) After the restore health process finishes, you may get some error messages.
- If restore heath gave you errors, you can always try this command line. This will take up to 2 hours.
dism /online /cleanup-image /startcomponentcleanup
- If you get Error: 0x800F081F with the restore health scan, reboot your PC and run this command line.
Dism.exe /Online /Cleanup-Image /AnalyzeComponentStore
If the System File Check finds any files corrupted, follow the on-screen instructions to repair them, and then restart your computer for the changes to take full effect.
Hopefully, this post helps you get your AC-9560 working properly. If you have any questions or ideas, leave a comment down below and we’ll get back ASAP.