


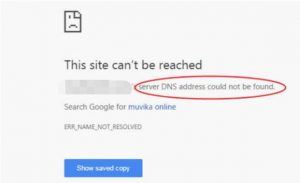
If you use Google Chrome and you’re getting the “server DNS address could not be found” error message when you try to visit some websites, don’t worry! It’s definitely something you can fix…
Here are 5 fixes
Here are five fixes to try that have solved this problem for other Chrome users. You may not need to try them all. Just work your way down the list until you find the one that fixes the problem.
- Delete all the files in your ‘etc’ folder
- Clear Chrome’s host cache
- Update your network adapter driver
- Configure your DNS servers
- Renew and flush the DNS
- Use a VPN
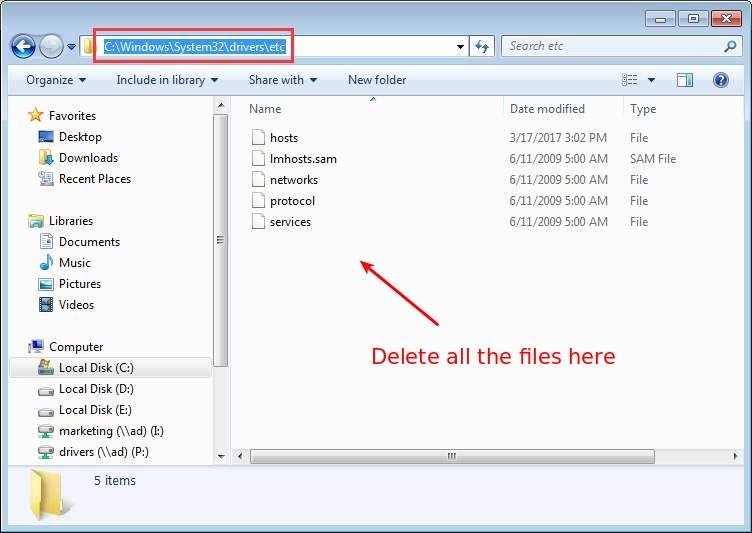
Fix 1: Delete all the files in your ‘etc’ folder
This is a simple fix. Just go to C:WindowsSystem32driversetc and delete all the files there. Then try accessing the internet again with Chrome.
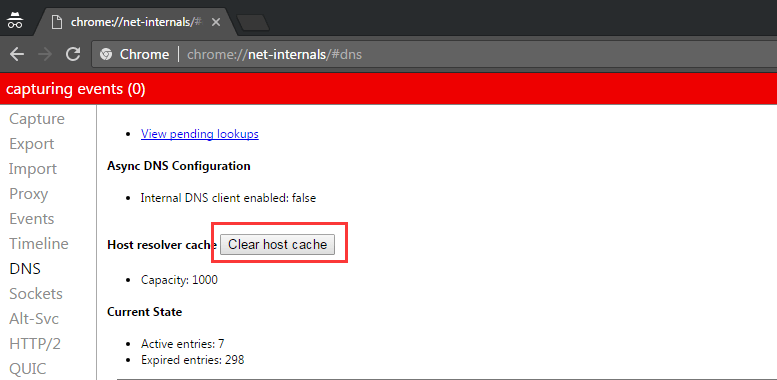
Fix 2: Clear Chrome’s host cache
If Chrome’s host cache is corrupt or too full, you may not be able to access any websites. This is a very common cause of the problem, and quite an easy one to fix:
1) Open Chrome and type chrome://net-internals/#dns in the address bar, press Enter on your keyboard, then click the Clear host cache button.
2) Check to see if the problem is resolved.
Fix 3: Update your network adapter driver
The DNS error can be caused by an outdated, incorrect or corrupt network adapter driver. You can update your network adapter driver manually or, if you’re not confident playing around with drivers, you can do it automatically with Driver Easy.
Driver Easy will automatically recognize your system and find the correct drivers for it. You don’t need to know exactly what system your computer is running, you don’t need to risk downloading and installing the wrong driver, and you don’t need to worry about making a mistake when installing.
You can update your drivers automatically with either the FREE or the Pro version of Driver Easy. But with the Pro version it takes just 2 clicks (and you get full support and a 30-day money back guarantee):
1) Download and install Driver Easy.
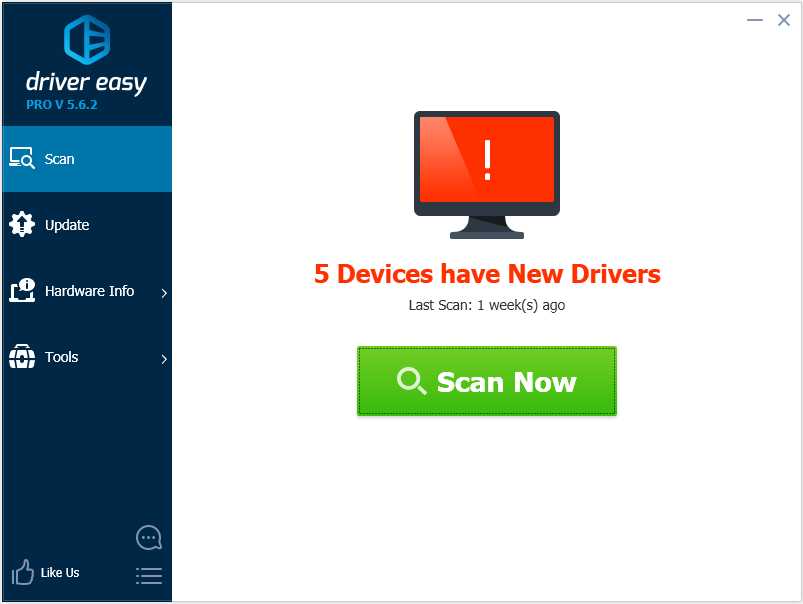
2) Run Driver Easy and click Scan Now. Driver Easy will scan your computer and detect any problem drivers.
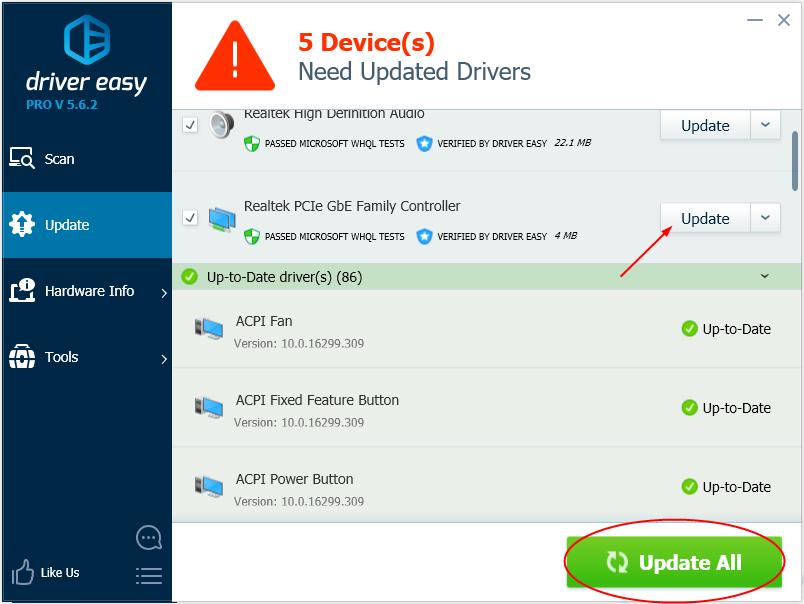
3) Click the Update button next to a flagged network adapter driver to automatically download the correct version of this driver, then you can manually install it (you can do this with the FREE version).
Or click Update All to automatically download and install the correct version of all the drivers that are missing or out of date on your system (this requires the Pro version – you’ll be prompted to upgrade when you click Update All).
4) Restart your computer and see if the problem is resolved.
Fix 4: Change your DNS server settings
If your DNS server settings are configured incorrectly, you may not be able to access the internet. Follow steps below to set them correctly.
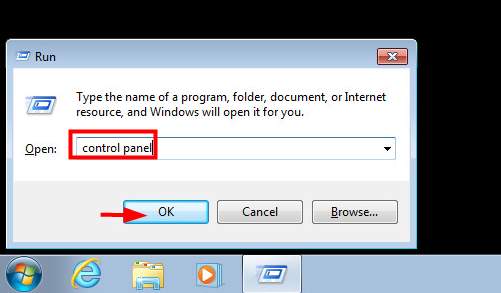
1) On your keyboard, press the Windows logo key and R at the same time.
2) Type control panel in the empty box and click OK:
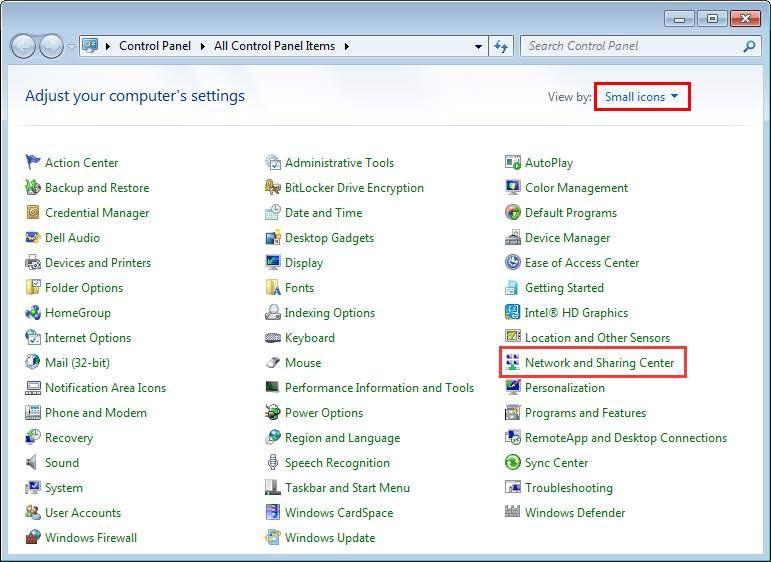
3) View by Small icons then click Network and Sharing Center:
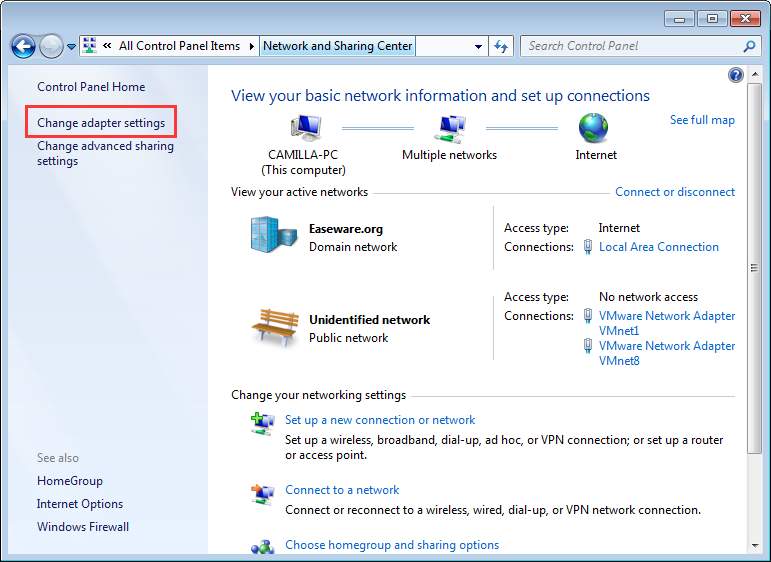
4) Click Change adapter settings:
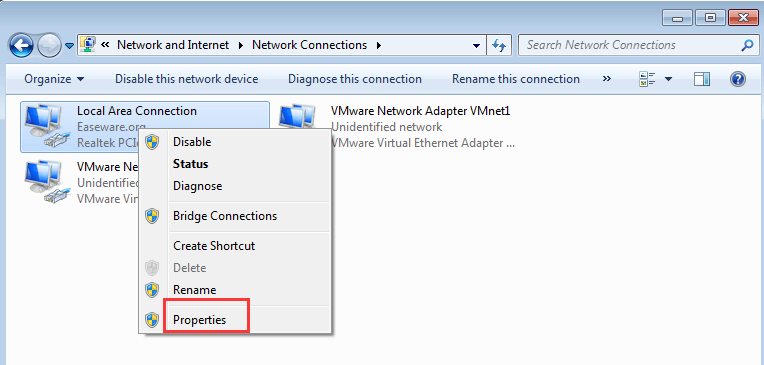
5) Right-click on the connection icon (either Local Area Connection or Wireless Network Connection), then click Properties:
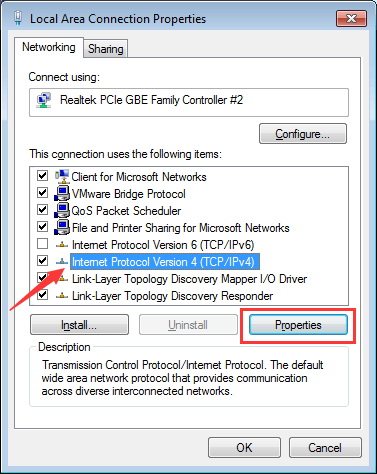
6) Click Internet Protocol Version 4 (TCP/IPv4) then click Properties:
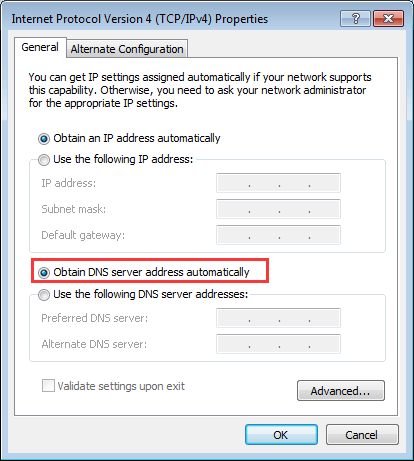
7) In General tab, do one of the following, depending on whether ‘Obtain DNS server address automatically’ is already selected. Either:
a) If Obtain DNS server address automatically is NOT already selected, select it, then click OK:
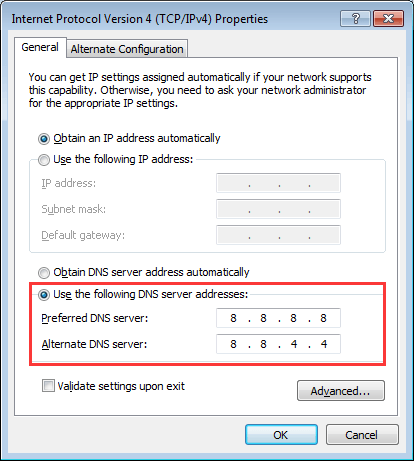
b) If ‘Obtain DNS servers address automatically’ IS already selected, select Use the following DNS server address instead, then enter the following server address and click OK:
Preferred DNS server: 8.8.8.8
Alternate DNS server: 8.8.4.4
8) Check to see if the problem is resolved.
Fix 5: Renew and flush the DNS
Windows automatically stores the IP addresses of the websites you visit, so they open faster the next time you visit them. But if this cache becomes outdated or corrupt, it can stop you from accessing the internet altogether. To see if this is what’s causing your problem, simply renew and flush the DNS:
1) Press Windows+R on your keyboard.
2) Type cmd then press Ctrl+Shift+Enter to open an administrator Command Prompt. (Don’t just press Enter or click OK as that won’t open the command prompt in administrator mode.)
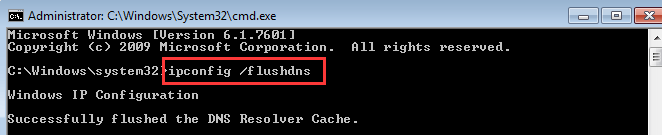
3) Type ipconfig /flushdns and press Enter on your keyboard:
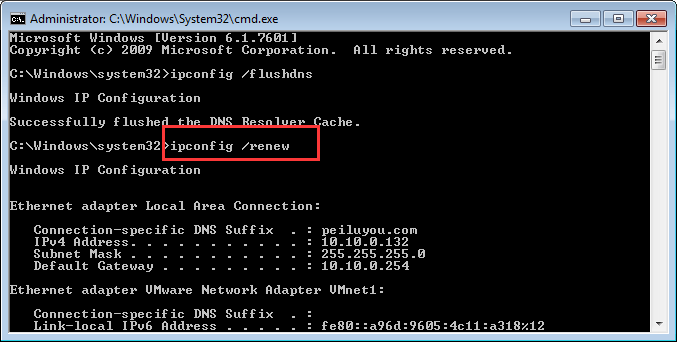
4) Type ipconfig /renew and press Enter on your keyboard:
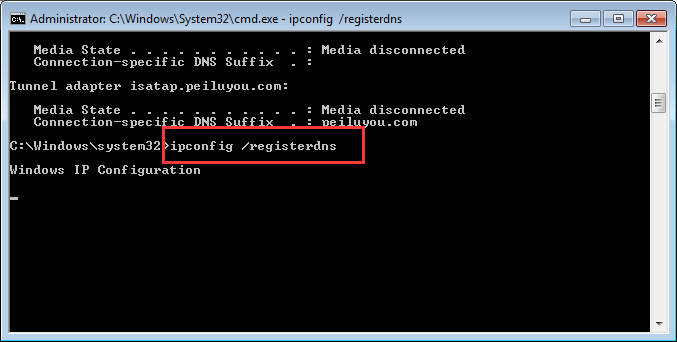
5) Type ipconfig /registerdns and press Enter on your keyboard:
6) Reboot your PC and see if the problem is resolved.
Fix 6: Use a VPN
If you encounter the Server DNS Address Could Not Be Found problem with some websites, you can try to use a VPN to resolve the problems. If the website’s DNS was blocked by the ISP (Internet Service Provider), you may run into the problem.
It’s recommended to use a VPN with good reputation. If you’re not sure what product you can trust, you can use NordVPN (You can use NordVPN coupons and promo codes to get a discount, so you don’t need to spend much time on further searching.)
1) Download NordVPN to your computer (You can get a 75% discount if you purchase the product right now.).
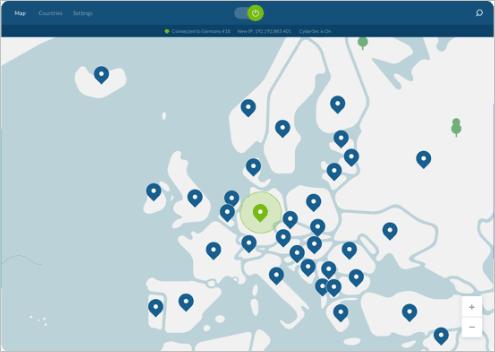
2) Run NordVPN and open it.
3) Connect to a server by choosing a country you want to connect to.
Hopefully one of these solutions will fix your network error. Please let us know if you have any questions or comments.