


Having trouble connecting your computer to your wireless network? You’re not alone! Many Windows users are reporting it. But the good news is you can fix it. Here are 6 solutions to try.
6 simple fixes to try:
You may not have to try them all. Just work your way down the list until you find the one that does the trick for you.
Fix 1: Run the Network Troubleshooter
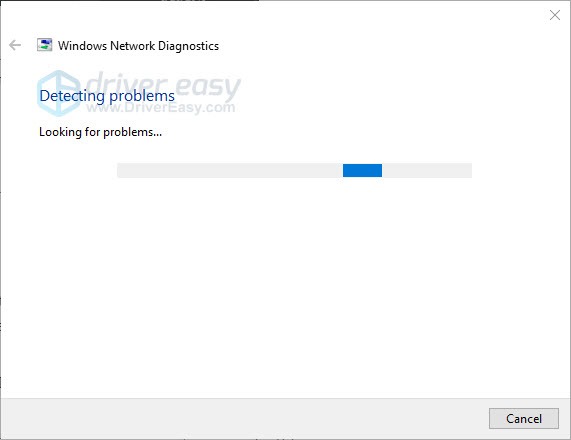
The Windows Network Troubleshooter is a Windows built-in utility that can detect and fix network problems automatically.
When something goes wrong with your network, running this tool should always be your go-to option.
1) Right-click the WiFi icon on the taskbar and select Troubleshoot problems or Diagnose netwrok problems.
2) Wait for the process to be complete, and then try connecting your computer to your WiFi.
If Windows fails to detect and fix your problem, don’t fret. There are still 4 more fixes to try.
Fix 2: Disable the network adapter power saving setting
This issue might happen when your PC turns off your wireless network adapter to save power. In this case, disabling the power-saving setting should fix the issue for you. Follow the instructions below:
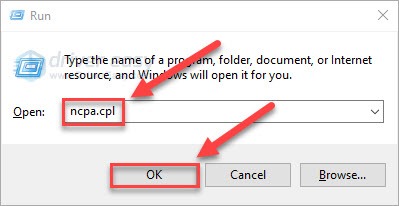
1) On your keyboard, press the Windows logo key and R on your keyboard to open the Run box.
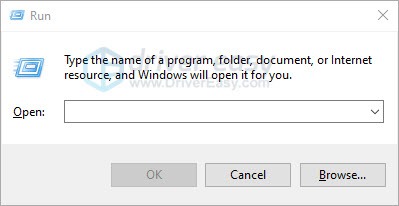
2) Type ncpa.cpl and click OK.
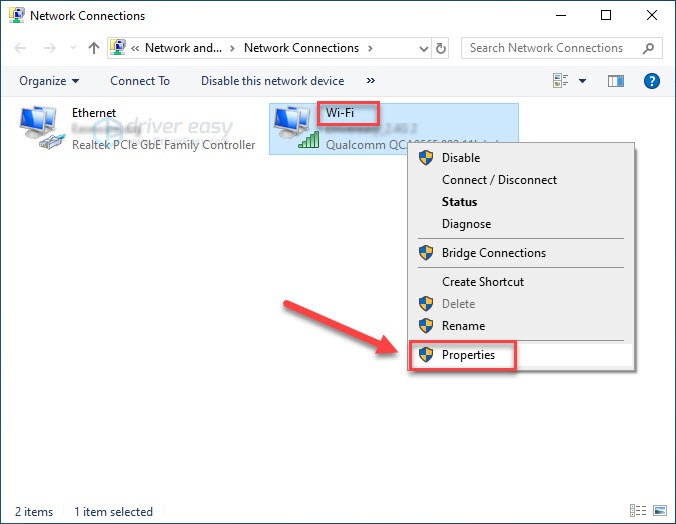
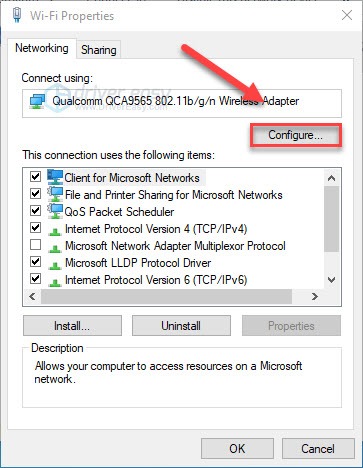
3) Right-click your Wireless/WiFi network adapter, then click Properties.
4) Click Configure.
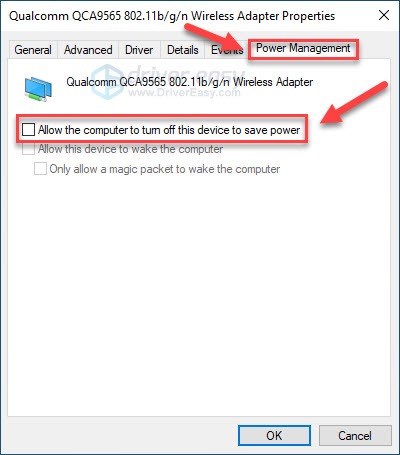
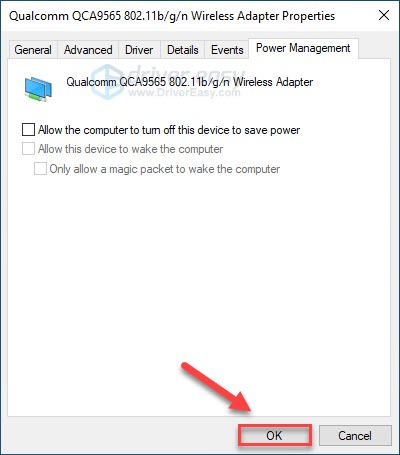
5) Click the Power Management tab, then make sure Allow the computer to turn off this device to save power is unchecked.
6) Click OK.
7) Try connecting to your wireless network again.
If your issue persists, then go ahead with the fix below.
Fix 3: Restart your router and modem
If your router and modem have been working non-stop for a long time, it may get overheated.
Turn off the two devices, and wait for 3 minutes to cool them off. Then, turn them back on. This will refresh the Internet connection, and, hopefully, fix the issue for you.
If your problem still exists after rebooting your devices, read on and try the fix below.
Fix 4: Check for corrupted system files
Missing, corrupt or damaged system files can interfere with your internet connection. To see if this is the core issue for you, you can run a system scan to detect broken or damaged system files.
System File Checker is a Windows built-in tool that can help you scan for and repair any corruptions of your system files. Follow the instructions to see how to use it:
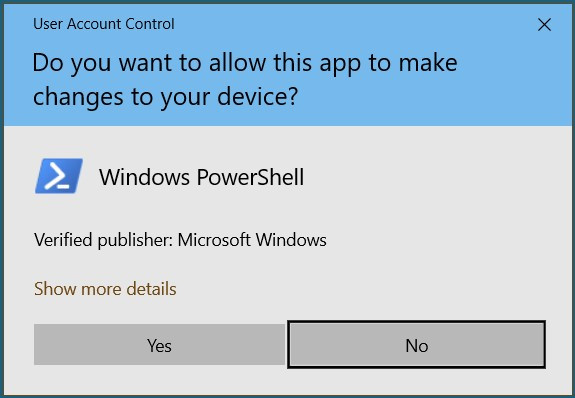
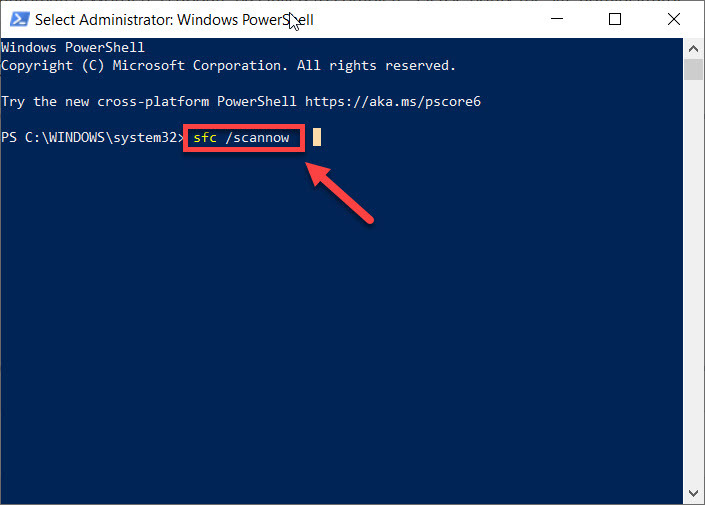
1) On your keyboard, press the Windows key and X at the same time, then click Windows PowerShell, or Command Prompt (Admin) if you’re on Windows 7.

2) Click Yes to continue.
3) Type sfc /scannow, then press the Enter key on your keyboard. Leave the Command Prompt window open until the command completes.
4) When it finishes, you will see one of the following results.
If you’re see these two messages, it means that your computer has no currupted files, or at least Windows isn’t able to detect them. You can continue to use the PC as you normally would.
- Windows Resource Protection did not find any integrity violations.
- Windows Resource Protection found corrupt files and successfully repaired them.
However, if you’re seeing the following messages, it means something is wrong with your system. You can run the scan again in safe mode, or follow this Microsoft guide to repair corrupted files.
- Windows Resource Protection could not perform the requested operation.
- Windows Resource Protection found corrupt files but was unable to fix some of them.
Fix 5: Update your network adapter driver
Network problems might occur when you’re using the wrong or outdated network adapter driver. To prevent network issues, it’s essential that you have the latest correct driver at all times. Here is how to update your network adapter driver:
- Option 1 – Manually – You’ll need some computer skills and patience to reinstall your driver this way, because you need to find exactly the right the driver online, download it and install it step by step.
- Option 2 – Automatically (Recommended) – This is the quickest and easiest option. It’s all done with just a couple of mouse clicks – easy even if you’re a computer newbie.
Option 1 – Download and install the driver manually
The manufacturer of your network adapter keeps updating the driver for your device. To get the latest driver, you need to go to the manufacturer’s website, find the driver corresponding with your specific flavor of Windows version (for example, Windows 32-bit) and download the driver manually.
Once you’ve downloaded the correct driver for your system, double-click on the downloaded file and follow the on-screen instructions to install the driver.
Option 2 – Automatically update your driver
If you don’t have the time, patience or computer skills to reinstall your driver manually, you can do it automatically with Driver Easy.
Driver Easy will automatically recognize your system and find the correct drivers for it. You don’t need to know exactly what system your computer is running, you don’t need to risk downloading and installing the wrong driver, and you don’t need to worry about making a mistake when installing.
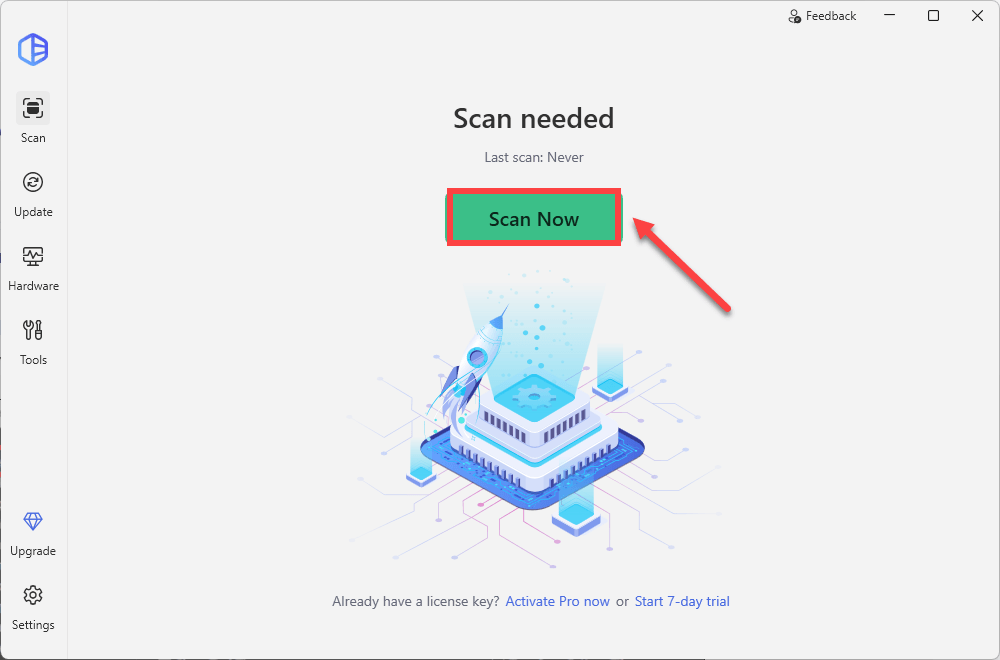
1) Download and install Driver Easy.
2) Run Driver Easy and click Scan Now button. Driver Easy will then scan your computer and detect any problem drivers.
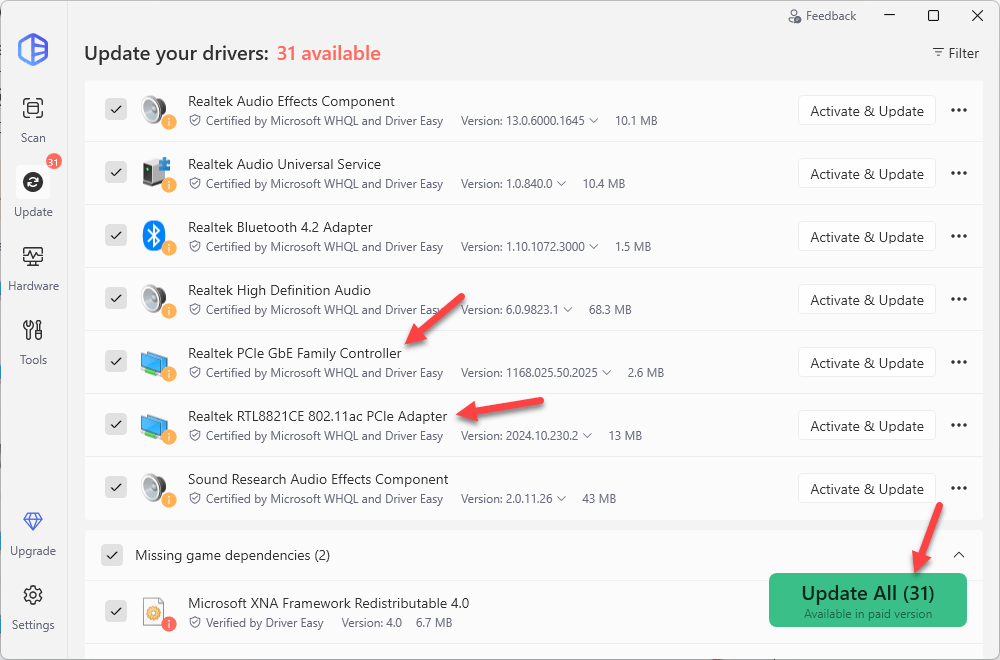
3) Click Update All. Driver Easy will then download and update all your outdated and missing device drivers, giving you the latest version of each, direct from the device manufacturer.
Fix 6: Run the Windows command-line tool
Improper network settings can also trigger this issue.
Try using the Windows command-line tool to renew your network settings. Here’s how:
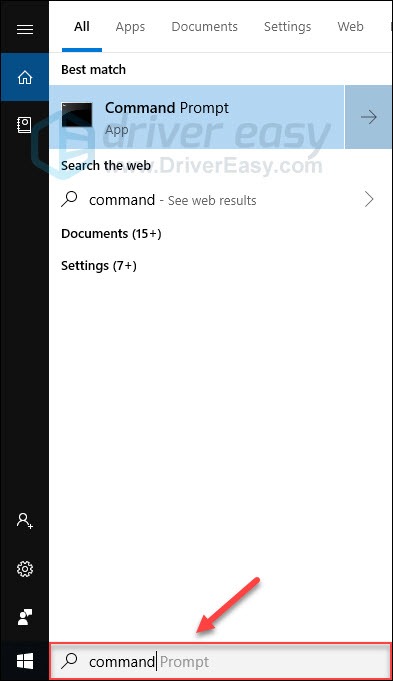
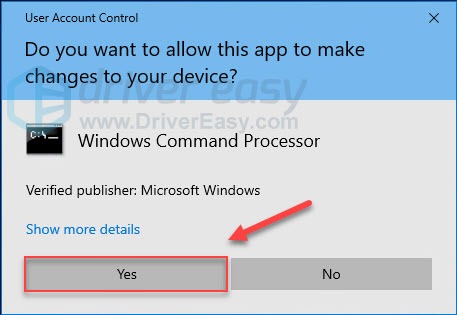
1) On your keyboard, press the Windows logo key and type command. Then, press the Enter, Shift and Ctrl keys at the same time to run Command Prompt as an administrator.
2) Click Yes.
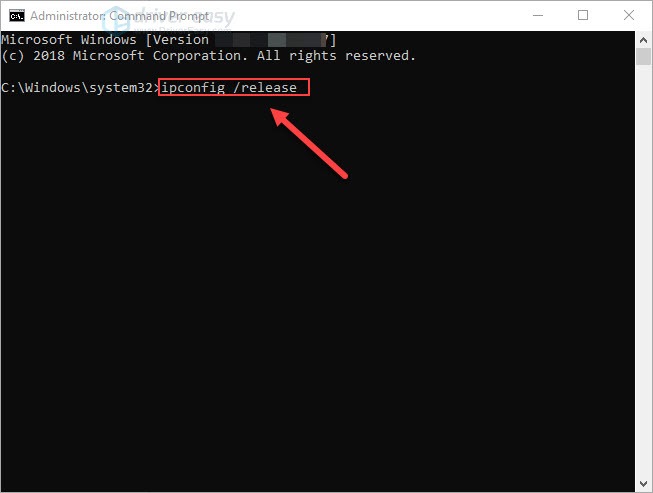
3) Type ipconfig /release, and then press the Enter key on your keyboard.
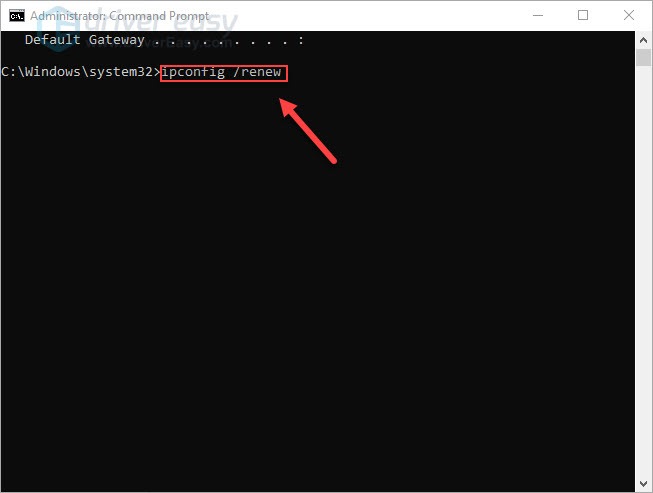
4) Type ipconfig /renew, and then press the Enter key on your keyboard.
6) Try connecting your computer to your wireless network again.
Hopefully, one of the fixes above helped in resolving your problem. Feel free to leave a comment below if you have any questions and suggestions. I would love your thoughts!