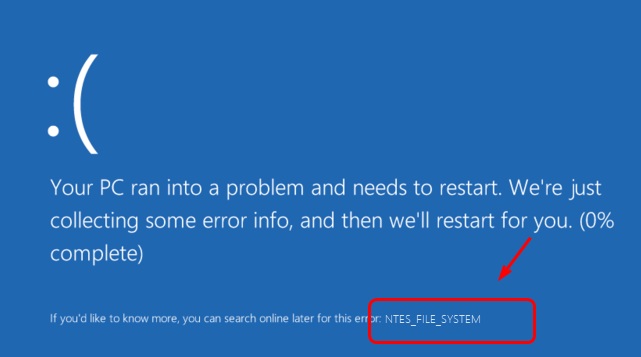
If you’re seeing NTES_FILE_SYSTEM blue screen of death error, and you have no idea what to do, you’re not alone. Many Windows 10 users are reporting this problem as well. No worries, it’s possible to fix.
Here are 7 solutions for you to try. You may not have to try them all; just work your way down until you find the one works for you.
1. Undo recent changes
2. Check Event Viewer
3. Run a Disk Check
4. Check Hard Drive Space
5. Run System File Checker
6. Run Driver Verifier
7. Update hard driver driver
IMPORTANT: You’ll need to be logged into Windows on the problem computer to try any of these solutions. If you can’t log into Windows, power on and off your PC 3 times to perform a hard reboot and restart it in Safe Mode, then try these solutions.
1. Undo recent changes
One of the causes of this blue screen error could be recent changes you’ve made to your system. If you’ve added new hardware or software to your system recently, remove them to see if the problem is fixed.
2. Check Event Viewer
Event viewer allows you to know for sure what exactly went wrong when your computer went into blue screen of death. You can check it by:
1) On your keyboard, press the Windows key and X at the same time, then click Event Viewer.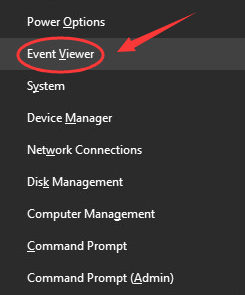
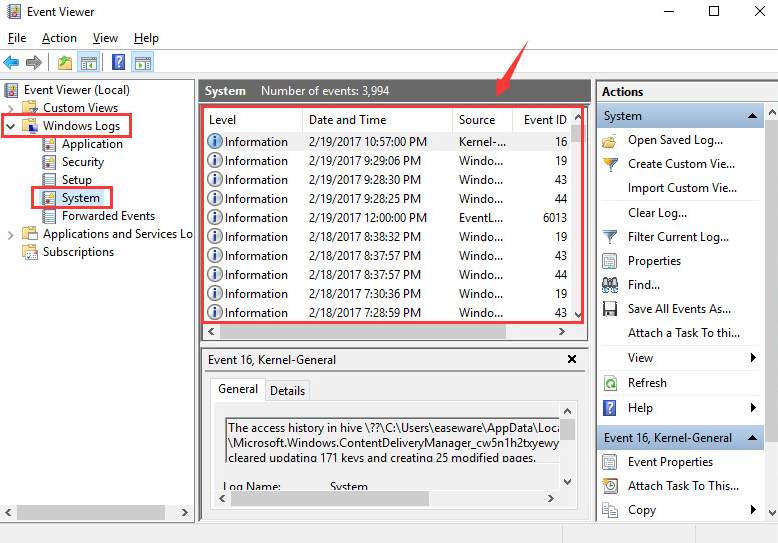
2) On the left side of the pane, click Windows Logs then System. Check the mid section for any suspicious event that happens just about the time when the blue screen error occurs.
3) If you find it and you need any assistance taking care of it, please feel free to leave us comment and we will see what we can do from there.
3. Run a Disk Check
In many cases, corrupted disk is the cause for a blue screen of death error. You can run a disk check to see for sure if this is the cause in your case:
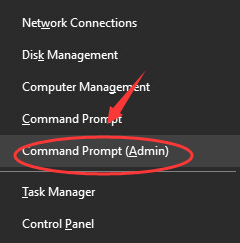
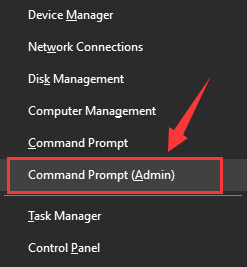
1) On your keyboard, press the Windows key and X at the same time, then click Command Prompt (Admin).
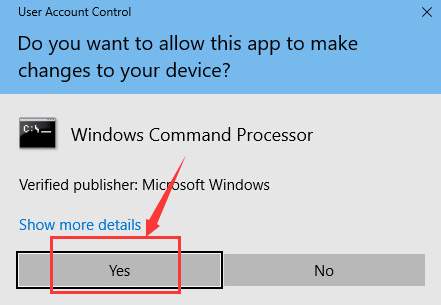
Click Yes to continue.
2) Type the following command:
chkdsk /f c:
Then press the Enter key on your computer.
Note: If the setup files of your Windows is not stored in disk C, then please replace the c: here in the command to the appropriate disk letter.

Type Y and restart your computer for the check to complete.
4. Check Hard Drive Space
If you don’t have enough storage space for your Windows setup files, blue screen of death error like NTES_FILE_SYSTEM could occur.
Please confirm that there is sufficient free space on the hard drive. Normally there should be a 10% to 15% free space available in the hard drive that you use to store Windows (usually partition C). Please check to make sure that you have fulfilled this requirement.
5. Run System File Checker
This blue screen of death error could occur if some of your system files are corrupted. You can run System File Checker to fix it:
1) On your keyboard, press the Windows key and X at the same time, then click Command Prompt (Admin).
Click Yes to continue.

2) Type the following command, then press the Enter key on your keyboard.
sfc /scannow
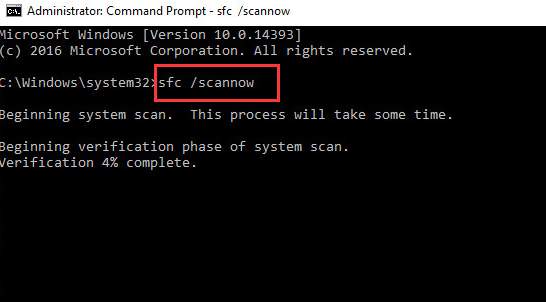
Leave the Command Prompt window on until the command completes.
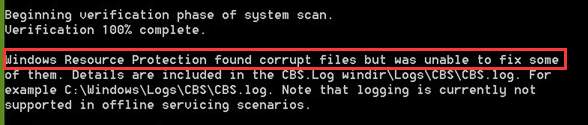
3) If you see the message saying that Windows Resource Protection did not find any integrity violations, then everything is find with your system.

4) If you see a message saying Windows Resource Protection found corrupt files but was unable to fix some of them, then you need to go to safe mode and run the system file checker again.
6. Run Driver Verifier
Warning: You should only run Driver Verifier on test computers, or computers you are testing and debugging. For more information, please refer to this post here.
1) On your keyboard, press the Windows key and X at the same time, then click Command Prompt (Admin).
Click Yes to continue.
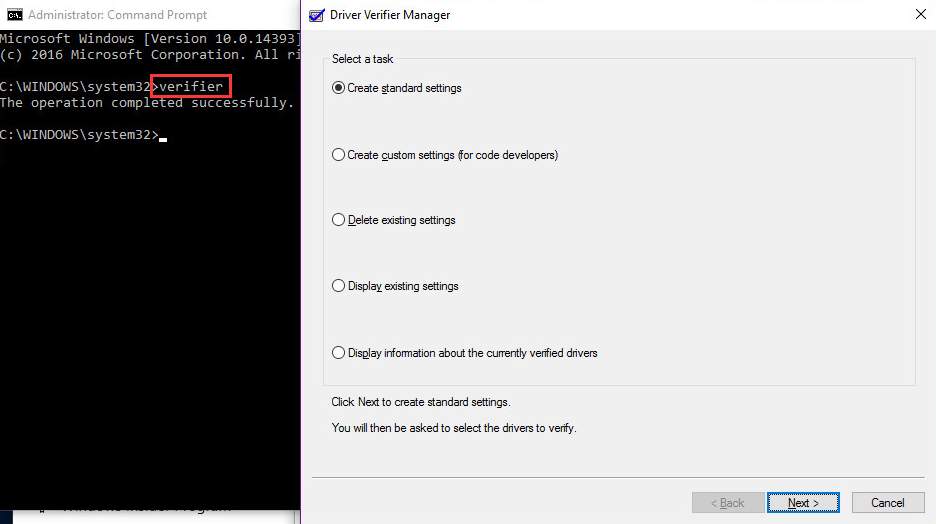
2) In the Command Prompt window, type in the following command:
verifier
Then press the Enter key on your keyboard.
7. Update hard drive driver
NTFS_File_System blue screen of death error could be caused by corrupted hard drive drivers.
The steps above may resolve it, but if they don’t, or you’re not confident playing around with drivers manually, you can do it automatically with Driver Easy.
Driver Easy will automatically recognize your system and find the correct drivers for it. You don’t need to know exactly what system your computer is running, you don’t need to risk downloading and installing the wrong driver, and you don’t need to worry about making a mistake when installing.
You can update your drivers automatically with either the FREE or the Pro version of Driver Easy. But with the Pro version it takes just 2 clicks (and you get full support and a 30-day money back guarantee):
1) Download and install Driver Easy.
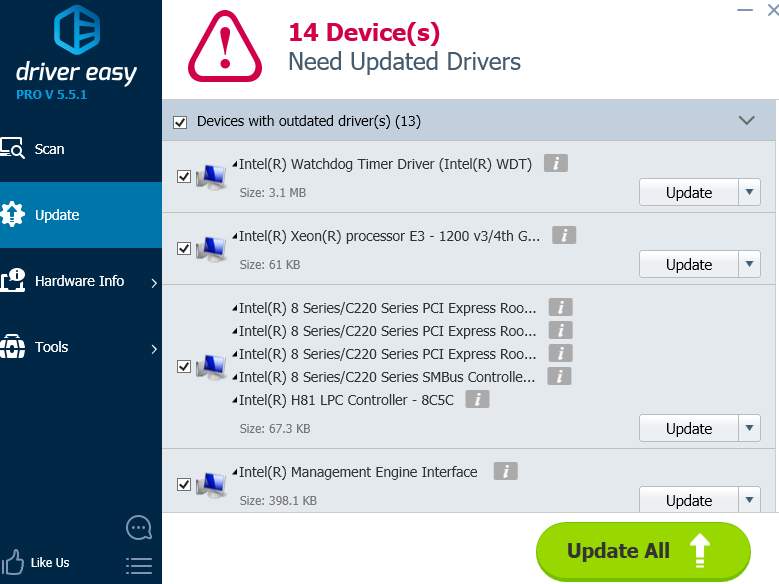
2) Run Driver Easy and click the Scan Now button. Driver Easy will then scan your computer and detect any problem drivers.
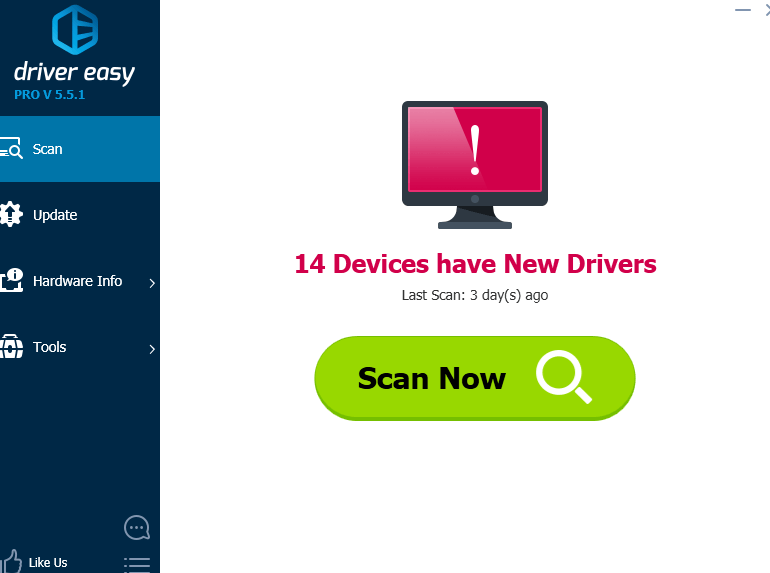
3) Click the Update button next to all flagged devices to automatically download and install the correct version of their drivers (you can do this with the FREE version).
Or click Update All to automatically download and install the correct version of all the drivers that are missing or out of date on your system (this requires the Pro version – you’ll be prompted to upgrade when you click Update All).