


ZIP is a popular archive format widely used in Internet. It stores files in compressed form which can save space for your hard drive. Therefore, ZIP File can be shared with or transferred to others more quickly. Read on to find out how to create a ZIP File easily for windows 7 & Windows 10.
Case 1. Way for creating a ZIP File for Windows 7 & Window 10
Case 2. Other ways for creating a ZIP File for Windows 10
Case 1. Way for creating a ZIP File for Windows 7 & Windows 10
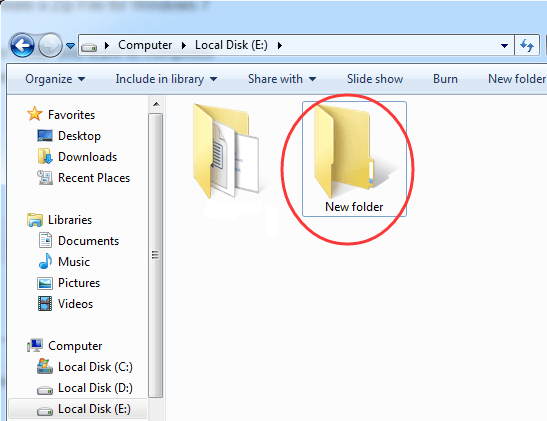
1) Select the file or folder you want to compress
(Here take “New Folder” as example)
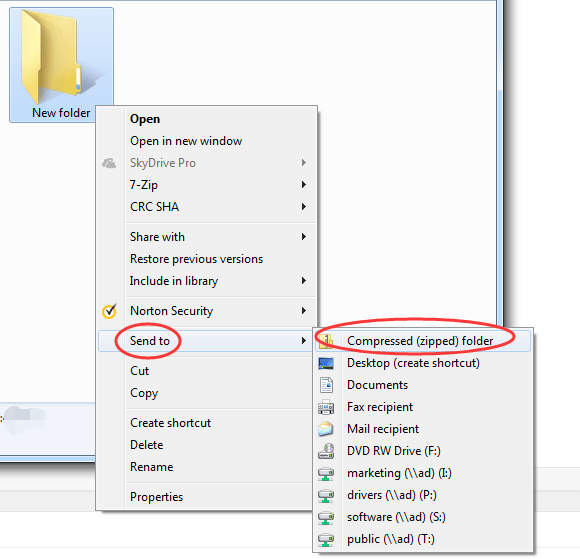
2) Right-click on the file or folder you want to compress.
Then click Send to > Compressed(zipped) folder
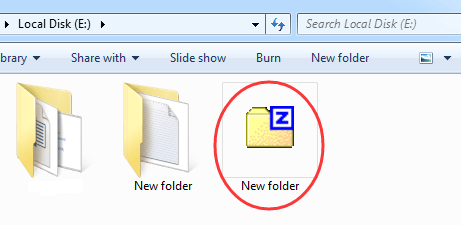
3) Now the Zip File is created, you can rename it with the name you like.
NOTE: If you want to compress several files together, just select all the files you want to compress, and then follow from step 1.
Case 2. Other ways for creating a ZIP File for Windows 10
Way 1
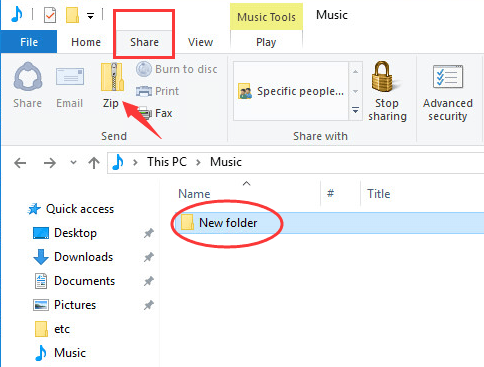
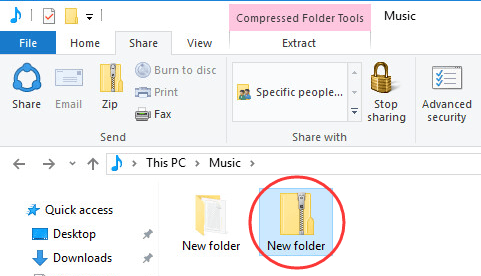
1) Select the file or folder you want to compress, then click Share on the menu bar.
Click Zip.
2) Now the Zip File is created, you can rename it with the name you like.
Way 2
Create a Blank ZIP File and then add the file or folder you want to compress into it.
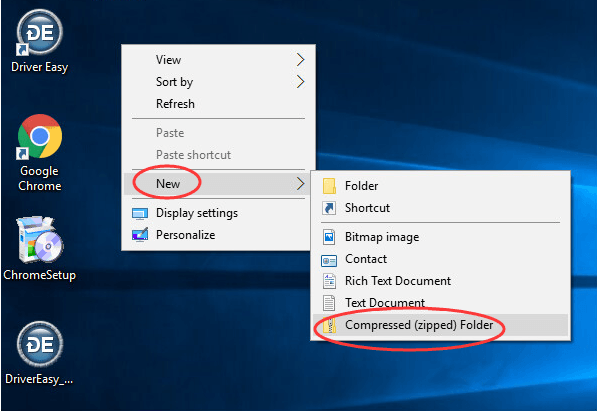
1) Locate the place you want to create a ZIP File. Right-click on the blank space.
Then click New > Compressed(zipped) Folder.
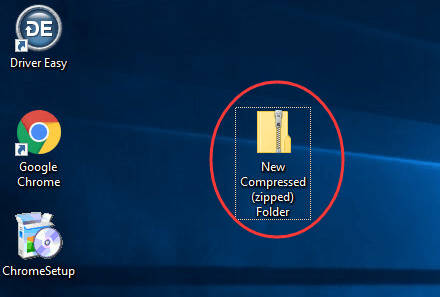
2) Now a new blank ZIP File is created, you can rename it and add the file or folder you want to compress into it by easy copy-paste.
That’s it! Try to create a ZIP File by yourself now!