

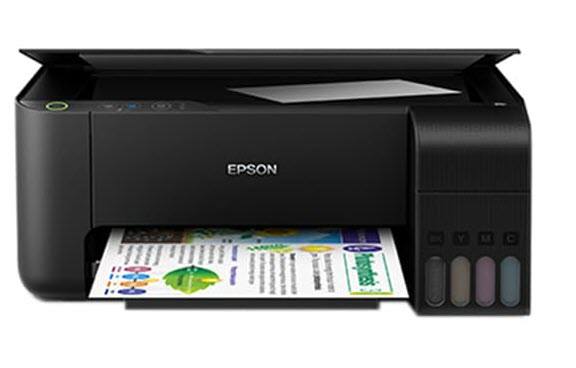
Looking for the latest Epson L3110 printer driver for Windows 11, Windows 10, or Windows 7? Installing the correct driver ensures your printer can print, scan, and communicate properly with Windows.
If you’re setting up a new printer, reinstalling Windows, or fixing a printer that suddenly stopped working, this guide walks you through two safe and easy ways to install the latest Epson L3110 driver:
Option 1 – Manually – This would require a certain level of computer knowledge. You need to find, download and install the printer driver, step by step.
OR
Option 2 – Automatically (Recommended) – This is by far the quickest and easiest way to install and update your printer driver. All you need are a few clicks and a computer with Internet.
Option 1 – Install Epson L3110 driver manually
If you’re familiar with computer hardware, you can try to install the printer manually. To do so, simply follow these steps:
- First, visit the official website of Epson. From the top menu, select SEARCH.

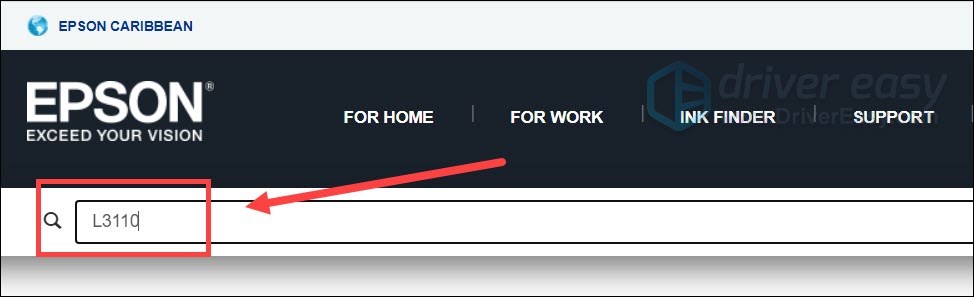
- In the input box, type or paste L3110 and press Enter.
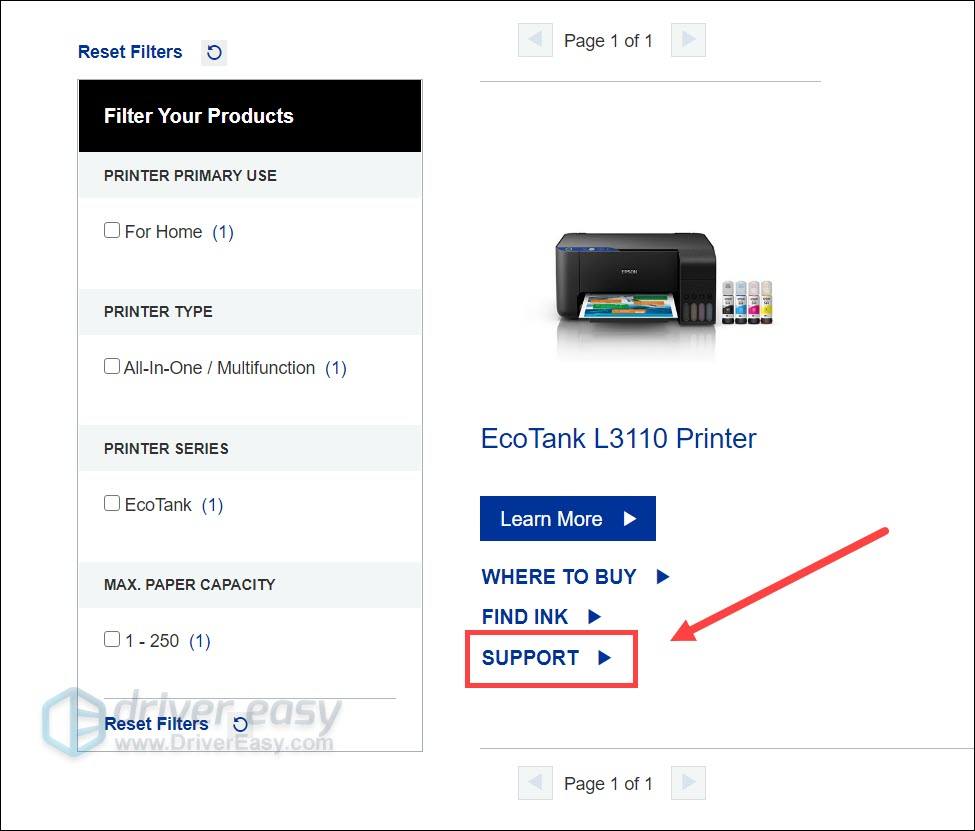
- You should be able to find your L3110 product in the search result. Click SUPPORT.
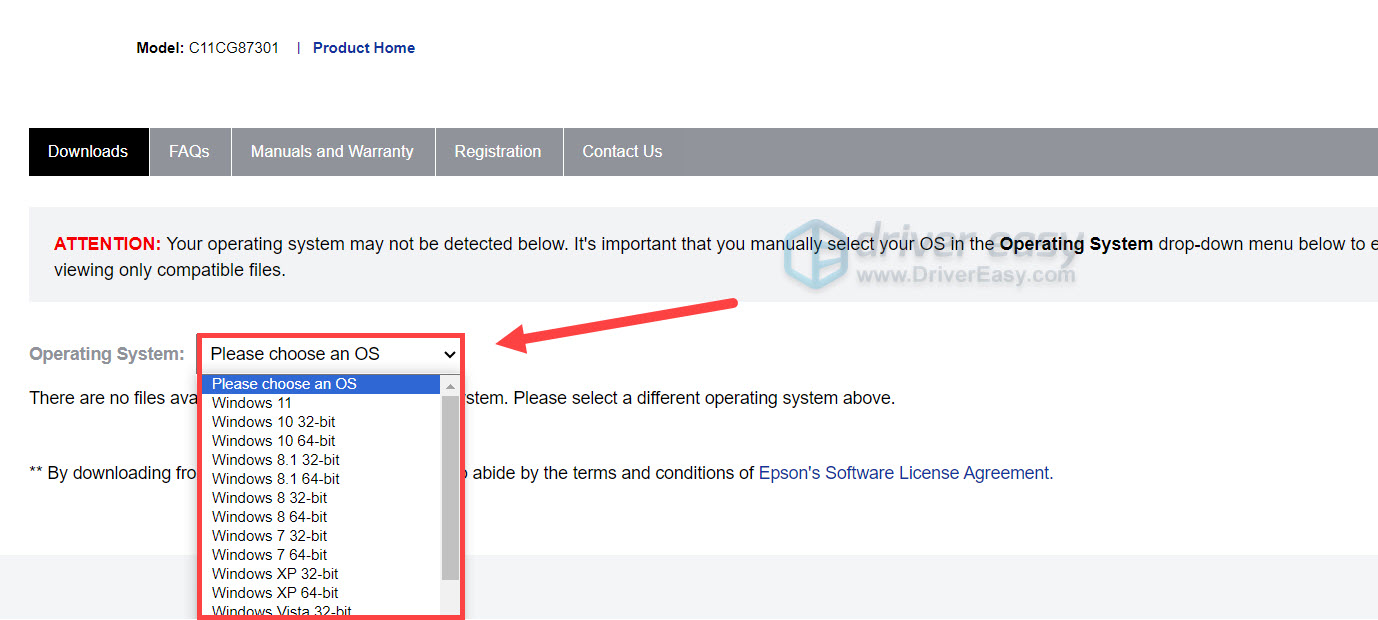
- Click the box next to Operating System, then select your Windows version from the drop-down list.
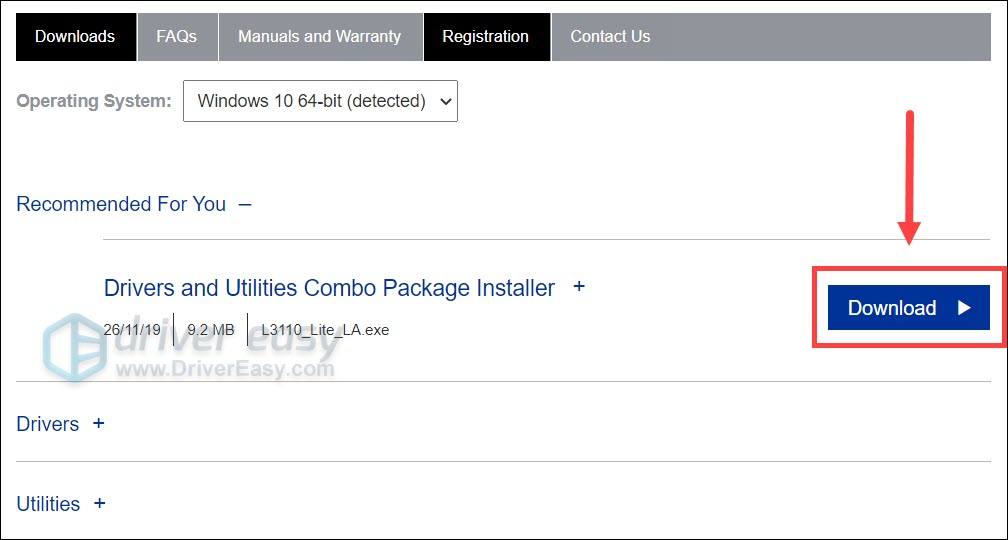
- Under the Recommended For You section, click Download to get the driver installer. Once downloaded, open the installer and follow the on-screen instructions to proceed.
Option 2 – Install Epson L3110 driver automatically (Recommended)
If you don’t have the time, patience or computer skills to install or update the printer driver manually, you can, instead, do it automatically with Driver Easy. Driver Easy will automatically recognize your system and find the correct drivers for your exact printer, and your Windows version, and it will download and install them correctly. Driver Easy handles it all.
You can update your drivers automatically with either the 7 days free trial or the Pro version of Driver Easy. It takes just 2 clicks, and you get full support and a 30-day money-back guarantee with the Pro version:
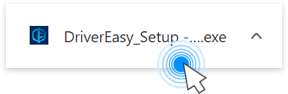
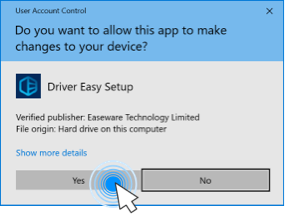
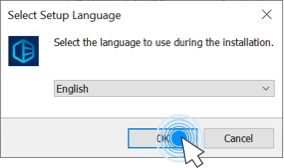
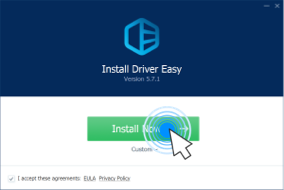
- Download and install Driver Easy.
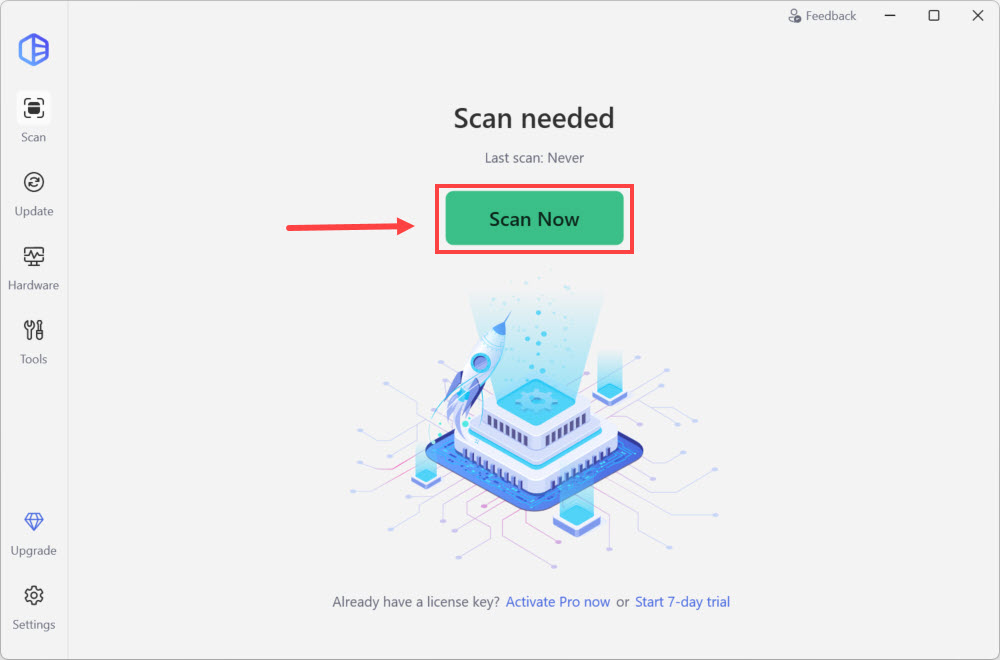
- Run Driver Easy and click the Scan Now button. Driver Easy will then scan your computer and detect any problem drivers.
- Click the Activate & Update button next to the flagged device to automatically download and install the correct version of this driver.
Or click Update All to automatically download and install the correct version of all the drivers that are missing or out of date on your system (You’ll need the Pro version for this – when you select Update All, you’ll get a prompt to upgrade. If you’re not prepared to purchase the Pro version yet, Driver Easy provides a 7-day trial at no cost, granting access to all Pro features like fast downloads and easy installation. No charges will occur until after your 7-day trial period ends.)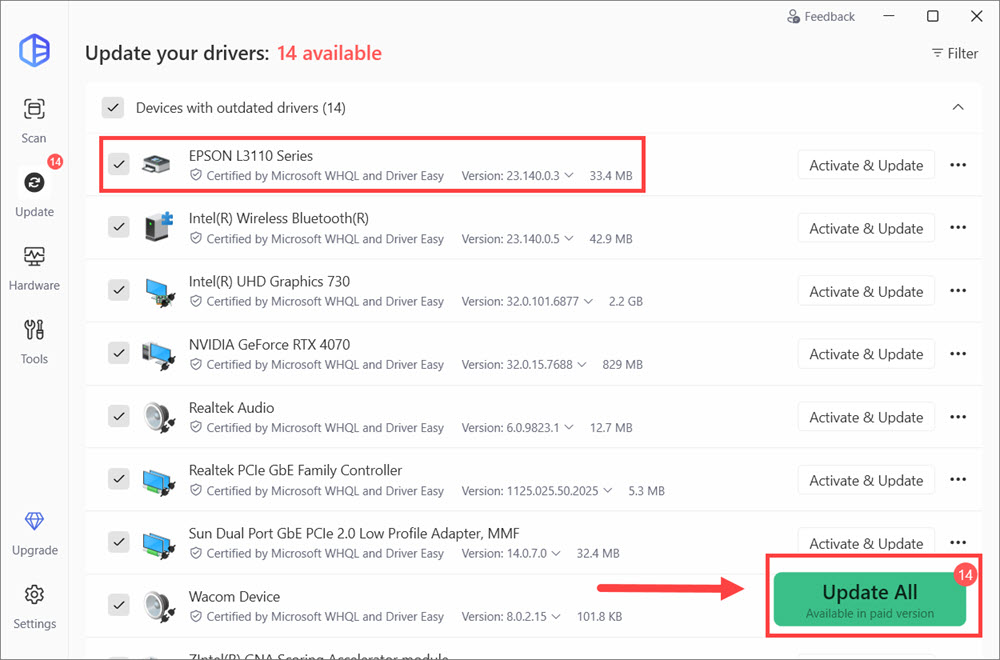
- Restart your computer for the change to take effect.
How to check if the Epson L3110 driver is installed correctly
After installing the driver, you can verify whether Windows is using the official manufacturer driver you just installed or a generic built-in driver. Here’s how:
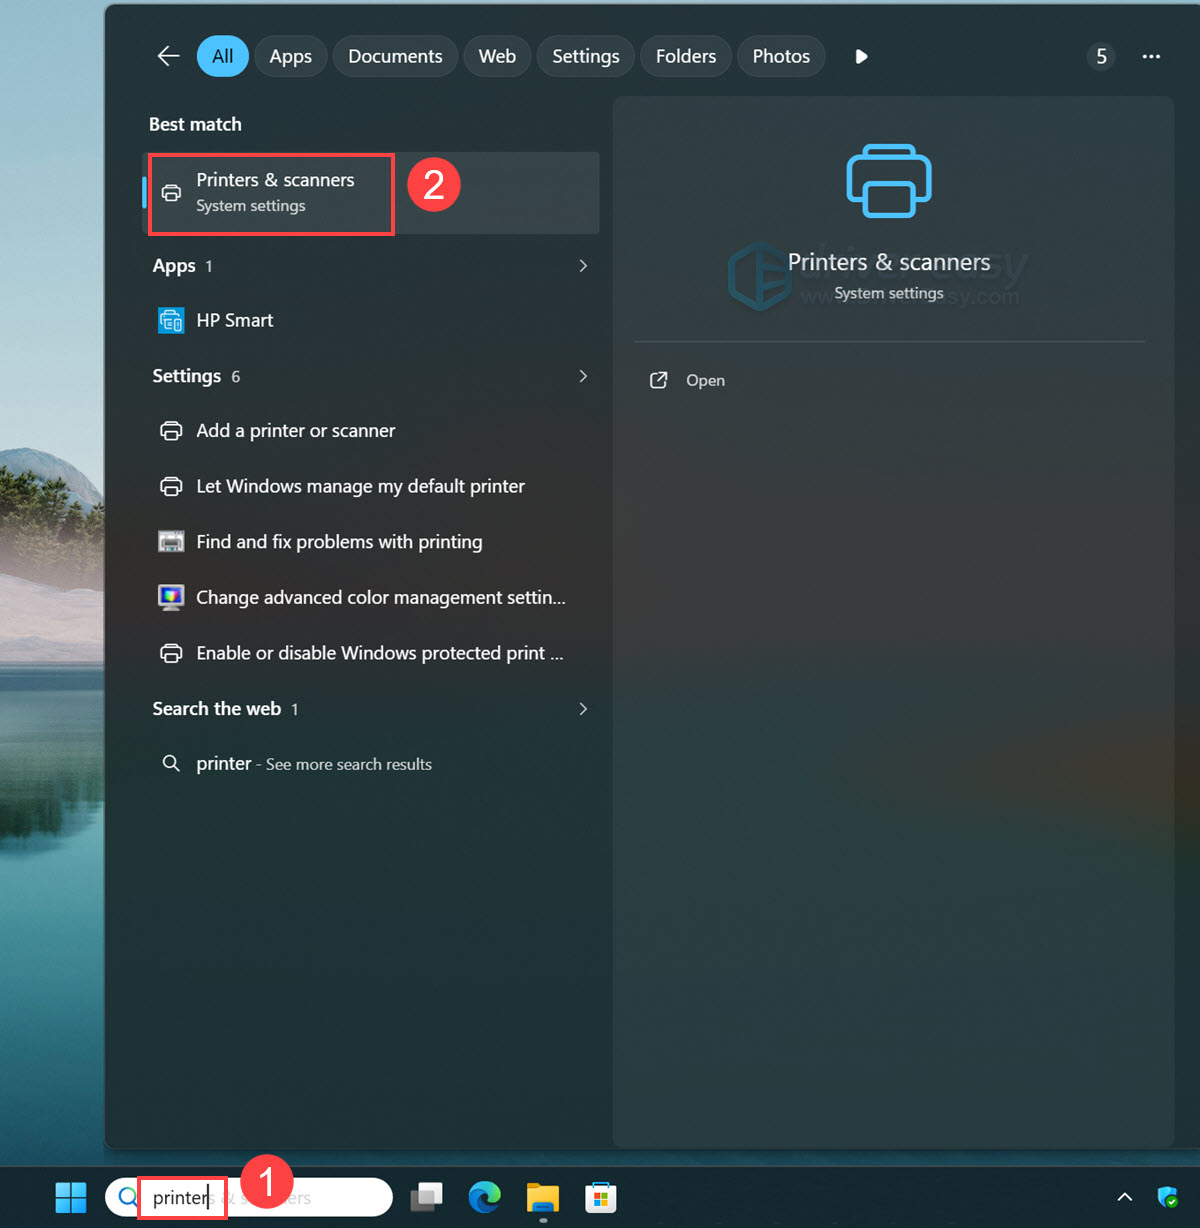
- Type printers into the Windows search bar and click Printers & scanners.
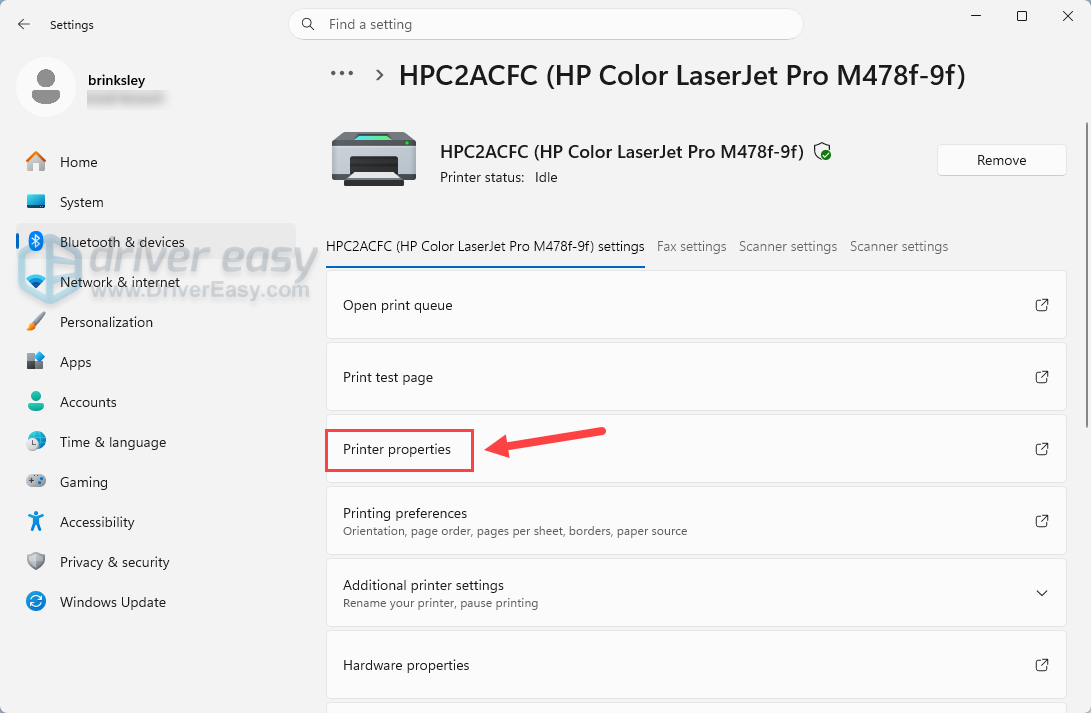
- Select your Epson L3110 printer.
- Click Printer properties.
- Navigate to the Advanced tab, and check if your newly installed driver is displayed.
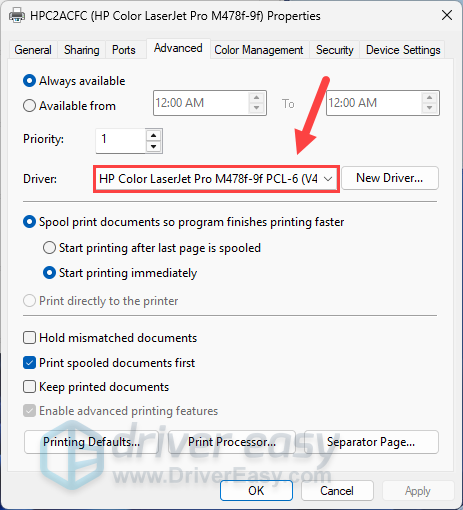
If not, click the drop-down menu, choose the driver, and click Apply.
After making sure you’re using the correct driver, you can print a test page to ensure the driver is working properly.
If your Epson L3110 isn’t working after the driver is installed…
If your printer still isn’t detected or refuses to print, here are some quick troubleshooting steps to try:
Restart your printer and computer
A simple restart can refresh the printer connection and clear temporary Windows issues.
Try another USB port or cable
A faulty USB connection can prevent Windows from communicating with the printer. To test for the hardware issue, you can try using another USB port or cable and avoid using USB hubs.
Remove and re-add the printer
You can refresh a corrupted or incorrect printer profile by reconnecting it. Type printers into the Windows search bar and select Printers & scanners. Click the Epson L3110 printer, and click Remove. Restart your computer and add the printer again.
Run the Windows Printer Troubleshooter
Windows includes a built-in troubleshooter that can automatically detect common printing problems. Open the Windows Settings menu, go to System > Troubleshoot> Other troubleshooters. Find Printer and click Run. Follow the on-screen instructions to complete the process.
Hopefully, you’ve installed the printer driver and can get your Epson L3110 working properly now.
If you still experience printing or scanning issues after updating the driver, let us know your Windows version and the exact error message in the comments, and we’ll be happy to help.