


Connecting a Google Pixel, Nexus, or Android developer device to your Windows PC for ADB debugging or Fastboot operations? You’ll need the official Google USB Driver. While Mac and Linux recognize Android devices automatically, Windows requires this driver so your computer can properly recognize and communicate with your phone.
In this guide, we’ll show you the easiest ways to download, install, and verify the Google USB Driver on Windows 11, 10, 8, and 7.
Before you start:
Before installing the driver, ensure your Android device is configured to allow ADB communication:
- Open Settings on your Android device.
- Go to About phone and tap Build number 7 times to enable Developer options.
- Go to Settings > System > Developer options and toggle USB debugging to On.
How to download the Google USB Driver
There are two safe ways to obtain the driver files on Windows: a manual option or an automatic installation (recommended).
Method 1 – Download and install the driver manually
To install the Google USB Driver manually, you’ll first need to get the driver files on your PC, then install them through Windows Device Manager.
Step 1: Get the driver files
You can choose one of the following ways to get the official driver files:
Option 1. Download the ZIP file directly
If you only need the driver for ADB command line tools without installing a full development environment, download the standalone ZIP archive
- Go to developer.android.com.
- Click the link “Download the Google USB Driver ZIP file (ZIP)”.
- Check the checkbox and click DOWNLOAD.
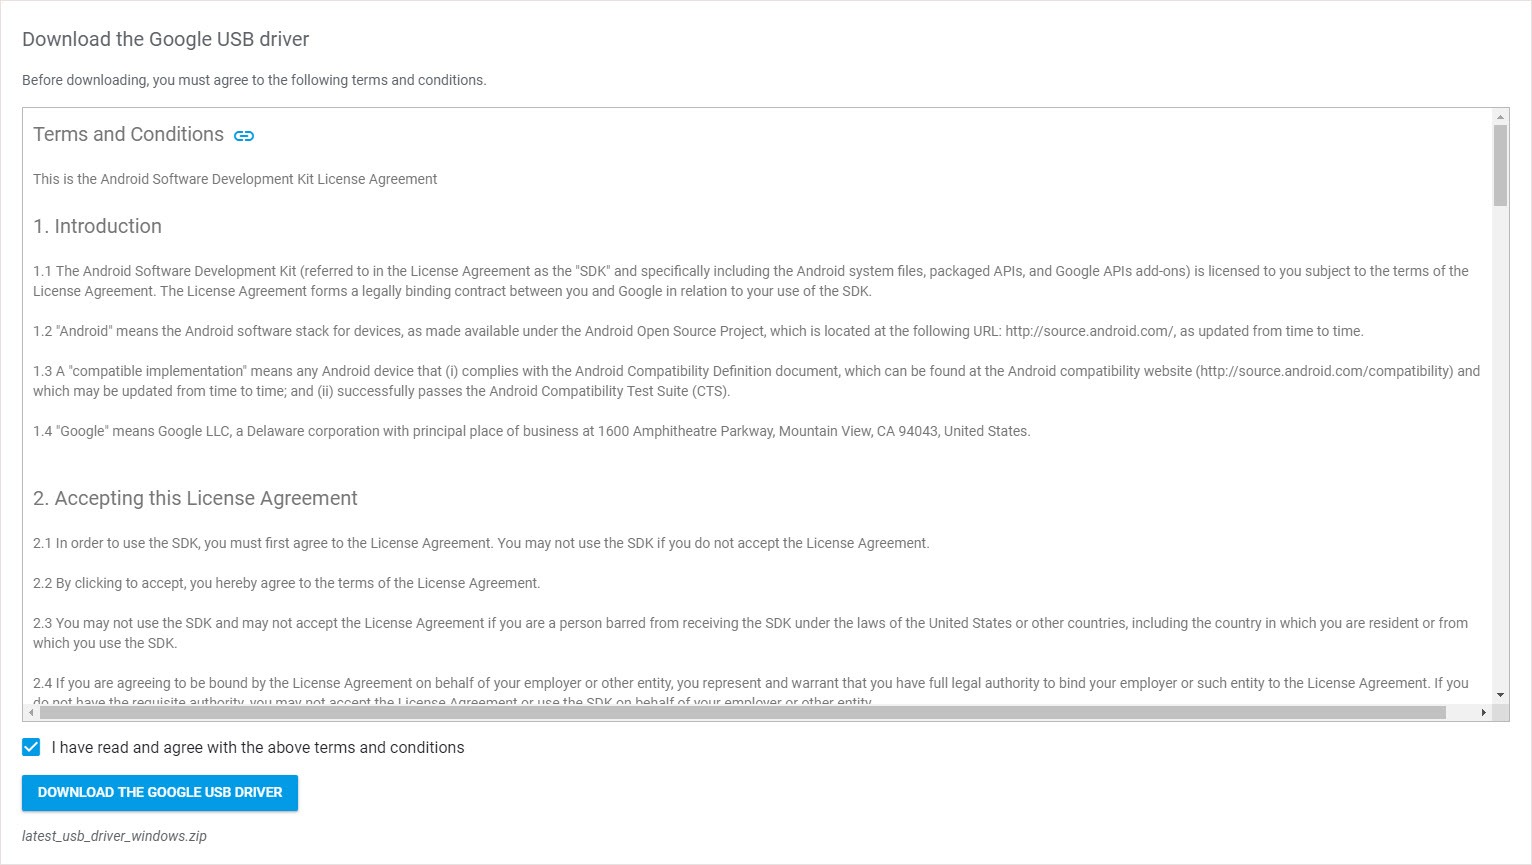
- Save the file to your PC and extract the ZIP archive to a known folder (e.g., your Downloads or Desktop folder). Inside, you will see a folder named google_usb_driver.
Option 2. Download via Android Studio
If you already use Android Studio for development, you can manage and automatically update the driver through the built-in SDK Tools:
- Run Android Studio.
- Click Tools > Android > SDK Tools.
- Select Google USB Driver and click OK.
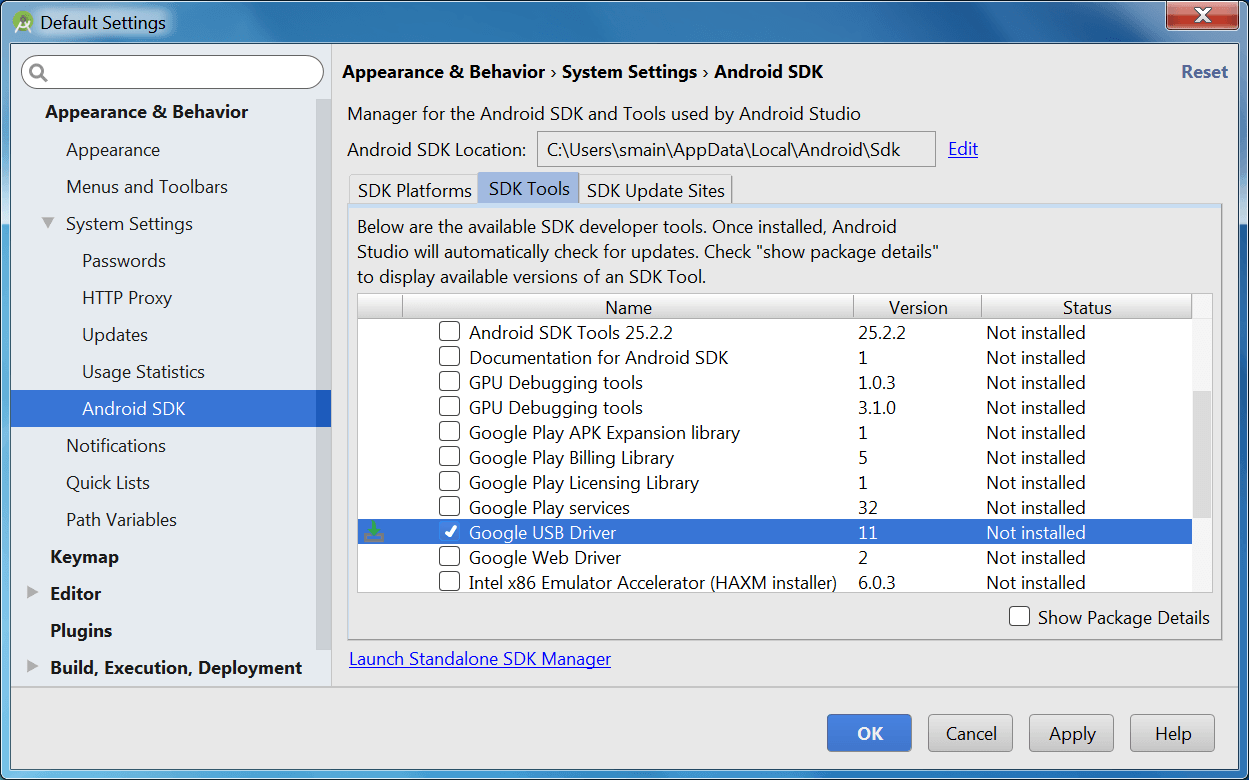
- Follow the on-screen prompts to complete the process.
- The driver files will be saved in your local SDK directory: C:\Users\<Your-Username>\AppData\Local\Android\Sdk\extras\google\usb_driver\.
Step 2: Install the Google USB driver via Device Manager
Once you have obtained the driver files through the steps above, install them using Device Manager:
- Press the Windows logo key + R together to open the Run box.
- Type devmgmt.msc and press Enter.
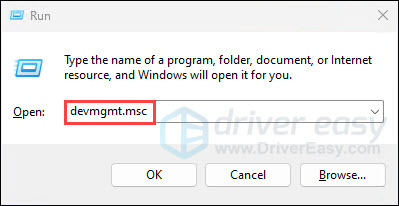
- Right-click your device, usually under the Other devices or Android Device category, and select Update driver.
- Select Browse my computer for driver software and then choose the file location.
– Your extracted `google_usb_driver` folder (if using Option 1).
– AppData\Local\Android\Sdk\extras\google\usb_driver\` (if using Option 2).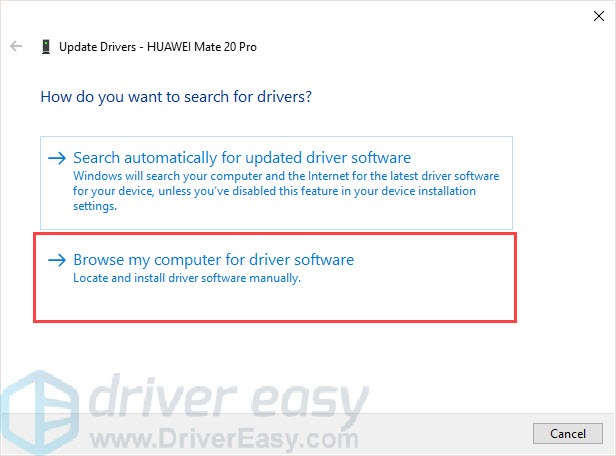
- Follow the on-screen instructions to install the driver.
Method 2: Install and update the Google USB driver automatically (recommended)
If you don’t have the time or skills to update the Google USB driver manually, or you simply want to avoid hunting down drivers for every component on your computer, Driver Easy is a convenient solution.
Driver Easy scans your entire PC, detects all outdated or corrupted drivers – from graphics and USB controllers to Wi-Fi and audio devices – and updates them with verified official drivers in one go, keeping your whole system running smoothly. You don’t have to worry about downloading the wrong drivers or making a mistake during installation.
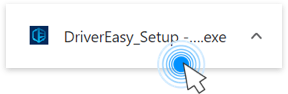
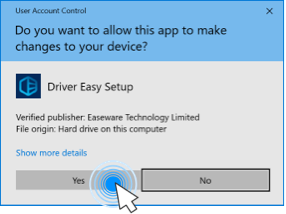
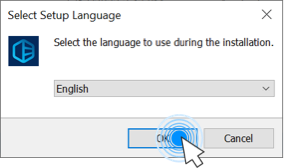
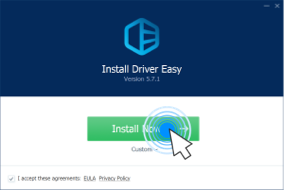
- Download and install Driver Easy.
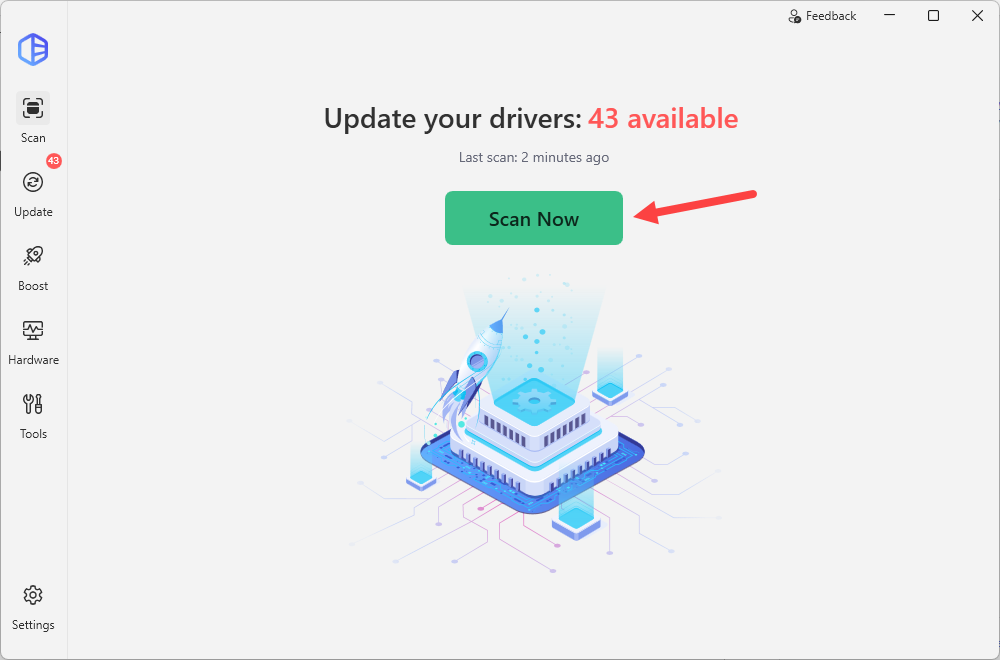
- Run Driver Easy and click Scan Now. Driver Easy will then scan your computer and detect any problem drivers.
- Locate your device in the list. It will usually appear as Android Composite ADB Interface, Android Device, or your specific phone model (e.g., Pixel). Click the Activate & Update button next to it to download and install its driver. Or click Update All to automatically download and install all the latest correct drivers that are missing or outdated in your system.
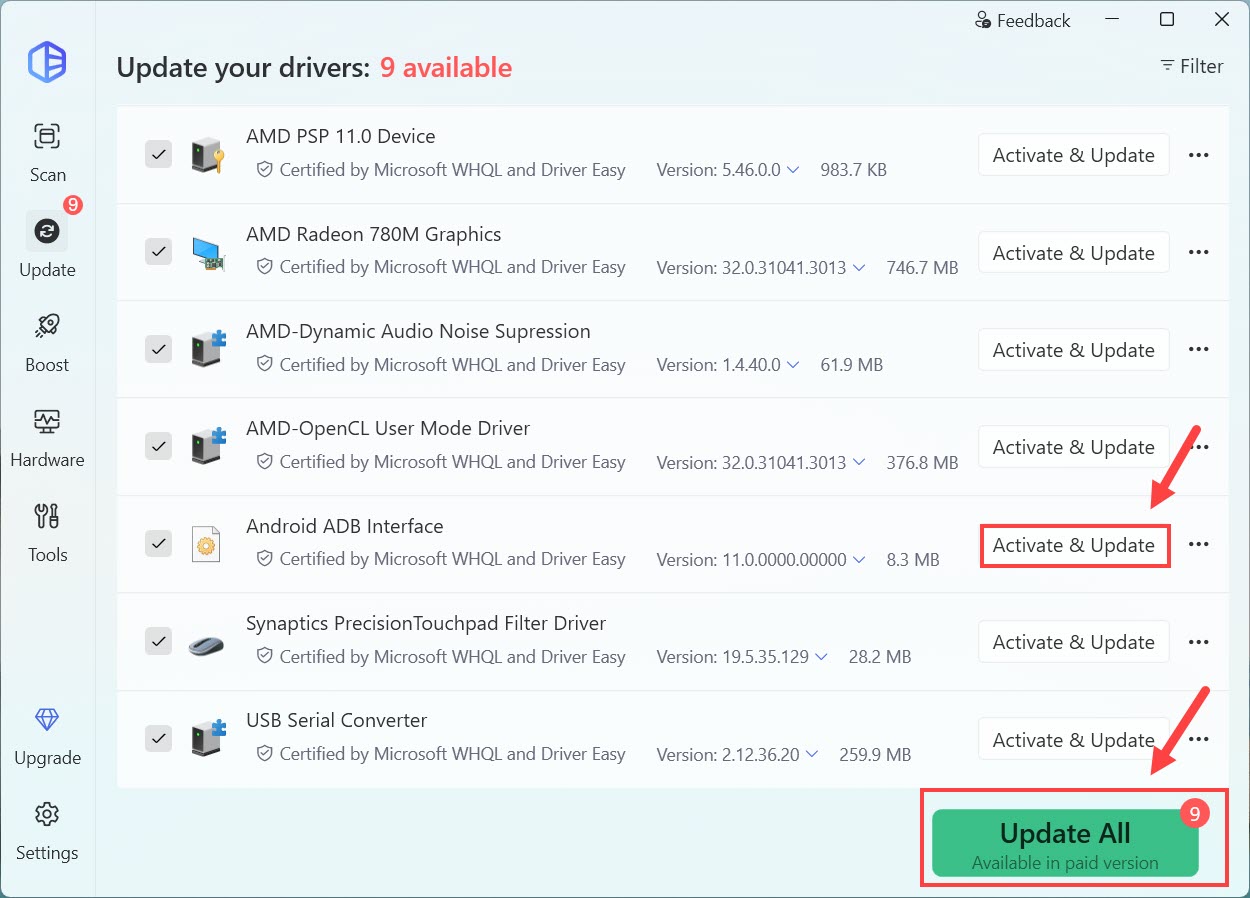
This requires the Pro version, which includes high-speed driver updates and advanced technical tools. If you’re not sure if Driver Easy is right for you, you can start a 7-day free trial to try all the Pro features. - Restart your computer and check whether your problem is solved.
What to do if your device is still not detected?
If your device is still not recognized or displays as “unauthorized”, here are some quick fixes you can try:
- Switch USB connection mode: Pull down your Android notification shade, select Charging this device via USB, and change the mode to File Transfer (MTP) or PTP.
- Try a direct USB port: Unplug your cable from external USB hubs or front-panel PC ports. Plug it directly into a rear motherboard USB port.
- Revoke USB debugging authorizations: Go to Settings > System > Developer options on your phone, tap Revoke USB debugging authorizations, unplug the USB cable, and re-plug it to force a new authorization prompt.
Have questions or run into an error during installation? Leave a comment below with your Windows version and device model, and we’ll gladly help you troubleshoot!