


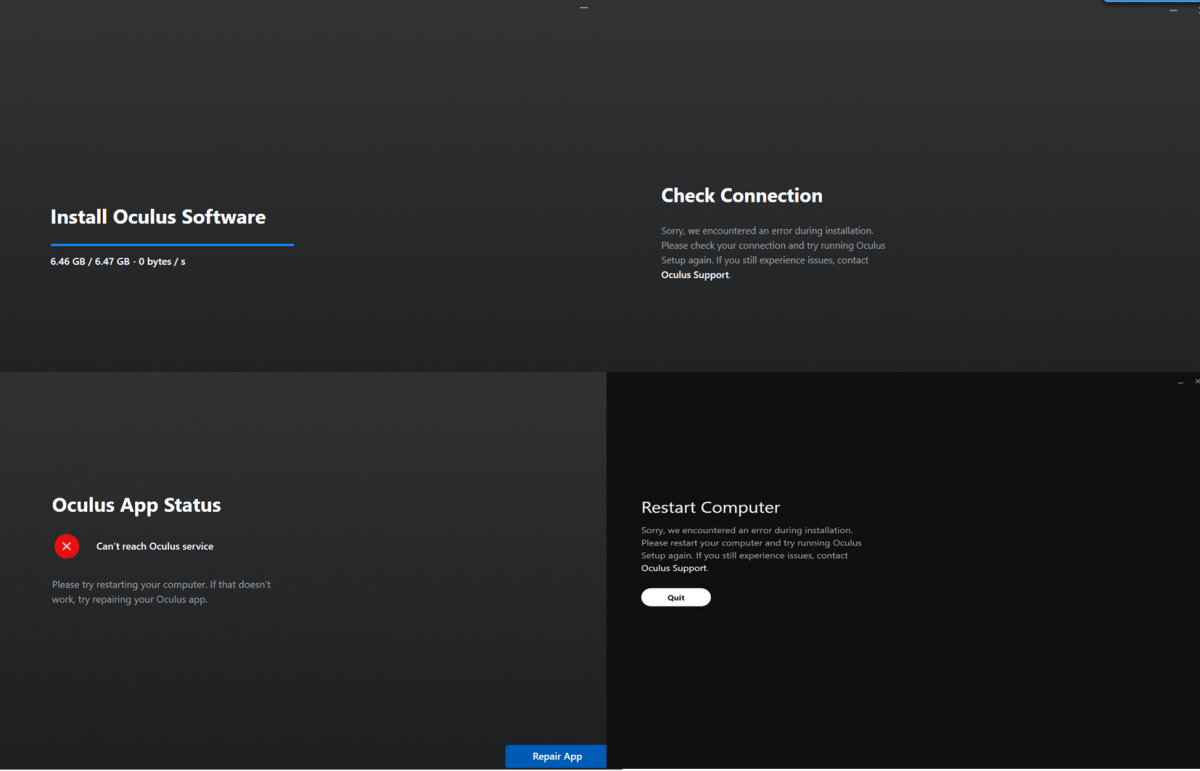
In order to set up your Oculus headset, you would need to install the software. However, some users can’t even complete the software installation process. Some are getting stuck and the Oculus software won’t install. Some receive the following error messages:
- Check Connection: Sorry, we encountered an error during installation. Please check your connection and try running Oculus Setup again.
- Can’t reach Oculus service.
- Restart Computer: Sorry, we encountered an error during installation. Please check your connection and try running Oculus Setup again.
If this Oculus software not installing issue is also plaguing you, don’t worry. Below are some fixes you can try.
- Perform a clean reinstall
- Disable the Windows Firewall
- Check for Windows updates
- Update your device drivers
- Contact the support team
Perform a clean reinstall
If an installation has failed, the most straightforward way is to perform a clean reinstall. To do this, follow the instructions below.
- On your keyboard, press the Windows + R keys simultaneously to open the Run box.
- Type or paste appwiz.cpl and hit Enter.

- Locate the Oculus app. Right-click and select Uninstall.
- When a prompt appears, click Yes to proceed.
- When the Oculus app loads, Click Uninstall within the app and wait for the uninstall to complete.
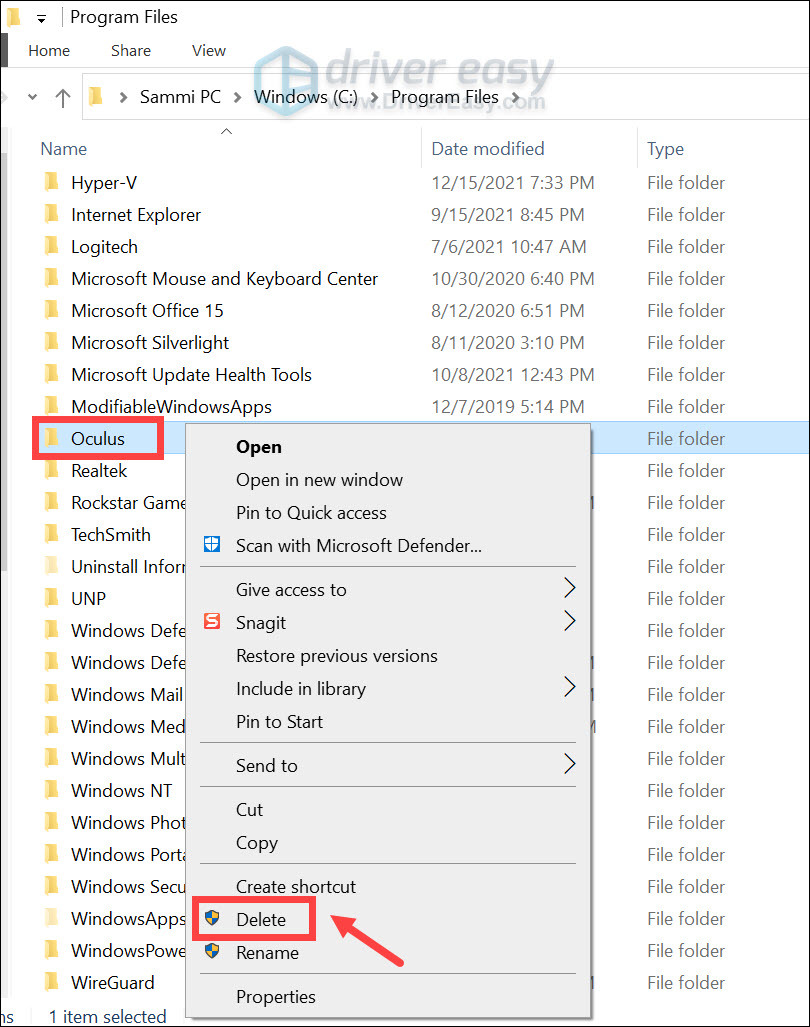
- Once the process is finished, navigate to C:/ProgramFiles. Then find the Oculus folder. Right-click it and select Delete.
- Restart your PC.
Then follow the steps below to reinstall Oculus software:
- Go to Oculus software download page.
- Click on the DOWNLOAD SOFTWARE button to download the executable file.
- Double-click on the file and follow the on-screen instructions to install the latest version of the Oculus software.
If your install was stuck, you should try installing it on a different system drive, which has sufficient free disk (To be expected, it should be no less than 10 GB). Follow the steps below.
- On your keyboard, press the Windows logo + R keys simultaneously to open the Run box.
- Enter the following path: [drive]:\Users\(Username)\Downloads\OculusSetup.exe/drive=[new system drive]
Replace [drive] with the letter of the drive where Oculus was downloaded to.
Replace [new system drive] with the letter of the new drive you’d like to install Oculus to.
Examples:
C:\Users\Sammi.Liu\Downloads\OculusSetup.exe /drive=D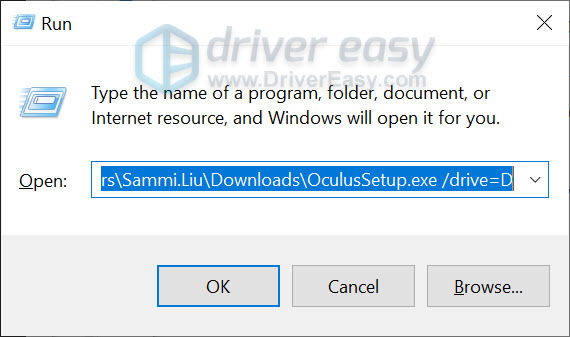
Hit Enter and the Oculus app will then open and attempt to install the app on the new drive you’ve chosen.
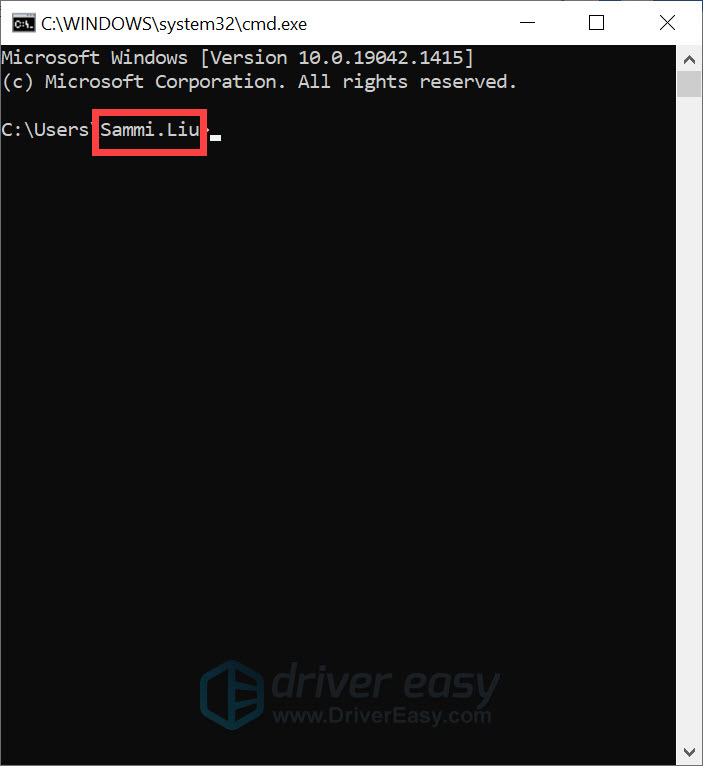
If you’re not sure of your username, follow the steps below to find it.
- On your keyboard, press the Windows logo + R keys simultaneously to open the Run box.
- Type cmd and hit Enter.
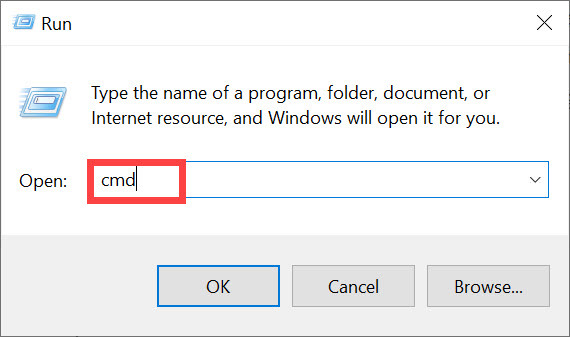
- Then you’ll be able to see your username.
However, if a reinstallation doesn’t work for you, try the next fix below.
Disable the Windows Firewall
Windows Firewall protects your PC from malware attacks. But it’s also known to block the setup’s ability to connect to Oculus servers. To prevent this from happening, try temporarily disabling the Windows Firewall by following the steps below.
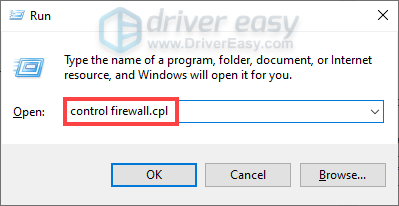
- On your keyboard, press the Windows logo + R keys simultaneously to invoke the Run box.
- Type or paste control firewall.cpl and hit Enter.
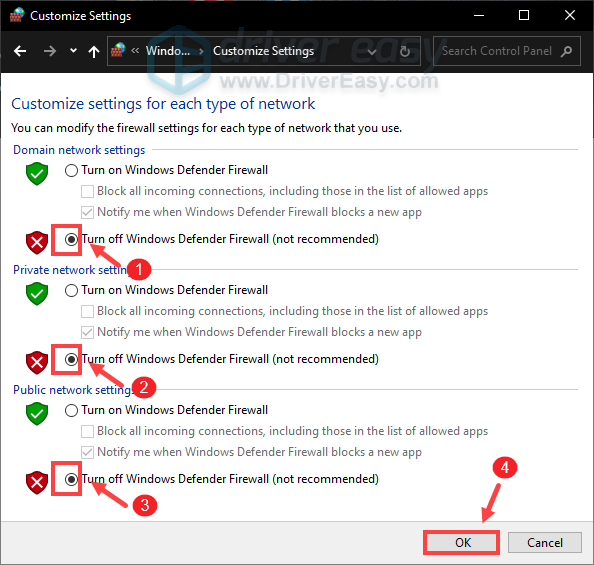
- Click Turn Windows Defender Firewall on or off.

- Select Turn off Windows Defender Firewall (not recommended) for Domain network, Private Network and Public network. Then click OK.
If you have antivirus software installed, also make sure to disable it before you try to install Oculus software.
For users who receive a message saying Check connection, you should troubleshoot your network. Restart your PC and reconnect. If necessary, try to update your network driver to fix your internet connection problems.
Check for Windows updates
Windows updates usually come with bug fixes and bring new features. When you fail to install Oculus software, try installing Windows updates. This may be the best shot you can take without much troubleshooting. Follow the steps below to do so.
On Windows 10
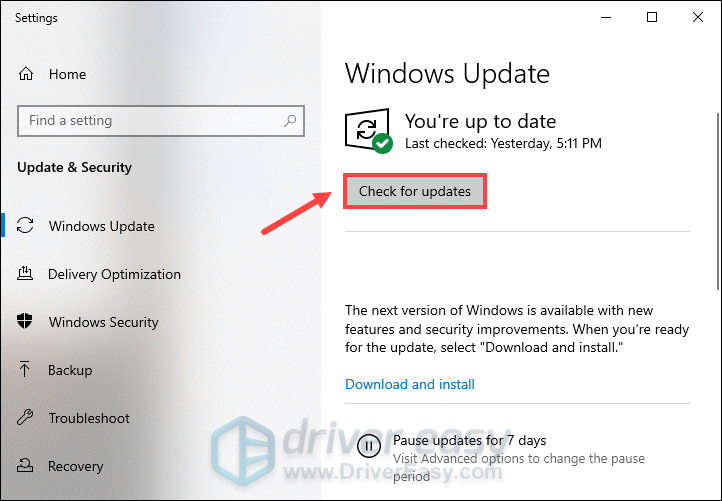
- In the Search box, type in check for updates. Click Check for updates from results.

- Click on the Check for updates tab. If there are any updates available, it’ll automatically start to download and install it. Simply wait for it to complete and you should be asked to restart your computer.
On Windows 11
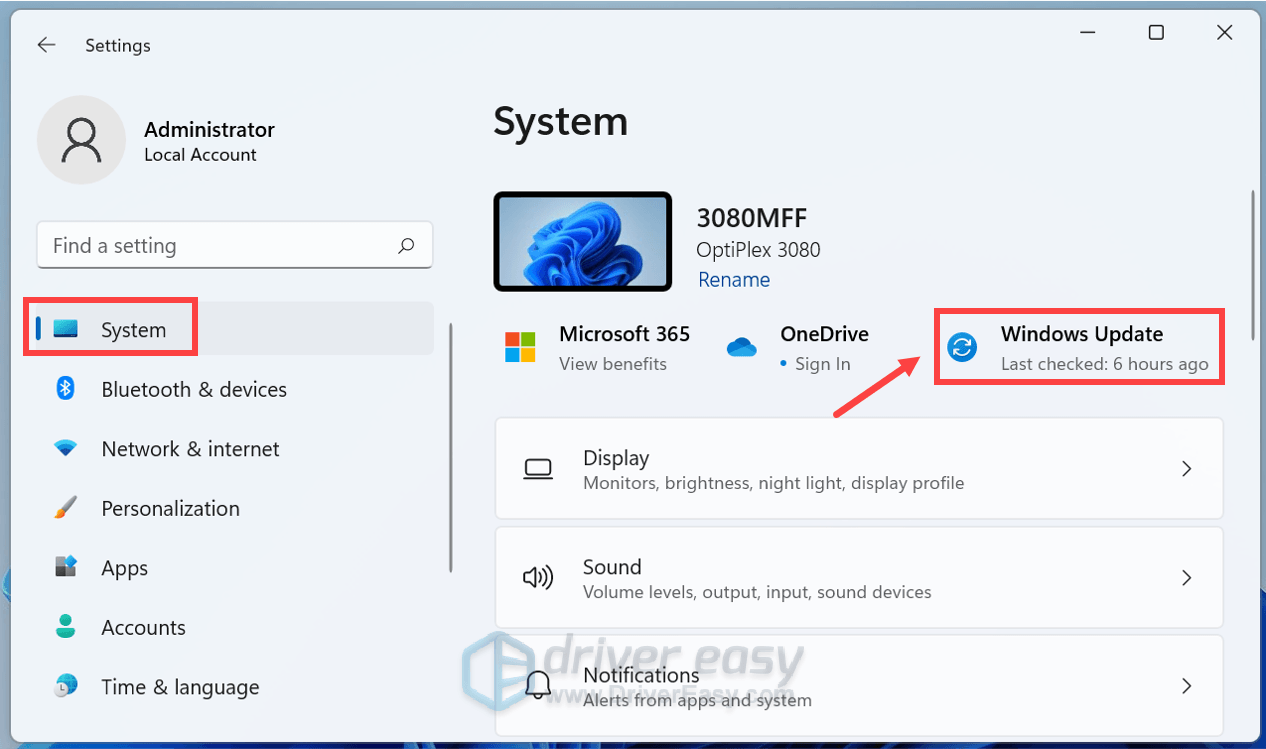
- On your keyboard, press the Windows logo + I keys simultaneously to open Settings.
- Click Windows Update.
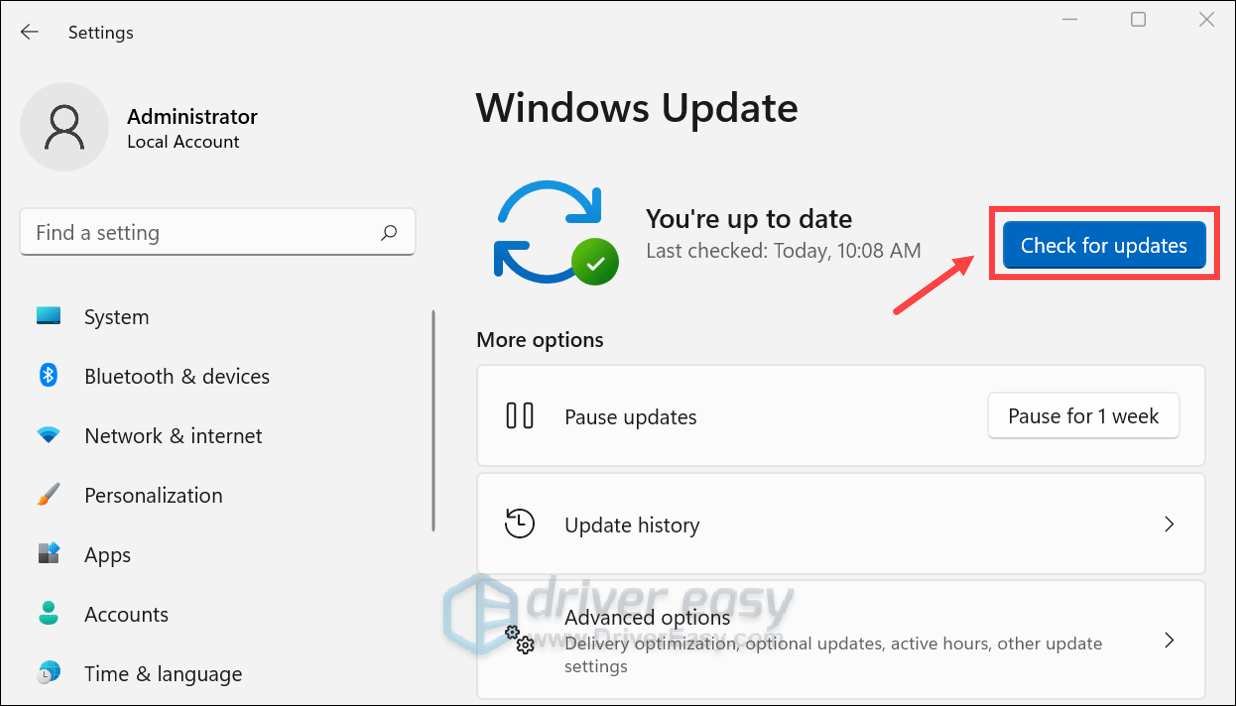
- Click Check for updates. Then Windows will start downloading the updates if they are available.
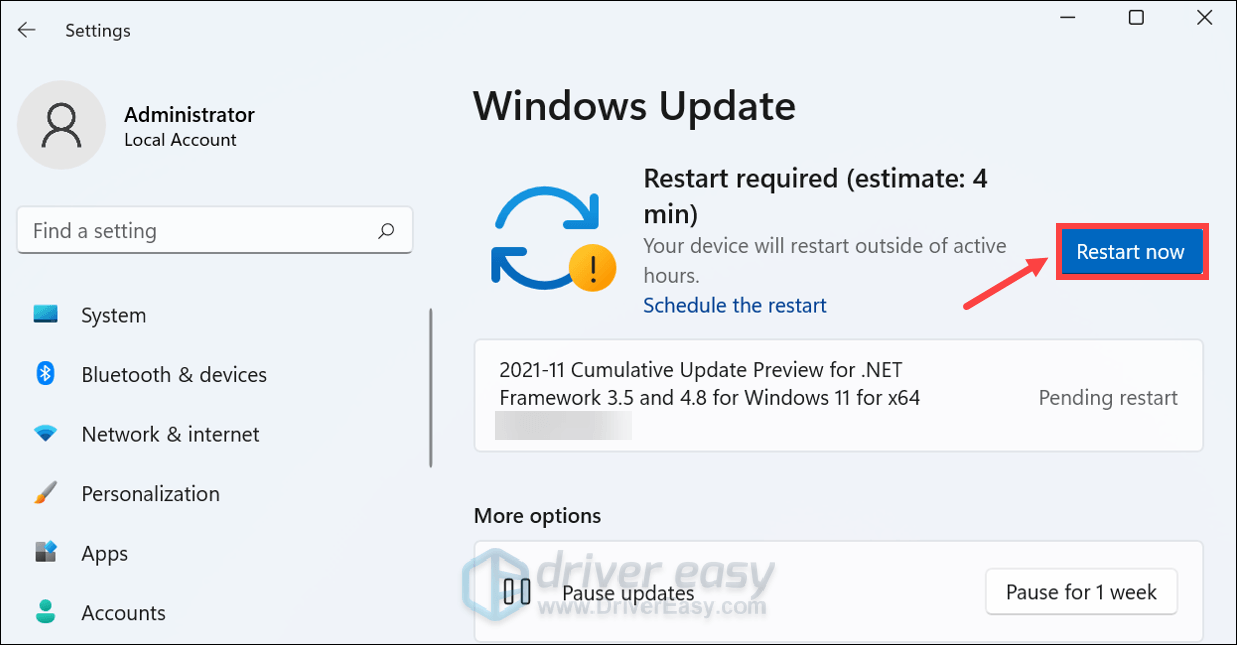
- When the process is finished, click Restart now to restart your PC. Or you can Schedule the restart.
Update your device drivers
Next you would need to check if your device drivers are up-to-date. Using outdated drivers, especially outdated graphics drivers can cause a wide range of issues and errors. To troubleshoot your installation failure issue, you should update your drivers.
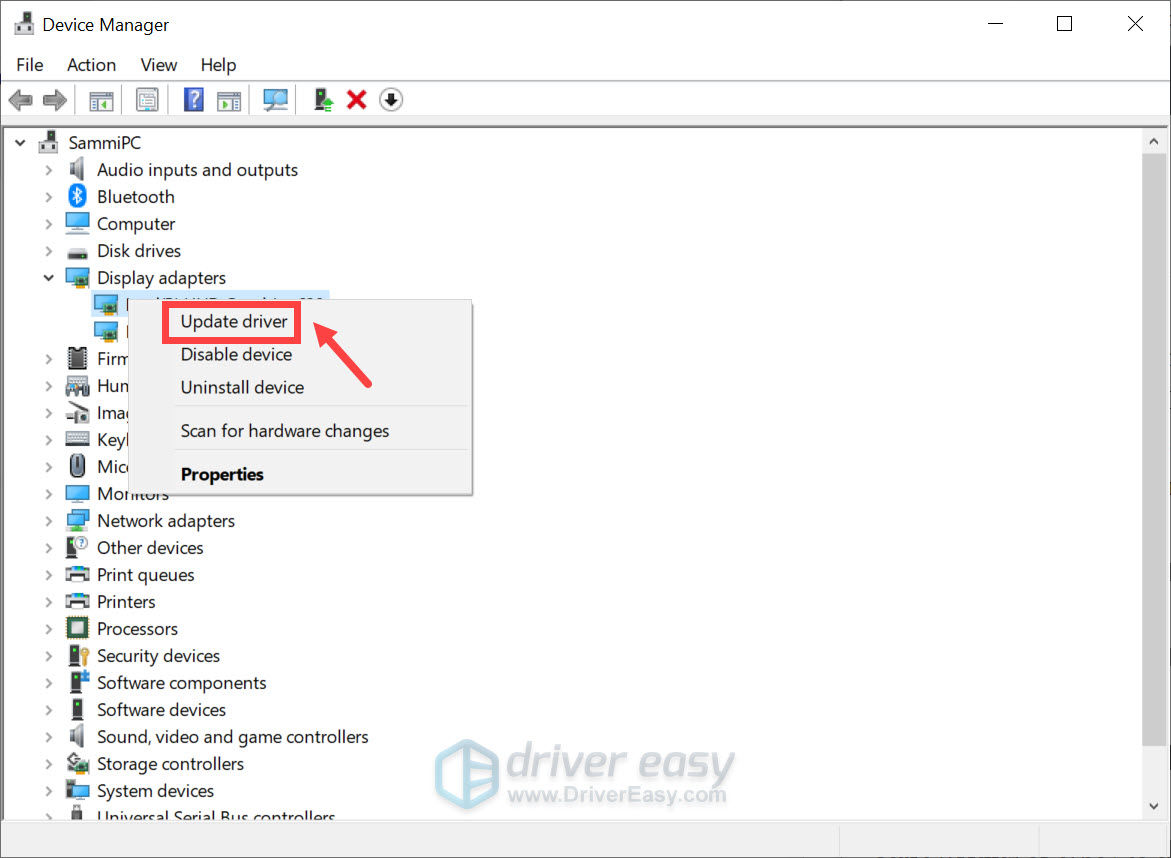
You can do it manually by going to the Device Manager, right-click your device one by one and select Update driver. Or you can head to your device manufacturers’ websites to download and install the latest drivers for your system.
But if you don’t have the time, patience, or computer skills to update drivers manually, you can, instead, do it automatically with Driver Easy. It’s an automatic driver updater that helps you detect any outdated drivers, then download and install the latest drivers for your system. With Driver Easy, you don’t need to waste your time hunting for driver updates.
You can update your drivers automatically with either the 7 days free trial or the Pro version of Driver Easy. It takes just 2 clicks, and you get full support and a 30-day money-back guarantee with the Pro version:
- Download and install Driver Easy.
- Run Driver Easy and click the Scan Now button. Driver Easy will then scan your computer and detect any problem drivers.
- Click the Activate & Update button next to the flagged device to automatically download and install the correct version of this driver.
Or click Update All to automatically download and install the correct version of all the drivers that are missing or out of date on your system (You’ll need the Pro version for this – when you select Update All, you’ll get a prompt to upgrade. If you’re not prepared to purchase the Pro version yet, Driver Easy provides a 7-day trial at no cost, granting access to all Pro features like fast downloads and easy installation. No charges will occur until after your 7-day trial period ends.)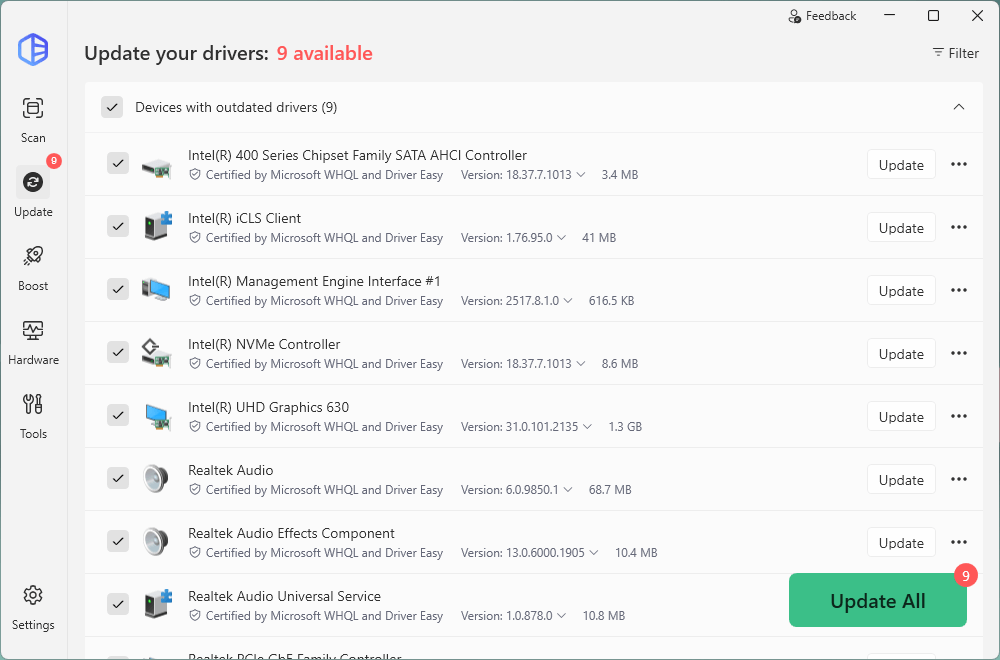
- After updating, restart your computer to take effect.
Contact the support team
If you seem to have tried everything and the setup still fails, try reaching out to the support team by creating an Oculus Support ticket. Make sure you include the setup log file as well as a detailed description of your PC specs and all the steps you have taken to resolve the issue yourself.
How to get logs for bug reports
To look for the OculuSetup.log file on Windows 10 or 11, and upload it to your ticket, follow the steps below.
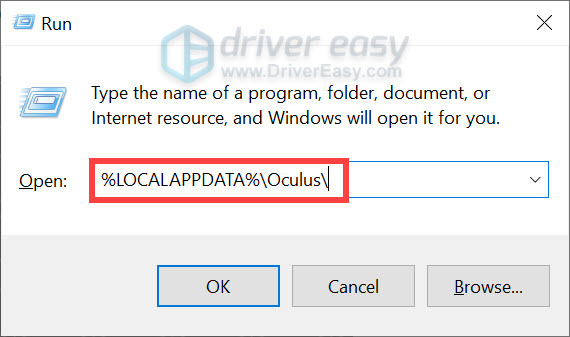
- On your keyboard, press the Windows logo + R keys simultaneously to open the Run box.
- Type or paste %LOCALAPPDATA%\Oculus\ and press Enter.
- Then find the OculusSetup.log file. If you can’t see it, make sure you select View. Then check the box next to File name extension and Hidden item.
(If you’re on Windows 11, click View, select Show, and tick File name extensions > Hidden items. )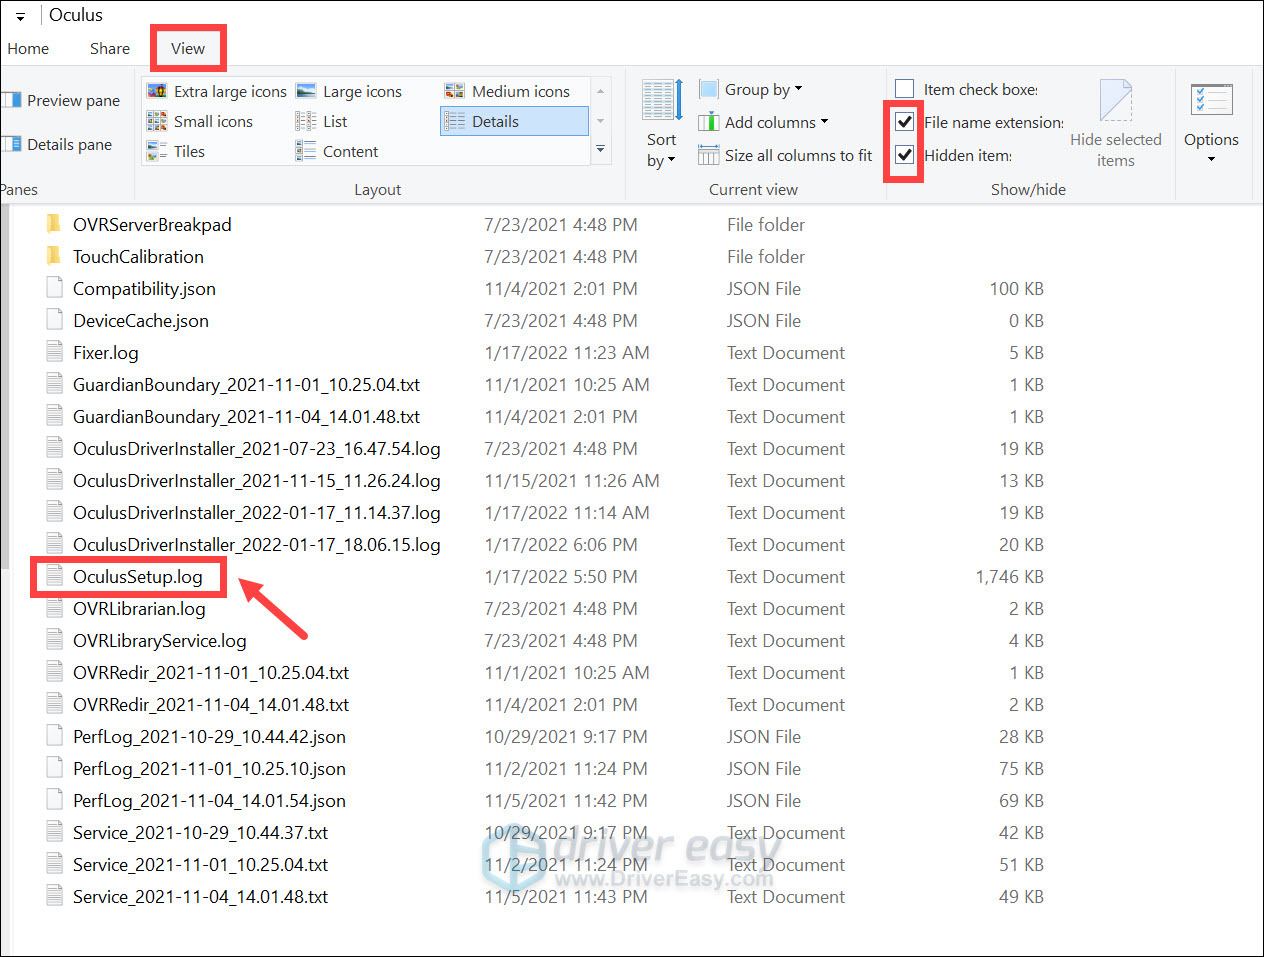
Windows 10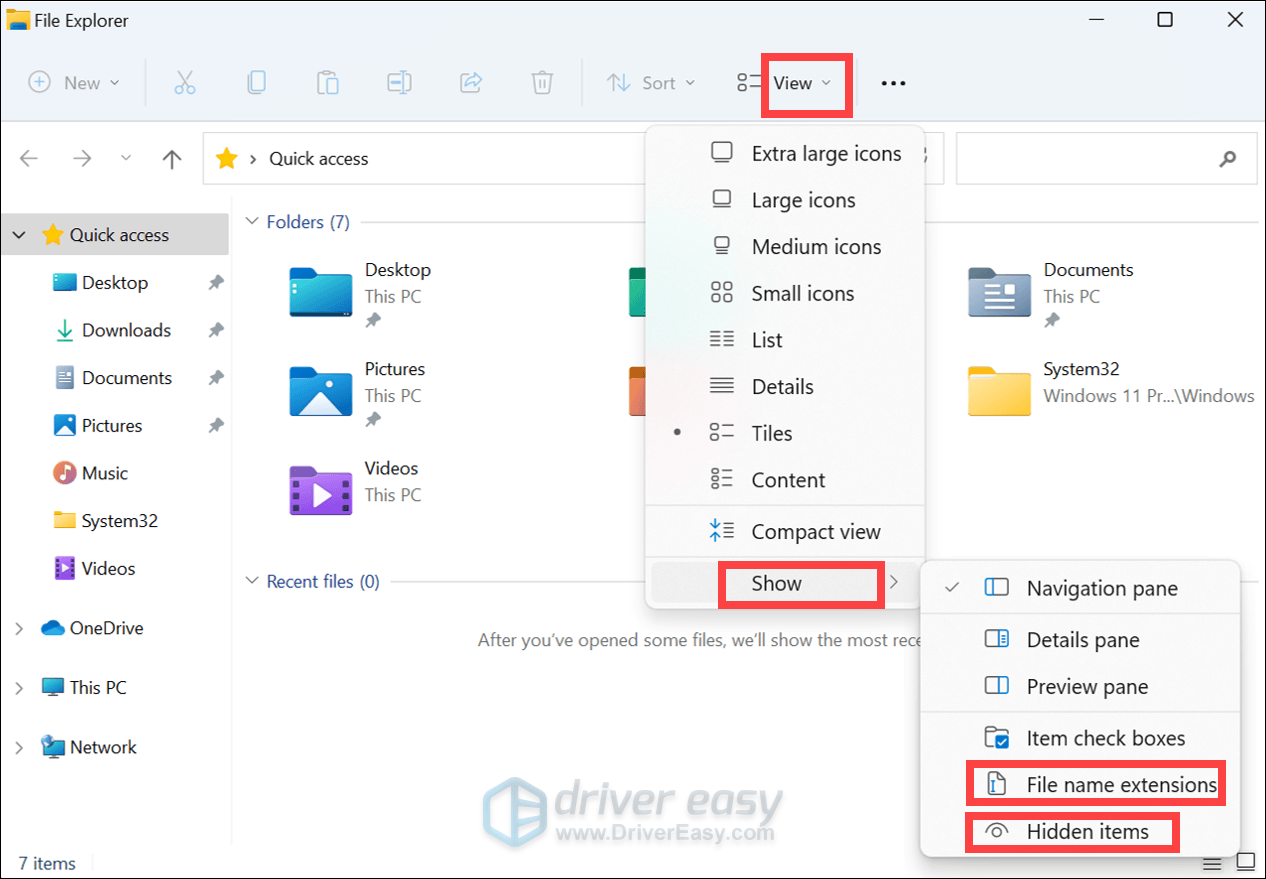
Windows 11
How to check your PC specs
To check your specifications on Windows 10 or 11, follow the instructions below.
On Windows 10
- On your keyboard, press the Windows logo + I keys simultaneously to open Settings.
- Select System.
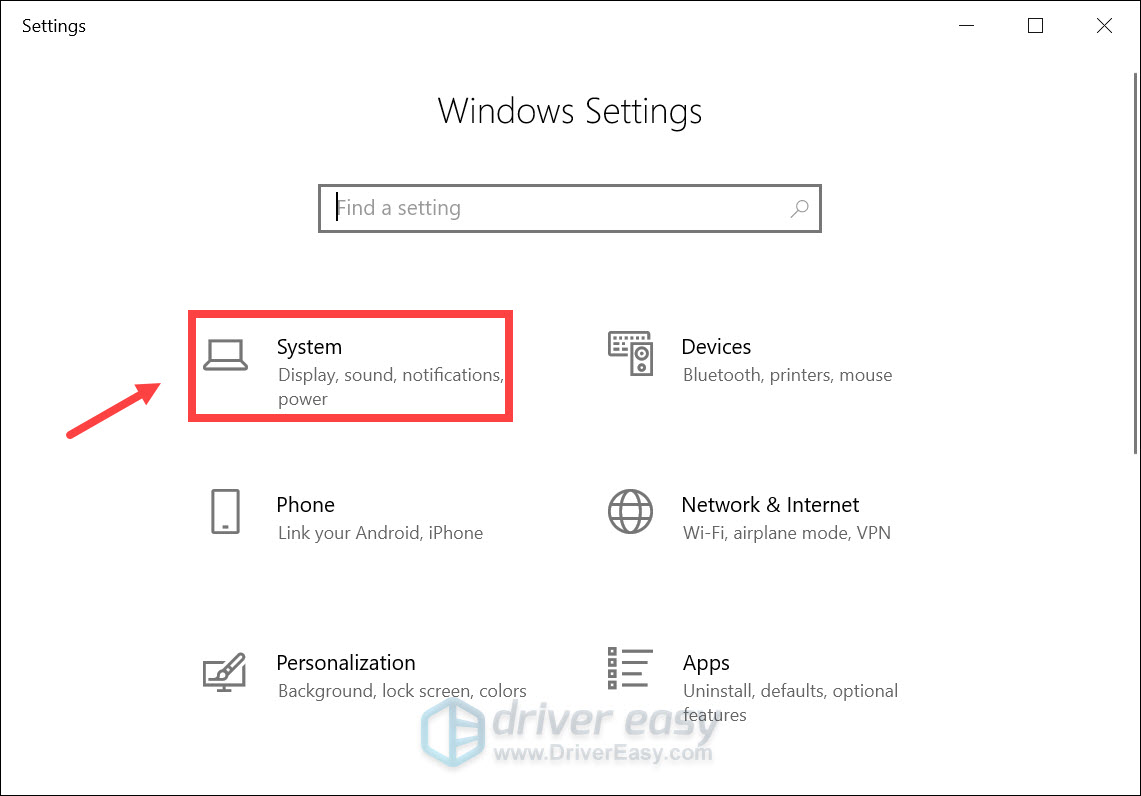
- Select About from the left sidebar. Then look for the section Device Specifications and Windows Specifications. Now you can copy your specifications.

On Windows 11
- On your keyboard, press the Windows logo + I keys simultaneously to open Settings.
- Select System from the left sidebar. Scroll down and click About.
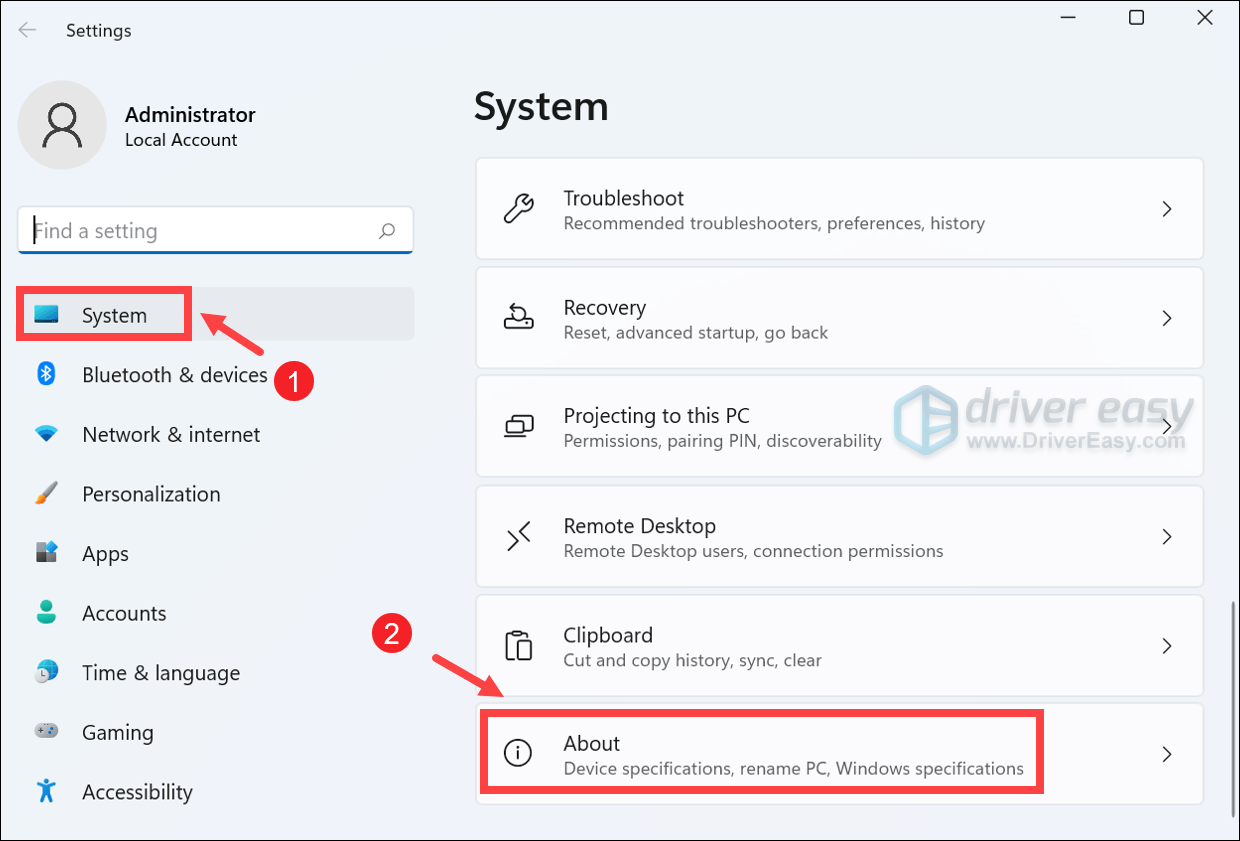
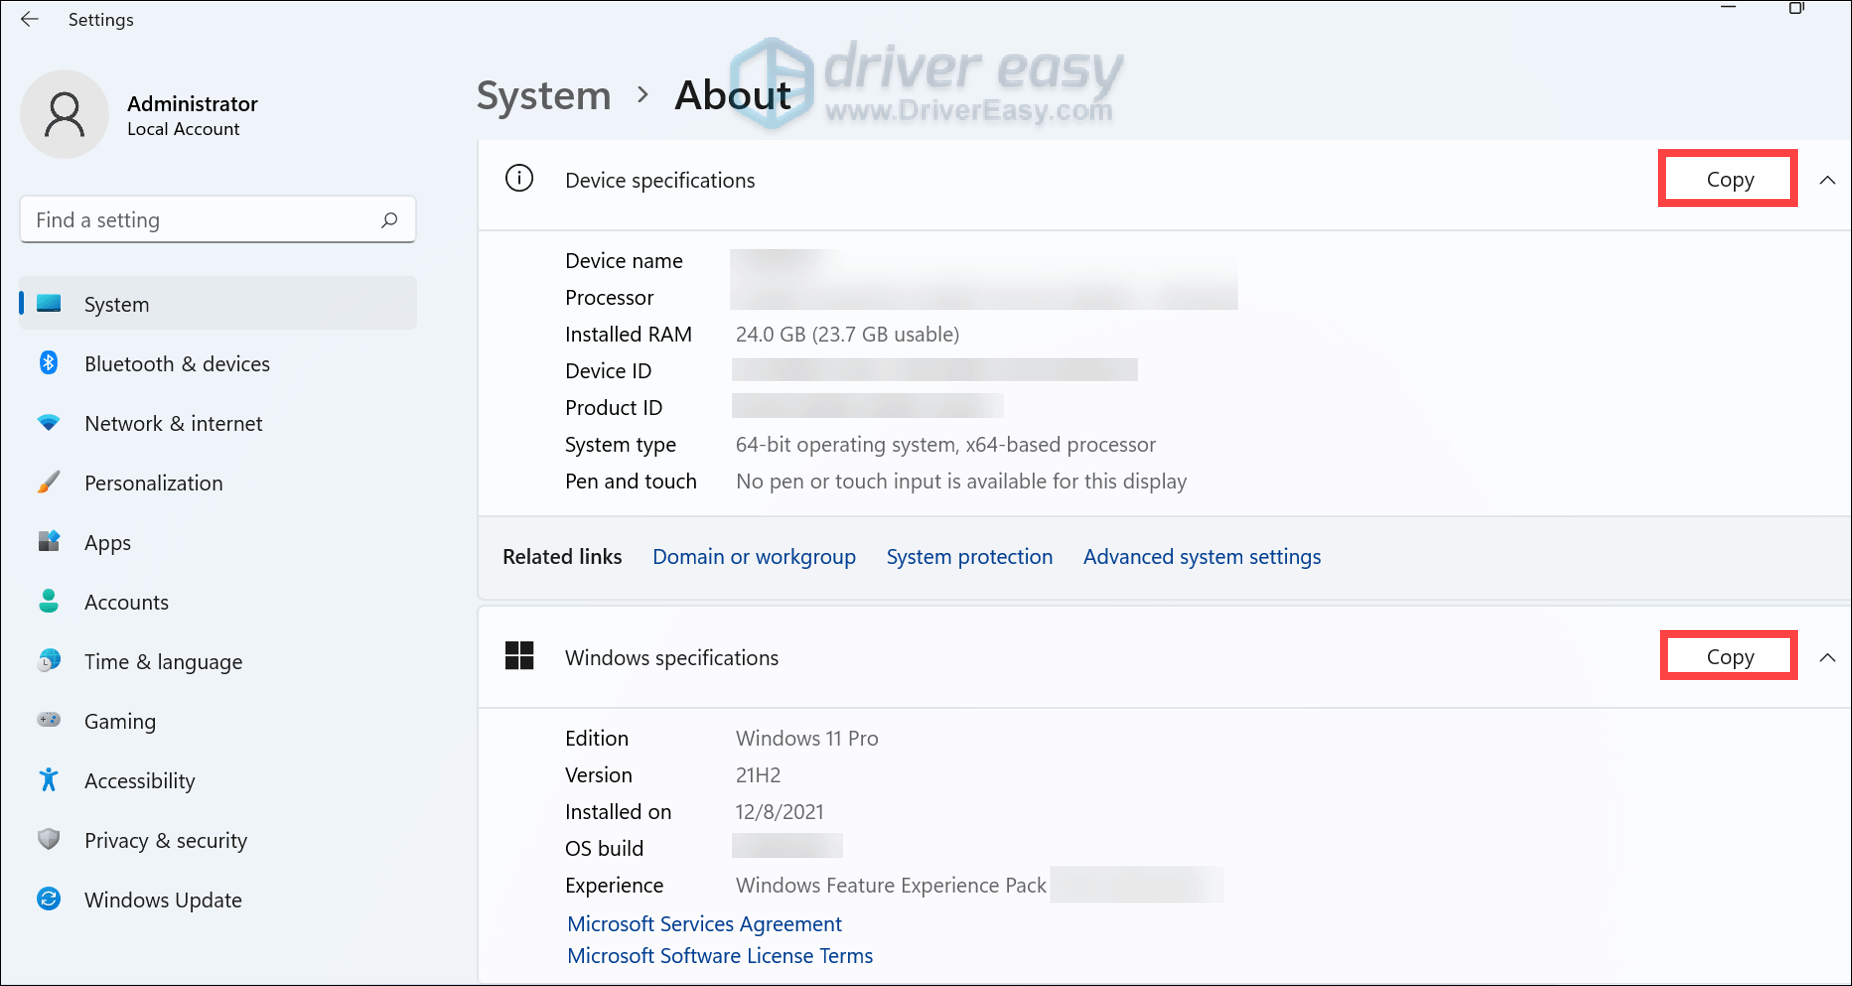
- Scroll down to the section Device specifications and Windows specifications. Then you can copy the info.
So these are the steps you can take to fix the Oculus software not installing issue. Hope you could finally use this brand new device for your gameplay. If you have any ideas or questions, do not hesitate to leave us a comment below.