



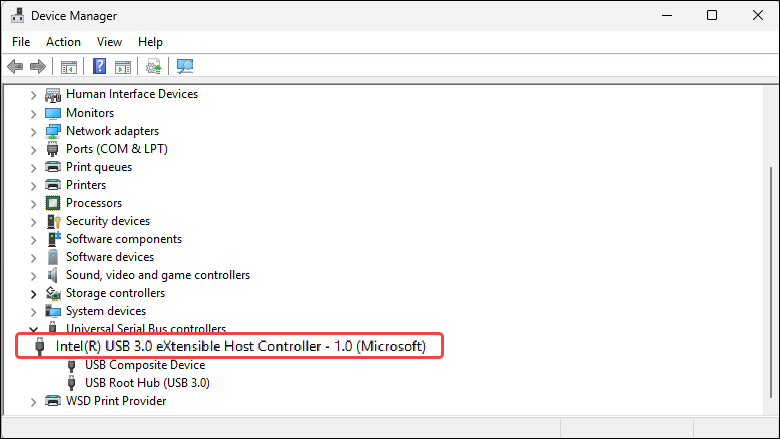
If your USB 3.0 ports aren’t working, USB devices disconnect randomly, or Device Manager shows an Unknown USB Device or a USB controller with a yellow warning icon, you may suspect that you need to install an Intel USB 3.0 driver.
Windows 10 and Windows 11 already include Microsoft’s built-in USB xHCI driver, which supports Intel USB 3.0 controllers, so in most cases you don’t need to download a separate Intel USB 3.0 driver. If you want to update your USB controller driver, you can get the latest compatible version through your PC manufacturer’s support page or use a driver updater to do that automatically.
If you’re using Windows 7, however, you’ll usually need to install Intel’s USB 3.0 eXtensible Host Controller driver manually because Windows 7 doesn’t include native USB 3.0 support. Below we’ll show you how.
- Method 1: Update the Driver from Your PC Manufacturer
- Method 2: Update Intel USB Drivers Automatically (Easiest)
Method 1: Update the Driver from Your PC Manufacturer
This is one of the safest and most reliable methods. PC manufacturers often customize Intel chipset and USB controller drivers for their hardware, so their drivers should always be your first choice.
Simply visit your PC manufacturer’s support website:
Then, search for your computer model and operating system and download the latest chipset driver, USB driver (if available), and Intel Serial IO driver (on some laptops). Once downloaded, open the file and follow the on-screen instructions to install the driver. Restart your PC afterwards.
Connect a USB 3.0 device and confirm that it’s detected normally. Besides, you can open the Device Manager to verify there are no warning icons under Universal Serial Bus controllers.
Method 2: Update Intel USB Drivers Automatically (Easiest)
If you don’t have the time to check for newer drivers regularly or don’t want to install the driver manually, you can use Driver Easy to do the job for you.
Driver Easy will automatically recognize your system and detect outdated, missing, or incompatible drivers, including USB controller, chipset, and other motherboard drivers. You don’t need to know exactly what system your computer is running, you don’t need to risk downloading and installing the wrong driver, and you don’t need to worry about making mistakes when installing.
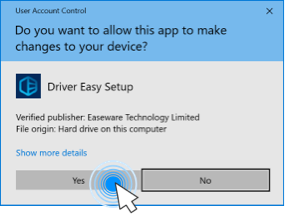
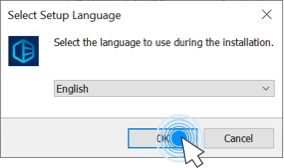
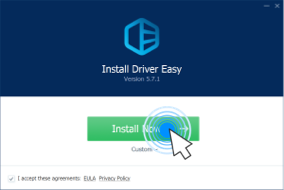
- Download and install Driver Easy.
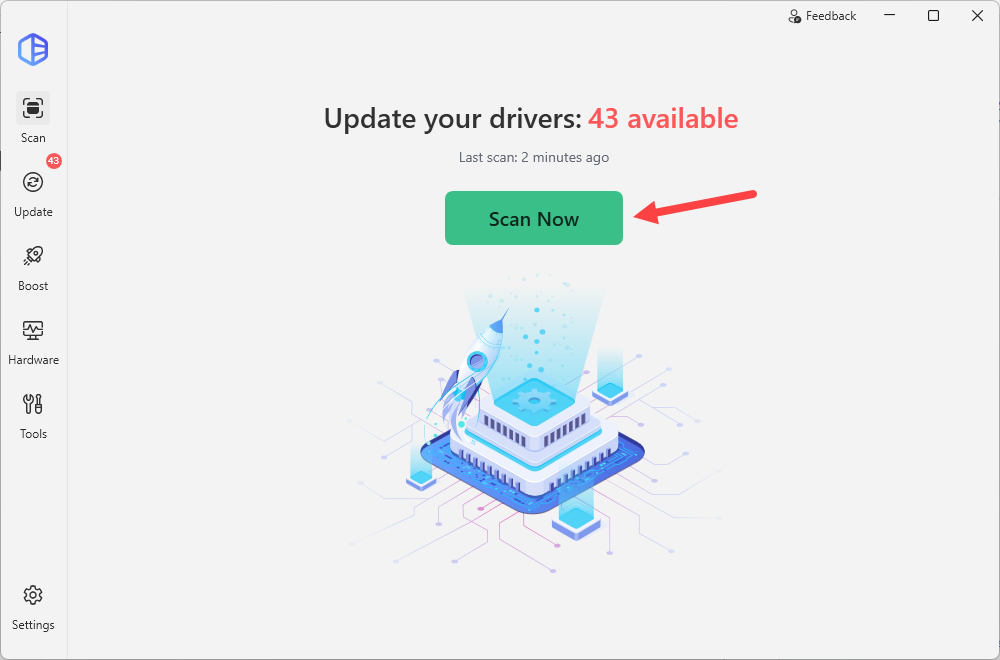
- Run Driver Easy and click the Scan Now button. Driver Easy will then scan your computer and detect any problem drivers.
- Click the Activate & Update button next to the flagged device to automatically download and install the correct version of this driver. Or click Update All to automatically download and install the correct version of all the drivers that are missing or out of date on your system.
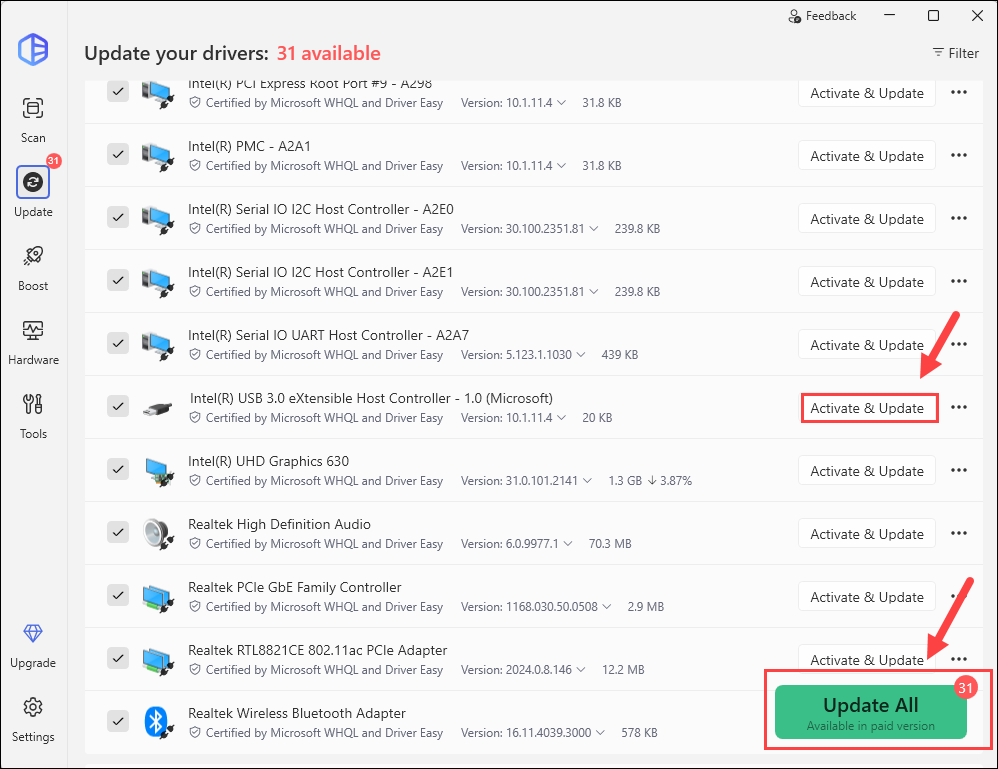
This will prompt you to start the 7-day free trial or upgrade to Driver Easy Pro. The Pro version includes automatic, high-speed driver updates, making it easy to improve your PC’s stability and hardware compatibility. If you’re not sure whether Driver Easy Pro is right for you, you can try the free trial to explore all the premium features. - After updating, restart your computer for the changes to take effect.
Although many users search for an Intel USB 3.0 driver, most Windows 10 and Windows 11 PCs already include the correct USB driver. In most cases, updating your chipset or motherboard drivers is the proper solution rather than installing an old Intel USB 3.0 package. You can always use a trusted driver updater like Driver Easy to do that automatically.
If your USB port doesn’t work, read this guide for advanced troubleshooting: How to fix USB Ports Not Working on Windows.

