


iMovie is a built-in app for iOS and macOS. You can use it to edit your video in a simple way. This app is not for pro users, but it’s enough for family users. Below are some useful tips for you to edit your video in iMovie.
Useful tips for iMovie:
- How to rotate a video in iMovie
- How to crop a video in iMovie
- How to flip a video in iMovie
- How to use the Ken Burns effect in iMovie
How to rotate a video in iMovie
When you start editing your video, you may want to make some difference in your video. Rotating your video is a little trick to use. Follow the steps below to rotate your video in iMovie:
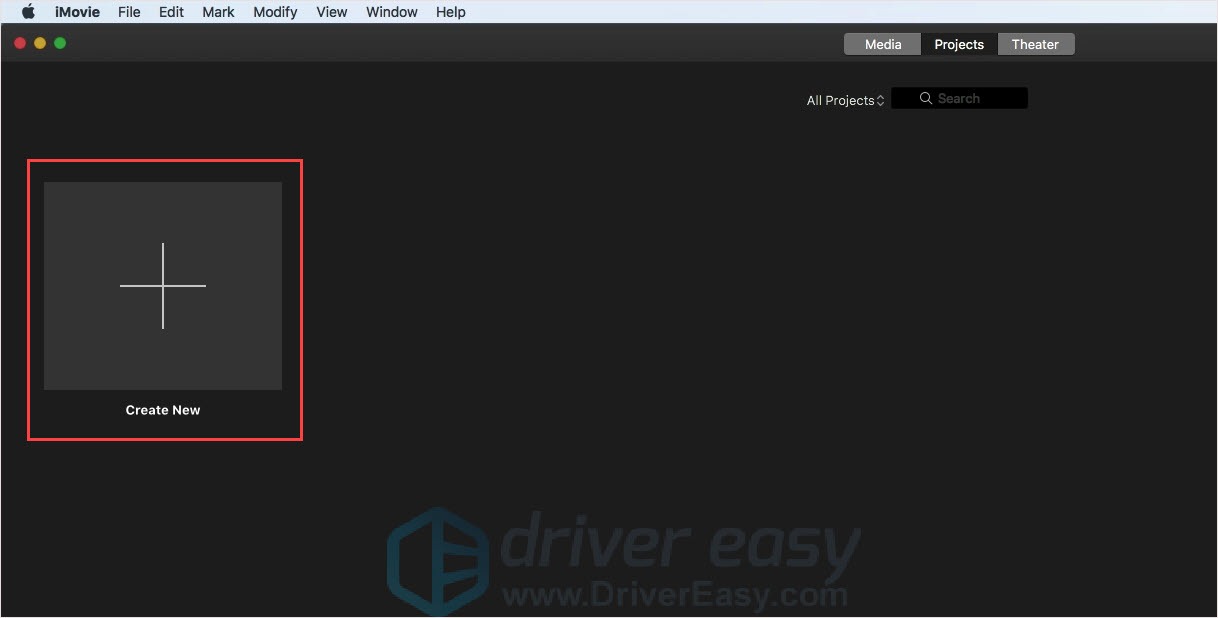
- Open iMovie and click the + button to create a project.
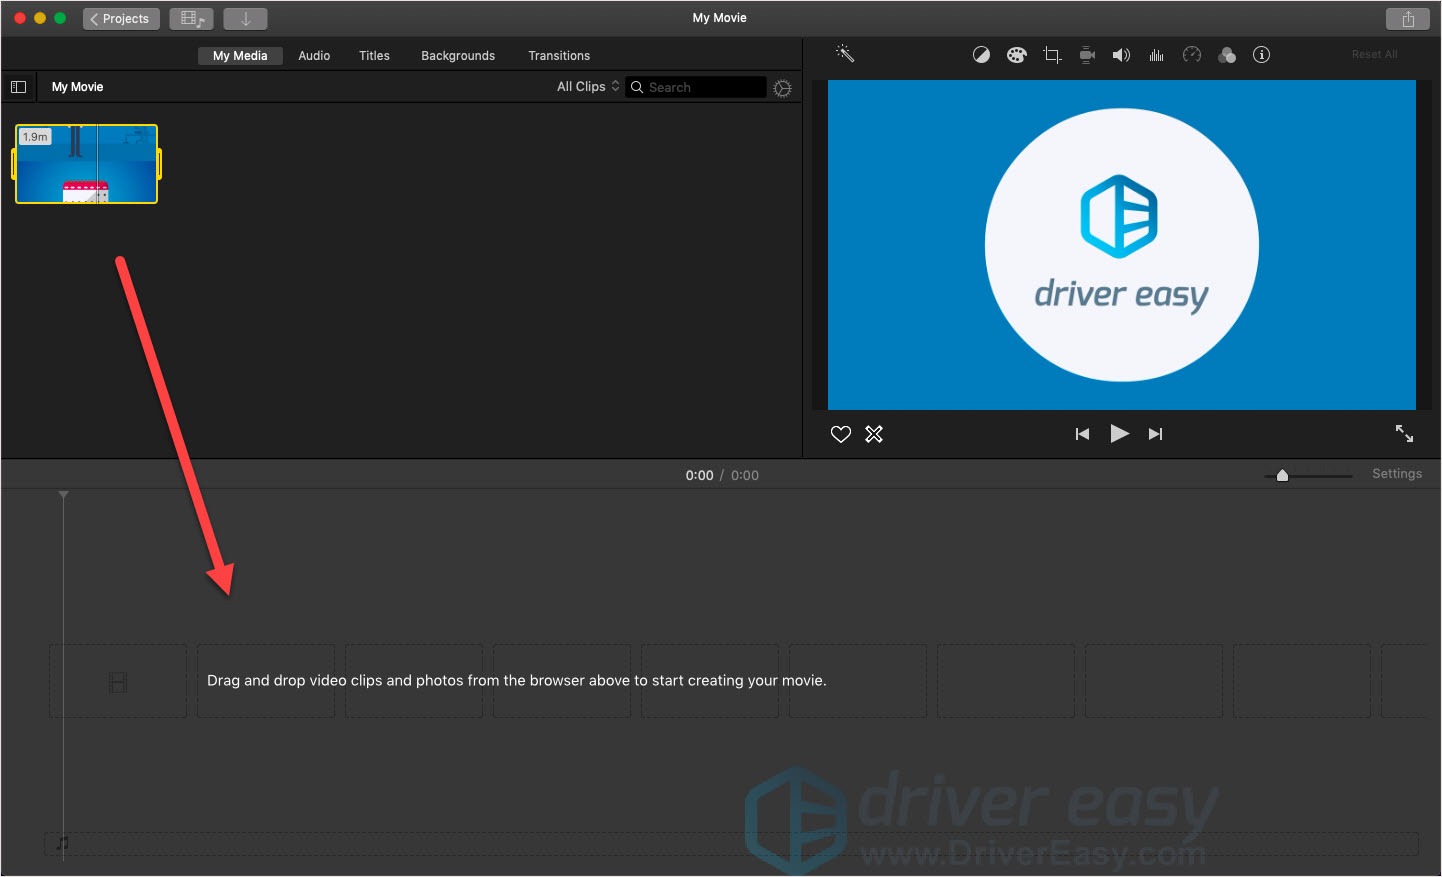
- Input your video.

- Drag the video into the timeline.
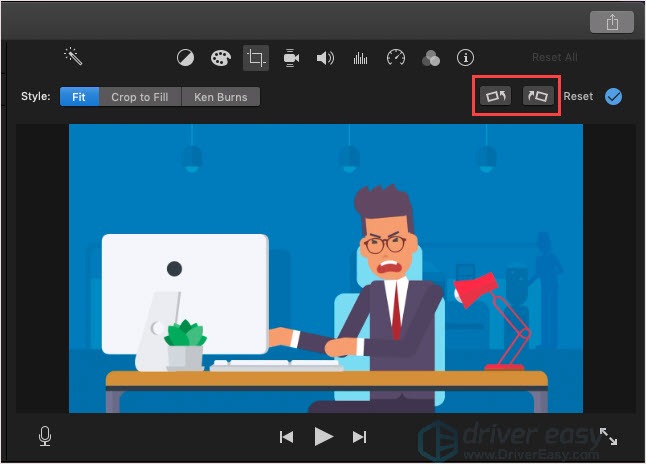
- Click the Cropping button.
- Rotate the clip clockwise or counterclockwise.
- Click the Blue button to apply the change.
Note: You can click the Reset button to reset all the adjustments.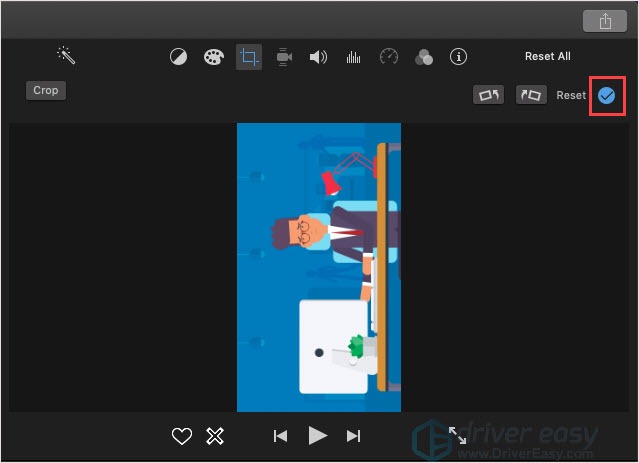
How to crop a video in iMovie
You can also use the Cropping button to manage the picture you want to show in the video.
- Select the clip you want to crop.
- Click the Cropping button and click Crop to Fill.
- Adjust the region you want to keep.
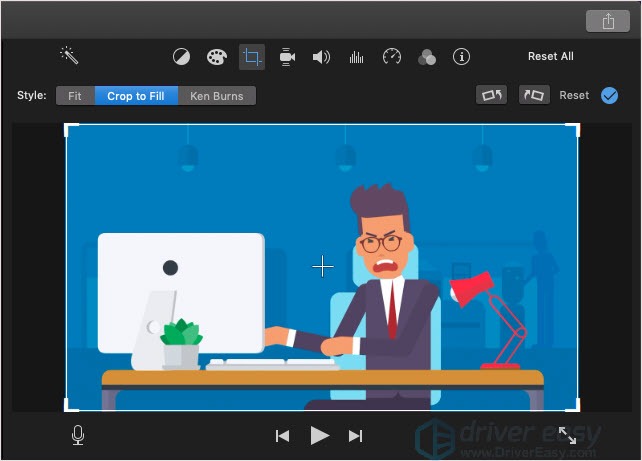
- Click the Blue button to apply the change.
Note: You can click the Reset button to reset all the adjustments.
How to flip a video in iMovie
Flip the video is a good technique to make your video different from others. Follow the steps below to flip your video.
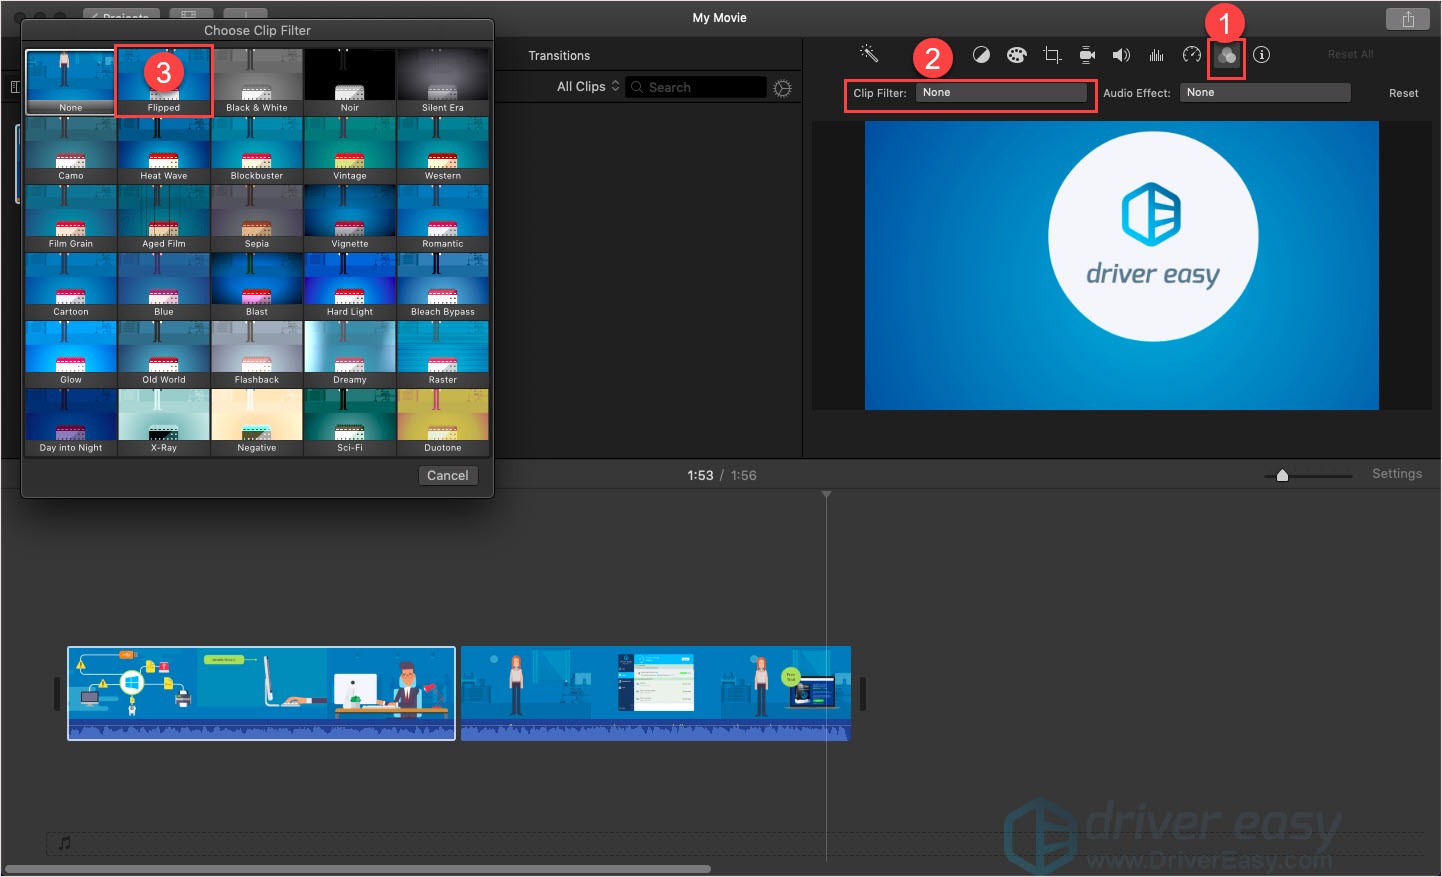
- Select the clip you want to flip.
- Click the filter button then click the Clip Filter.
- Choose Flipped.
How to use the Ken Burns effect in iMovie
Another useful tip you need to know is the Ken Burns effect. This effect can make your video moving like a camera zoom in and out.
- Select the clip you want to add the Ken Burns effect.
- Click the Cropping button.
- Click Ken Burns. There will be two frames: Start and end.
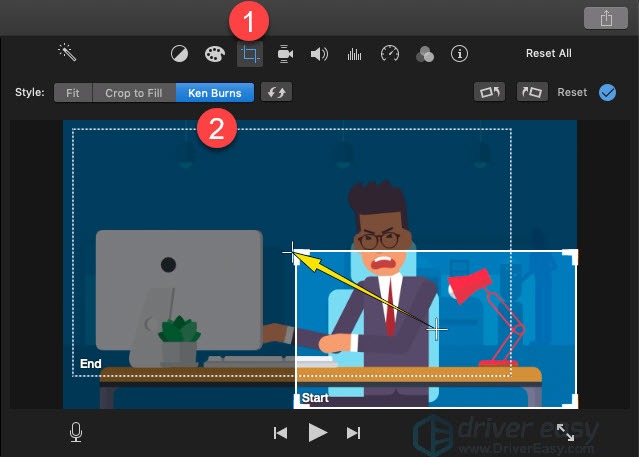
- You can manage the size and position of the Start and End. When you play the clip, it will start from the Start frame and move to the End frame.
- Click the Blue button to apply the change.
Note: You can click the Reset button to reset all the adjustments.
Bonus: Use a VPN to Upload your video to YouTube
VPN can not only help you bypass restrictions in your region but also reduce video buffering and help you upload faster in speed.
Most Internet Service Providers (ISPs) make a promise to users about their unlimited, high-speed internet services. While if you are an average user you will have a good internet speed. But if you’re a heavy streamer, you would be affected by bandwidth throttling.
Even if you are an average user, you may meet YouTube buffering issue while watching live streams. The buffering you encounter from live steam is caused by server overload of the corresponding channel.
The two situations can be fixed with one method–get a good VPN (Virtual Private Network). Through VPN, your ISP doesn’t know what you are streaming. VPN can lead you directly to the server without passing by the ISP to reduce the speed loss and avoid the restrictions. Using a VPN helps you in securing your privacy as well.
You can use the VPN you already have, if you don’t have one, it’s recommended to use NordVPN.
NordVPN can bypass geo-restrictions to get all add-ons desired, keeps you protected from snooping eyes, and secures your data to keep your online activity private. It’s safe and easy to use!
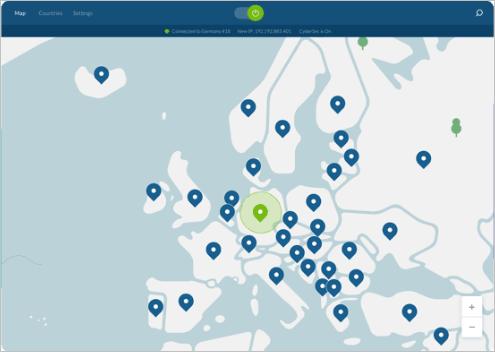
- Download NordVPN in your device.
- Run NordVPN and open it.
- Connect to a server in a chosen location.
Hope you find this post helpful. If you want to know more tips or you have suggestions, please leave your comment below.