


Want to take a screenshot on Windows 8 but don’t know how to do it? Here is the tutorial that can help you in seconds. From Windows built-in features to third-party tools, we have a few options for you! Just read on and find the one that works best for you!
1: Windows Built-in Features (Keyboard shortcuts and Programs)
2: Use Snagit – an All-in-one screen capture software
Method 1: Windows Built-in Features (Keyboard shortcuts and Programs)
The quickest way to take a screenshot is by using hotkeys on your keyboard. You could also use the Snipping Tool, which is a program that comes with Windows 8. They’re free and easy to use. Check out the options below and follow the corresponding steps:
Option 1: Press Print Screen key (PrtScn)
If you want to capture the whole screen, use this hotkey:
- Press PrtScn key on your keyboard.
- The screenshot will be copied to the clipboard. You can paste the screenshot into the Paint program, make simple edits and save it to your PC.
Option 2: Press Alt and PrtScn key
If you want to capture a specific window, use this keyboard shortcut:
- Select the window you want to capture to make it the active window.
- Press Alt and PrtScn key.
- It will capture a screenshot of the active window and copy it to the clipboard.
Option 3: Press Windows Logo key and PrtScn key
- Press Windows logo key and PrtScn key.
- The screen will dim for a second as it saves a picture of the whole screen captured to your PC.
- Press Windows logo key and E at the same time to open Windows File Explorer.
- Go to C:Usersyour user namePicturesScreenshots to locate the screenshot.
Option 4: Take a partial screenshot with Snipping Tool
- Press Windows logo key, move your mouse pointer to the bottom-right corner of your screen, then move upward to invoke the menu.
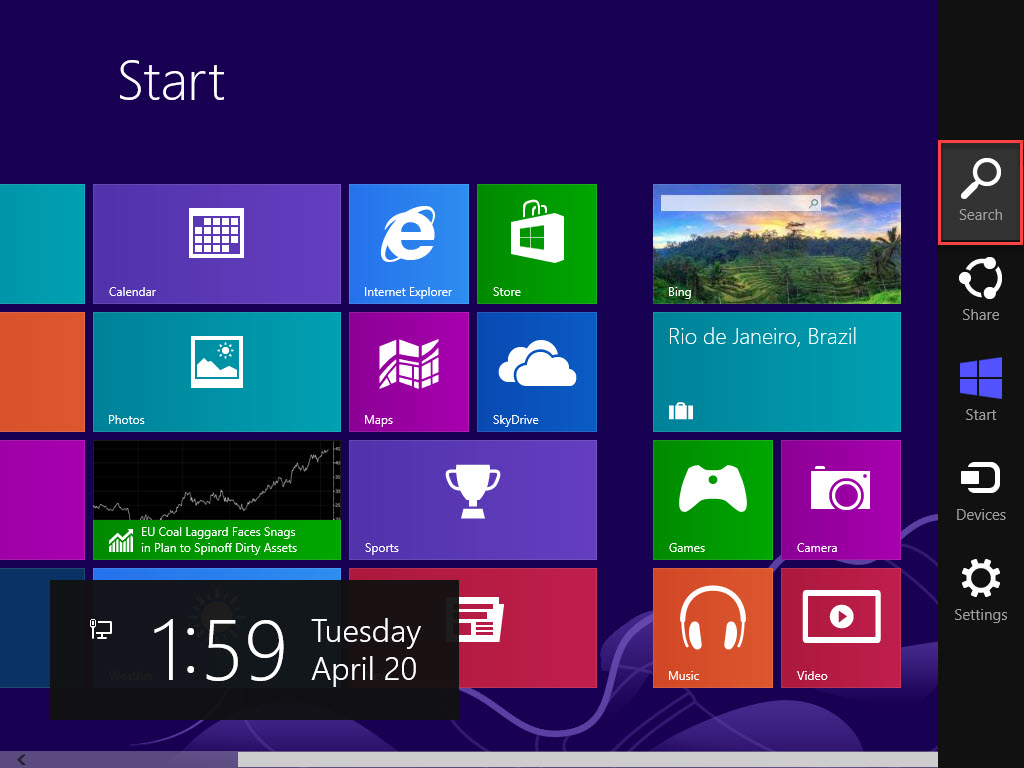
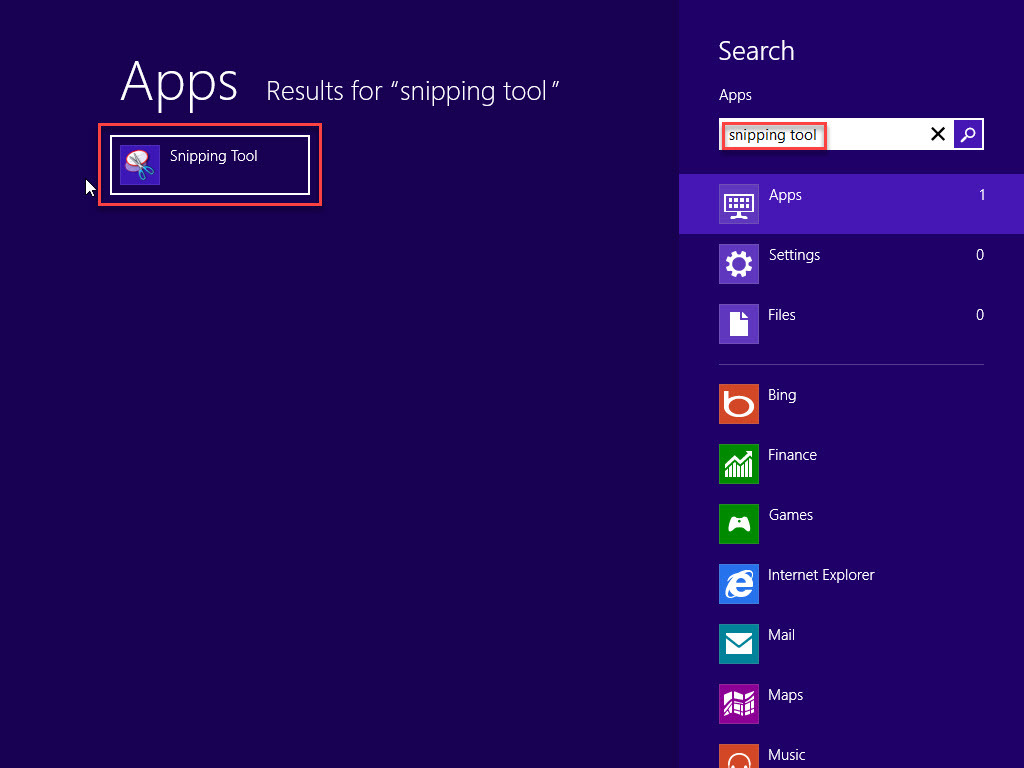
- Type Snipping Tool in the search bar and click the result to open the program.
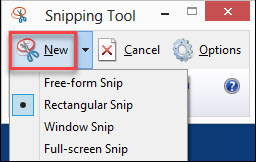
- Click New to create a screenshot.
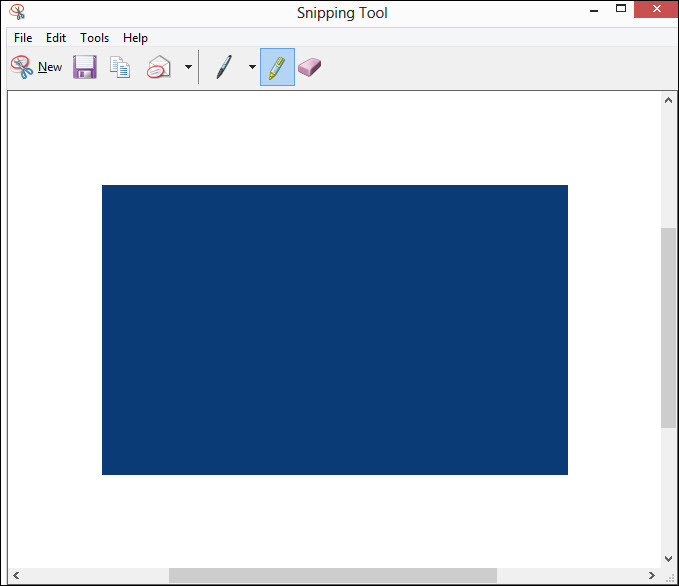
- You will be able to make simple edits before you save.
Method 2: Use Snagit – an All-in-one screen capture software
If you don’t want to switch back and forward between windows to create a screenshot, why not give third-party tools a try?
Snagit is our best pick. From taking a snapshot to adding notes on the picture, the all-in-one feature also allows you to record the screen with multiple output destinations provided.
Snagit provides a 15-day free trial with no limitations on its usage, so feel free to download it and try out the editing tools. The following steps will give you a brief idea of how Snagit works:
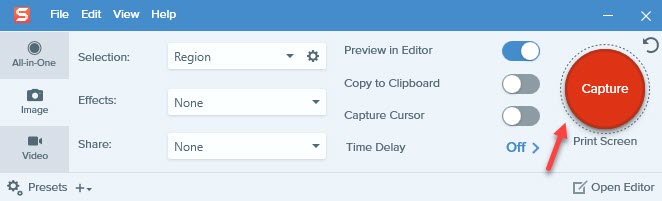
- Download and install Snagit, run the software.
- Click Capture to take a screenshot, or use the default hotkey – PrtScn key. You can drag the screen to include the area you need.
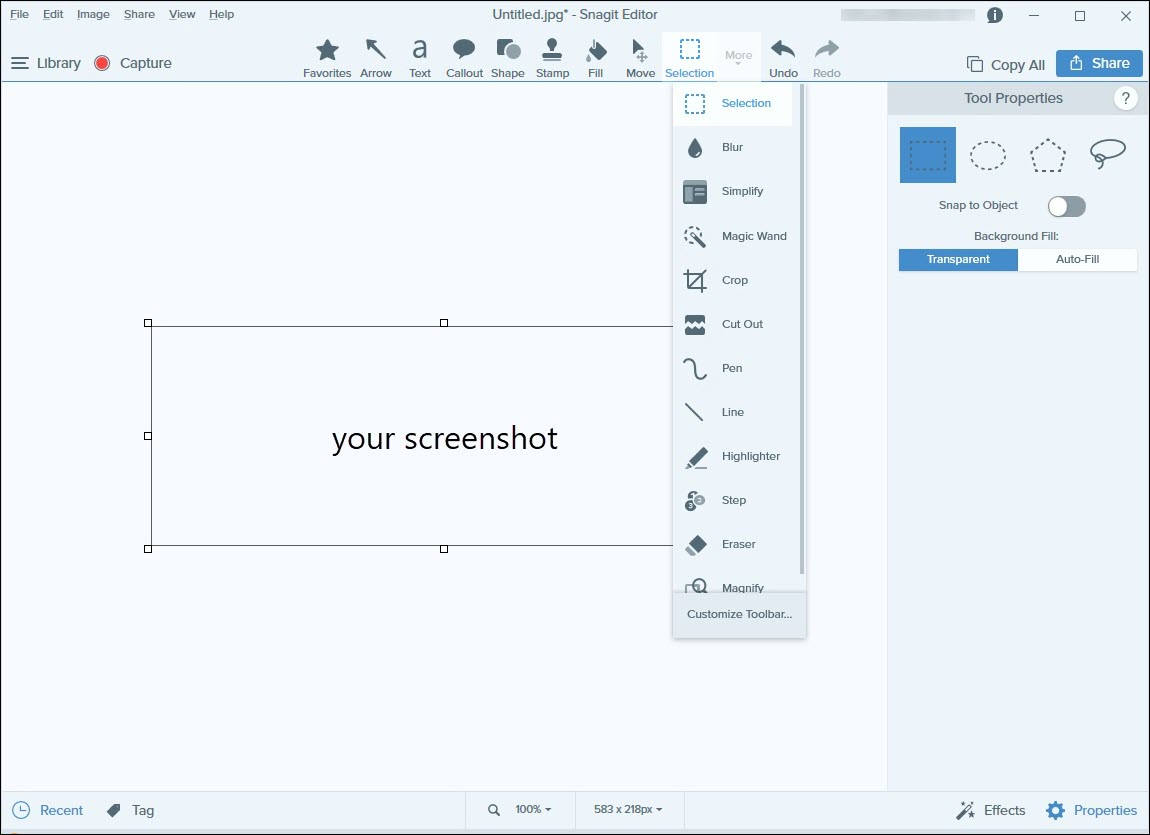
- Attached is an example of some useful tools available in the Snagit editor.
Hopefully this article helps! Please feel free to leave a comment if you have any further questions or suggestions.