


No idea how to take screenshots on Windows 10? Don’t worry! You can learn Windows keyboard shortcuts for screenshots or try a user-friendly third-party app with comprehensive features to achieve your goal.
5 ways to screenshot on Windows 10
Method 1: Use Snagit (Recommended)
Method 2: Use keyboard shortcuts
- Take a smart screenshot
- Capture active window
- Capture full screenshot to clipboard
- Save the screenshot as a file
Method 1: Use Snagit (Recommended)
Snagit is a full-featured program that meets all your needs for taking screenshots. Snagit can let you take a precise screenshot in pixels, use 1 click to capture a whole active window. Except for these basic functions, Snagit lets you edit pictures in many ways: words, arrows, shapes, watermarks, highlights, etc. Almost all of the features related to screenshots can be found on this software.
If taking screenshots is part of your work, and you don’t mind spending a few dollars to increase your working efficiency, Snagit is your perfect choice.
- Download and install Snagit.
- Run Snagit and click Capture, or press the PrtSn key on your keyboard.
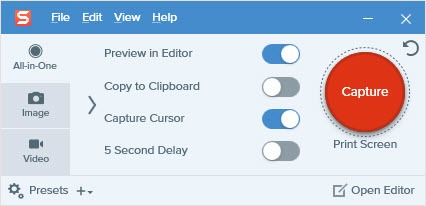
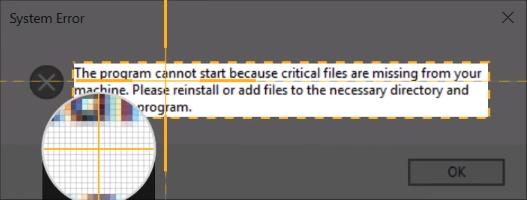
- Hover over windows or regions to auto-select the area, then click it to capture the area. Or click and drag to select a custom area.
- Click the camera icon on the toolbar to save your screenshot as an image.

- Edit your image on the pop-up Snagit Editor. You can add shapes, text, effects, or make adjustments to your image.
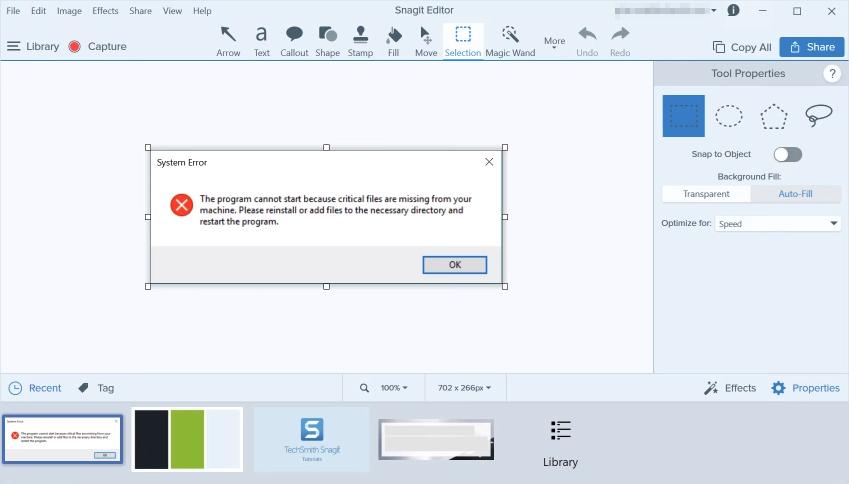
- Save your image. Or click Share to save the file.

You can get a free trial before deciding. Click here for the detailed tutorial.
Features:
- All-in-One Capture
- Scrolling screen capture
- Grab Text
- Screen recorder
- Record Webcam
- Record Audio
- Animated GIFs
- Trim Video Clips
- Combine separate images into one
Pros:
- Precision screenshots
- Easy and simple
- Have many powerful features
- Can run in the background, you won’t see the toolbar when you screenshot
Method 2: Use keyboard shortcuts
1. Take a smart screenshot
Windows 10 1809 just update a new way to do smart screenshots. It worked better than the previous one.
How: Press the Windows logo key + Shift + S together.
Then you can choose the part of the screen you want.
Pro:
- Simple and convenient
- Can use Snip & Sketch to edit
2. Capture active window
Sometimes you don’t need everything on your display. This shortcut can let you only capture the active window.
How: Press the Alt + PrtSc key together, you’ll have a screenshot in your clipboard.
Note: If you have multiple windows on the screen, you should click the one you want to screenshot. If there’s no active window on your desktop, you’ll have a screenshot of your desktop.
Pro:
- Simple and convenient
Cons:
- No feedback when you take a screenshot
- Can’t choose the range
- Have to use another software to save and edit
3. Capture full screenshot to clipboard
It’s a really easy way to take a screenshot of everything on your display.
How: Press the PrtSc button on your keyboard, you’ll have a screenshot in your clipboard.
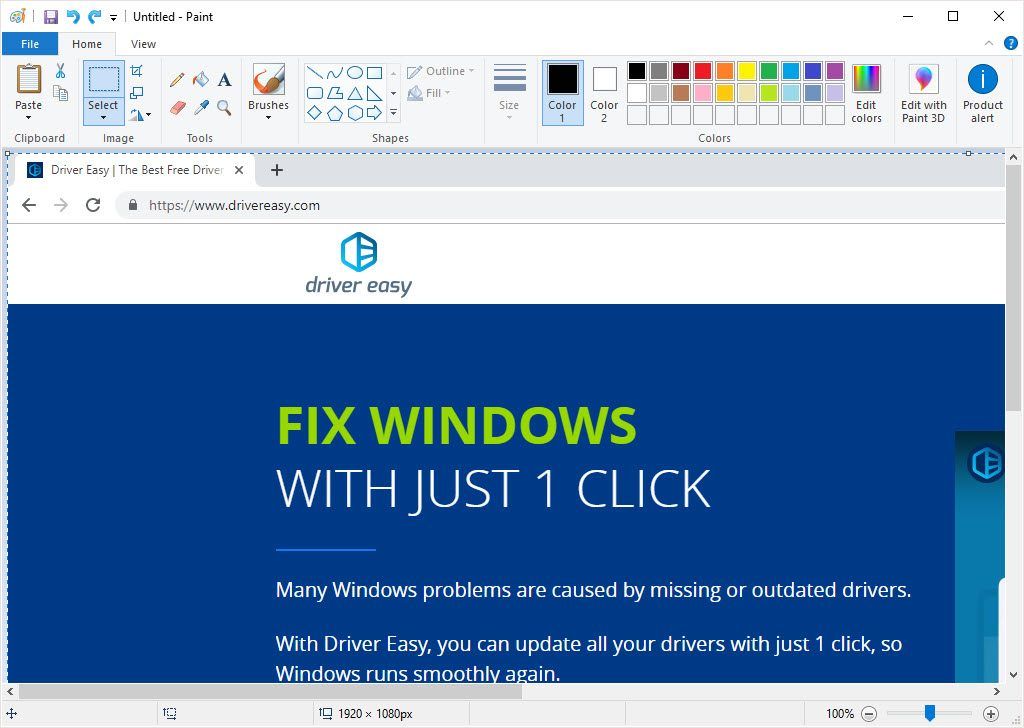
It may look like nothing happened, but if you open a document; a chat window or the Paint tool (a built-in app in Windows), then press Ctrl + V together, you’ll see the screenshot image.
You can use the Paint tool to edit or save the screenshot.
Pro:
- Simple
Cons:
- No feedback when you take a screenshot
- Can’t choose the range
- Have to use another software to save and edit
4. Save the screenshot as a file
The screenshot that contains everything on your display can be saved as a file. If you want to save it, you can use this shortcut.
How: Press the Windows logo key + PrtSc together.
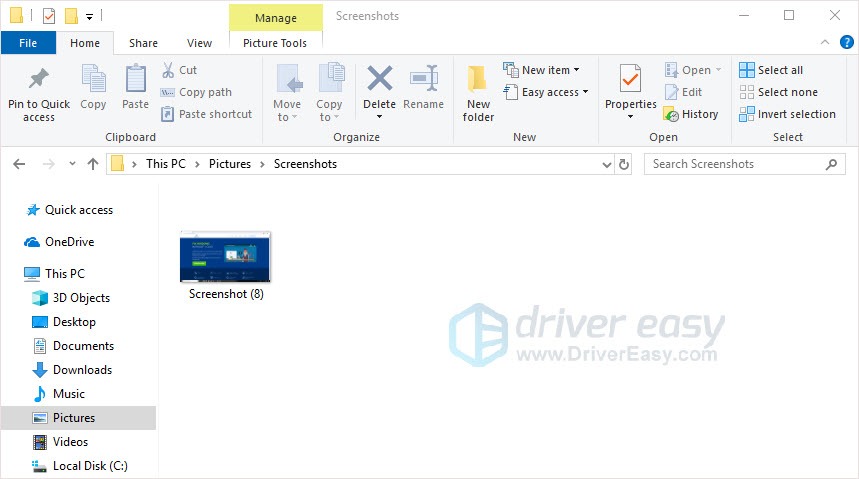
It will help you capture the full-screen of your display and save it automatically to the “This PC Pictures Screenshots” folder.
Pro:
- Save as a file with one step.
Cons:
- Can’t choose the range
- Can’t change the saving file
Method 3: Use Gaming capture
In the Windows 10 system, a feature screenshot tool for the game is built to evoke a concise sidebar through a shortcut. This feature is, particularly for game.
How: Press the Windows logo key + G, then press the camera button to take a screenshot for your game in the pop-up toolbar.
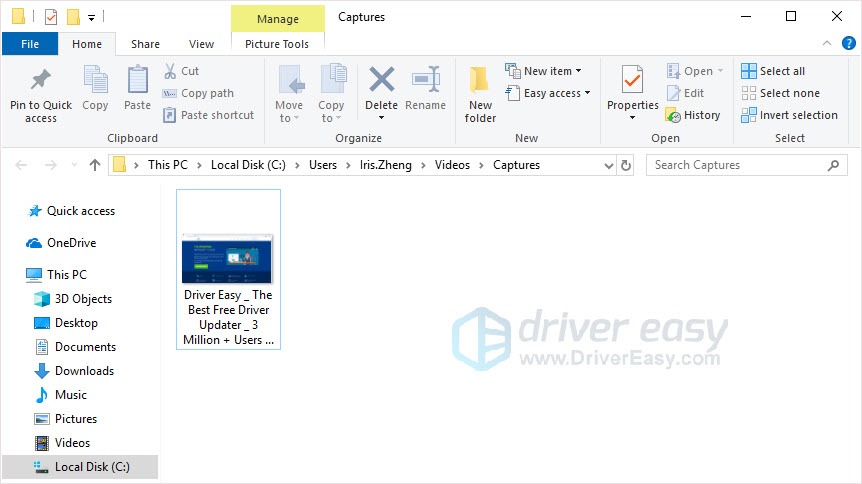
This screenshot tool can capture pictures in the game and other software interfaces. But it can’t screenshot desktop. The images will be saved in the folder “C: Users XXX (user name) Videos Captures”
In addition to screenshots, this tool can do a recording. It can work as temporary recording software. You can also set shortcuts on the Settings-Game Bar page.

Pros:
- Can recording video
- Convenient
Cons:
- Can’t choose the range
- Can’t change the saving file
Method 4: Use Windows Edge
If you want to clip a long text on a web page, you can use the Microsoft Edge browser to do it. Microsoft Edge is perfect for taking a scrolling web page screenshot.
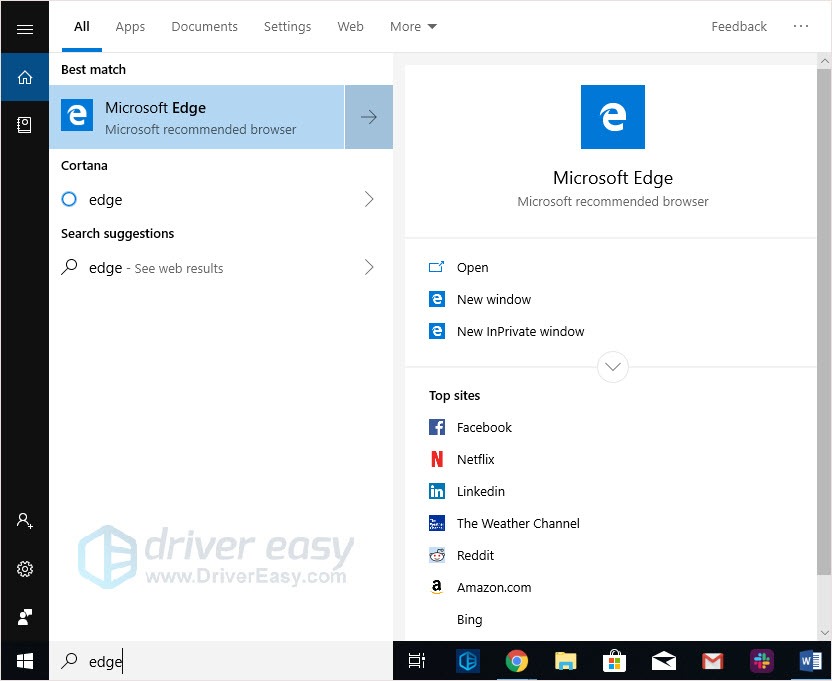
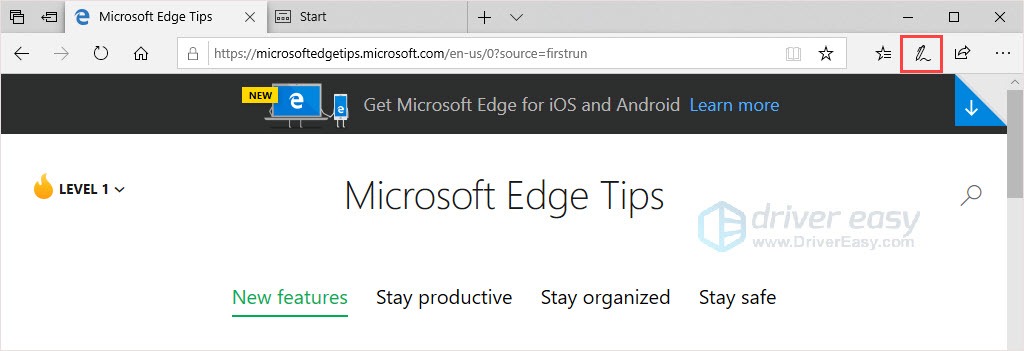
- Type “edge” in the search box and open the Microsoft Edge browser.
- Click the pen icon in the upper right corner of the toolbar.
- Drag the mouse to start the screenshot, and you can copy the entire screenshot to the clipboard by dragging the screenshot area all the time.
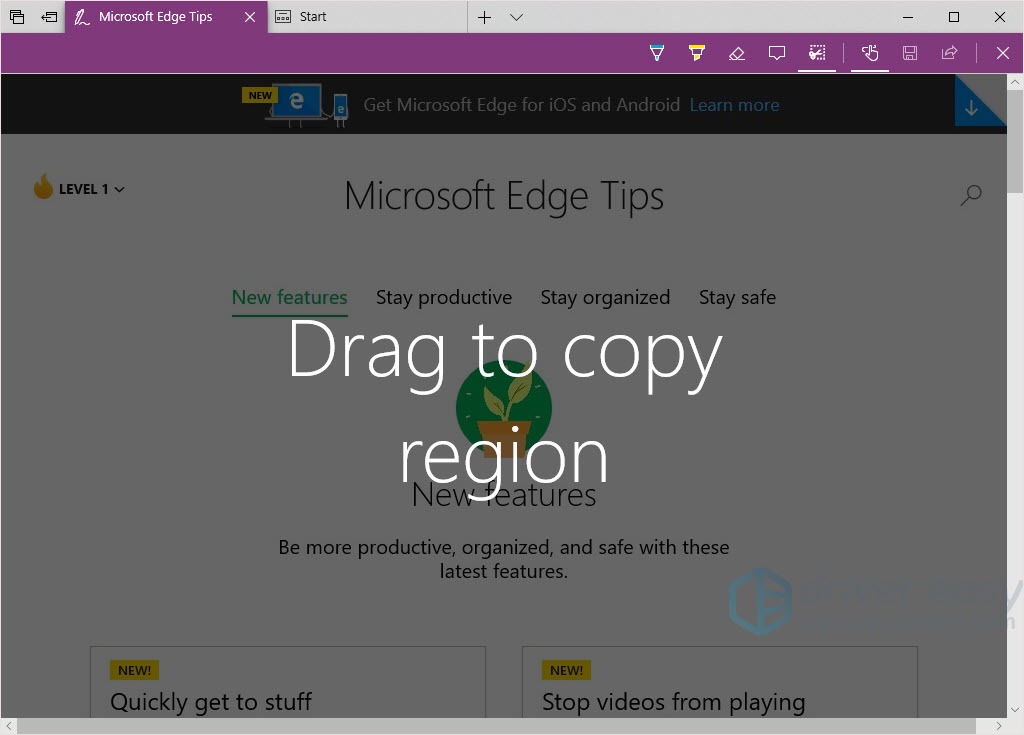
- Open the Paint tool and press Ctrl + V to paste the screenshot, and save it as a picture file to complete the screenshot.
Pros:
- Can do a long text web page screenshot
- Can mark the screenshot
- Can customize the region
Cons:
- Only use in the Microsoft Edge browser
- Have to use another software to save as a file
Method 5: Use Snipping tool
If you need a free-form screenshot and want more features, the Snipping tool is a good app for you to take a screenshot.
This software is a built-in app on Windows 10. Compared to the previous shortcuts and software, this tool provides screenshots in many forms: rectangular screenshots, window screenshots, full-screen screenshots, free form screenshots and delays in setting screenshots. You can easily make more detailed adjustments during the screenshot process.
It also contains an edit toolbar. You can mark, highlight, or paint in the screenshot and save it into the folder you like.
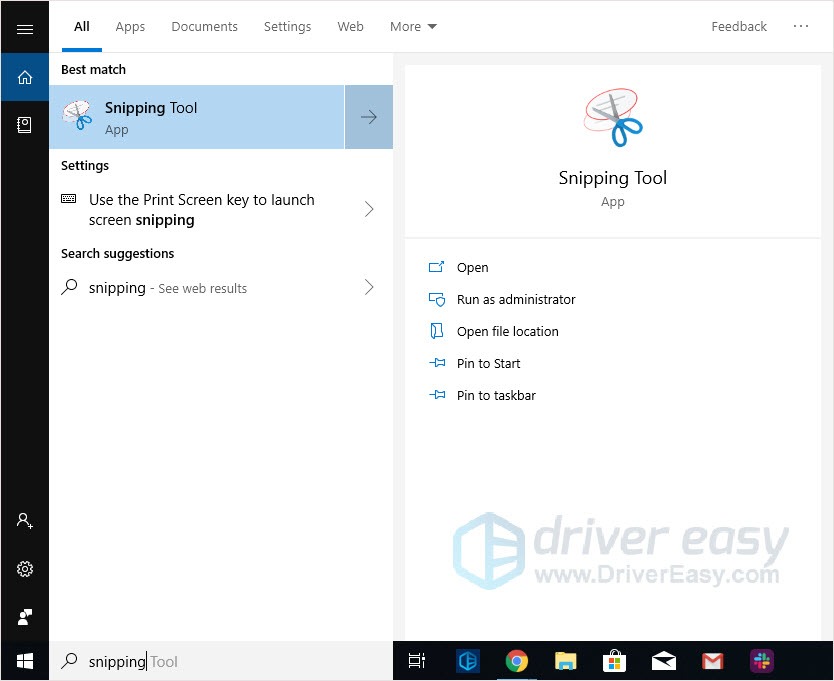
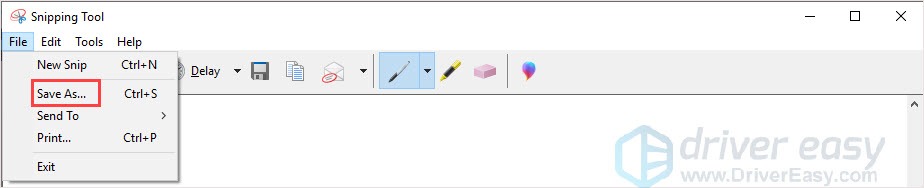
- Type “snipping tool” in the search box and open it.
- Click New and select the region you want to take a screenshot.
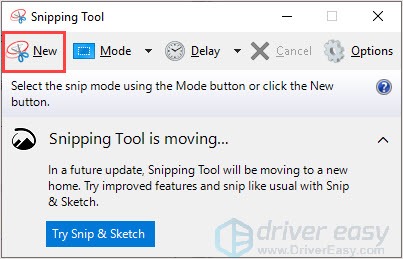
- Edit if you like. Click File and select Save as to save the picture.
Pros:
- Can take a free form screenshots
- Can edit and send to mail
- Free
Cons:
- Can’t hide the toolbar
- Don’t have many features
In conclusion, the Windows built-in tools and shortcuts for screenshots can meet the basic need. But if your daily work requires a more comprehensive and convenient screenshot tool, you can consider using Snagit.
Which way do you use the most to take a screenshot? Do you have any other easy ways to take a screenshot on Windows 10? That would be very nice if you share your ways with us below.
