


Updating NVIDIA drivers to the new version can boost your computer’s graphics performance. But problems may occur if you install incorrect drivers. And sometimes the new driver doesn’t work out as expected. In this case, you can roll back the drivers to the old version.
In this tutorial, we will show you how to roll back NVIDIA drivers in Windows 11 and 10 step by step.
When should you roll back an NVIDIA driver?
Rolling back is recommended if your PC started having problems immediately after installing a newer NVIDIA driver. Common issues include game crashes, black screens, low FPS, stuttering, driver timeout, display driver errors, and even Blue Screen of Death (BSoD).
If these issues existed before updating your driver, a rollback probably isn’t the right solution. A clean driver reinstall or other troubleshooting steps may work better instead.
3 ways to roll back NVIDIA graphics driver:
There are several ways you can roll back the graphics driver. You can start by picking the one that you like the most. If it doesn’t work, simply continue to the next one.
- Roll back the graphics driver in Device Manager
- Download & roll back graphics driver manually
- Roll back graphics driver to any version automatically (Recommended)
Method 1: Roll back the graphics driver in Device Manager
You can use this method to roll back the graphics driver easily if your computer has the previous driver.
Follow these steps to roll back the NVIDIA driver:
1) On your keyboard, press the Windows logo key and R at the same time to invoke the run box.
2) Type devmgmt.msc and click the OK button.
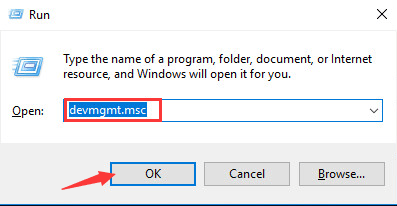
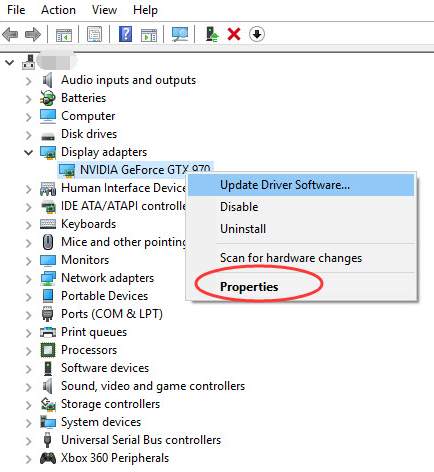
3) Expand the Display adapters category. Then right-click your NVIDIA graphics device and click Properties.
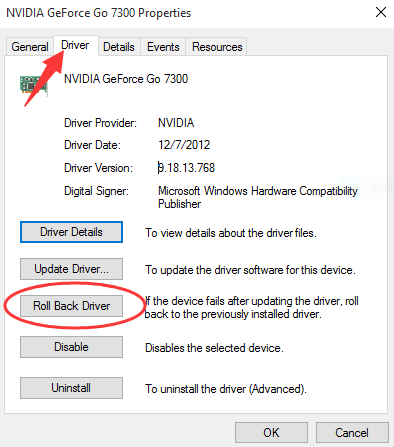
4) Select the Driver tab. Then click Roll Back Driver.
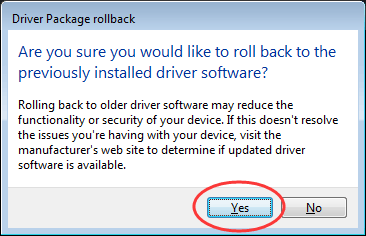
5) Then you will get a pop-up window like below. Click Yes, and the driver will be restored to the previously installed version.
6) Restart your PC for the change to take effect.
Method 2: Download and install older NVIDIA drivers manually
If you can’t roll back drivers in Device Manager, or you want to return to a specific version, one way is to do it manually by downloading the driver from NVIDIA.
1) Go to the NVIDIA driver download page.
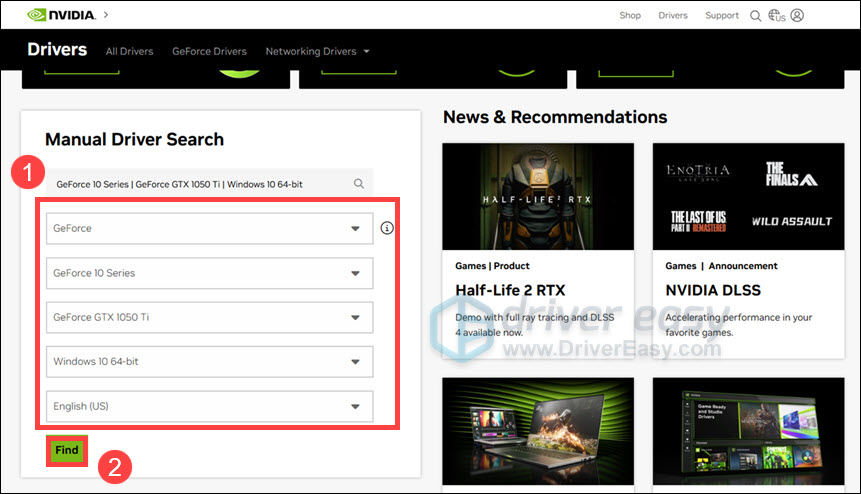
2) In Manual Driver Search, select your graphics card model and click Find.
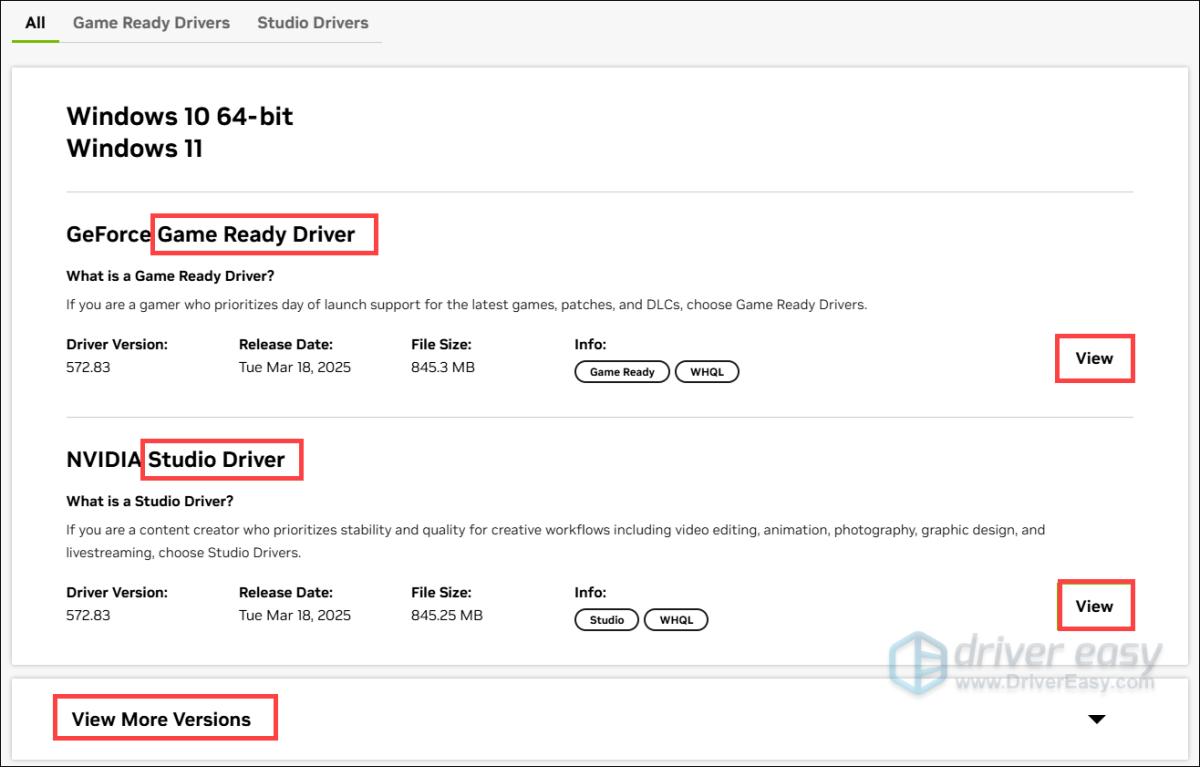
3) In the search results, find the version you want and click View. (For visual design, video editing, and other work purposes, select Studio Driver. Otherwise, go with Game Ready Drivers, which is the most common one.)
You can also click View More Versions to see the older drivers.
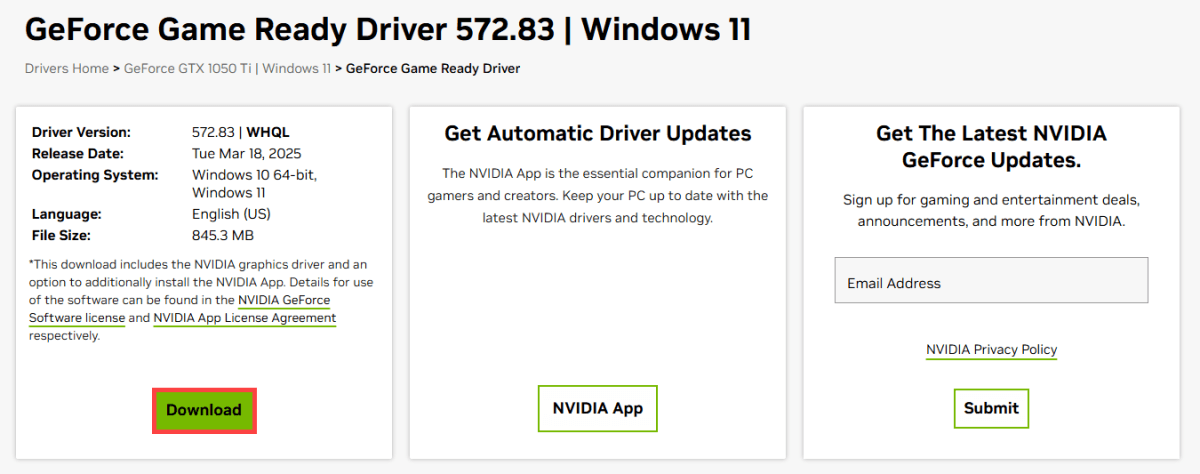
4) Click Download to download the graphics driver installer. Then launch it and follow the on-screen instructions to install the driver.
Method 3: Roll back graphics driver to any version automatically (Recommended)
Many users reported that they need to switch to an older driver to get a better gaming experience. If you don’t have the time, patience, or computer skills to roll back the driver manually, you can do it automatically with Driver Easy.
Driver Easy is a powerful driver update tool that will automatically recognize your system and find all the correct drivers for it. It also provides a handy feature that allows you to easily switch between different compatible versions of drivers, which can be done in just a few clicks.
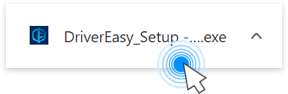
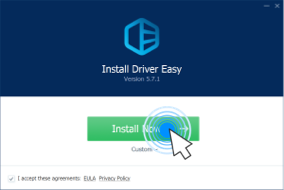
1) Download and install Driver Easy.
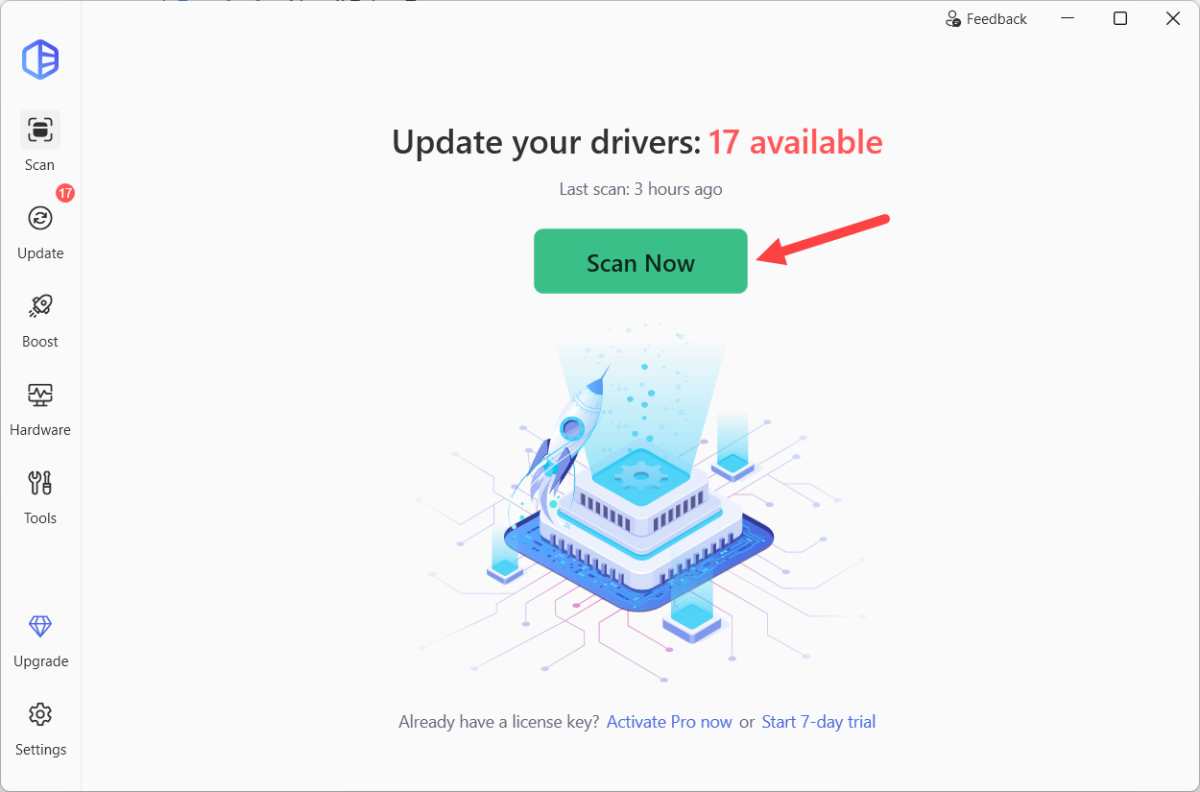
2) Run Driver Easy and click Scan Now. Driver Easy will then scan your computer and show you all the device drivers.
3) Click the three dots icon next to the NVIDIA graphics card to see the available options. Select View all driver versions.
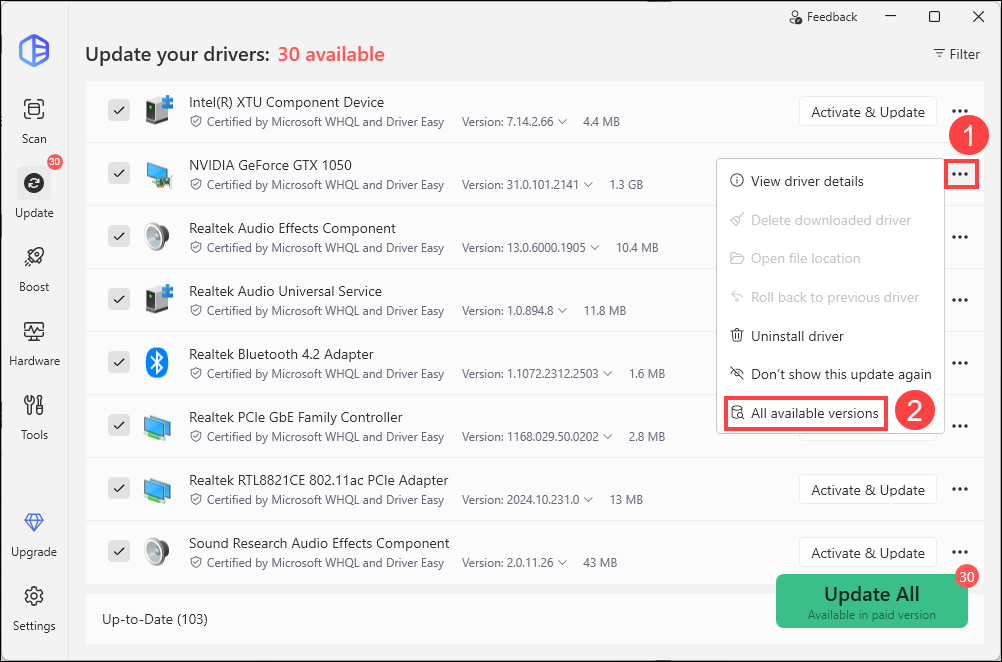
4) Select a version you want to install. Then click the download button to download and install the specific driver automatically. (This requires the Pro version – you’ll be prompted to upgrade when you install drivers. If you’re not sure if Driver Easy is right for you, it offers a 7-day free trial where you can test out all the Pro features. You won’t be charged until the trial ends.)
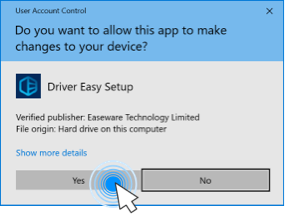
5) During the installation, click Yes if you’re prompted to provide Administrator privileges. Once the driver is installed, restart your computer for the changes to apply.
Prevent Windows from reinstalling the problematic driver
Even after you’ve successfully rolled back your NVIDIA driver, Windows Update may automatically install a newer version again, or just replace your graphics driver with a generic Microsoft display driver, which may not provide the best gaming performance or full NVIDIA functionality.
If this happens repeatedly, you can temporarily:
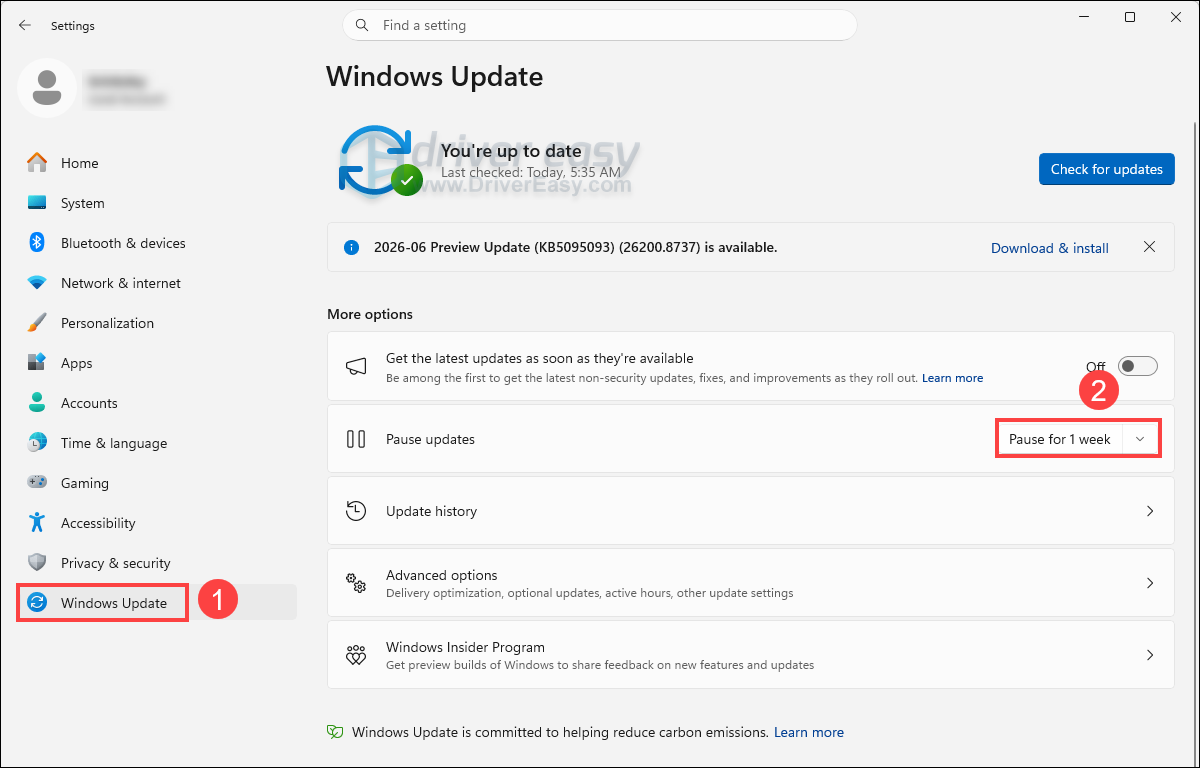
- Pause Windows Updates while testing the older driver. Go to your Windows settings, select the Windows Update tab and set Pause for 1 week for Pause updates.
- Disable automatic driver update, if you’ve confirmed the older version is stable.
If a recent NVIDIA driver update caused crashes, black screens, lower FPS, or other graphics issues, rolling back to an older version is often the quickest solution.
For most users, Device Manager is the easiest option. If that’s unavailable, manually installing an older NVIDIA driver or using Driver Easy to switch between compatible driver versions provides a reliable alternative.
