


As a direct follow-up to Cloud II, HyperX Cloud Alpha adds a whole bunch of new and exciting things, and it sounds neutral, dynamic, and clean. If you’re having problems with the HyperX Cloud Alpha microphone, don’t worry. Many users are reporting the same issue, and it can be fixed quickly and easily.
Try these fixes
1. Check the connections
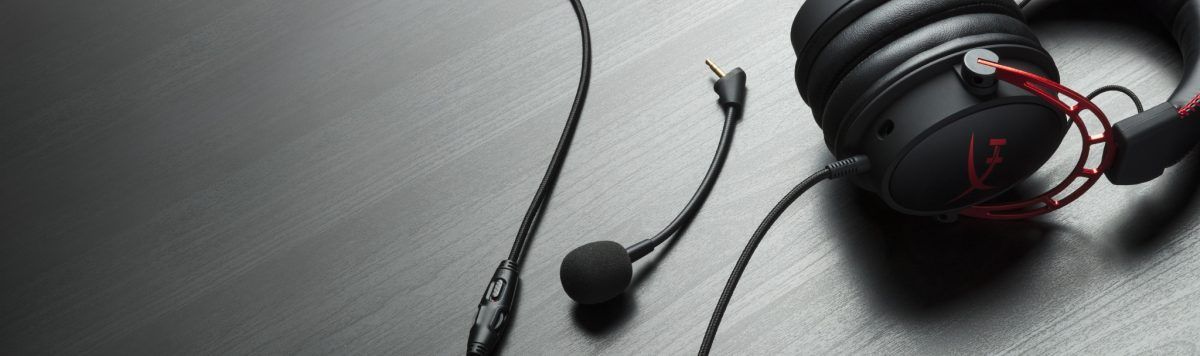
Since HyperX Cloud Alpha comes with a detachable microphone, so it’s important to firmly insert the detachable cable plug to ensure full connectivity (you really need to push it into the headset). Also, make sure not to mute the Mic, and increase the volume to the max level. This is the final fix for many users.
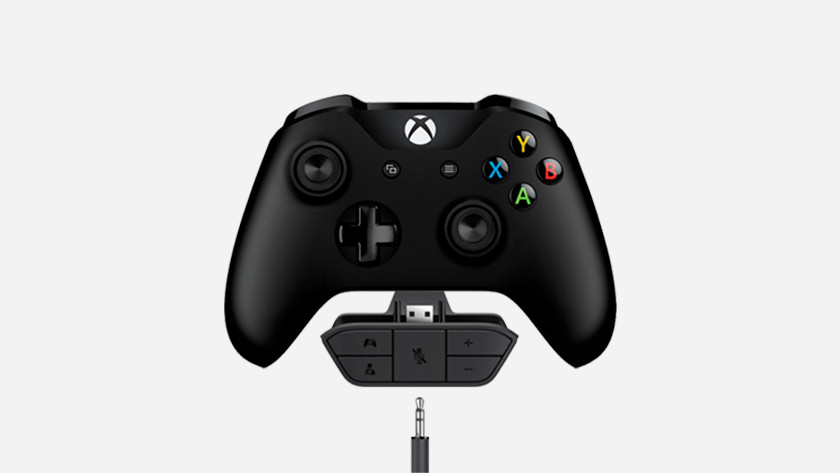
If you’re using HyperX Cloud Alpha on Xbox One, you’ll need an adapter. Make sure the Mute button is not active, and use the buttons on the adapter to adjust the sound and microphone volume. Then go to Settings, and go to Audio to make sure the microphone is on. (The Cloud Alpha S is only compatible with PC and PS4.)
2. Troubleshoot the HyperX headset microphone
If you run into hardware issues, you can always use Windows inbuilt troubleshooter. This will help you fix minor problems.
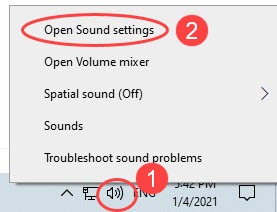
- Right-click the Speaker button on the bottom right side, and choose Open Sound Settings.
- Under Input, choose the right input device (HyperX Cloud Alpha) and click Troubleshoot.
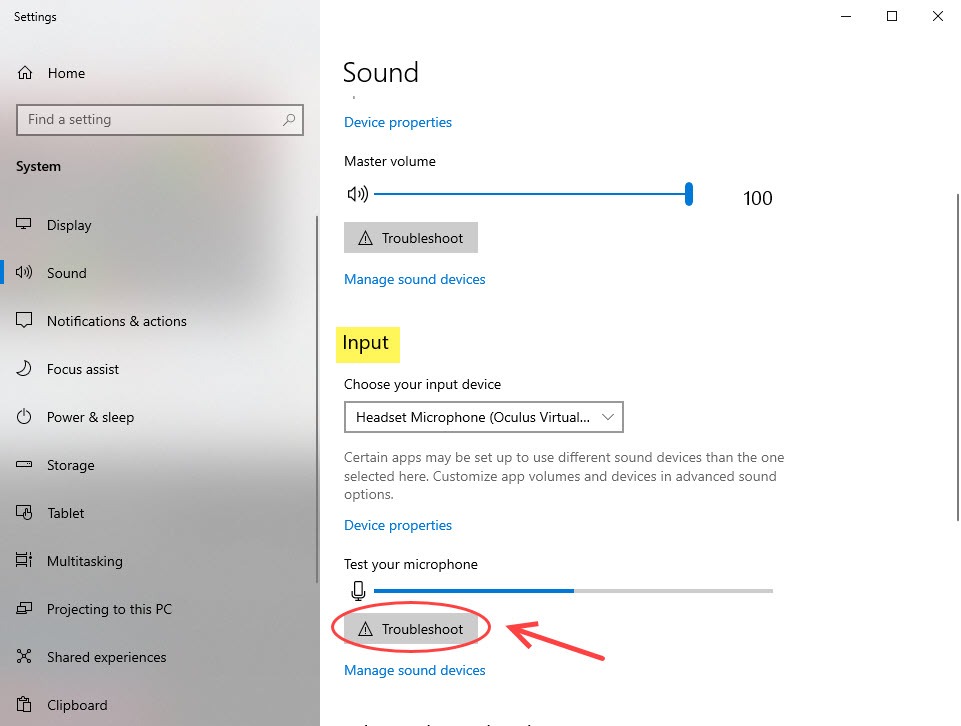
- Follow the on-screen instructions and wait till this gets finished.
3. Allow access to the microphone
Your HyperX Cloud Alpha mic not working might be caused by microphone settings on your PC. To fix this issue, you can check your microphone privacy settings and make sure the app you’re using can access your microphone.
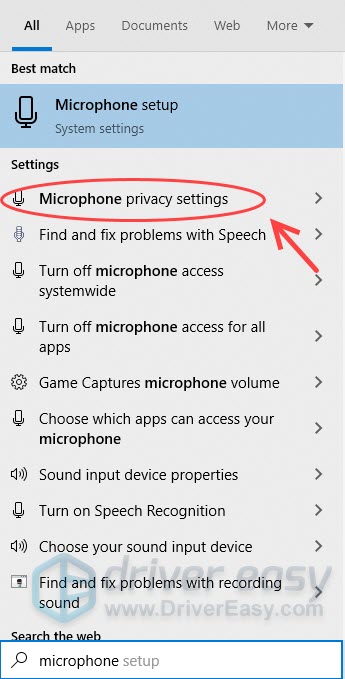
- On your keyboard, press the Windows logo key to invoke the Search box and type microphone.
- Select Microphone Privacy Settings from the results list.
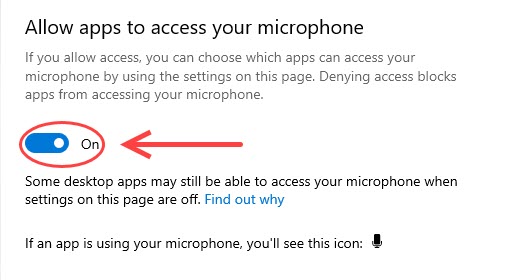
- Under the Allow Apps To Access Your Microphone tab, ensure that the toggle is in the On position so that other apps can use your microphone.
- Scroll down to choose which app can access your microphone, and make sure that you have it set for all the apps you want.
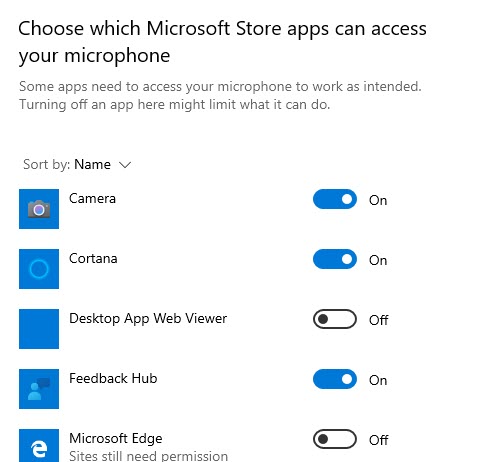
- Now check if your mic is working for the app you’re using.
4. Update your audio driver
If the audio driver is faulty or outdated, you’re likely to encounter the HyperX Cloud Alpha microphone not working problem. To keep your gaming headset work to its best performance, you should install the latest audio driver.
There are two ways you can update the audio driver: manually or automatically.
Manually – You can search for the most recent driver for your sound cards drivers such as Realtek or NVIDIA download the latest driver that is compatible with your Windows version, and install it step by step.
Automatically – If you don’t have the time, patience or computer skills to update your audio driver manually, you can, instead, do it automatically with Driver Easy. Driver Easy will automatically recognize your system and find the correct driver for your headset, and your Windows version, and it will download and install them correctly:
- Download and install Driver Easy.
- Run Driver Easy and click the Scan Now button. Driver Easy will then scan your computer and detect any problem drivers.
- Click the Update button next to the flagged sound card driver to automatically download the correct version of that driver, then you can manually install it (you can do this with the FREE version).
Or click Update All to automatically download and install the correct version of all the drivers that are missing or out of date on your system. (This requires the Pro version which comes with full support and a 30-day money back guarantee. You’ll be prompted to upgrade when you click Update All.)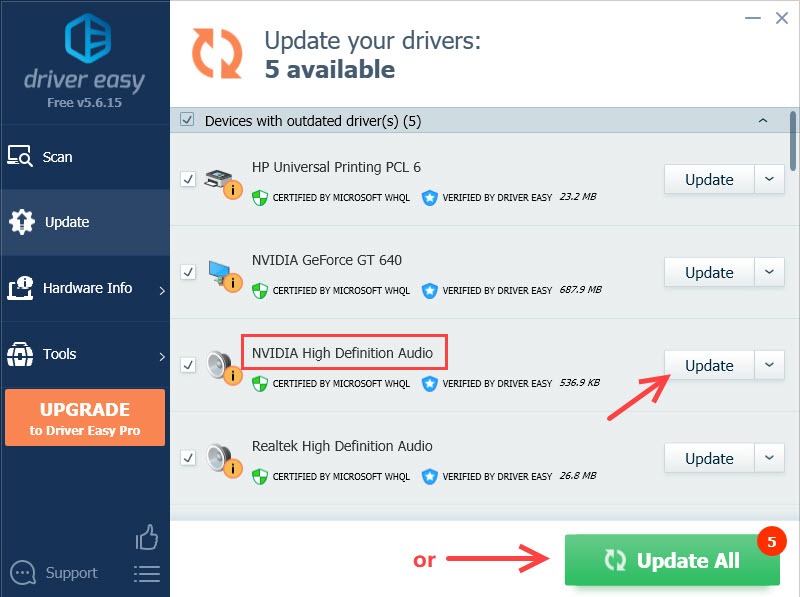
- Restart your computer for the changes to take full effect.
5. Change your microphone settings
Normally, Windows can automatically detect your microphone and set it as the default input device once your headphone is plugged into. But sometimes you’ll need to set it as the default device manually:
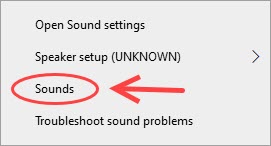
- Right-click on the sound icon in the lower-right corner of your desktop, and select Sounds.
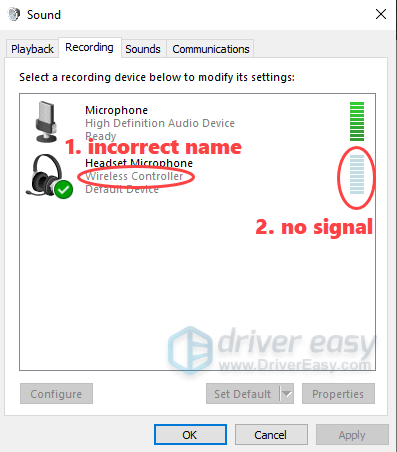
- Go to the Recording tab, and make sure your Headset Microphone is set as the default device. If not, select your headphone and click Set Default.
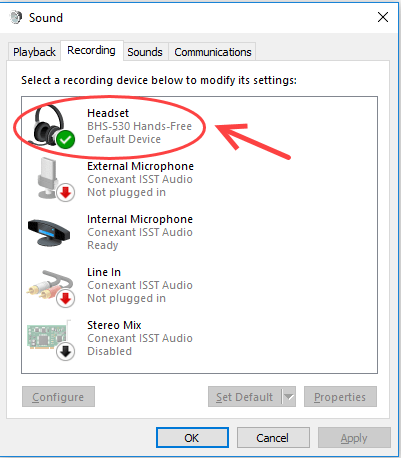
- Also, make sure it displays your headphone name correctly and shows strong signals. If your headphone is shown as something else, there’s something wrong with your mic settings, so you should re-connect your headset.
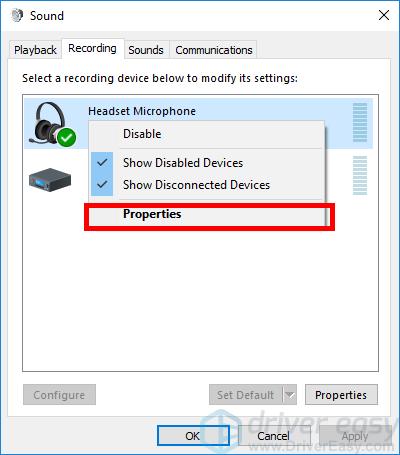
- If the display name and signal is normal, right-click Headset Microphone and click Properties.
- Click the Levels tab, then drag the volume slider towards the largest value (100).
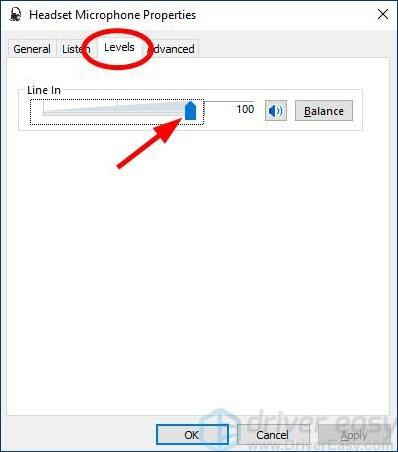
- Click OK to apply the changes, and then click OK on the last window.
Now check if your HyperX Cloud Alpha is working now. If not, you can check your game settings to make sure that it is not conflicting with your HyperX mic.
Hopefully, you have solved the HyperX Cloud Alpha mic not working issue by now. If these methods don’t work for you, you can contact HyperX support or return your headset.
