


Have you ever heard about the Driver verifier? Did you see Driver verifier in some articles which guide you on how to solve windows issues? Or, have you ever encountered a blue screen error with “Driver Verifier” on the screen?
So here comes our first question:
What is the Driver Verifier?
Driver Verifier is a useful tool contained by Microsoft Windows. The tool is designed to catch the device driver bugs. It can monitor and highlight illegal function calls or actions that may cause system corruption due to Windows kernel-mode drivers and graphics drivers.
When should I use Driver Verifier?
As you know, the Driver Verifier is a tool to catch the device driver bugs. So when you meet these issues, you may need to run Driver Verifier.
- Identify problems early in the development cycle that is easier to solve and cost less.
- To troubleshoot and debug test failures and computer crashes.
- Testing drivers while using the WDK, Visual Studio and the tests from the Windows Hardware Lab Kit.
For example, when you meet BSOD error like DRIVER_VERIFIER_DETECTED_VIOLATION, you would be recommended to use Driver Verifier to solve the issue.
The advantages of Driver Verifier are quite obvious, but you need to use it carefully. Because it could cause the computer to crash.
| Advantage | Disadvantage |
| Can configure which tests to run | Could cause the computer to crash |
| Allow you to put a driver through heavy stress loads | Only run it on testing/debugging computer |
| Through more streamlined testing |
If you’re an advanced user or you’re confident with your computer knowledge, you can use Driver Verifier to identify issues with Windows drivers.
But if you feel apprehensive about this tool, you may choose another way to detect your driver.
How to use Driver Verifier?
It’s better to run Driver Verifier on your testing and debugging the computer in case it causes the computer to crash.
Enable Driver Verifier
- Press the Windows logo key+ R together to evoke the Run box.
- Type cmd and then press Ctrl+ Shift+Enter together.
Note: Do NOT click OK or press the Enter key, otherwise it will prompt by User Account Control.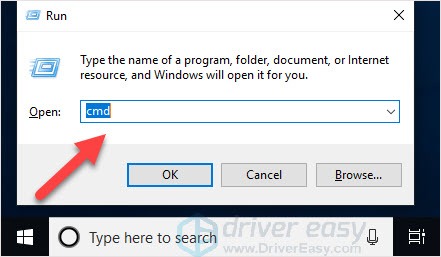
- On the open black window, type verifier and press the Enter key.
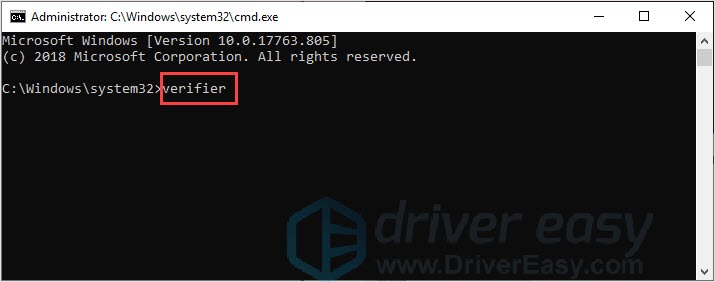
- Now the Driver Verifier Manager would be open.
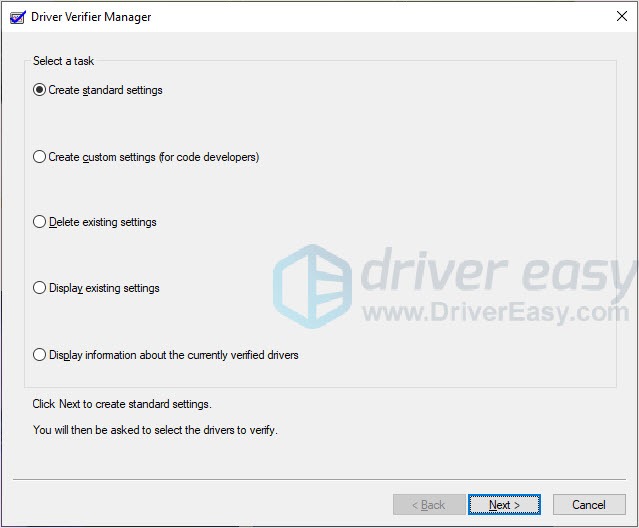
Select the option you want.
Stop or Reset Driver Verifier
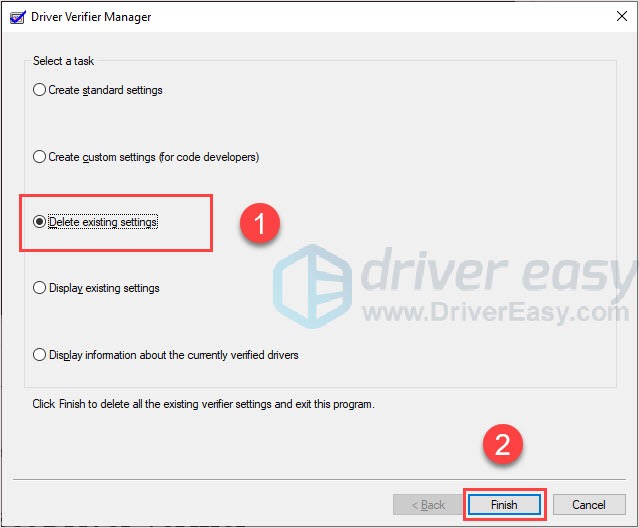
To stop the Driver Verifier, you just need a few clicks.
- In Driver Verifier Manager, click Delete existing settings and then click Finish.
- Reboot your computer and Driver Verifier Manager would be disabled.
If you want to reset Driver Verifier, follow the steps:
- Press the Windows logo key+ R together to evoke the Run box.
- Type cmd and then press Ctrl+ Shift+Enter together.
Note: Do NOT click OK or press the Enter key, otherwise it will prompt by User Account Control. - On the open black window, type verifier /reset and press the Enter key.
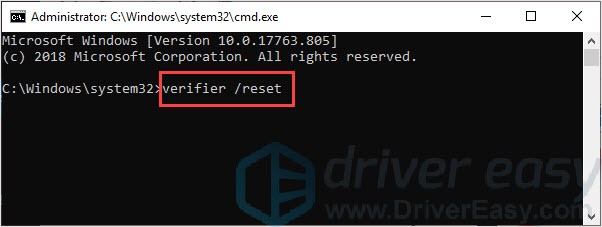
- Reboot your computer and Driver Verifier Manager would reset.
Try a driver updater tool
Installing a driver updater tool is a simple and effective way to check if your computer is missing drivers or if the drivers are out of date. It’s safe and convenient, and you don’t have to worry about the risk of a potential computer crash. In addition, you may use a driver updater tool to help you solve the driver issues which have been detected by Driver Verifier.
If you don’t have a driver updater tool yet, give Driver Easy a try.
Driver Easy has passed Microsoft WHQL Tests. They provide safe and correct drivers straight from your hardware manufacturer.
So if you don’t have the time, patience or skills to use Driver Verifier or update the driver manually, you can do it automatically with Driver Easy.
Driver Easy will automatically recognize your system and find the correct drivers for it. You don’t need to know exactly what system your computer is running, you don’t need to be troubled by the wrong driver you would be downloading, and you don’t need to worry about making a mistake when installing.
- Download and install Driver Easy.
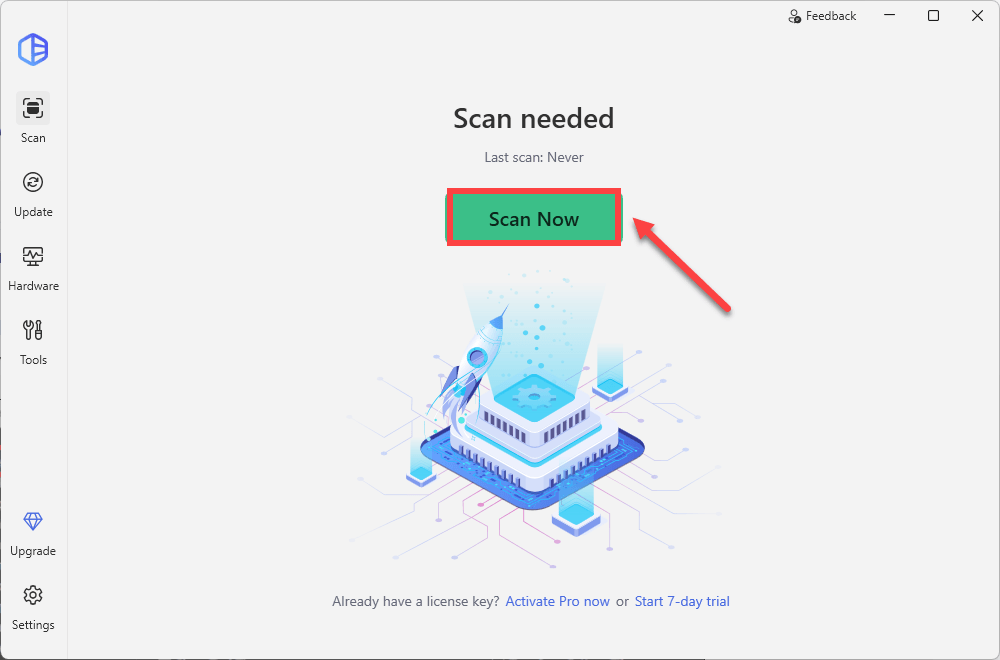
- Run Driver Easy, then click Scan Now. Driver Easy will then scan your computer and detect any problem drivers.
- Click the Activate & Update button next to the flagged driver to automatically download and install the correct version of that driver. Or you can click Update All to update all drivers. This will require the Pro version. If you’re not ready for your purchase, you can try the 7-day free trial to unlock all premium features of Driver Easy.

Hope this article will meet your need. If you have any question, please leave comments below, we’ll try our best to help.