


If you love playing PS4 games, you must want to play PS4 games remotely on your Windows PC/laptop or Mac, which can bring a totally different and brilliant experience. How do I do for PS4 remote play on Windows/Mac? Here’re the simple steps on how to remote play PS4 games on PC/Mac. Try these steps!
Step 1: Enable the remote play feature in your PS4 system
Step 2: Download and install the Remote Play application
Step 3: Set up the connection for your PC and PS4
What is PS4 Remote Play?
Sony has now allowed to stream your PS4 games to your Windows/Mac/Android devices, so that you can directly play the PS4 games on your PC/Mac/Android device screen with your DualShock 4 controller.
And PlayStation system also upgraded to support this feature, and added the related settings in the PS4 system to enable the remote play features. It requires the PlayStation 4 system v3.50 or later.
Follow the instructions below step by step and you’ll be free to remote play PS4 games on your PC/Mac!
Step 1: Enable the remote play feature in your PS4 system
As mentioned above, you may need to upgrade your PlayStation software to 3.5 or later (it’s recommended to upgrade to the latest version to enjoy the brand new features and bug fixes), then enable remote play features in your PS4 system. If your PS4 software is v3.5 or later, you can directly skip to the instructions to enable remote play feature; If not, you can upgrade your PS4 system to the latest version first.
1. Upgrade the PlayStation 4 software to the latest version
2. Enable the remote play feature in your PS4 system
1. Upgrade the PlayStation 4 software to the latest version
If your PS4 software is not v3.5 or later, or if you are not sure whether your PS4 software is the latest one or not, you can follow the instructions below to upgrade your PS4 system.
1) Turn on your PlayStation 4.
2) Go to the PS4 Settings > System Software Update.
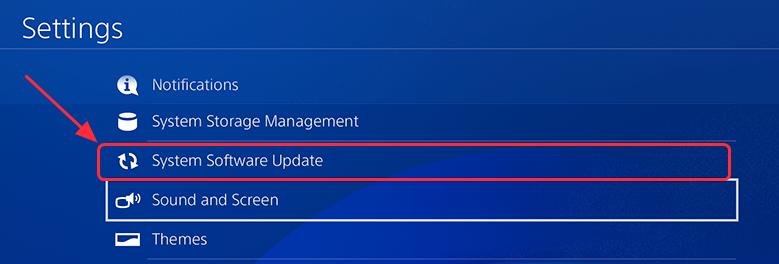
3) Select Update to upgrade your PS4 to the latest version.
4) Wait until the downloading finishes, and you’ll see a notification on the screen to let you know when it completes.
5) On the home screen in your PS4, go to Notifications > Downloads.
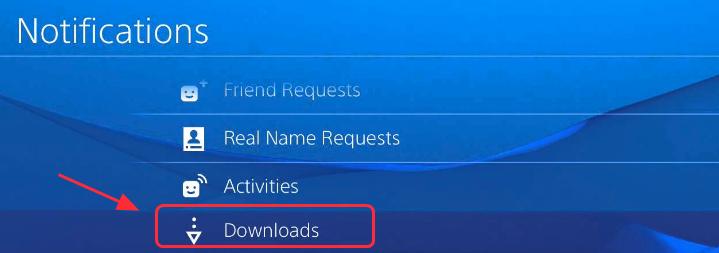
6) Follow the instructions to install the update.
Now you have the latest PS4 software.
2. Enable the remote play feature in your PS4 system
Once you have the latest PS4 software in your PS4, you can now start setting up the remote play feature in your PS4.
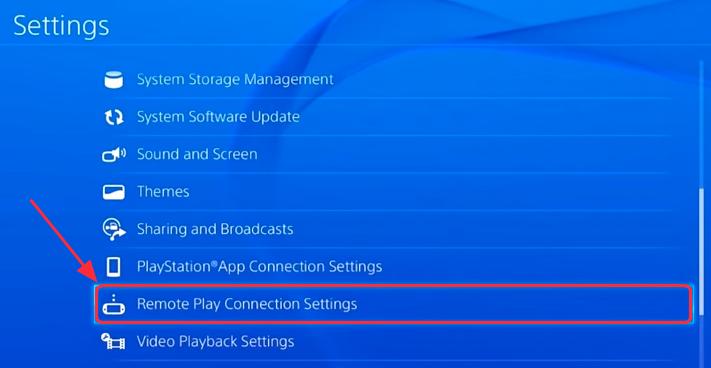
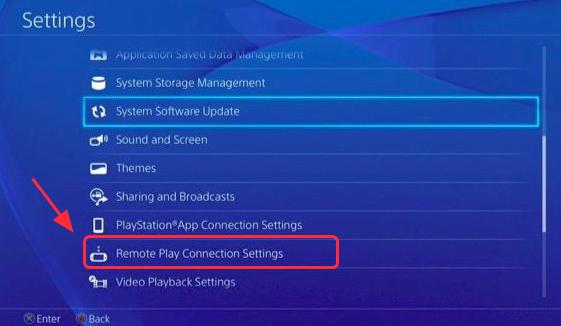
1) Go to the PS4 Settings > Remote Play Connection Settings.
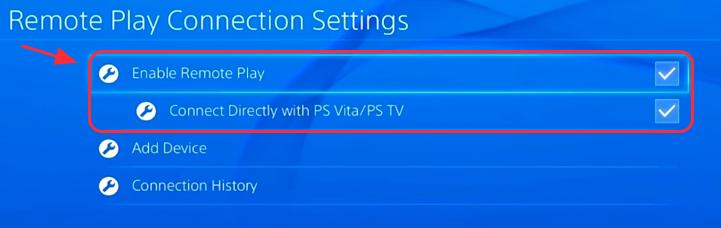
2) Check the box next to Enable Remote Play.
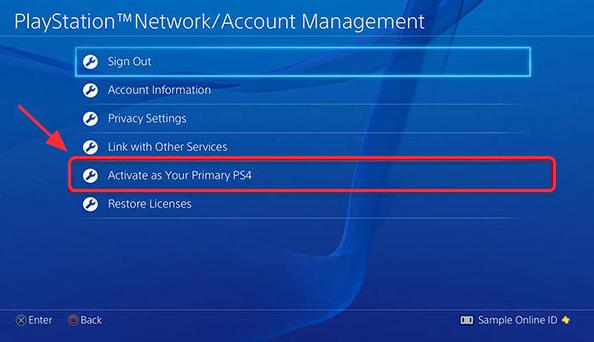
3) Go back to the PS4 Settings, select PlayStation Network/Account Management.
4) Select Activate as Your Primary PS4, then select Activate. If you have already activated as your primary PS4, the Activate button is grey and unavailable to select.
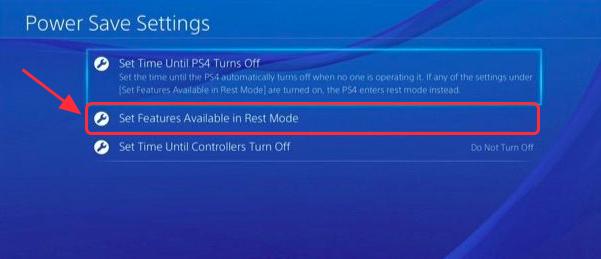
5) Then you may need to allow remote play to start when your PS4 is in the Reset Mode. Back to the Settings > Power Save Settings.
6) Select Set Features Available in Reset Mode.
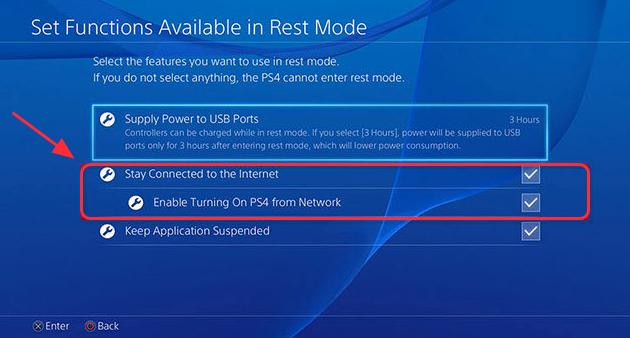
7) Check the box next to Stay Connected to the Internet, so to make sure that you can still remote play the games even if you are in Reset Mode.
Step 2: Download and install the remote play application in your Windows/Mac
After upgrading your PS4 system and allowing your PS4 with the remote play feature, you can download and install the Remote Play application in your PC/Mac. It’s as easy as installing any other client in your PC/Mac. Follow these steps:
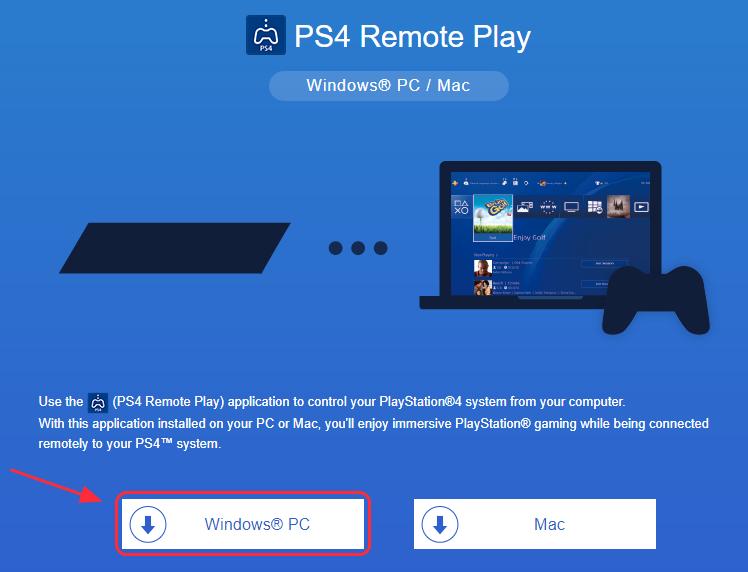
1) Go to the PlayStation 4 download webpage.
2) Select the installation package matched with your computer. If you are using Windows, select Windows; If you are downloading it in a Mac, select Mac. I’m using Windows, so I select Windows PC and download it.
3) After downloading, click the downloaded file to install it in your computer.
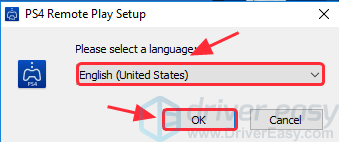
4) Select the language that you are using, then click OK.
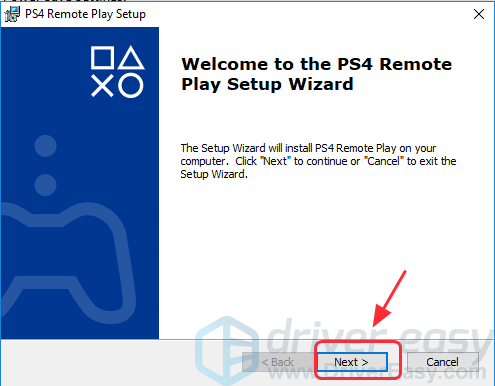
5) Click Next to continue.
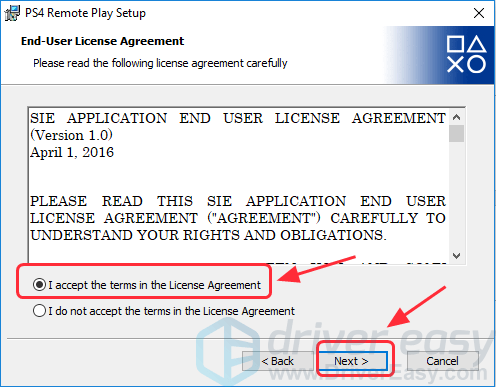
6) Select I accept the terms in the License Agreement, then click Next.
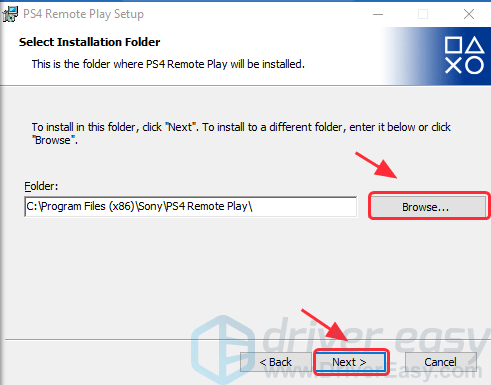
7) Click Browse to select the location where you want to save the application and files, and click Next.
8) Click Install to start installing. Then click Finish to finish installing.
Now you have completely installed the Remote Play application in your computer.
Step 3: Set up the connection for your PC and PS4
After allowing your PS4 software to remote play and installing the Remote Play application in your PC/Mac, you can now start setting up the connections for your PC and PS4 controller.
In this step, you will need a Micro USB cable to connect your PS4 controller with your computer. You can buy easily grab one from the Internet. Kindly note that Sony doesn’t allow the Bluetooth connection even though your computer and the controller both are equipped with the Bluetooth feature. If you want to wirelessly connect your PS4 controller with your computer, you can try the USB wireless adapter.
1) If you are using the Micro USB cable, correctly plug the Micro USB cable into the PS4 controller and the USB port in your PC.
If you are using a wireless adapter, you can directly insert the USB adapter into your computer, then press and hold the Share button and PS button on your controller to turn on the paired mode, then it will automatically connect your controller with your computer.
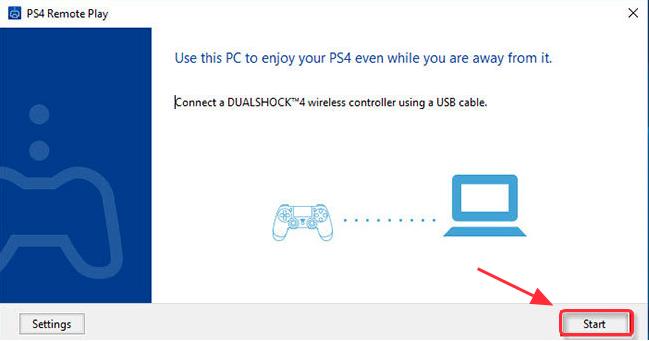
2) Now launch the Remote Play app you just installed in your computer, and run it.
3) Click Start, then sign in the same PlayStation account in the Remote Play app, then it should start login and searching your PS4.
What if it fails to register and connect? Try Register Manually!
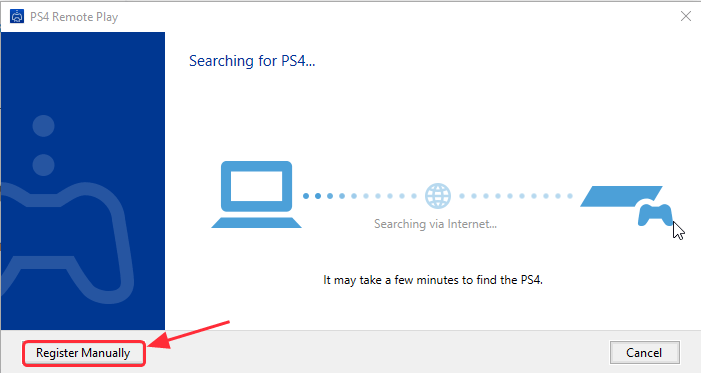
If it still fails to connect, you can click Register Manually to connect.
1) Click Register Manually at the bottom left corner.
2) You’ll be prompted to enter a code in your computer.
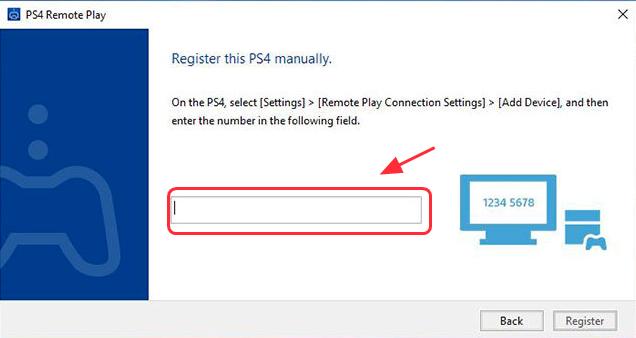
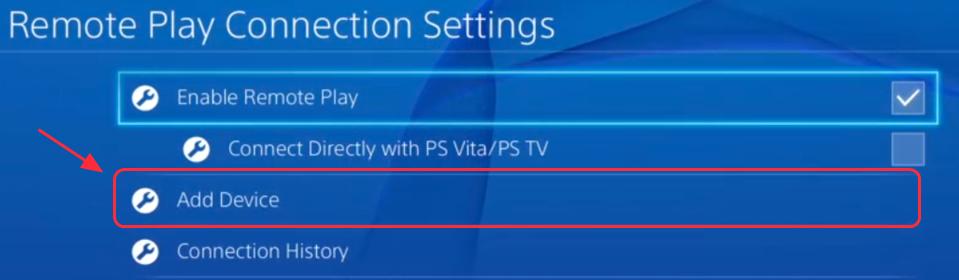
3) Go to the PS4 Settings > Remote Play Connection Settings.
4) Select Add Device, then you will see a string of numbers on the screen. Note down the codes.
5) Back to your computer screen, enter the codes that you just noted down and click Register, then you will be able to connect now.
What if it fails to connect the controller with the PC?
If you find it fails to connect your controller with your PC/laptop, it may be caused by the missing or outdated USB driver in your computer. You can try to update the device driver in your PC. There are two ways to update the driver in your Windows.
Way 1 – Manually: You’ll need to go to the device manufacturer website, find the correct driver for your Windows OS, and install it in your computer. It requires time and computer skills.
Way 2 – Automatically (recommended): You can try an all-in-one tool to help you automatically update the drivers in your computer. And you can do it with Driver Easy.
Driver Easy will automatically recognize your system and find the correct drivers for it. You don’t need to know exactly what system your computer is running, you don’t need to risk downloading and installing the wrong driver, and you don’t need to worry about making a mistake when installing.
You can download and install your drivers by using either Free or Pro version of Driver Easy. But with the Pro version it takes only 2 clicks (and you get full support and a 30-day money back guarantee):
1) Download and Install Driver Easy.
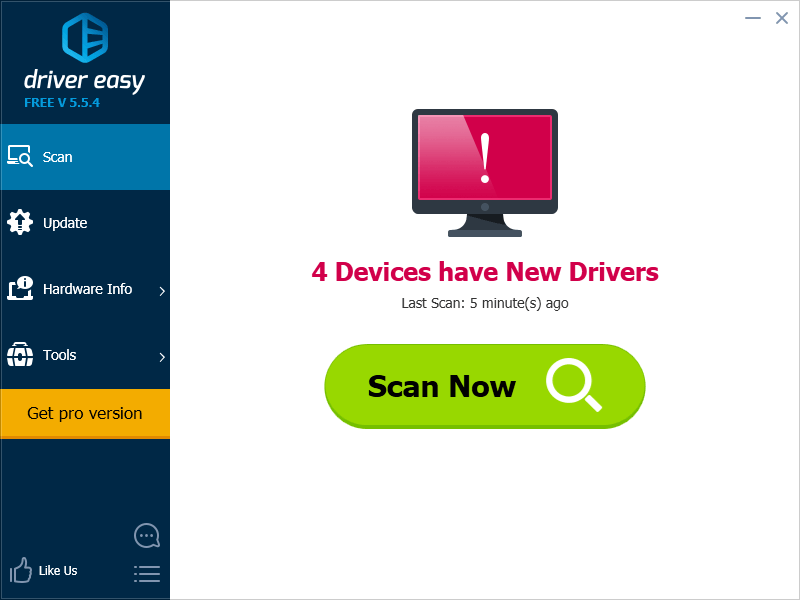
2) Run Driver Easy and click the Scan Now button. Driver Easy will then scan your computer and detect any problem drivers.
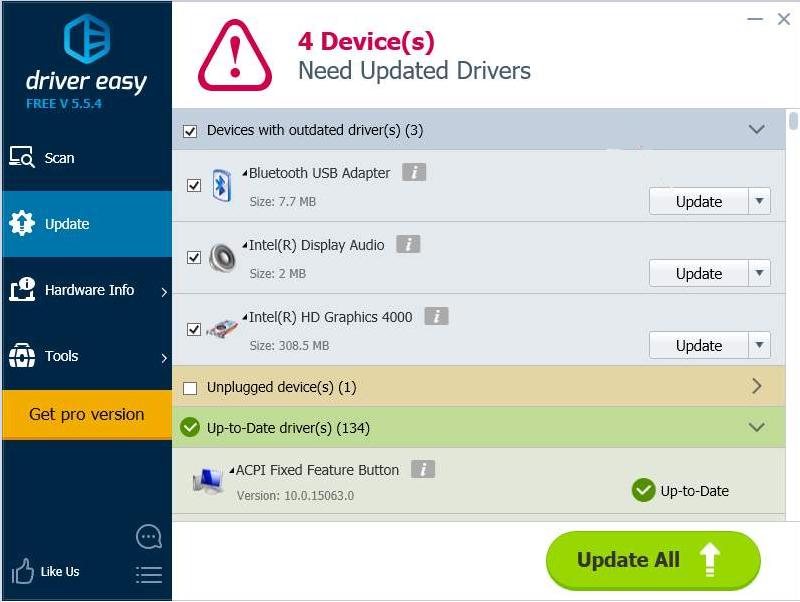
3) Click the Update button next to the USB driver to download the latest and correct driver for it.
You can also click the Update All button at the bottom right to automatically update all outdated or missing drivers on your computer (this requires the Pro version — you will be prompted to upgrade when you click on Update All).
Then continue to set up and finish the steps to play PS games in your PC.
These are the steps to remote play PS4 games in your PC/Mac easily and quickly. If you have any questions, feel free to comment below and we’ll see what more we can do to help.