


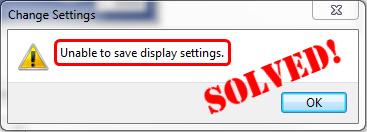
If you keep getting the Unable to save display settings error when trying to connect your PC to more than one display, you’re not alone. The good news is, it’s usually not hard to fix at all…
Fixes for Unable to save display settings
All the screenshots below are from Windows 7, but the fixes also work in Windows 10.
Fix 1: Change your screen resolution
There’s a good chance your graphics hardwares have been fighting among each other on which resolution to output, hence the Unable to save display settings error. If this is the case, you should make sure your screen resolution is set to the lowest one.
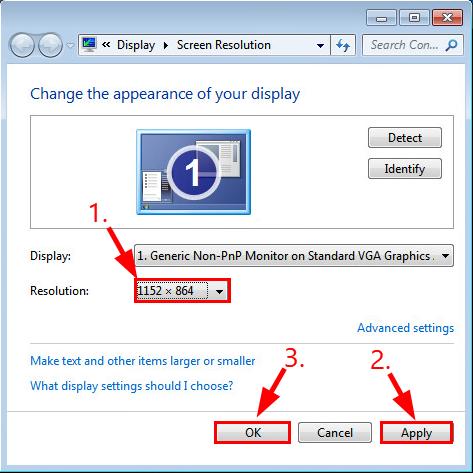
So for example, if you have 3 monitors of resolutions, namely 1900 x 1200, 1600 x 900, 1280 x 800, then you should make sure you set the screen resolution to 1280 x 800 in order for a successful setup.
To do so:
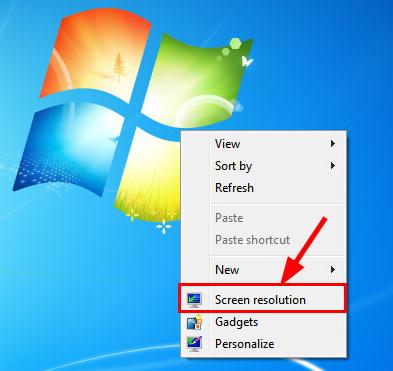
- Right-click on any empty space on your desktop and click Screen resolution.
- In the Resolution section, click the drop-down menu and select the lowest resolution of all the connected monitors. Then click Apply > OK.
- Restart your computer and check if the Unable to save display settings issue has been fixed. If no, then move on to Fix 2, below.
Fix 2: Update your graphics driver
This Unable to save display settings error may occur if you are using the wrong graphics driver or it’s out of date. So you should update your graphics driver to see if it fixes your problem. If you don’t have the time, patience or skills to update the driver manually, you can do it automatically with Driver Easy.
Driver Easy will automatically recognize your system and find the correct drivers for it. You don’t need to know exactly what system your computer is running, you don’t need to be troubled by the wrong driver you would be downloading, and you don’t need to worry about making a mistake when installing.
You can update your drivers automatically with either the FREE or the Pro version of Driver Easy. But with the Pro version it takes just 2 steps (and you get full support and a 30-day money back guarantee):
- Download and install Driver Easy.
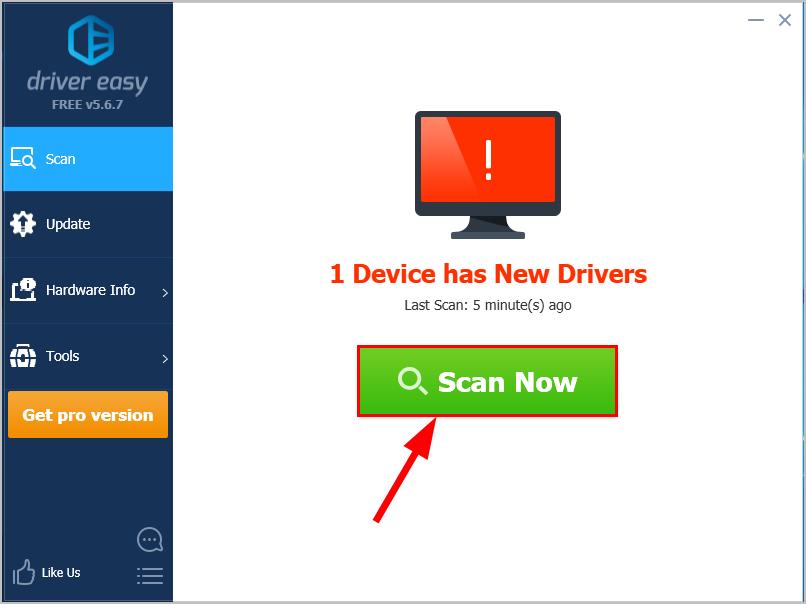
- Run Driver Easy and click the Scan Now button. Driver Easy will then scan your computer and detect any problem drivers.
- Click Update All to automatically download and install the correct version of all the drivers that are missing or out of date on your system (this requires the Pro version – you’ll be prompted to upgrade when you click Update All).
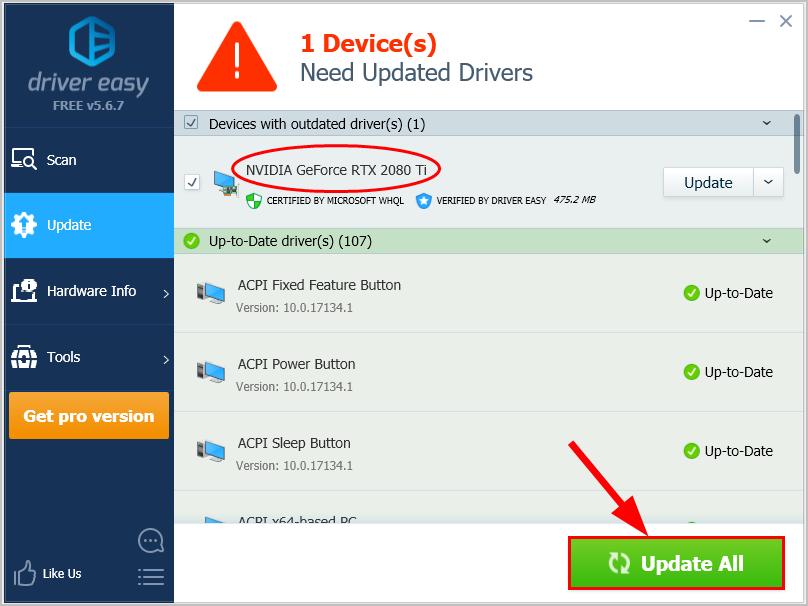
You can also click Update to do it for free if you like, but it’s partly manual.
- Restart your computer and see if the problem is solved.
How have the fixes above helped you with your troubleshooting? Do you have any ideas or tips to share with us? Drop a comment below and let us know your thoughts.