


Click to see what you care the most:
Part 1: What is USB selective suspend? Part 2: Should I disable it or enable it? Part 3: If I want to disable it, how can I do that? Part 4: What to do if my USB device is still not recognized?Part 1: What is USB selective suspend?
The tl;dr version: it prevents your computer from using too much unnecessary power by putting certain USB port(s) in a low-power state, i.e. the suspend state. USB selective suspend feature only works when you have USB devices connected to your computer, and that you have the most recent correct drivers for your USB ports. (Not sure if you have the most recent correct USB device drivers? Use Driver Easy Free to find out! 😉 ) USB devices such as webcams, printers, and scanners are not in active use every minute of the day. To reduce the overall power consumption, especially if you’re a laptop or tablet user, Windows will automatically put a certain USB port that is not in use in a low-power state. This is one of the ways how Windows avoid data loss and driver corruption in devices such as external hard drives. That said, you’ll have more power available from idle external devices, and your actively in use USB devices won’t be affected. This is where the “selective” comes. It comes really handy for laptop and tablet users, especially when you don’t have a charger plugged in. Not to worry that your idle keyboard and mouse device will be suspended, because if you have enabled Wake from Keyboard/Mouse option in BIOS settings, which is usually the case with most of the computers, these two basic devices are filtered out. Such being the case, if Windows detects that none of your USB devices are in active use, it will first suspend accordant USB ports, and then go to the sleep or hibernate mode, to reduce your power consumption. In other words, if some of your USB ports are not suspended, your Windows is not likely to be able to go to the sleep or hibernate mode. Because some of your devices keep running somewhere.Part 2: Should I disable USB selective suspend or enable it?
You should choose to leave it enable or disable it as per your own needs.Why should I enable it?
As mentioned, the USB selective suspend is really handy for laptop and tablet users in that it saves you power from unnecessary USB devices. So if you have not experienced any problems with your external USB devices on your laptop or tablet, you should leave it be.Why should I disable it?
If you run into USB device not recognized problem, always have the charger plugged in your computer, or you are on a full-power required USB device at all times, you should disable this feature.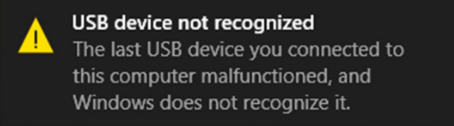
Part 3: If I want to disable it, how can I do that?
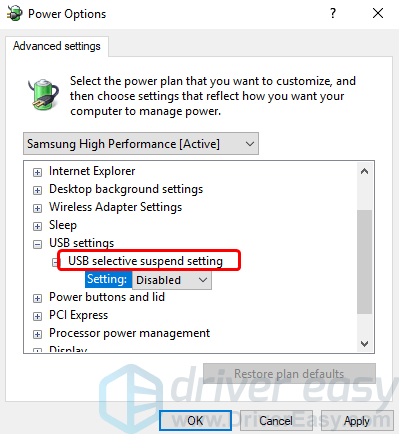
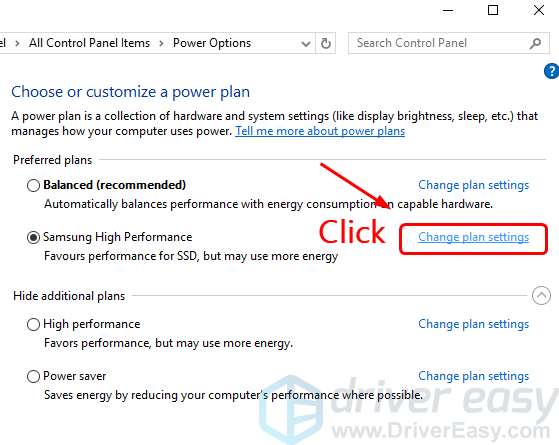
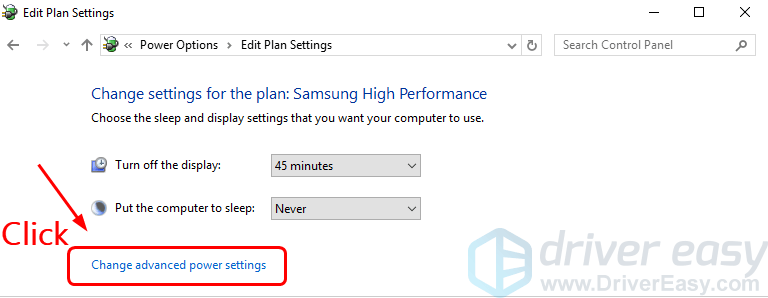
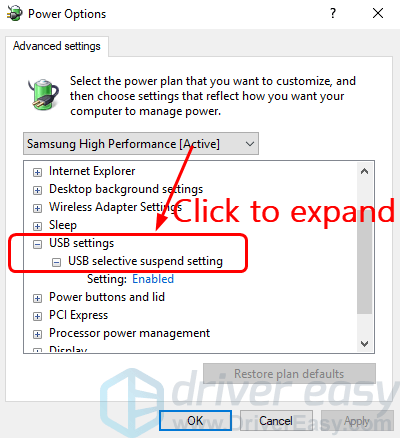
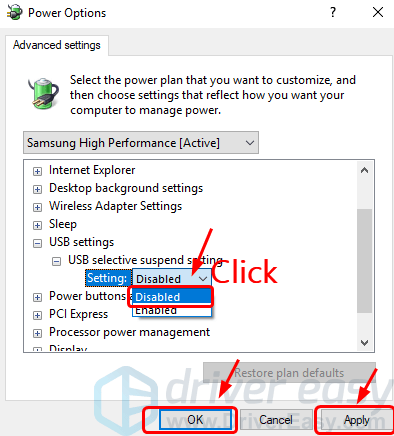
NOTE: The screenshots here are shown in Windows 10, but all the operations apply to Windows 7 and Windows 8 as well. If you have to disable the USB selective suspend feature because it’s affecting how you use your USB devices, here is how you can do it: 1) On your keyboard, press the Windows logo key and S at the same time, type in the search box power plan and click Choose a power plan.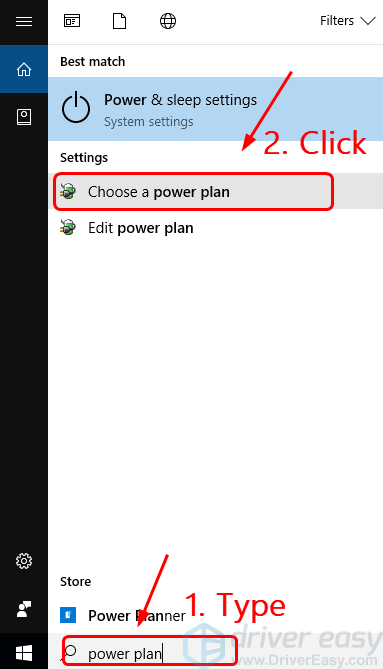
Part 4: What to do if my USB device is still not recognized?
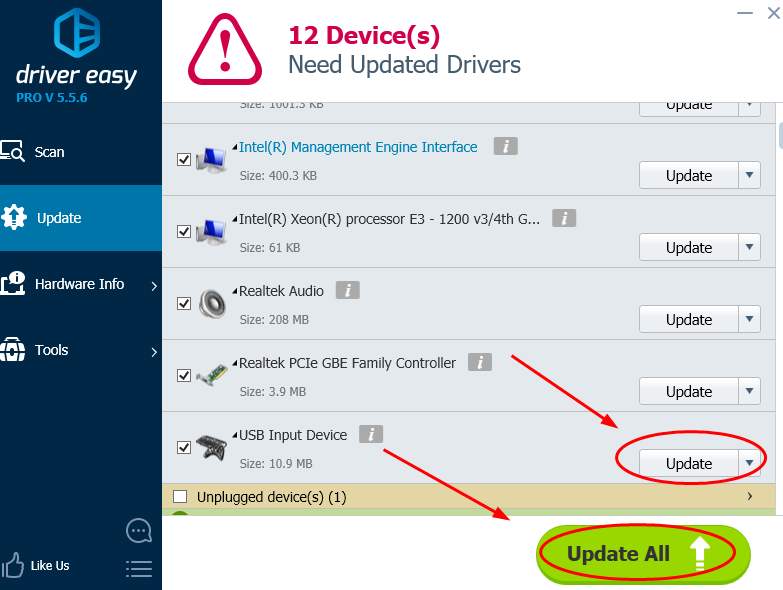
NOTE: The screenshots here are shown in Windows 10, but all the operations apply to Windows 7 and Windows 8 as well. If disabling the USB selective suspend feature doesn’t help you solve your USB device not recognized problem, you may need to consider if you have the most recent correct USB ports drivers installed. You should verify that all your USB ports have the most recent correct drivers, and update those that don’t. Manual USB ports drivers update – You can update needed USB ports drivers via the Device Manager one by one, or go to your computer’s manufacturer support website and search for the device drivers by yourself. The process could take quite some time if you’re not particularly familiar with the driver update process. Automatic drivers update – If you don’t have the time, patience or computer skills to update your drivers manually, you can do it automatically with Driver Easy. Driver Easy will automatically recognize your system and find the correct drivers for it: 1) Download and install Driver Easy. 2) Run Driver Easy and click the Scan Now button. Driver Easy will then scan your computer and detect any problem drivers.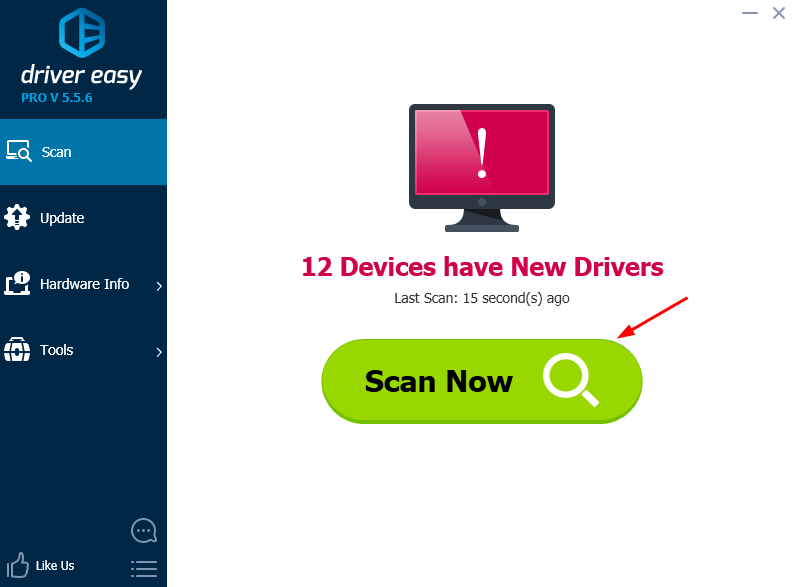
9
9 people found this helpful
6 Comments
Most Voted