


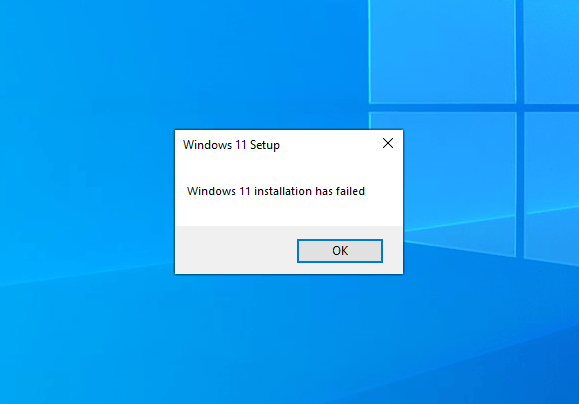
Ready to update to Windows 11 but you’re getting the “Windows 11 installation has failed” error? Many users have reported the exact problem, and luckily it’s not a difficult one to solve. If you’re in the same boat, read on to find out how to fix the error and update to Windows 11.
Try these fixes…
4: Enable TPM 2.0 and Secure Boot
5: Bypass TPM and Secure Boot check
Windows 11 system requirements
Before we dive into anything advanced and try the fixes, you need to make sure that your PC is eligible to update to Windows 11. You can either refer to the table below, or download the PC Health Check app from Microsoft to check compatibility.
| Processor | 1 gigahertz (GHz) or faster with 2 or more cores on a compatible 64-bit processor or System on a Chip (SoC) |
| RAM | 4 GB |
| Storage | At least 64 GB |
| System firmware | UEFI, Secure Boot capable |
| TPM | Trusted Platform Module (TPM) version 2.0 |
| Graphics card | Compatible with DirectX 12 or later with WDDM 2.0 driver |
| Display | High definition (720p) display that is greater than 9” diagonally, 8 bits per color channel. |
If you’re using the PC Health Check app, simply follow these steps:
- Download and install the PC Health Check app.
- Run the app, and click Check now.
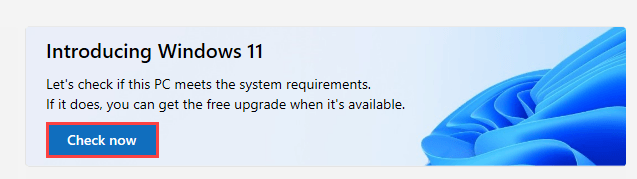
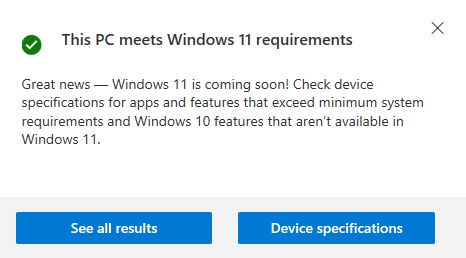
- The app will show you if your PC is eligible for Windows 11 upgrade or not.
Fix 1: Remove external hardware
A quick troubleshooting tip that’s often overlooked by many is to remove any external devices connected to your PC/laptop. Here we want to keep only the basic functionality of your PC for the Windows 11 upgrade. For example, you can remove any USB hub, speaker, printer, headphone, scanner, etc.
After you rule out any possible interference from these devices, try to install Windows 11 again. If this doesn’t help, try the next fix.
Fix 2: Run Windows Update
Microsoft suggests that you need to make sure all the available Windows updates are installed before you attempt to upgrade to Windows 11. Here’s how to check for Windows updates and install the available ones:
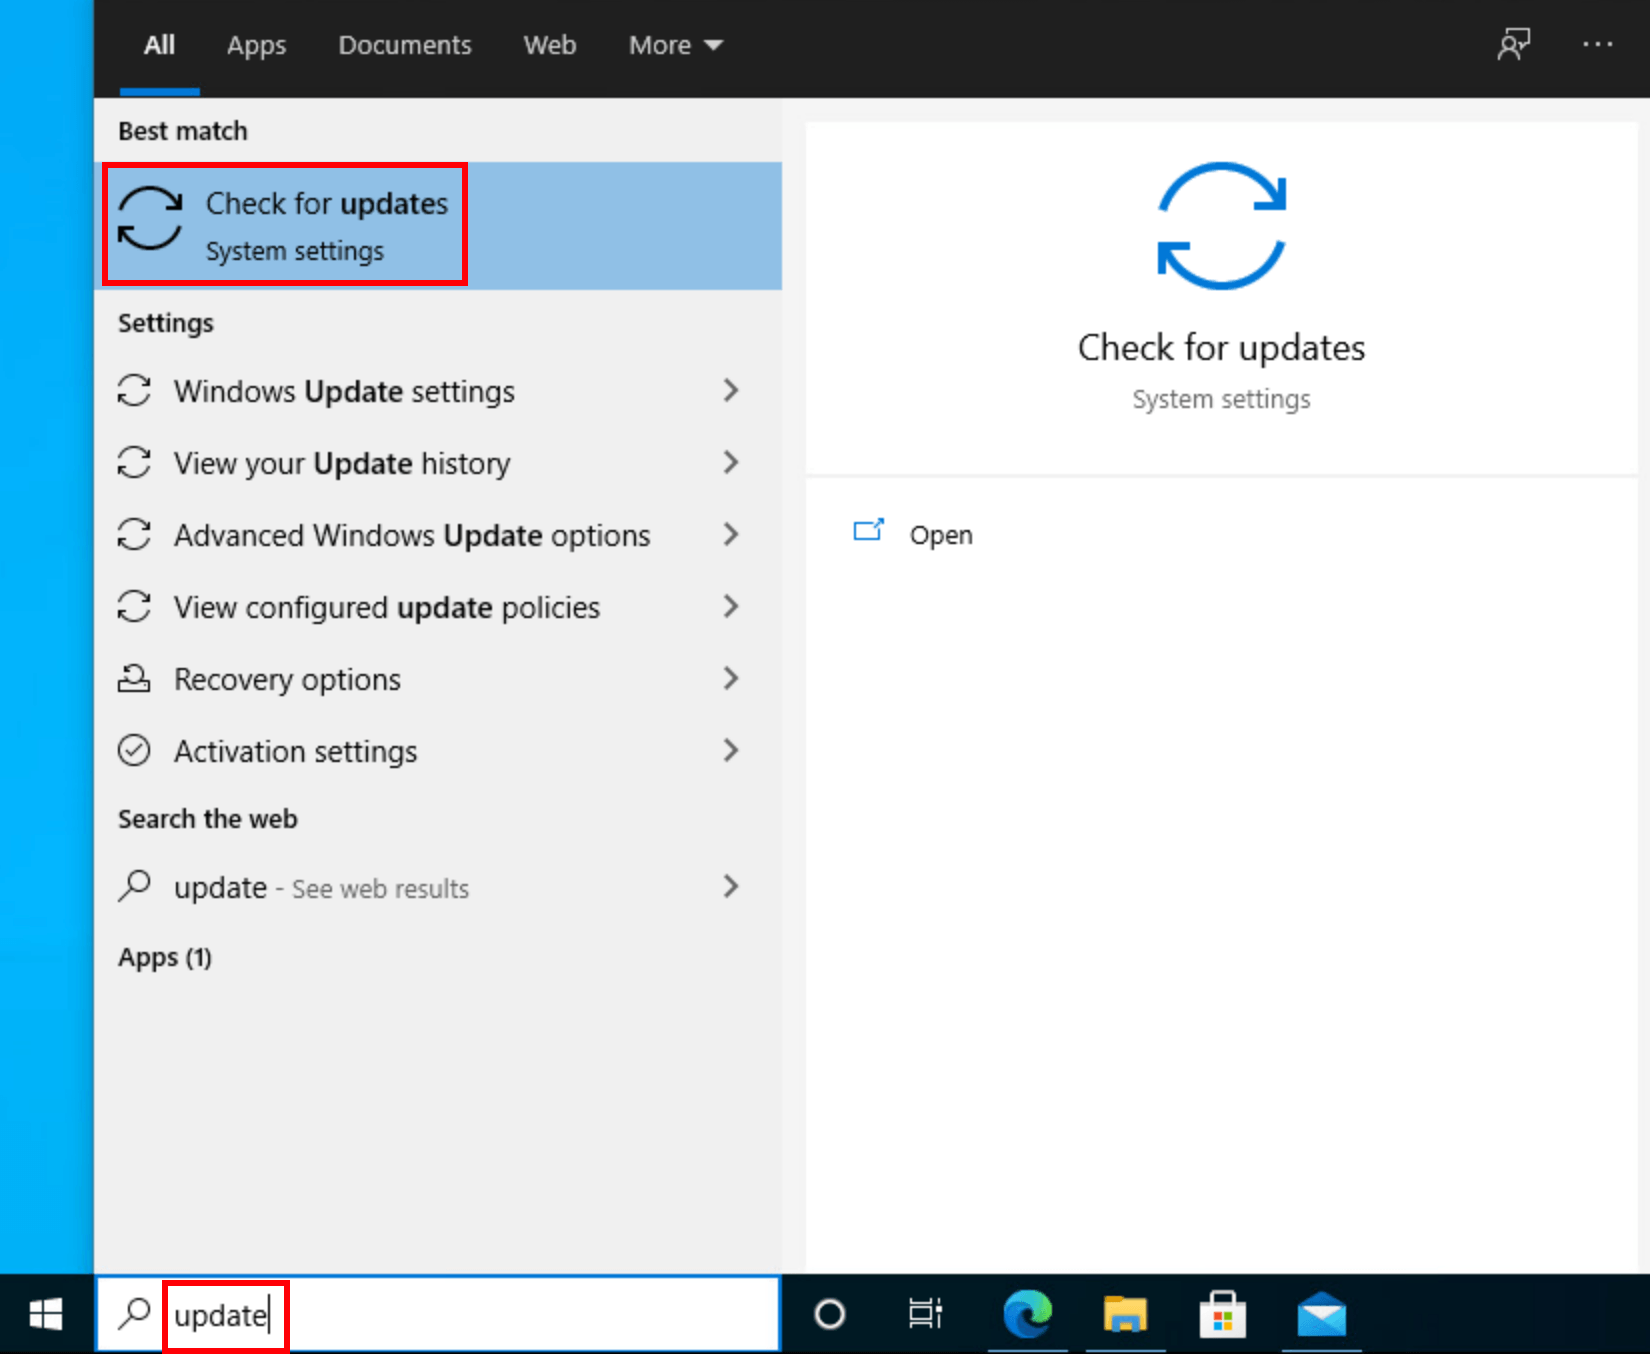
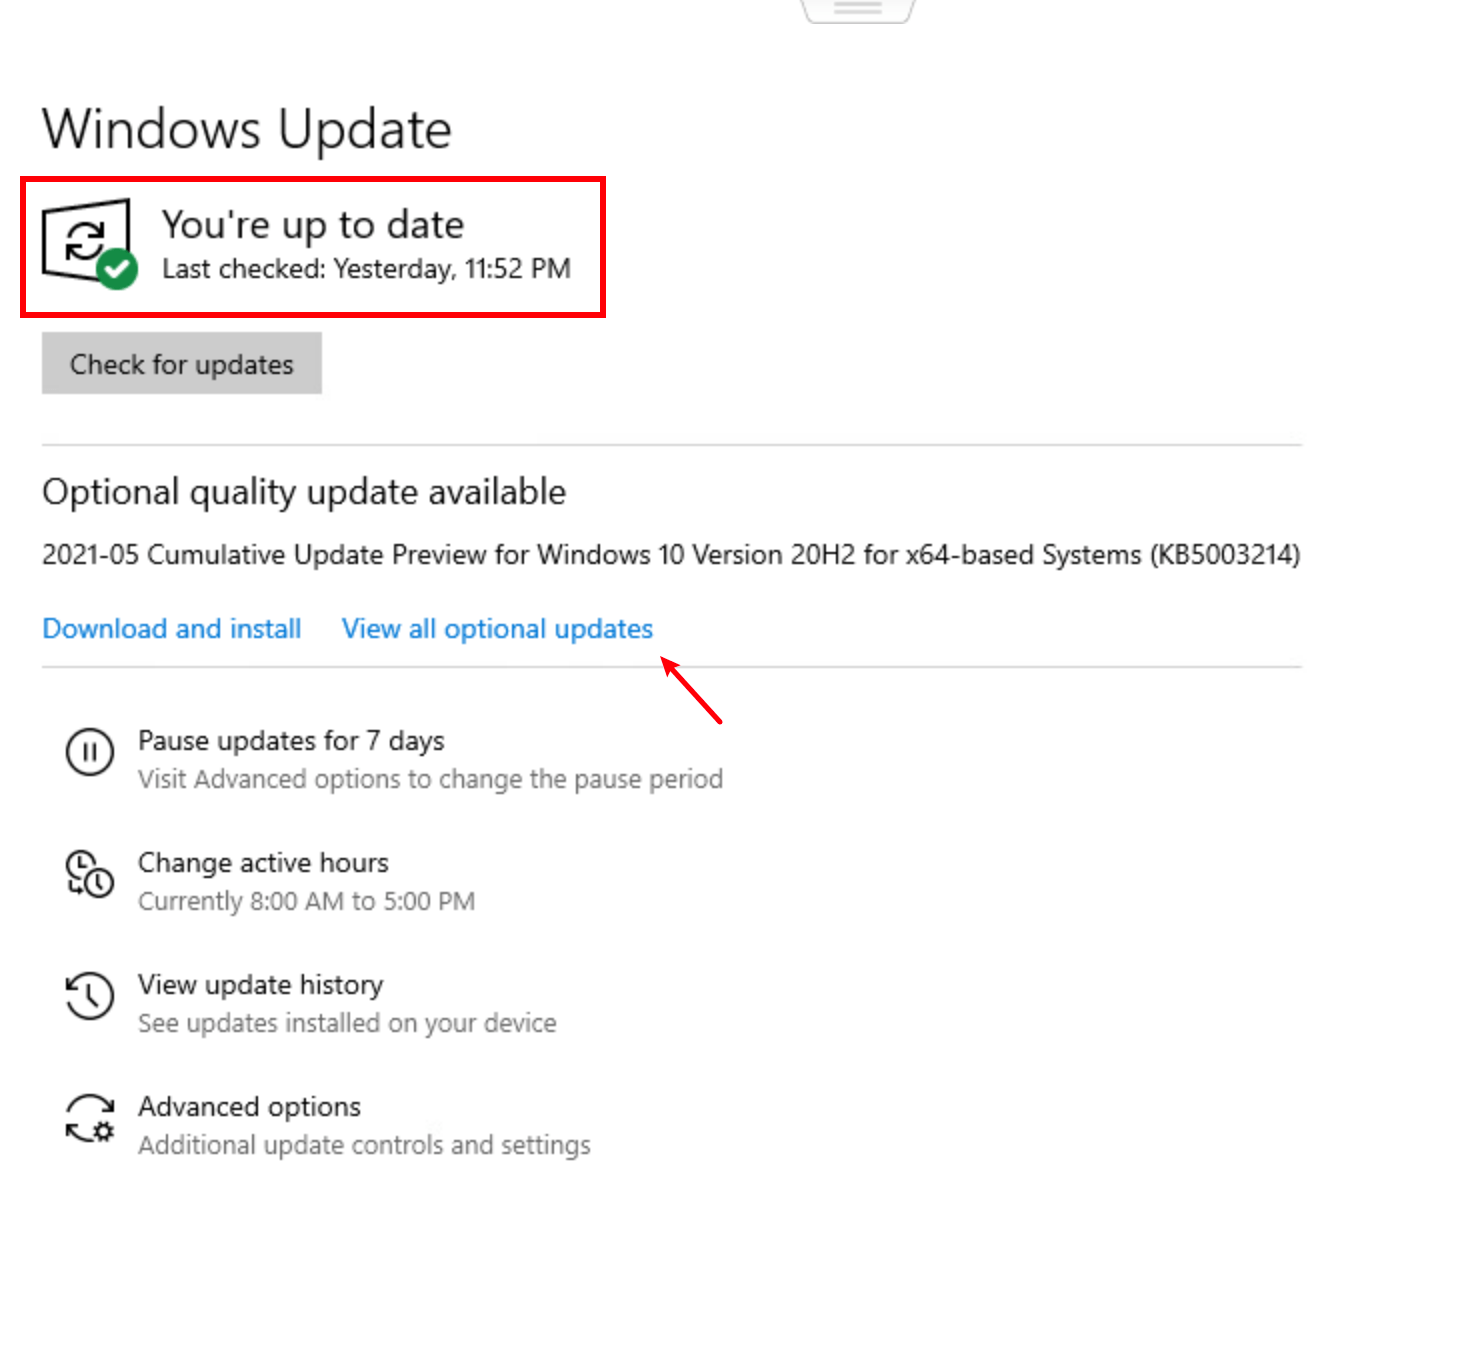
- In the search bar next to your Start button, type update, then click Check for updates.
- Windows will scan for available updates. If there are no available updates, you’ll get a You’re up to date sign. You could also click View all optional updates and install them if needed.
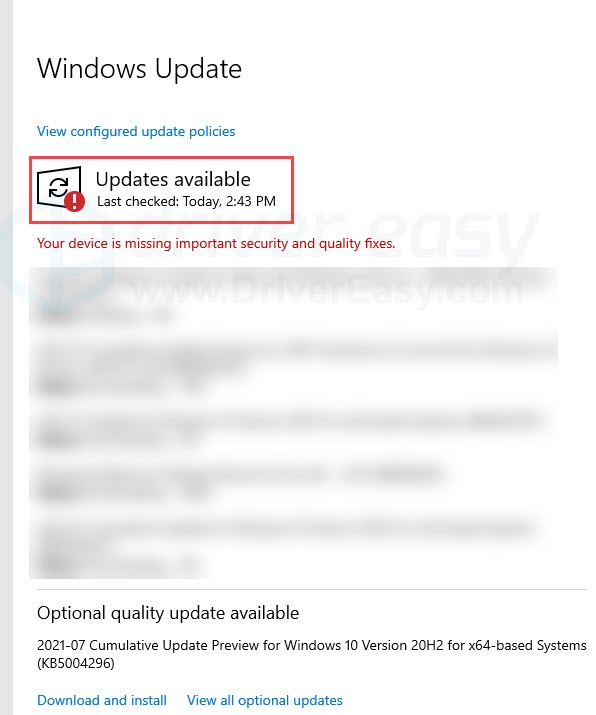
- If there are available updates, Windows will automatically download them for you. Follow instructions to complete the installation if needed.
- You may be prompted to restart your PC. Make sure you save important files in advance.
If you still get the “Windows 11 installation has failed” error, try the next fix.
Fix 3: Update your device drivers
Similar to the above, it’s important to make sure all the hardware drivers are up-to-date before you upgrade to Windows 11. There are two ways you can get the right drivers on your PC: manually or automatically.
Manual driver update – To manually update your drivers, you can update the drivers via Device Manager. Note that Device Manager doesn’t always detect the latest available update for you. You can also search on the manufacturer’s website, for example, for your graphics card. Make sure you download the driver that’s compatible with your Windows version.
Automatic driver update – If you don’t have the time, patience, or computer skills to update your drivers manually, you can, instead, do it automatically with Driver Easy. Driver Easy will automatically recognize your system and find the correct drivers for you, then it will download and install them correctly:
- Download and install Driver Easy.
- Run Driver Easy and click the Scan Now button. Driver Easy will then scan your computer and detect any problem drivers.
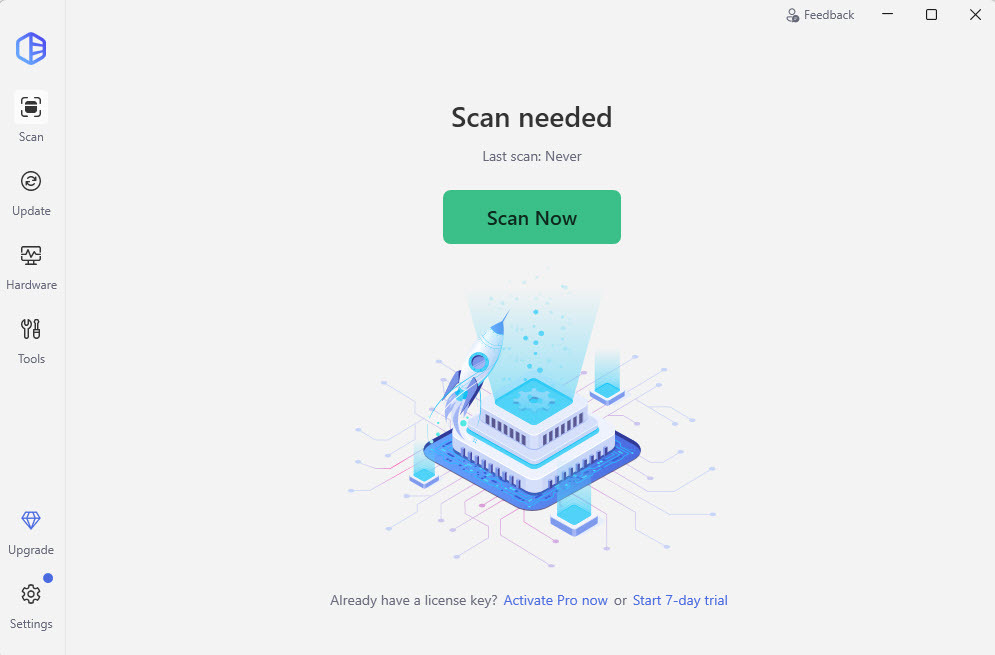
- Click the Update button next to the flagged drivers to automatically download the correct version of the drivers.
Or click Update All to automatically download and install the correct version of all the drivers that are missing or out of date on your system. (This requires the Pro version which comes with full support and a 30-day money-back guarantee. You’ll be prompted to upgrade when you click Update All.)
Restart your PC then try to install Windows 11 again. If the error persists, try the next fix.
Fix 4: Enable TPM 2.0 and Secure Boot
According to the system requirement for Windows 11, TPM 2.0 and the Secure Boot option need to be enabled on your PC. Below are the steps to check the TPM on your PC and enable TPM 2.0 and Secure Boot from BIOS:
Check if your PC has a TPM 2.0 chip
- Press the Windows key and R to invoke the Run box.
- Type in tpm.msc, then click OK.

- If the TPM 2.0 is already enabled on your PC, you should see the following results with ” The TPM is ready for use” and “Specification Version: 2.0“.
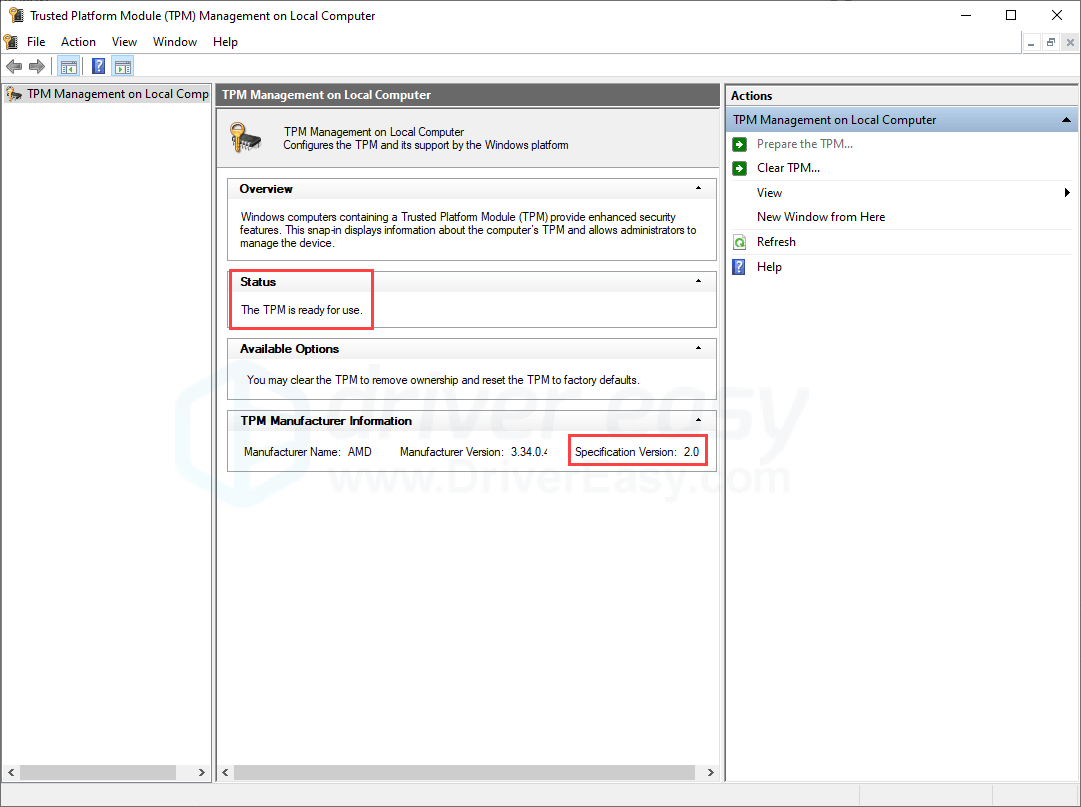
If your PC doesn’t have a compatible TPM chip, the result may show “Compatible TPM cannot be found”. You can jump to Fix 5 to bypass TPM and Secure Boot check.
Enter BIOS
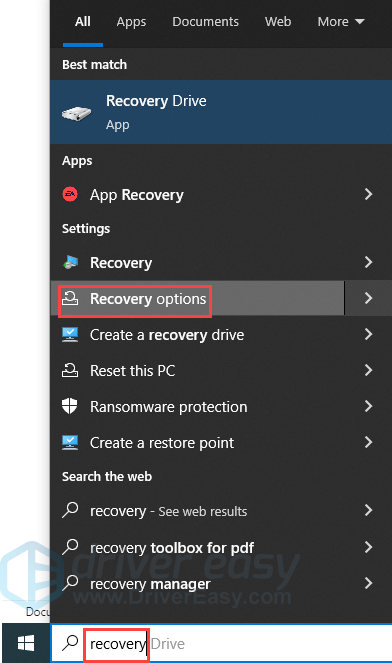
- Press the Windows key to open the search menu, type recovery, then click Recovery options.
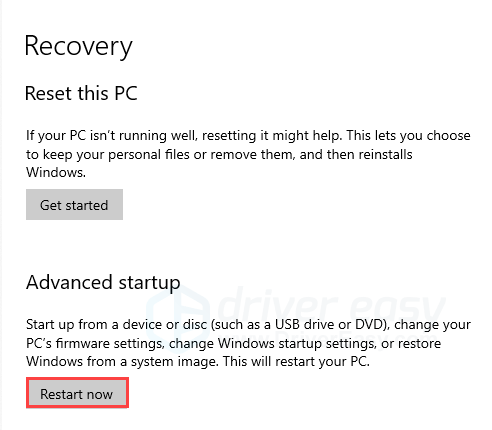
- Under Advanced Startup, click Restart now.
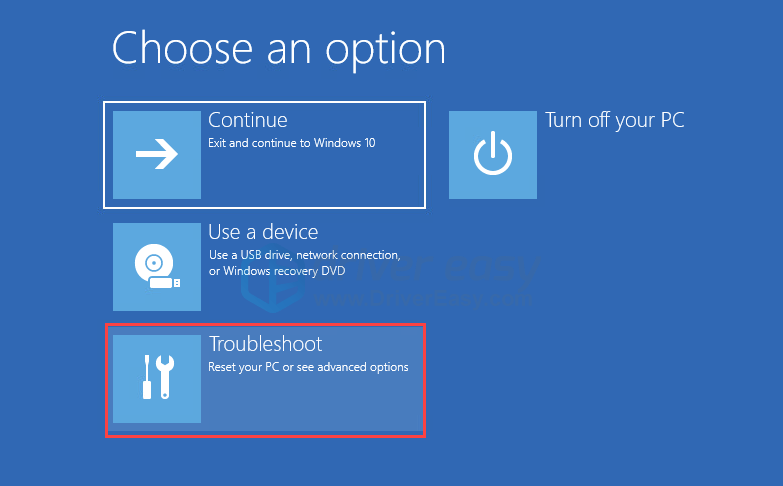
- Click Troubleshoot.
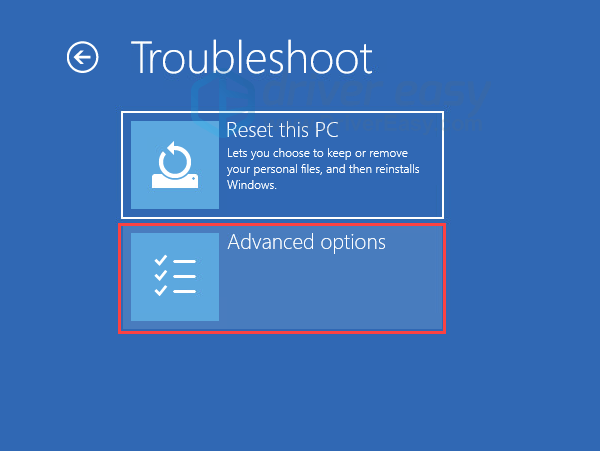
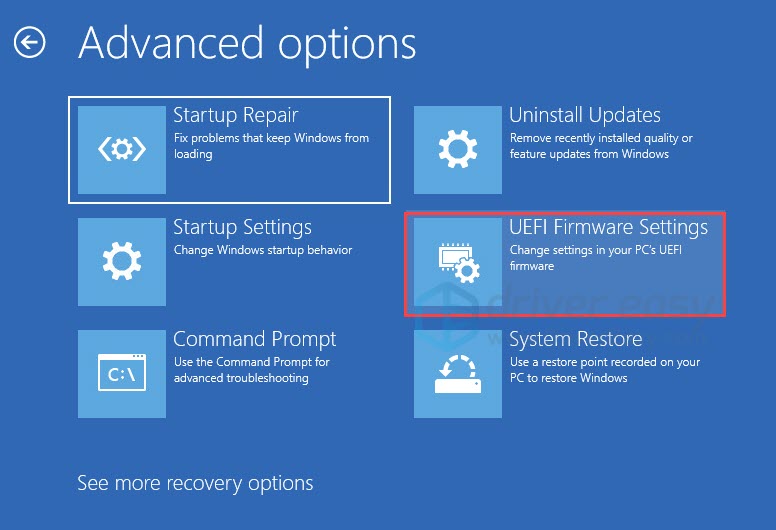
- Select Advanced options.
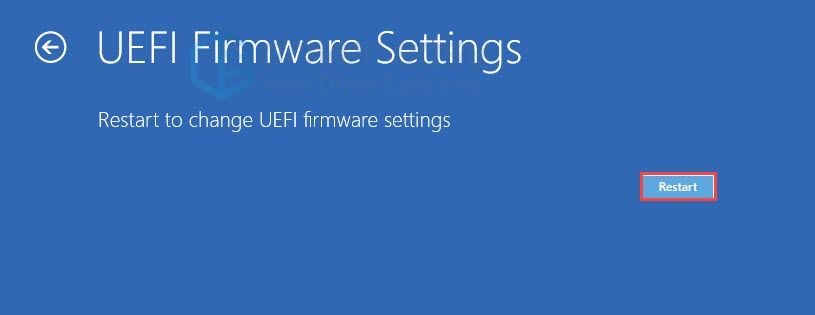
- Click UEFI Firmware Settings.
- Click Restart.
After you enter the BIOS screen, follow the steps below to enable TPM 2.0 and Secure Boot.
Enable TPM 2.0
- Go to the Security or Advanced tab.
- You may see different terms, such as TPM Configuration, TPM 2.0 Security, TPM Support, TPM Device Selection, Intel Platform Trust Technology (PTT), or AMD fTPM Switch.
- Once you find it, set it to enabled.
Enable Secure Boot
- Go to the Boot or Security tab.
- Find Secure Boot and enable it.
- Save the changes and exit to boot your PC.
Fix 5: Bypass TPM and Secure Boot check
If your device doesn’t have a TPM 2.0 chip, then it doesn’t meet the requirement for Windows 11. But it doesn’t mean you can’t upgrade to Windows 11. One trick that makes it possible is to bypass the system check of TPM,and the Secure Boot option when upgrading. Here’s how:
It can be risky to make changes to the registry, so before you proceed, make sure you backup your registry.
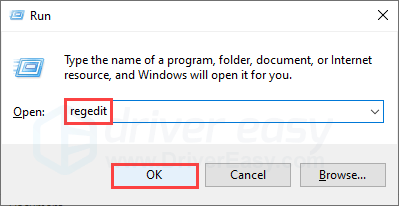
- Press the Windows key and R to open the Run box.
- Type in regedit, then click OK. If prompted for permission, click Yes.
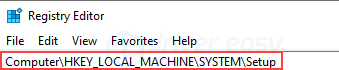
- Copy Computer\HKEY_LOCAL_MACHINE\SYSTEM\Setup and paste it to the address bar, then press Enter.
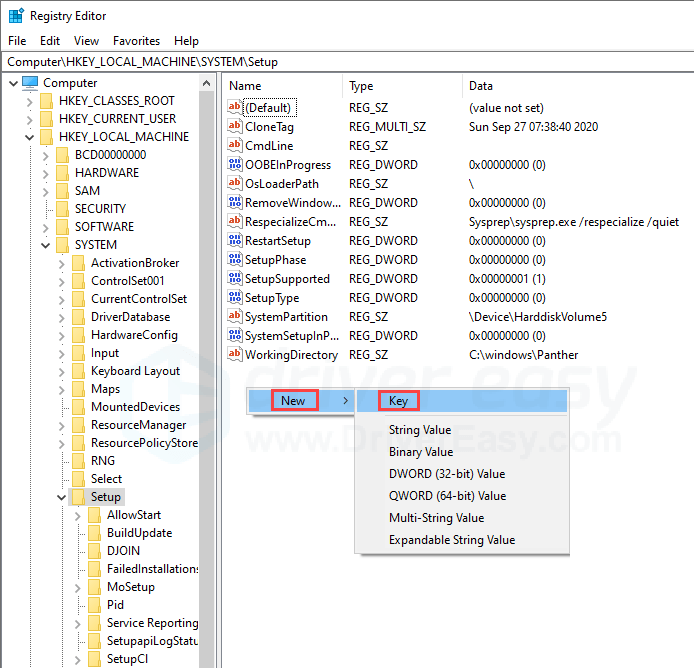
- Right-click anywhere empty on the right, select New and click Key. Name it as LabConfig.
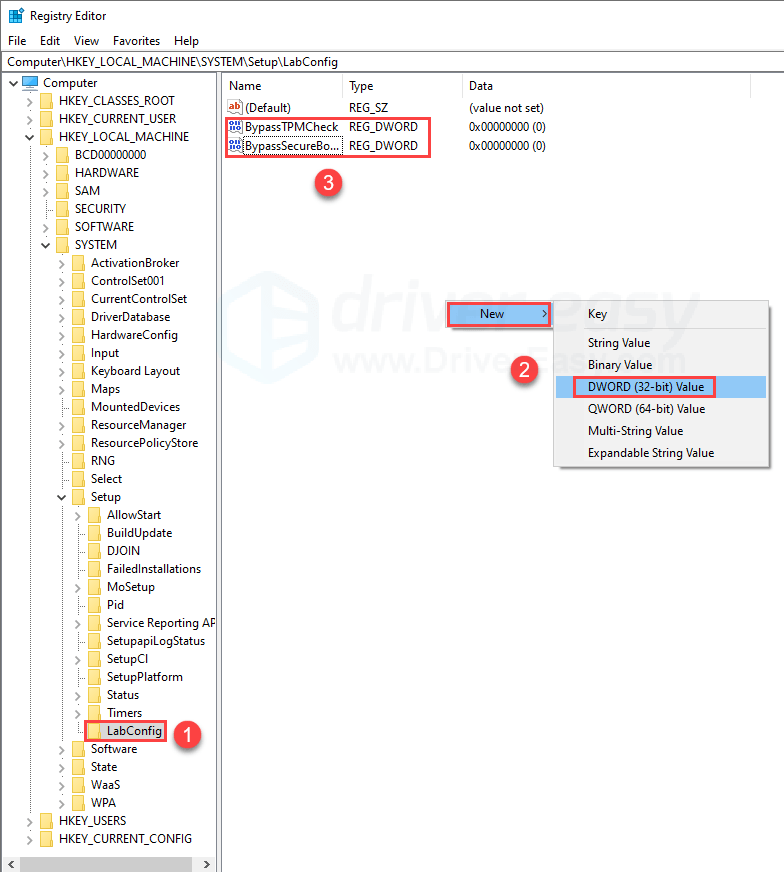
- Select LabConfig, then right-click an empty area on the right and create two DWORD Value options. Name them as BypassTPMCheck and BypassSecureBootCheck respectively.
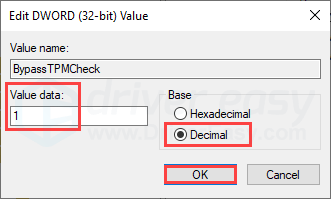
- Double-click BypassTPMCheck, change the value data to 1, select Decimal, and click OK.
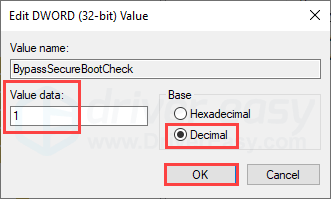
- Repeat the same for BypassSecureBootCheck option. Change the value data to 1, select Decimal, and click OK.
- Exit the Registry editor, and reboot your PC.
- You should now be able to install Windows 11.
Hopefully this article is helpful! Please feel free to leave a comment if you have any questions or suggestions.