


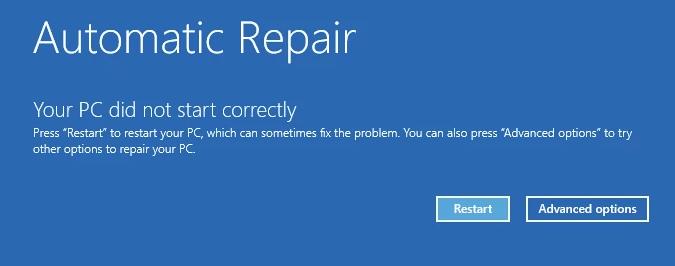
Many Windows 10 users are experiencing an issue with their computer. What actually happens is they get a blue screen and an error message that says “Automatic Repair: Your PC did not start correctly“. A lot of the time, this happens after upgrading to Windows 10.
If you’re also experiencing this error, you’re no doubt very frustrated. But don’t worry. This error is fixable…
Try these fixes
You may not have to try them all; just work your way down the list until you find the one that works for you…
Fix 1: Run Startup Repair
Startup Repair scans your Windows 10 computer and tries to diagnose and fix your computer issue. To run this tool:
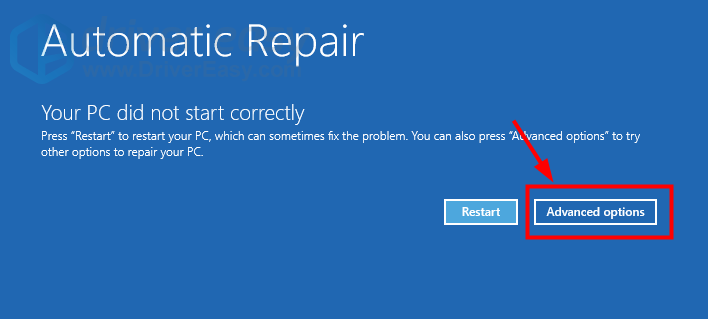
- On the error screen, click Advanced options.
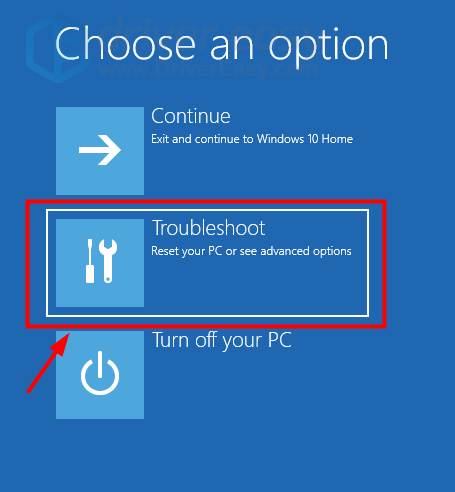
Click Troubleshoot.
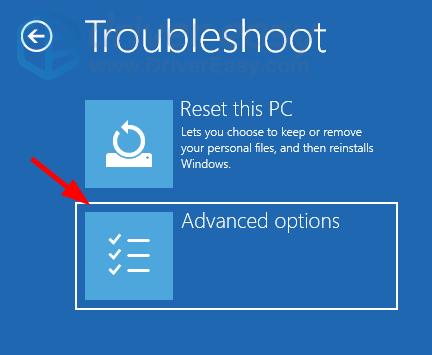
Select Advanced options.
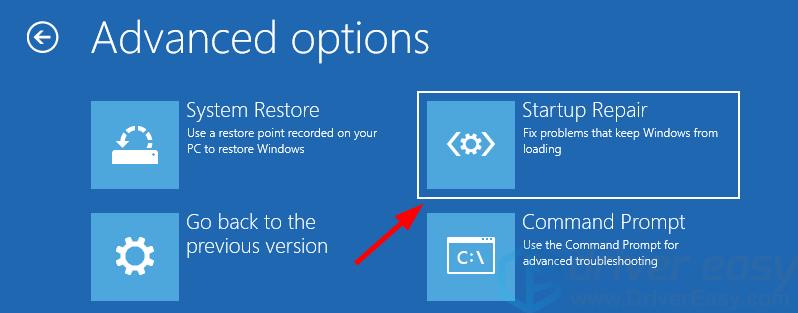
Select Startup Repair.
- Choose your account name and enter your password.
- Wait for the process to be complete.
If this works for you, great! But if not, you may need to…
Fix 2: Restore from a system restore point
You can fix this error by restoring your Windows 10 computer to a previous state. To do this, you’ll need to use a restore point. Here’s how:
- On the error screen, click Advanced options.
Click Troubleshoot.
Select Advanced options.
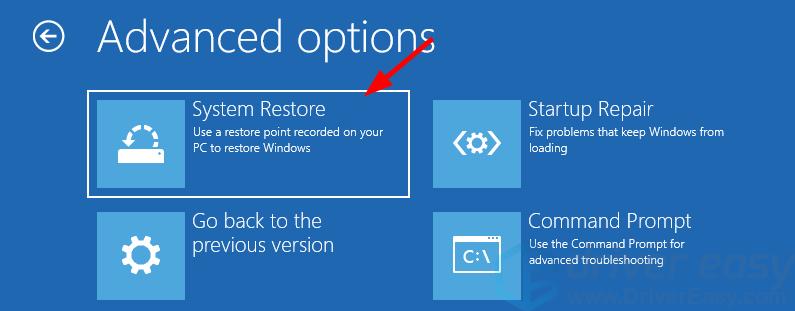
Select System Restore.
- Follow the on-screen instructions to restore from a system restore point.
Hopefully one of the fixes above worked for you. If you have any questions or suggestions, feel free to leave us a comment below.