


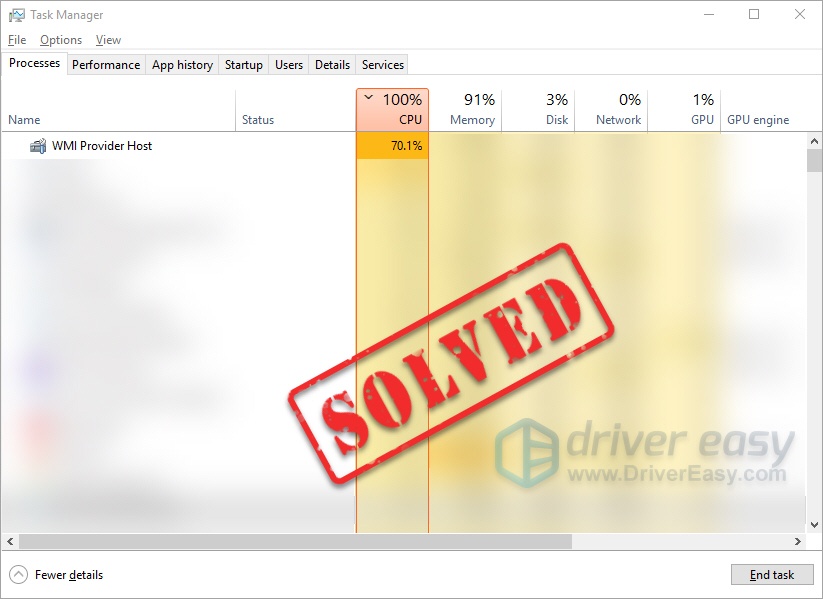
Your PC suddenly becomes sluggish. The fans spin up for no obvious reason. You open Task Manager and discover WMI Provider Host (WmiPrvSE.exe) consuming 15%, 30%, or even 50% of your CPU.
If you’ve already restarted your PC or even reinstalled Windows, and the problem keeps coming back, you’re not alone. This is one of the most frustrating Windows issues because the WMI Provider Host is usually not the real culprit. It’s often just the messenger. The good news is that, in most cases, the issue can be traced to a specific application, driver, or service and easily resolved.
In this guide, we’ll explain what WMI Provider Host is, why it’s causing high CPU usage, and how to solve WMI Provider Host high CPU usage on Windows 11/10.
What is WMI Provider Host (WmiPrvSE.exe)?
WMI Provider Host (WmiPrvSE.exe) is a legitimate Windows component that belongs to the Windows Management Instrumentation Provider Service (WMI). It lets software and system components retrieve your PC’s hardware and software state. You can think of it as a translator: an app asks “what’s my CPU temperature?” or “how much RAM is free?”, and WMI delivers the answer.
There are two related processes you’ll see in Task Manager:
- winmgmt.exe — the WMI service itself (the dispatcher)
- WmiPrvSE.exe — the provider host that does the actual work (the worker)
Is WMI Provider Host a Virus?
Short answer: No. WMI Provider Host itself is a legitimate Windows process and is required for many system functions. However, some malware disguises itself using similar names to avoid detection.
You can press Ctrl + Alt + Del on your keyboard to open Task Manager. Enter wmi into the search bar, right-click WMI Provider Host, and select Open file location.
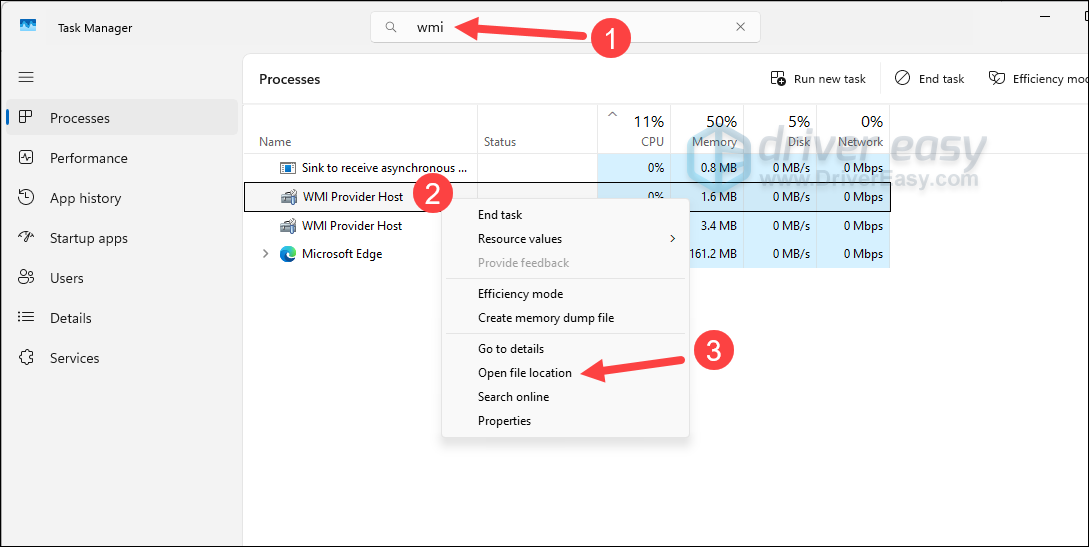
The genuine executable should be located at `C:\Windows\System32\wbem. If you see it running from any other location, that’s a red flag for malware, and it’s best to perform a full malware scan.
What’s normal CPU usage?
There is no official threshold, but generally:
- Normal: Usually below 5% with occasional spikes
- Potential issue: Consistently above 10%
- Likely problem: Sustained usage above 20%, especially while the system is idle
If the WMI Provider Host remains above 20% CPU for several minutes, you’ll need to troubleshoot further.
How to fix WMI Provider Host high CPU usage
Here are 7 solutions you can try to fix this issue. You may not need to try them all. Just work your way down the list until you find the one that works.
1: Identify the culprit with Event Viewer
2: Update problematic drivers
3: Run a full malware scan
4: Restart the WMI Provider Host Service
5: Boot into Safe Mode with Networking
6: Uninstall applications causing the problem
7: Reset the WMI repository
Fix 1 – Identify the culprit with Event Viewer
The quickest fix is finding out exactly which process is triggering WMI.
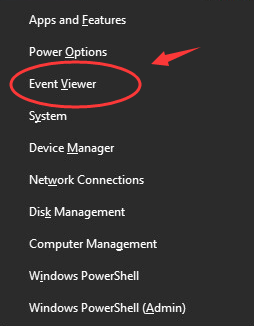
- On your keyboard, press the Windows logo key and X at the same time, then select Event Viewer.
- Click the View button on top and then Show Analytic and Debug Logs.
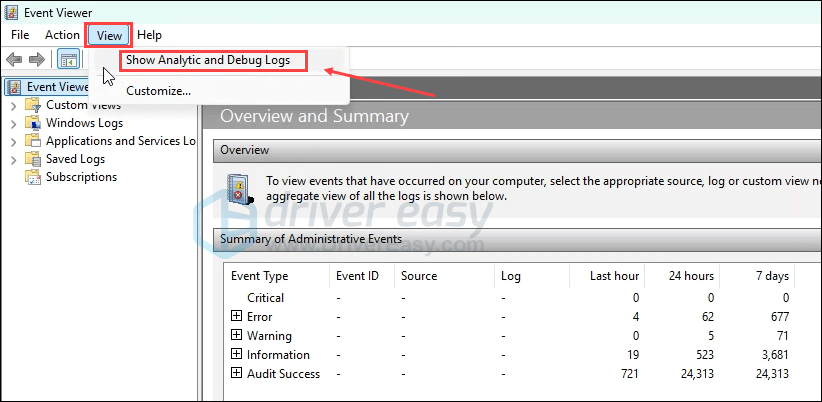
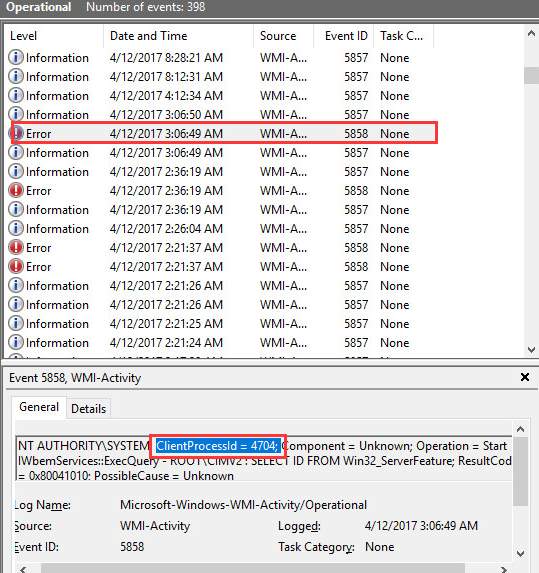
- On the left pane, follow the path: Applications and Service Logs > Microsoft > Windows > WMI Activity > Operational log. Mark down the latest items listed as Error. Click it and copy the ClientProcessId.
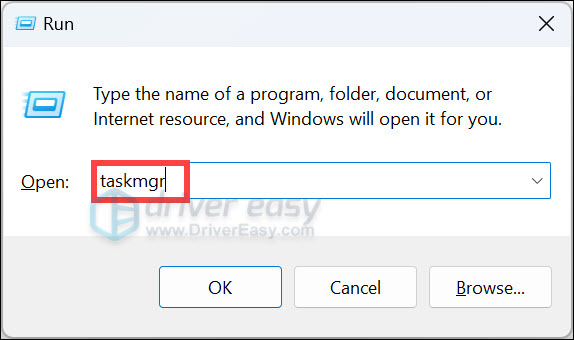
- On your keyboard, press the Windows logo key and R at the same time, then type taskmgr and hit Enter to open the Task Manager.
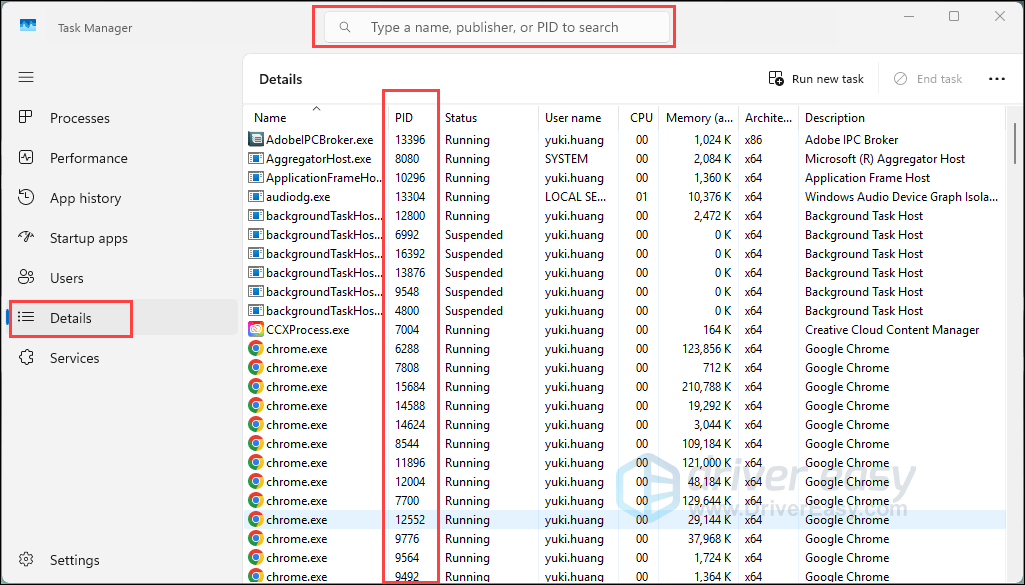
- Go to the Details tab. Paste the ID you just copied into the search bar at the top to find the matching process.
End the task to see if the CPU usage issue is solved. If it’s a hardware-related component, updating the associated drivers as follows is often the fastest fix.
Fix 2- Update problematic drivers
Faulty, outdated, or corrupted drivers are one of the most common causes of WMI Provider Host high CPU usage. If the driver is corrupted, outdated, or incompatible with your current Windows build, WMI may repeatedly retry failed queries, causing excessive CPU usage. And as many users reported, graphics drivers are particularly common culprits.
To fix the issue, you can update and install your drivers in the following ways:
Manual driver update – You can update your drivers manually by going to the manufacturer’s website for your device, and searching for the most recent correct driver. Be sure to choose only drivers that are compatible with your Windows version.
Automatic driver update – If you don’t have the time, patience, or computer skills to update your drivers manually, you can do it automatically with Driver Easy.
Driver Easy will automatically recognize your system and find the correct drivers for it. You don’t need to know exactly what system your computer is running, you don’t need to risk downloading and installing the wrong driver, and you don’t need to worry about making mistakes when installing.
- Download and install Driver Easy.
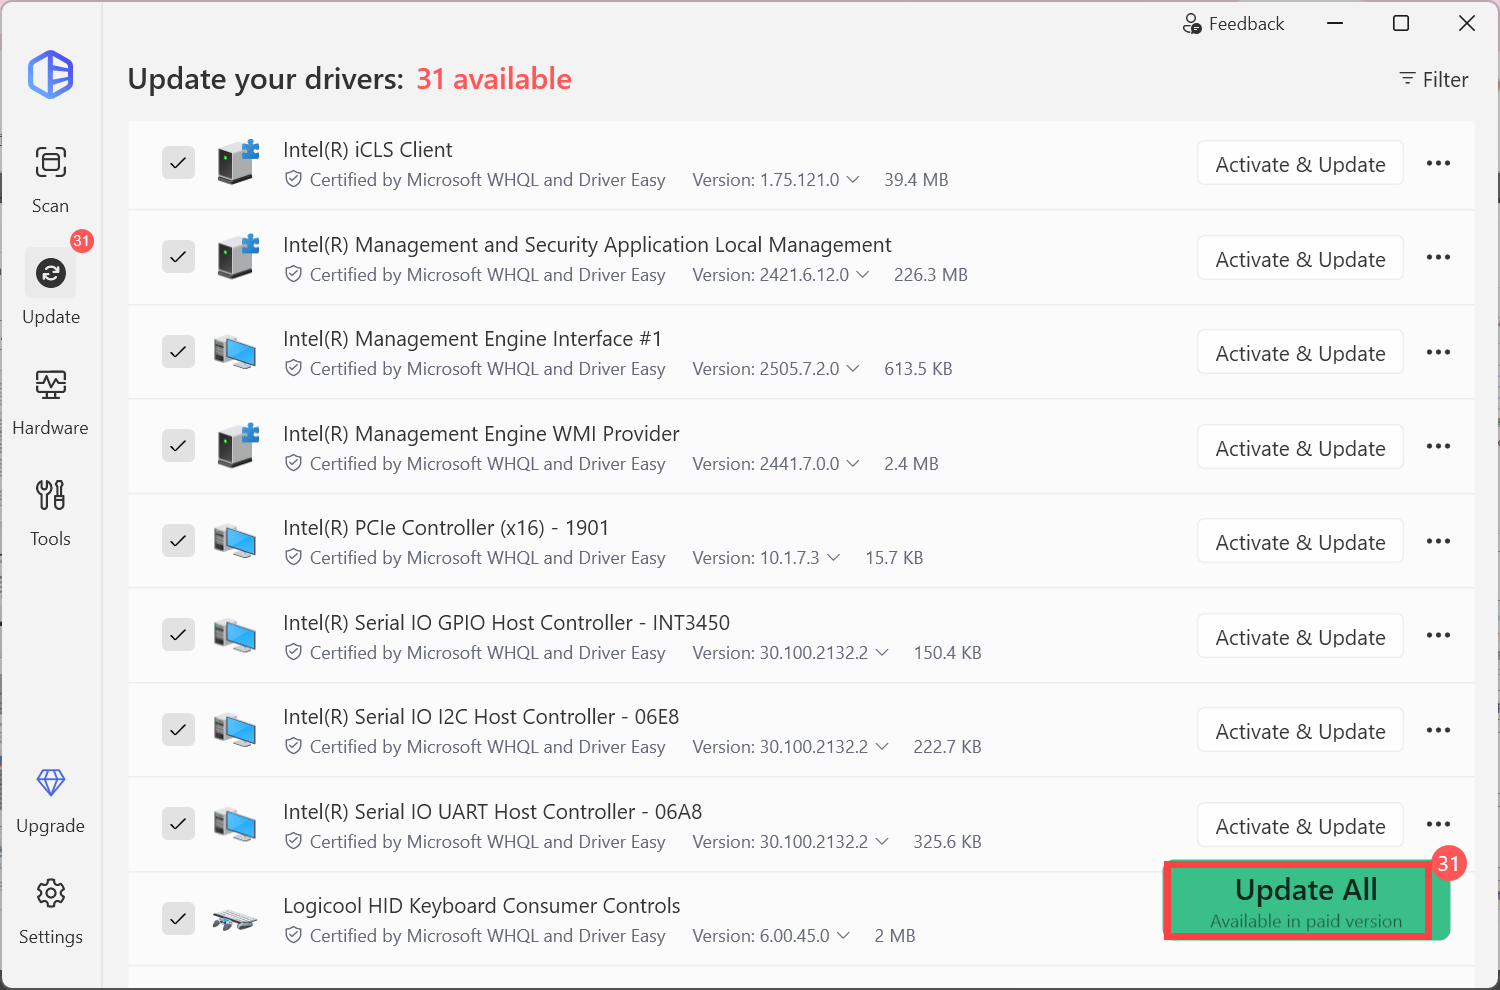
- Run Driver Easy and click the Scan Now button. Driver Easy will then scan your computer and detect any problem drivers.

- Click the Activate & Update button next to the flagged device to automatically download and install the correct version of this driver. Or click Update All to automatically download and install the correct version of all the drivers that are missing or out of date on your system.
💻 Driver Easy Pro version includes faster downloads, automatic installation, advanced technical tools and support to boost your PC performance. If you’re not prepared to purchase the Pro version yet, Driver Easy provides a 7-day trial at no cost, granting access to all premium features. No charges will occur until after your trial period ends. - Restart your computer for the changes to take effect.
Fix 3 – Run a full malware scan
Some advanced malware uses WMI for persistence and scheduled execution, resulting in abnormal CPU activity. In this case, you just need to run your antivirus program to get it fixed. If you haven’t done it yet, you should do it right now.
If your PC detects any unwanted programs or applications, remove them completely from your computer, and restart afterwards.
Fix 4 – Restart the WMI Provider Host Service
Sometimes the WMI service becomes stuck and simply needs a clean restart.
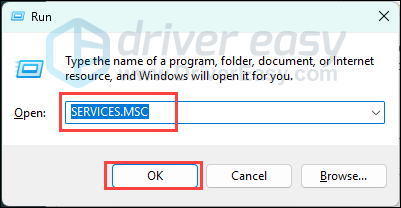
- On your keyboard, press the Windows logo key and R at the same time, then type in the search box services.msc and press Enter.
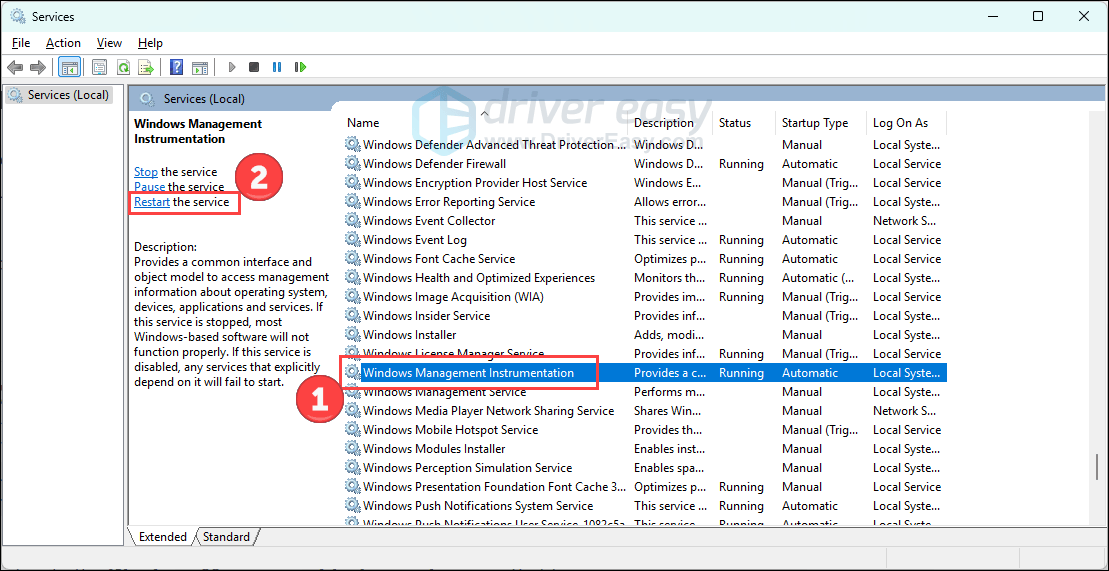
- Press the W key to locate the Windows Management Instrument service. Right-click it and select Restart.
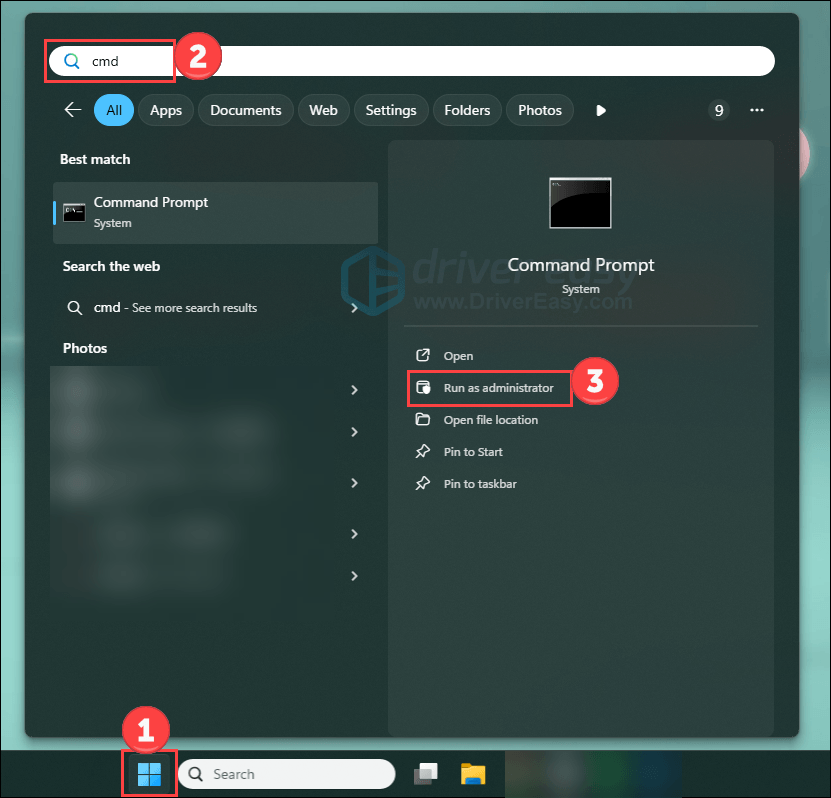
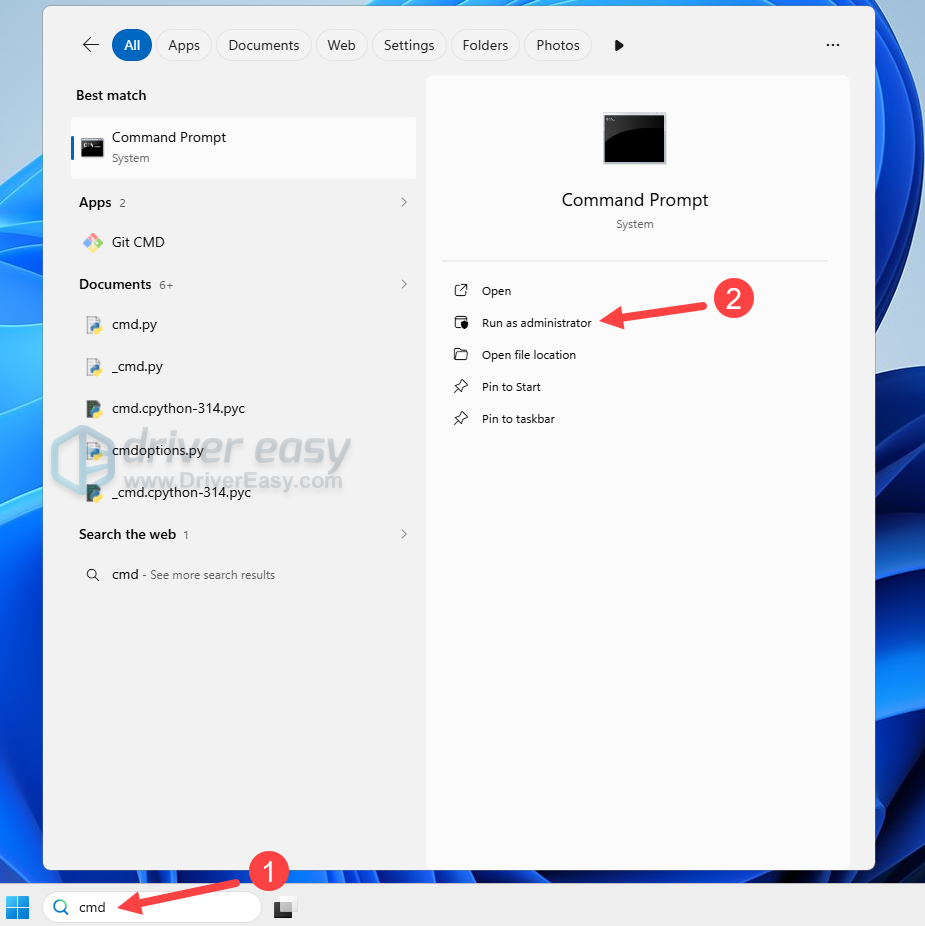
- Now press the Windows logo key to open the Start menu, then type cmd. Right-click Command Prompt from the list of results and select Run as administrator.
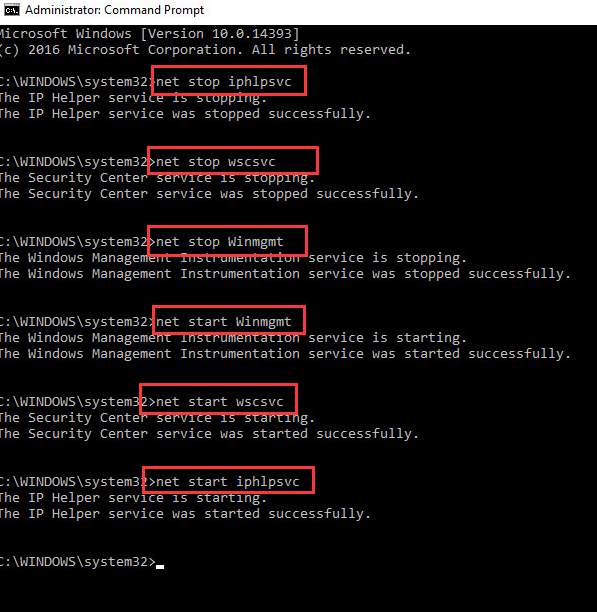
- In the Command Prompt window, type in the following commands and press Enter after each command.
net stop iphlpsvc
net stop wscsvc
net stop Winmgmt
net start Winmgmt
net start wscsvc
net start iphlpsvc
Restart your PC after the commands.
Fix 5 – Boot into Safe Mode with Networking
Troubleshooting in Safe Mode will better help you isolate and identify the culprits. If WMI usage drops significantly in Safe Mode, a third-party application, service, or driver is likely responsible. Here’s how:
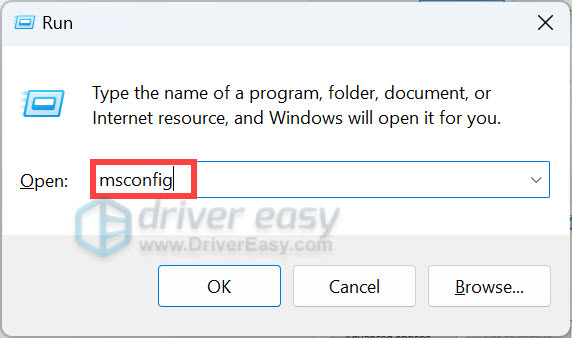
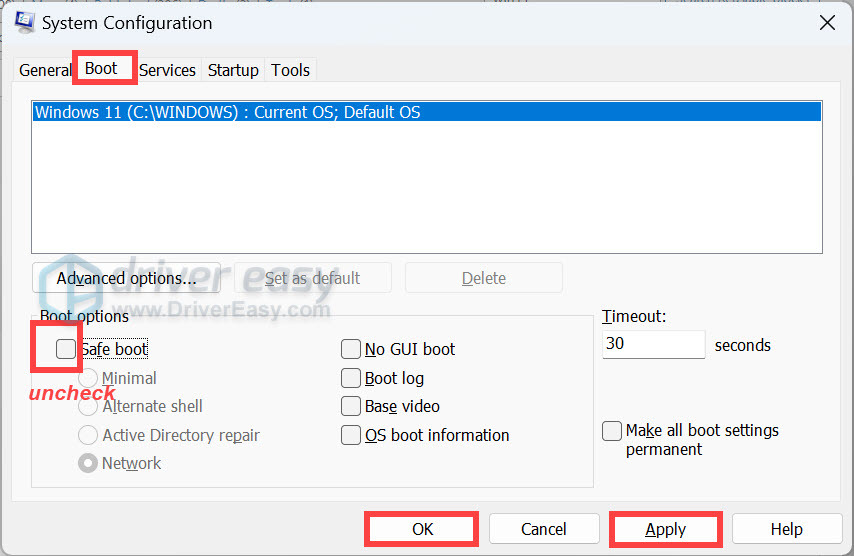
- On your keyboard, press the Windows logo key and R at the same time, then type msconfig in the search box and press Enter.
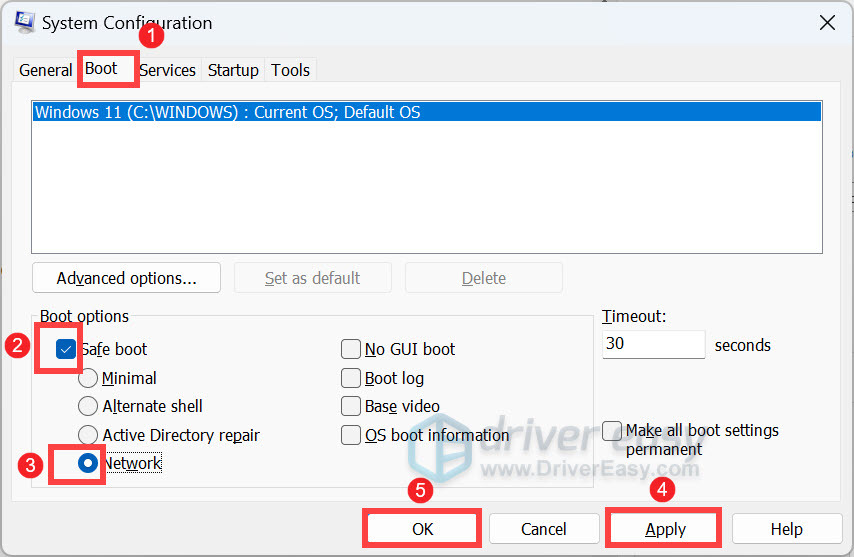
- Go to the Boot tab, then tick the box for Safe boot, and select the Network option. Click Apply and OK to save.
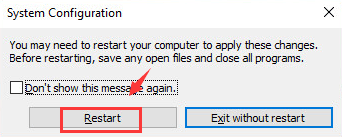
- Make sure that you have saved your files and data, then click Restart to enter Safe Mode.
- When in Safe Mode, press the Windows logo + R simultaneously to open the Run box, then type powershell.exe.

- Then type this command
msdt.exe -id MaintenanceDiagnosticand press Enter.
You will see a troubleshooting window pop up. Click Next to let the troubleshooting run.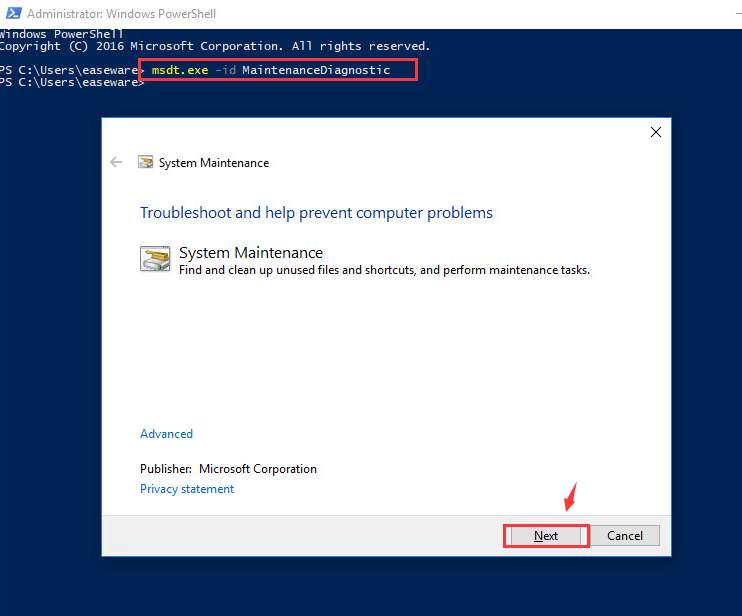
If the troubleshooter detects a problem with your system, then follow the instructions to get it repaired.
- Still in the PowerShell window, type in this command
msdt.exe /id PerformanceDiagnosticand press Enter.
You’ll see a Performance troubleshooting window pop up, just click Next to continue with the troubleshooting.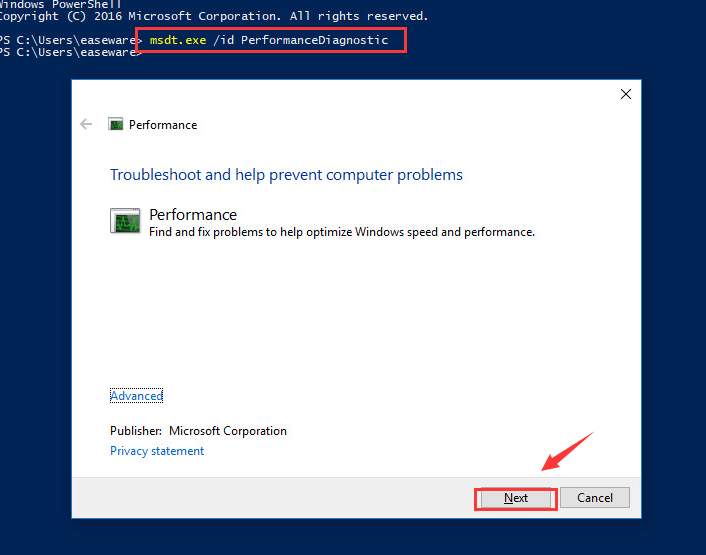
- Still, if you see the notification telling you that something needs to be changed in your system, do as the system tells you to do.
- When the troubleshooting process finishes, you need to boot into a normal mode. Repeat step 1. Then go to the Boot tab and empty the box for Safe boot. Click Apply and OK to save and exit. Restart your computer into normal mode.
Fix 6 – Uninstall applications causing the problem
If the previous Event Viewer check showed you WMI Provider Host high CPU is related to a specific application, you can just disable or uninstall it to fix the issue.
Monitoring applications such as MSI Afterburner, HWiNFO, Logitech G Hub, and Razer Synapse are known for frequently polling WMI for hardware information, and the most common causes of WMI CPU spikes during gaming.
If you’re using a work or school computer, remote management software like Microsoft SCCM and Cisco Meraki may also be responsible.
Fix 7 – Repair or reset the WMI repository (last resort)
If all other solutions fail, the WMI repository itself may be damaged and you can try repairing or resetting it.
Enter cmd into the Windows search bar and click Run as administrator.
winmgmt /salvagerepository
This attempts to repair the repository while preserving existing data. If it fails, run the command below in the CMD.
winmgmt /resetrepository
Be aware that resetting the repository may require reinstalling applications that rely on custom WMI namespaces. Restart your PC to see if the WMI Provider Host CPU usage is back to normal.
WMI Provider Host high CPU usage is usually because a misbehaving application, monitoring utility, driver, or Windows service is repeatedly querying WMI. By working through the fixes above, you’re able to troubleshoot each potential cause and eventually bring the CPU usage back to normal. Have any questions? Feel free to leave a comment below.

