


Plugged in, not charging is one of the infamous battery issues users might have with their laptops. If you’re an Acer laptop owner who are in the same boat, don’t worry. It’s fixable…
How to fix Plugged in, not charging in Acer
Here are four fixes that have helped other users resolve the battery not charging issue in Acer. Just work your way down the list until you find the fix that works for you.
- Perform some basic hardware troubleshooting
- Update your battery driver
- Perform a battery reset
- Update your BIOS
Fix 1: Perform some basic hardware troubleshooting
The battery not charging issue doesn’t always happen because of software or system issue, but the apparent little details that we could all neglect.
Here are a few basic checks you should do to rule this out as a cause:
1) Make sure you have connected your laptop to a working power socket.
2) Make sure the cables are plugged in firmly.
3) Ensure that the battery is properly seated in its compartment and that there is no issues with the laptop contact points and the battery.
4) Check to see if there is any dust inside the charging port. If yes, use a piece of clean and dry cloth to wipe it off.
5) Check if your laptop is overheating. If yes, then remove the battery, leave it for a couple of minutes to cool it off and put it back in. To take better care of the battery, it’s also recommended that you get a cooling fan for your laptop, or move it to a well-ventilated place.
All checked but battery is still not charging? Please move on to Fix 2, below.
Fix 2: Update your battery driver
This plugged in not charging problem may occur if you are using the wrong battery driver or it’s out of date. So you should update your battery driver to see if it fixes your problem. If you don’t have the time, patience or skills to update the driver manually, you can do it automatically with Driver Easy.
Driver Easy will automatically recognize your system and find the correct drivers for it. You don’t need to know exactly what system your computer is running, you don’t need to be troubled by the wrong driver you would be downloading, and you don’t need to worry about making a mistake when installing. Driver Easy handles it all.
You can update your drivers automatically with either the FREE or the Pro version of Driver Easy. But with the Pro version it takes just 2 steps (and you get full support and a 30-day money back guarantee):
1) Download and install Driver Easy.
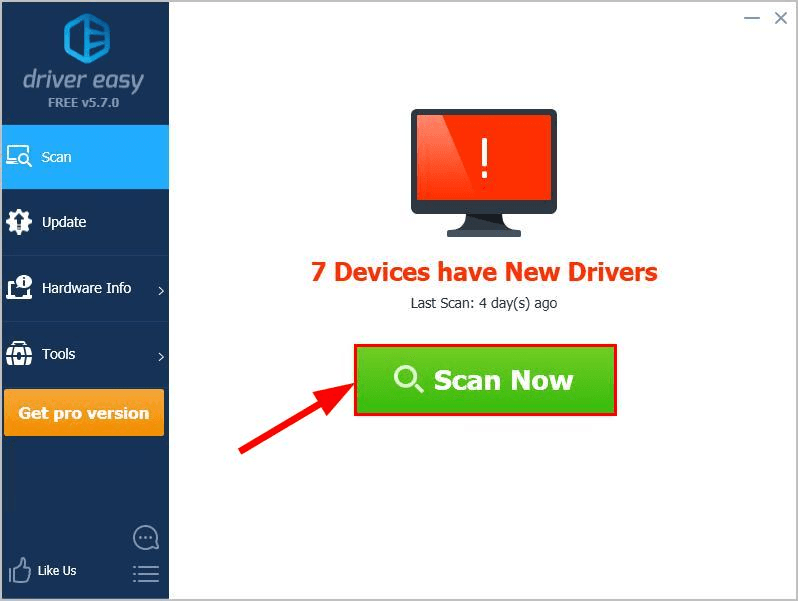
2) Run Driver Easy and click the Scan Now button. Driver Easy will then scan your computer and detect any problem drivers.
3) Click Update All to automatically download and install the correct version of all the drivers that are missing or out of date on your system (this requires the Pro version – you’ll be prompted to upgrade when you click Update All).
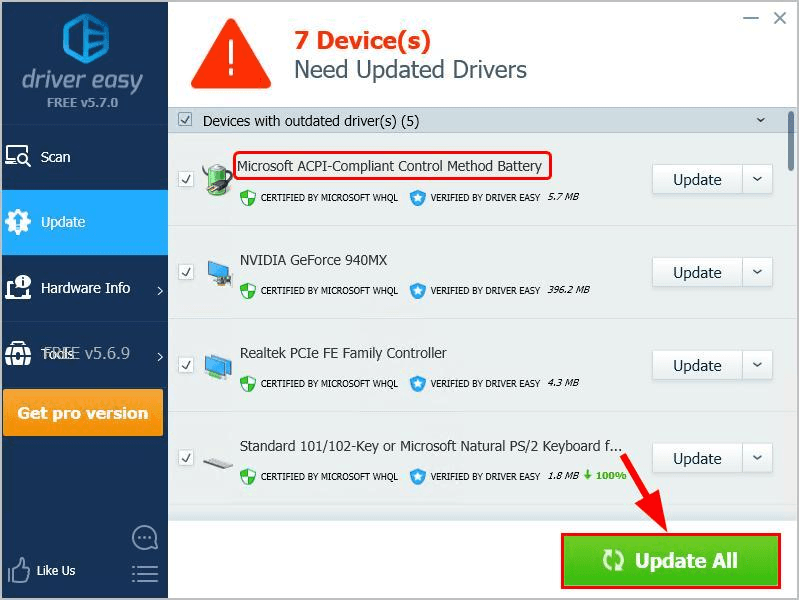
You can also click Update to do it for free if you like, but it’s partly manual.
4) Restart your computer for the changes to take effect.
5) Check to see if your Acer laptop charges properly. If yes, you’ve solved the issue! If it’s still not charging, please move on to Fix 3, below.
Fix 3: Perform a battery reset
A battery reset is a known fixes to all sorts of battery issues. So it’s recommended that you perform a battery reset to see if it sorts out the problem.
Here are more detailed steps on how to do it:
1) Turn off your Acer laptop.
2) Disconnect your laptop from the power socket and, if the battery is removable, remove it from the compartment.
3) Press and hold the power button on your laptop for 20 seconds to drain the residual power.
4) If your system has a battery pinhole reset on the bottom, insert a small paperclip in the battery reset pinhole and hold down the button for 5 seconds.
Note: Not all models have a battery pinhole reset.
4) If you removed the battery is step 2), put it back into your laptop.
5) Reconnect your laptop to the power socket.
6) Turn on your laptop.
7) Check to see if it’s charging properly. If yes, then congrats! If it’s still no joy, please move on to Fix 4, below.
Fix 4: Update your BIOS
BIOS (Basic Input/Output System) performs the hardware initialization and jumpstarts the processes during the booting process of your computer. So you can try updating our BIOS to see if it fixes the laptop plugged in not charging issue.
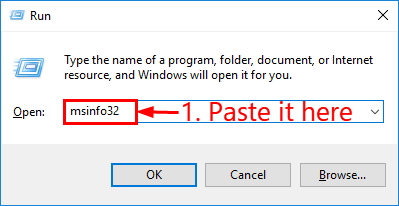
1) On your keyboard, press the Windows logo key and R at the same time, then copy & paste msinfo32 into the box and press Enter.
2) In the information in BIOS Version/Date and go to Acer’s official website.
3) Check out the Support (or Download) section and search for the latest BIOS update.
4) Download the file and install it properly.
5) Check your laptop battery again and see if the plugged in, not charging problem is resolved.
That’s it – four useful fixes for the Acer plugged in not charging issue. Hope this post has pointed you in the right direction in fixing the problem. If you have any questions, ideas or suggestions, you’re more than welcome to leave us a comment below. Thanks for reading!