


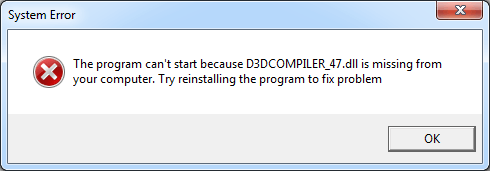
Many Windows users have got a D3DCompiler 47 missing error on their computer. The error displays a message “The program can’t start because D3DCOMPILER_47.dll is missing from your computer. Try reinstalling the program to fix problem”.
If you’re also experiencing this issue, you’re no doubt very frustrated. But don’t worry. This error can be fixed. The following are an explanation of what D3DCompiler_47.dll is, and some suggestions to help you fix this error.
What is D3DCompiler_47.dll?
D3DCompiler_47 is a component of DirectX, which is a platform developed by Microsoft, intended to deal with multimedia tasks, such as games, on Windows systems. This file may be missing because it is accidentally deleted when you remove a program. But in some cases, it can become corrupted because of your wrong device drivers.
What to do if D3DCompiler_47.dll is missing?
Here are the methods you should try when you see the D3DCompiler_47.dll is missing error.
- Get a D3DCompiler_47.dll file from a trusted source
- Update your Windows
- Reinstall your operating system
1. Get a D3DCompiler_47.dll file from a trusted source
There are two ways you can do this:
Method 1: Get the file from another computer
- Find a computer that’s working normally. It should be running the same Windows operating system as yours with the latest system updates installed.
- On that computer, open File Explorer (press the Windows logo key and E on the keyboard at the same time) and go to C:WindowsSystem32. You will find a D3DCompiler_47.dll file in that location.
- Copy that file to the exact same location (C:WindowsSystem32) on your own computer.
Method 2: Install the file with the DLL-files.com Client
You can also use the DLL?files.com Client to repair your missing file.
The DLL-files.com Client will fix your DLL error in one click. You don’t have to know what system is running on your computer, and you don’t need to worry about downloading the wrong file. The DLL-files.com handles it all for you.
To use the DLL-files.com Client:
- Download and install the DLL-files.com Client.
- Run the Client.
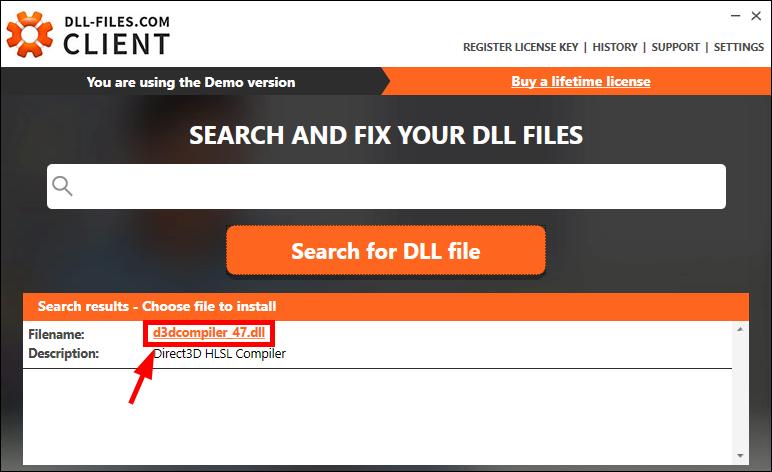
- Type “d3dcompiler_47” in the search box and click the Search for DLL file button.

- Click d3dcompiler_47.dll.
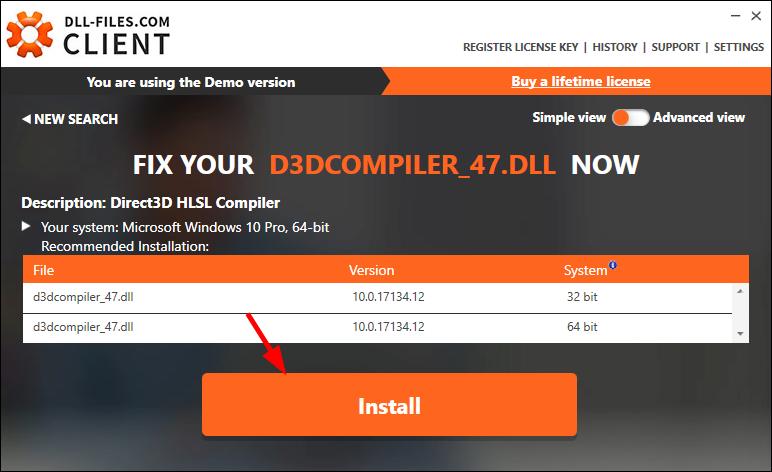
- Click the Install button. (You’re required to register the program before you can install this file — you’ll be prompted when you click Install.)
Now check to see if this fixed your dll file missing issue.
Pro tip:
Maybe you got this error when you are trying to open a game. In fact, it is possible that you encounter errors other than this one in the future. Keeping your device drivers up to date is an effective method to avoid such situations. Plus, latest drivers can improve your game performance. You can update device drivers manually, but it can be very troublesome and time-consuming. To save your time and energy, we recommend using Driver Easy.
Driver Easy will automatically recognize your system and find the correct drivers for it. You don’t need to know exactly what system your computer is running, you don’t need to be troubled by the wrong driver you would be downloading, and you don’t need to worry about making a mistake when installing.
You can download and install your drivers by using either Free or Pro version of Driver Easy. But with the Pro version it takes only 2 clicks (and you get full support and a 30-day money back guarantee):
- Download and Install Driver Easy.
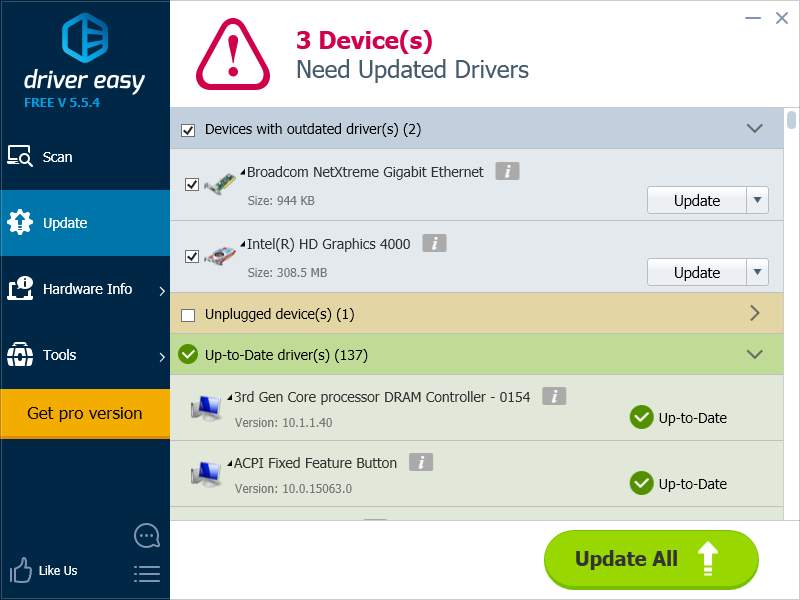
- Run Driver Easy and click the Scan Now button. Driver Easy will then scan your computer and detect any problem drivers.

- Click the Update button next to each of your devices to download the latest and correct driver for this device. You can also click the Update All button at the bottom right to automatically update all outdated or missing drivers on your computer (this requires the Pro version — you will be prompted to upgrade when you click Update All).
Restart your computer. Now you have already had the latest drivers installed on your computer.
2. Update your Windows
When you see a component of DirectX missing, you may be thinking that you can get it back by reinstalling Direct X. However, DirectX (DirectX 10, 11 and 12) has been included in Windows systems since Windows 7. There are no standalone installer released by Microsoft that you can use to reinstall and repair DirectX.
But you can repair the component by updating your operating system. There are some system updates intended to update the DirectX feature and can help you repair this feature. Also, Windows has released an update specifically for fixing the D3DCompiler_47.dll missing error (for Windows 7). You can try installing these updates and see if your problem is resolved.
To update your system:
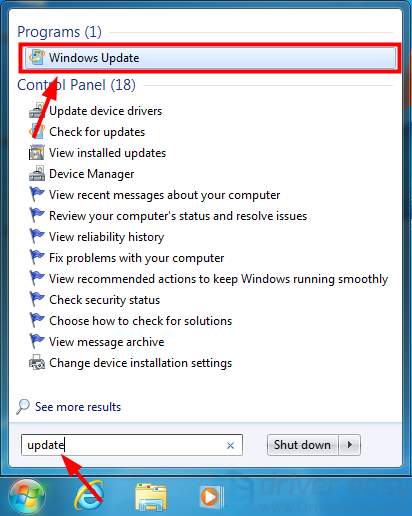
- Click the Start button. Then type “update“. When you see Windows Update appear in the list of results, click this result. This will open Windows Update.
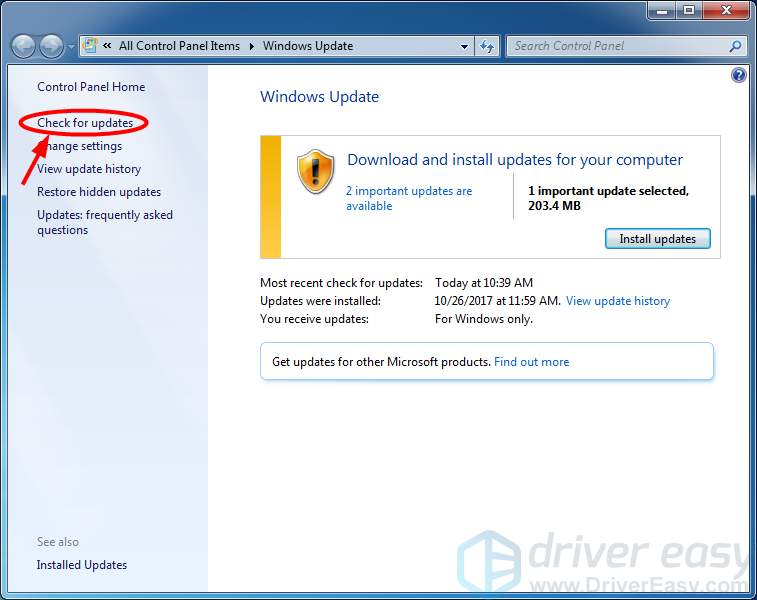
- In the Windows Update window, click Check for updates.
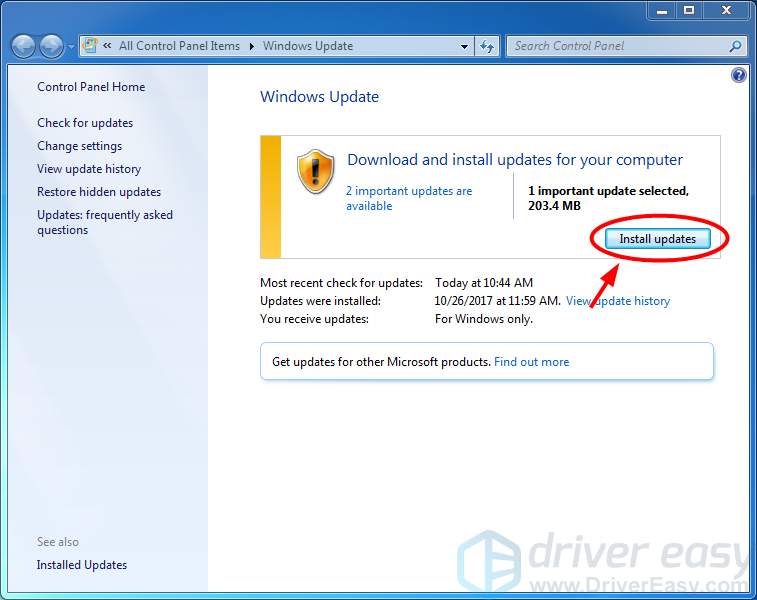
- Install updates if your computer is not up to date.
Note that if you are on Windows 7, there are two important updates you should install because they are very helpful for fixing your problem. They are KB4019990 (released by Microsoft specifically for this error) and KB2670838 (to update your DirectX). Download and install them on your computer and see if they can help. (Make sure you have installed the Service Pack 1 of Windows 7 before you install these updates.)
3. Reinstall your operating system
As mentioned in method 2, you can’t repair your DirectX by simply reinstalling it with a standalone DirectX installer. When updating your system can’t help you get your missing DirectX file back, another way you can try is to reinstall your operating system. This can be considered as a way of reinstalling your DirectX.
Back up your personal documents and data on your system drive (C drive usually). Prepare a Windows installation media and put it into your computer. Then run the media and follow the instructions to reinstall your operating system.