


A webcam is a must when you communicate with others using applications like Zoom or Skype. But you may run into an issue of your Dell webcam not working all of a sudden. It may merely shows a black screen or not be detected. This can happen due to the lack of permissions to use webcam or an outdated driver. This is not something usual and we’ll give you concise instructions on how to resolve it.
Try these fixes:
You may not need to try them all; simply work your way down the list until you find the one that works.
- Give your apps permission
- Check your antivirus software
- Update your webcam driver
- Reinstall your webcam driver
Fix 1: Give your apps permission
If you recently updated your system, you might need to give apps permission to use the camera. In newer versions of Windows 10/11, some apps don’t have default access to the camera.
To let your device and apps access the camera, take these steps:
For Windows 10 users
1) On your keyboard, press the Windows logo key + I at the same time to open Settings.
2) Click Privacy.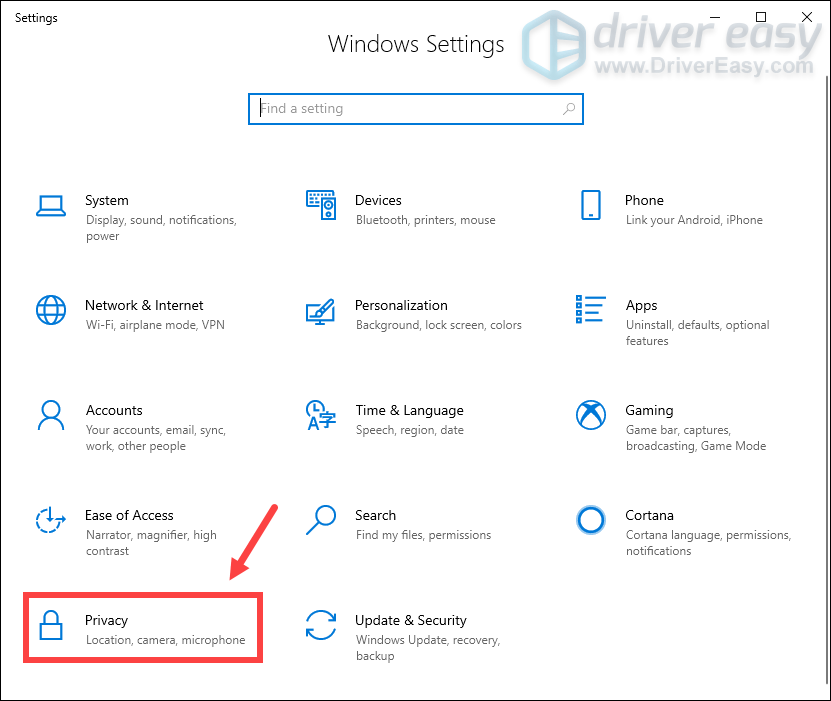
3) On the left pane, select Camera. Make sure Camera access for this device is set to on. If it’s off, click change and turn it on.
In the Allow apps to access your camera section, make sure it’s set to On.
In the Choose which Microsoft Store apps can access your camera section, make sure your appropriate apps are set to On to access your camera.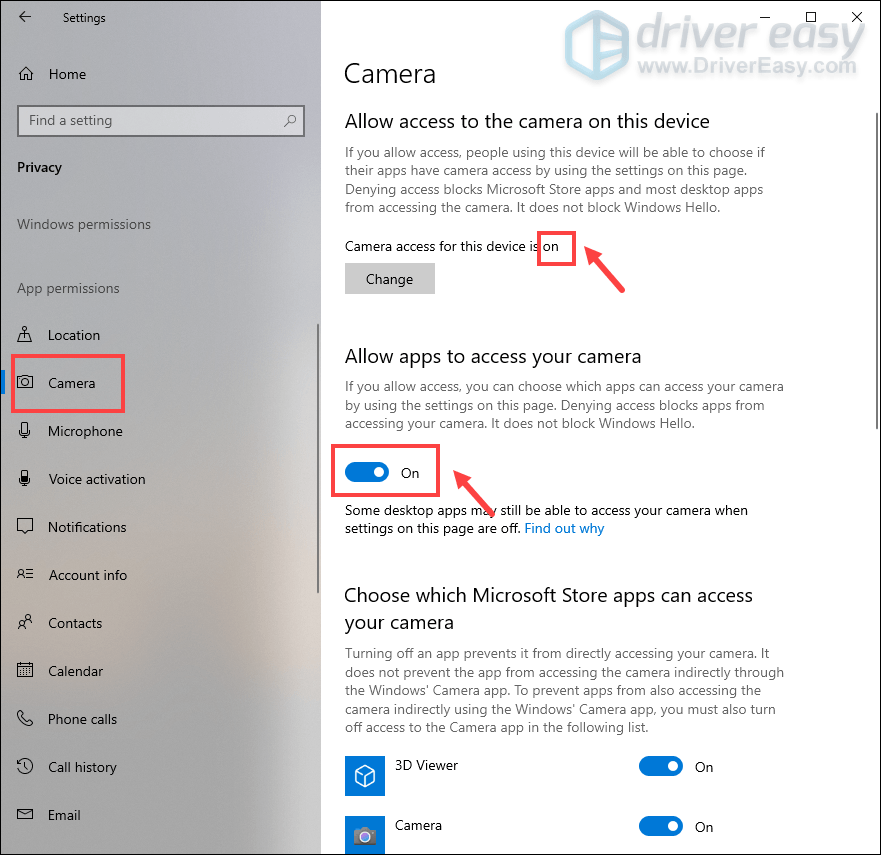
For Windows 11 users
1) On your keyboard, press the Windows logo key + I at the same time to open Settings.
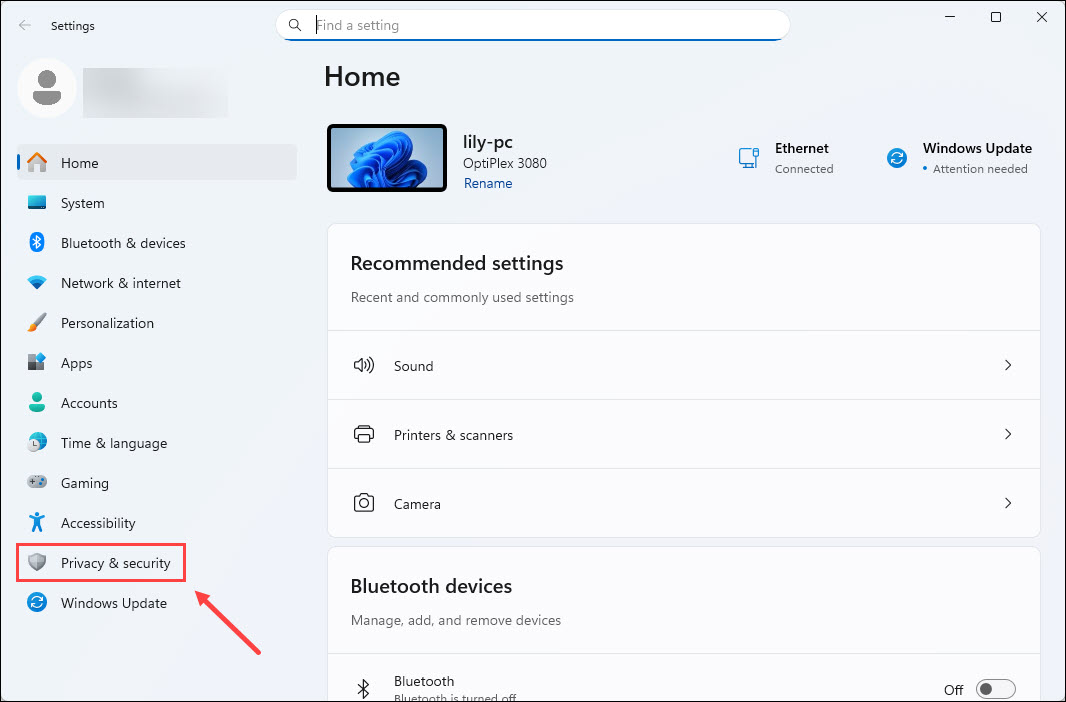
2) Click Privacy & Security.
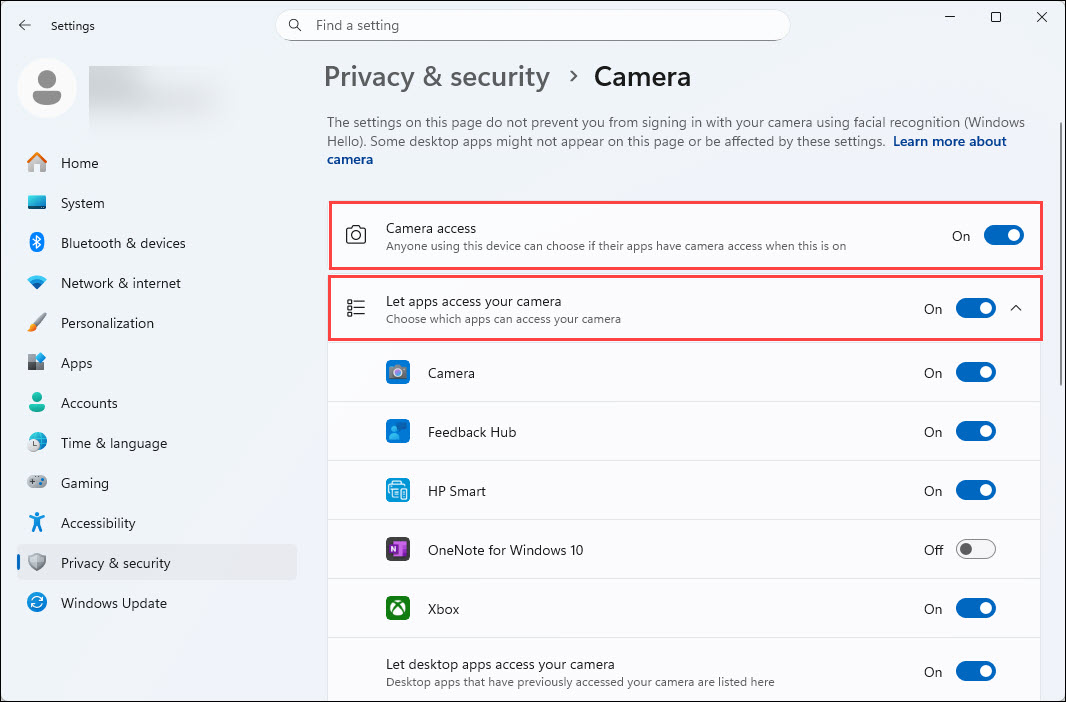
3) Under App permissions, click Camera.
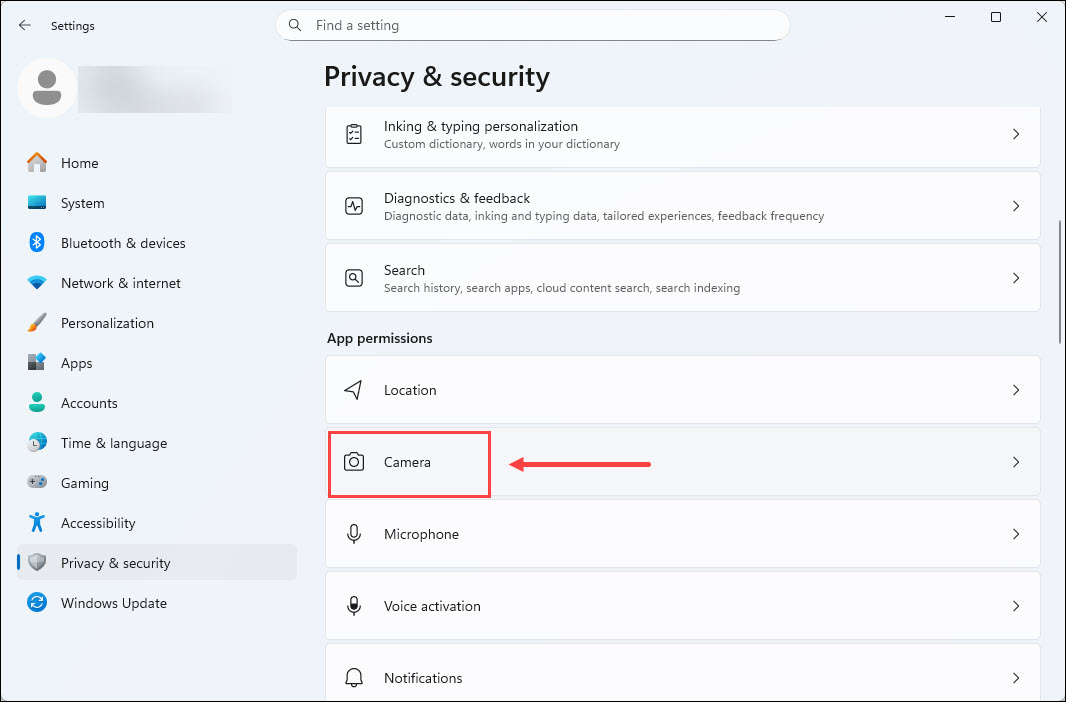
4) Make sure Camera access and Let apps access to your camera are set to On.
After you’ve made these changes, do a webcam test to check if it works. If your webcam is still not functioning properly, try other fixes below.
Fix 2: Check your antivirus software
If you’re using any antivirus software, chances are, they may be blocking access or permission to use your webcam. To prevent it from happening, you’re supposed to try temporarily disabling your antivirus software.
Fix 3: Update your webcam driver
Your webcam would not function well if you are using an outdated webcam driver. So you should update your webcam driver to see if it fixes your problem.
To update the webcam driver, you can either go to the Dell Support & Downloads web page. Then follow the instructions to manually download and install the latest driver.
OR
If you don’t have the time or patience to do it all on your own, you can instead do it automatically with Driver Easy. Driver Easy will automatically recognize your system and find the correct drivers for it. You don’t need to know exactly what system your computer is running or risk downloading and installing the wrong driver. Driver Easy will take care of all the busy work for you.
Here’s how to update drivers with Driver Easy:
1) Download and install Driver Easy.
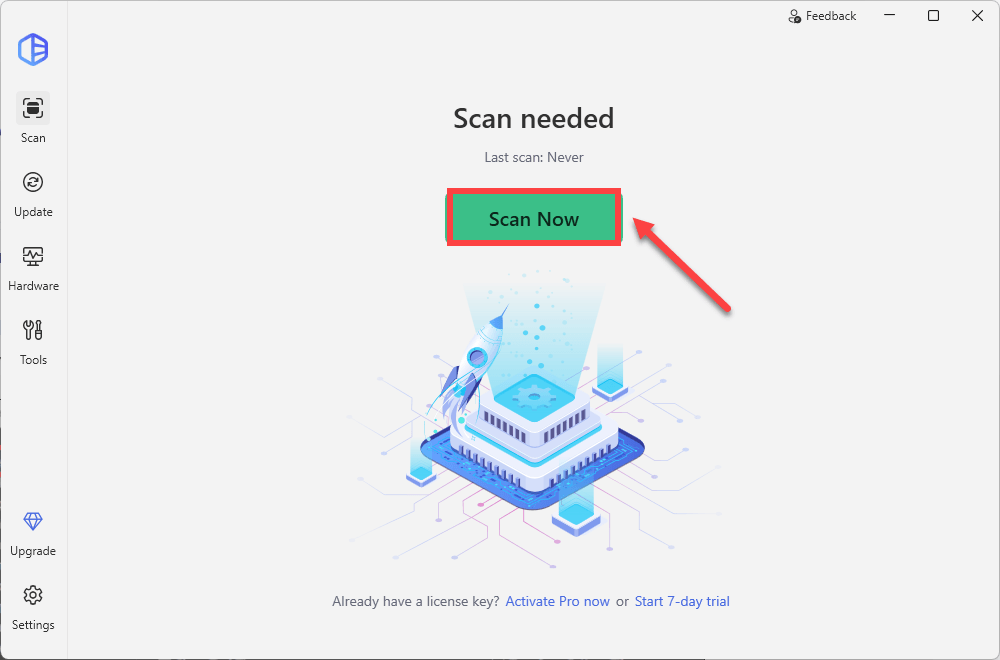
2) Just click Scan Now, and Driver Easy will scan your computer and detect any devices with missing or outdated drivers.
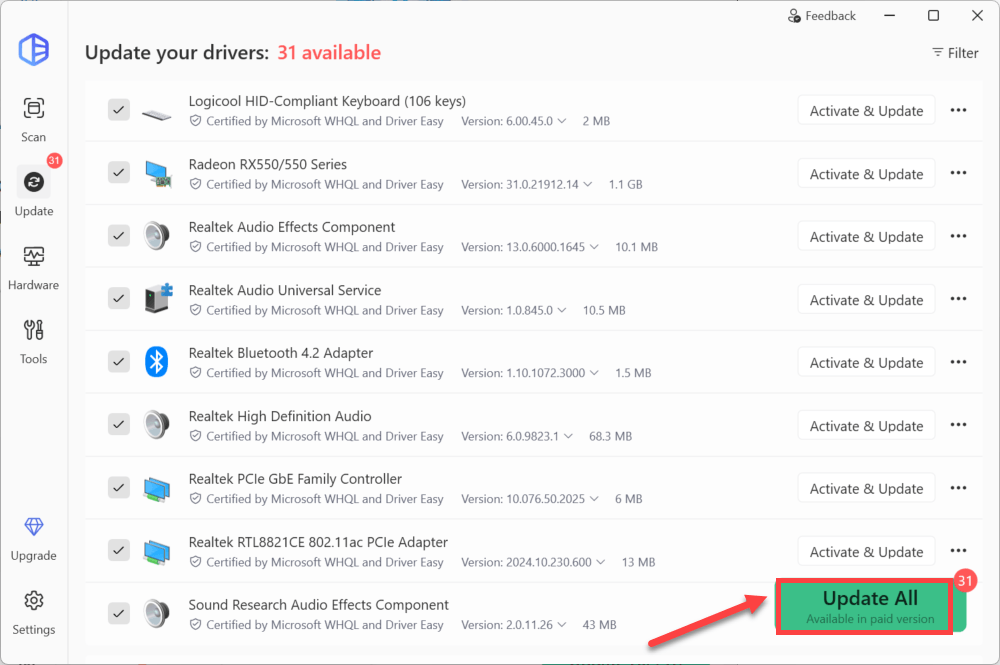
3) Click the Activate & Update button next to any flagged device or click Update All to update all the outdated drivers. You can sign up for the free trial to update drivers with no upfront cost.
After updating drivers, restart your computer and do a webcam test to check if the problem is resolved. If not, then continue trying the fixes below, or contact support@drivereasy.com for assistance.
Fix 4: Reinstall your webcam driver
If none of the fixes listed above worked for you, you need to reinstall the webcam driver via Device Manager:
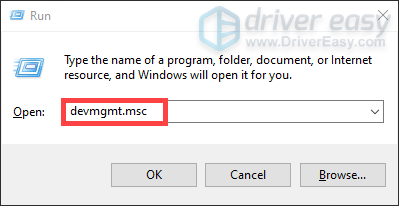
1) On your keyboard, press the Windows logo key and R at the same time to invoke the Run box.
2) Type devmgmt.msc and press Enter to open Device Manager.
3) Double-click either Cameras or Imaging devices to expand the list. Then right-click on your camera device and select Uninstall device.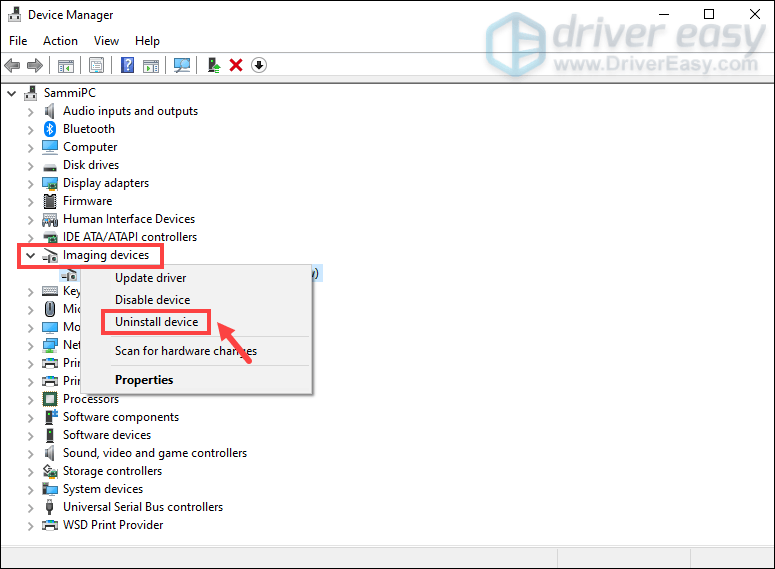
4) Click Uninstall to confirm. When the process is complete, restart your computer. Upon startup, the system will automatically reinstall the missing webcam driver for you. 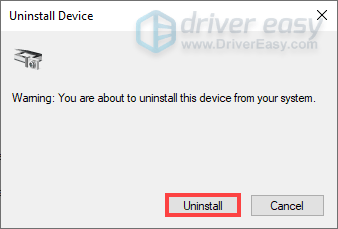
Now do a webcam test and it should be working correctly.
Hopefully, one of these fixes helped your Dell Laptop webcam work properly. If you have any ideas or questions, feel free to drop us a line in the comment section below.