


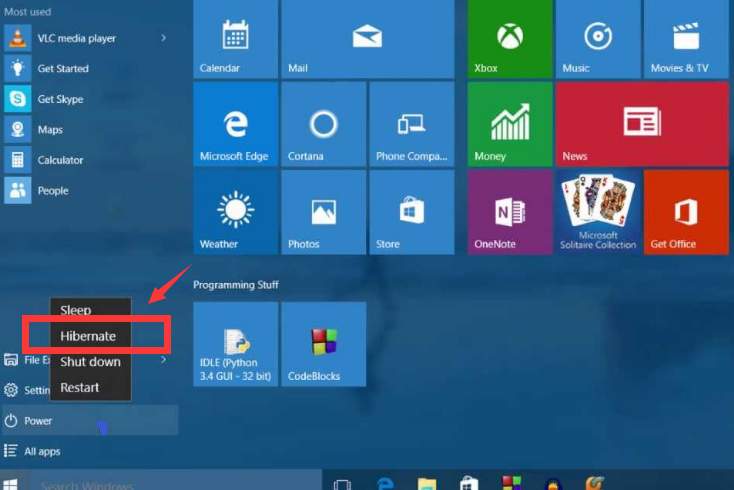
Hibernate mode is another state that you can leave your computer at other than Sleep or Shut down.
When then Hibernate mode is on, it takes a snapshot of your system files and drivers, and then saves that snapshot to your hard driver before shutting down. This allows your PC to restart faster.
Hibernate is enabled by default. It reserves some of your disk for its file, which could occupy up to 75% of your computer’s installed RAM. So, you might want to disable it if you don’t really need this function.
In this post, we will show you how to enable and disable Hibernate mode on Windows 10. Please read along for more detailed information.
Option One: From Command Prompt
Option Two: From Power Option
Option One: From Command Prompt
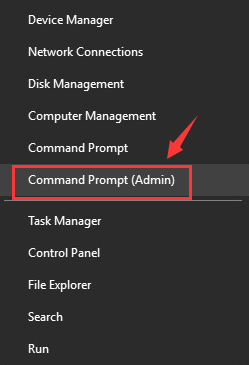
1) Press Windows key and X at the same time, then choose Command Prompt (Admin) from the list of choice.
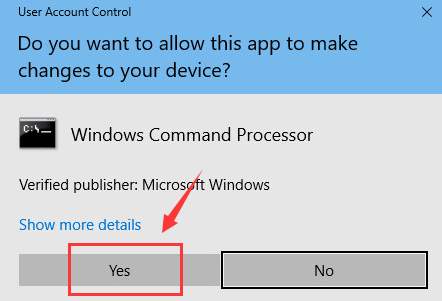
When prompted with the User Account Control notification, hit Yes to continue.
2) In the Command Prompt window, type in the following command:
powercfg.exe /hibernate off
and then press Enter to continue after you make sure that you have made no typo.
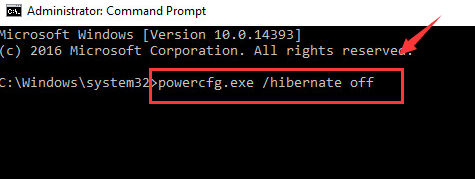
This will help you disable the Hibernate mode on your computer.
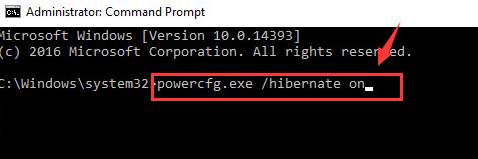
3) If you want to enable it, repeat step 1. Then type the following command in:
powercfg.exe /hibernate on
then hit Enter.
Option Two: From Power Option
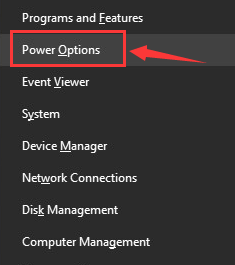
1) Press Windows key and X at the same time, then choose Power Options.
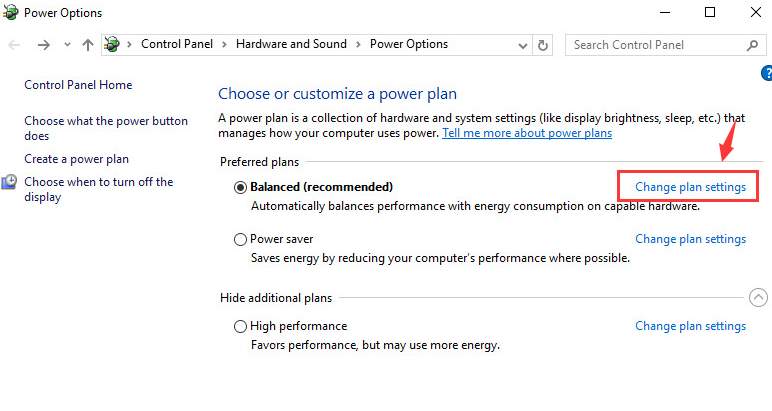
2) Choose Change plan settings option for whatever plan that you are using now.
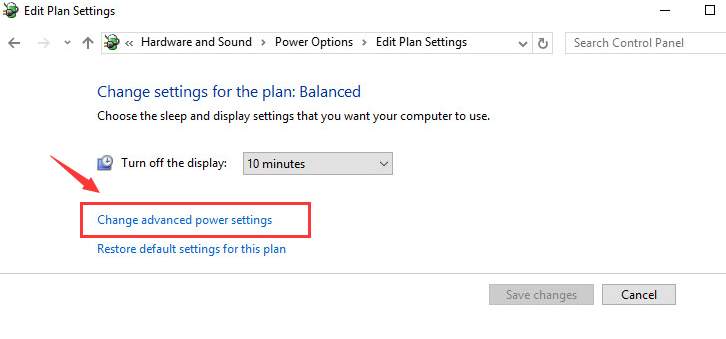
3) Then choose Change advanced power settings.
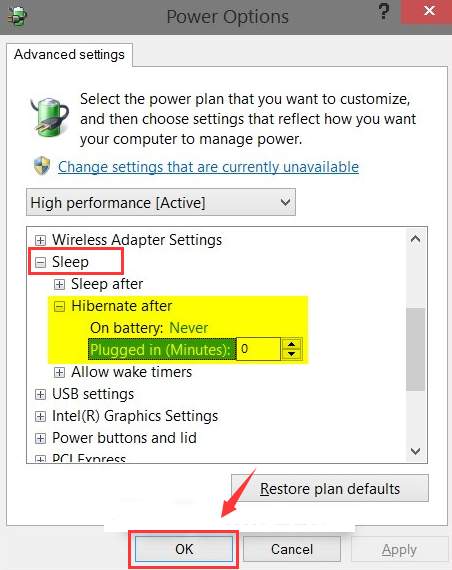
4) Expand Sleep category, under Hibernate after option, set the time to Never. Then hit OK to save and exit.
That’s it. You are now able to enable or disable the Hibernate mode on your computer as you like.