


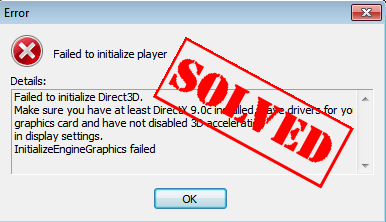
Does this look familiar? When launching a program, or playing a game in your computer, you must feel annoyed to always see this error message. It can read either:
- Failed to initialize Direct3D
Make sure you have at least DirectX 9.0c installed, have drivers for your graphics card and have not disabled 3D acceleration in display settings.
InitializeEngineGraphics failed - Failed initialize Direct3D with current settings
- Cannot initialize Direct3D device
- …
Try these fixes:
Fortunately, there are solutions to fix this problem. Below are the 3 solutions to fix the error Failed to initialize Direct3D. Try these fixes!
- Check your DirectX version and update it if necessary
- Update your graphics card driver
- Reinstall Visual C++ Redistributables
What is Direct3D and Why does the error happen?
Direct3D, which belongs to a part of DirectX, is a graphics application programming interface for Windows, which is used to render three-dimensional graphics in applications or games like Call of Duty, Tomb Raider, etc. Direct3D uses the hardware acceleration if it is available on the graphics card, and allows the hardware acceleration of the 3D rendering pipeline.
Why does this problem happen? There are various reasons for this problem, and the possible causes can be the old DirectX version, the missing or outdated video drivers, or the missing DLL files in your program file.
You can try the following solutions to fix it easily and quickly!
Fix 1: Check your DirectX version and update it
As the error message suggested you can, first of all, check the DirectX version on your computer to see if it meets the minimum requirement (DirectX 9.0c and later). If it’s older than the required version, you’ll need to update and install the latest DirectX in your Windows.
How to check the DirectX version in Windows?
Follow the instructions below to check the DirectX version in your Windows:
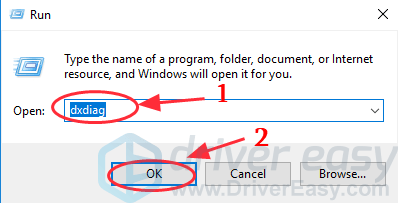
1) On your keyboard, press the Windows logo key  + R at the same time to invoke the Run box.
2) Type dxdiag and click OK.
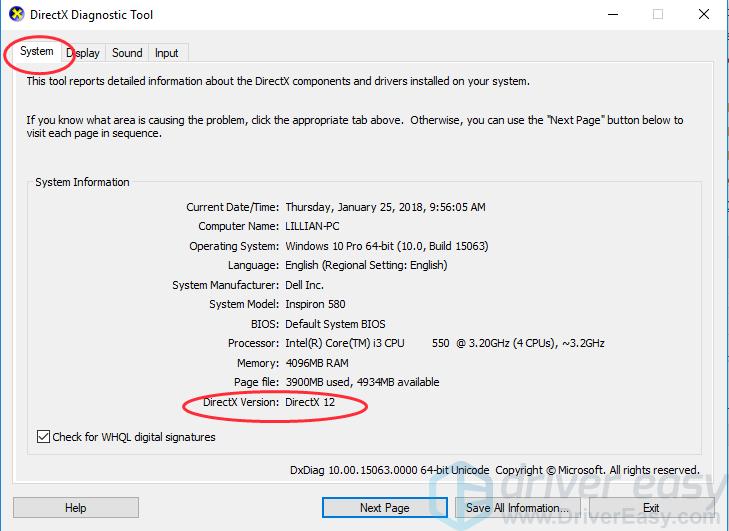
3) In the System tab, you will see the DirectX version as the screenshot shows. If it doesn’t meet the requirement (DirectX 9.0c and later), you should update your DirectX version in your system. Updating DirectX varies from Windows versions.
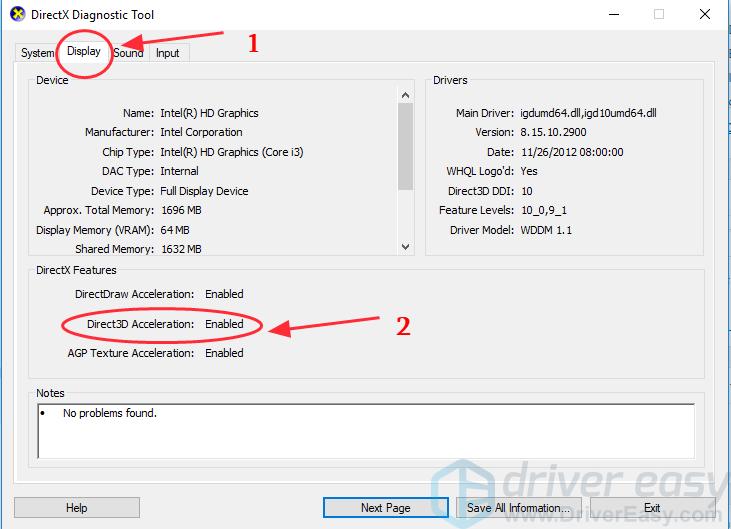
4) Click the Display tab, in the DirectX Features section, to check if Direct3D is enabled. If not, click to enable it.
This should fix the failed to initialize Direct3D issue. If the issue persists, don’t worry, we have more solutions for you.
Fix 2: Update your graphics card driver
Graphics card driver issues can cause the failed to initialize Direct3D issue. If the video driver in your computer is missing or out of date, it can result in this problem and stop running the application or game. So you should update the graphics card driver to fix the error.
There are two ways to update the graphics drivers: manually and automatically.
Manually update driver – You can go to the manufacturer’s website of your graphics card, find the exact graphics card driver for your graphics adapter, and install it in your Windows.
You’ll need some computer skills and patience to update your drivers this way. You need to know for sure the right driver online that matches your Windows OS, download it, and install it step by step.
Automatically update driver – If you don’t have the time, patience or computer skills to update the graphics card driver manually, you can do it automatically with Driver Easy.
With Driver Easy, you don’t have to search and find what drivers are needed in your PC, nor to update drivers step by step. It can considerably help with almost all the issues related to drivers.
Furthermore, you can update your graphics card drivers automatically with either the FREE or Pro version of Driver Easy. It only takes 2 simple clicks with the Pro version (and you will get full support and a 30-day money-back guarantee).
1) Download and install Driver Easy.
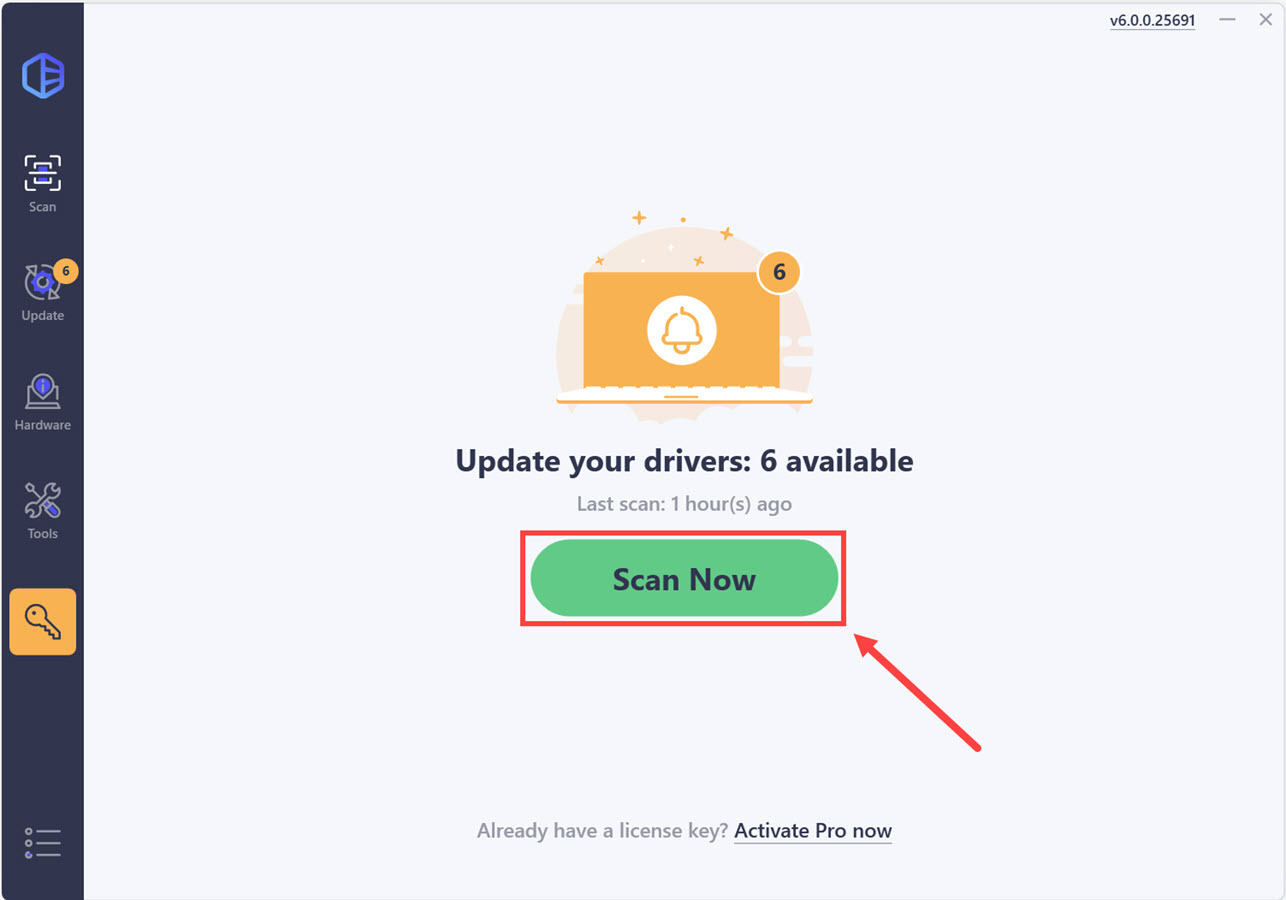
2) Run Driver Easy and click Scan Now. Then Driver Easy will scan your computer and detect any problem drivers.
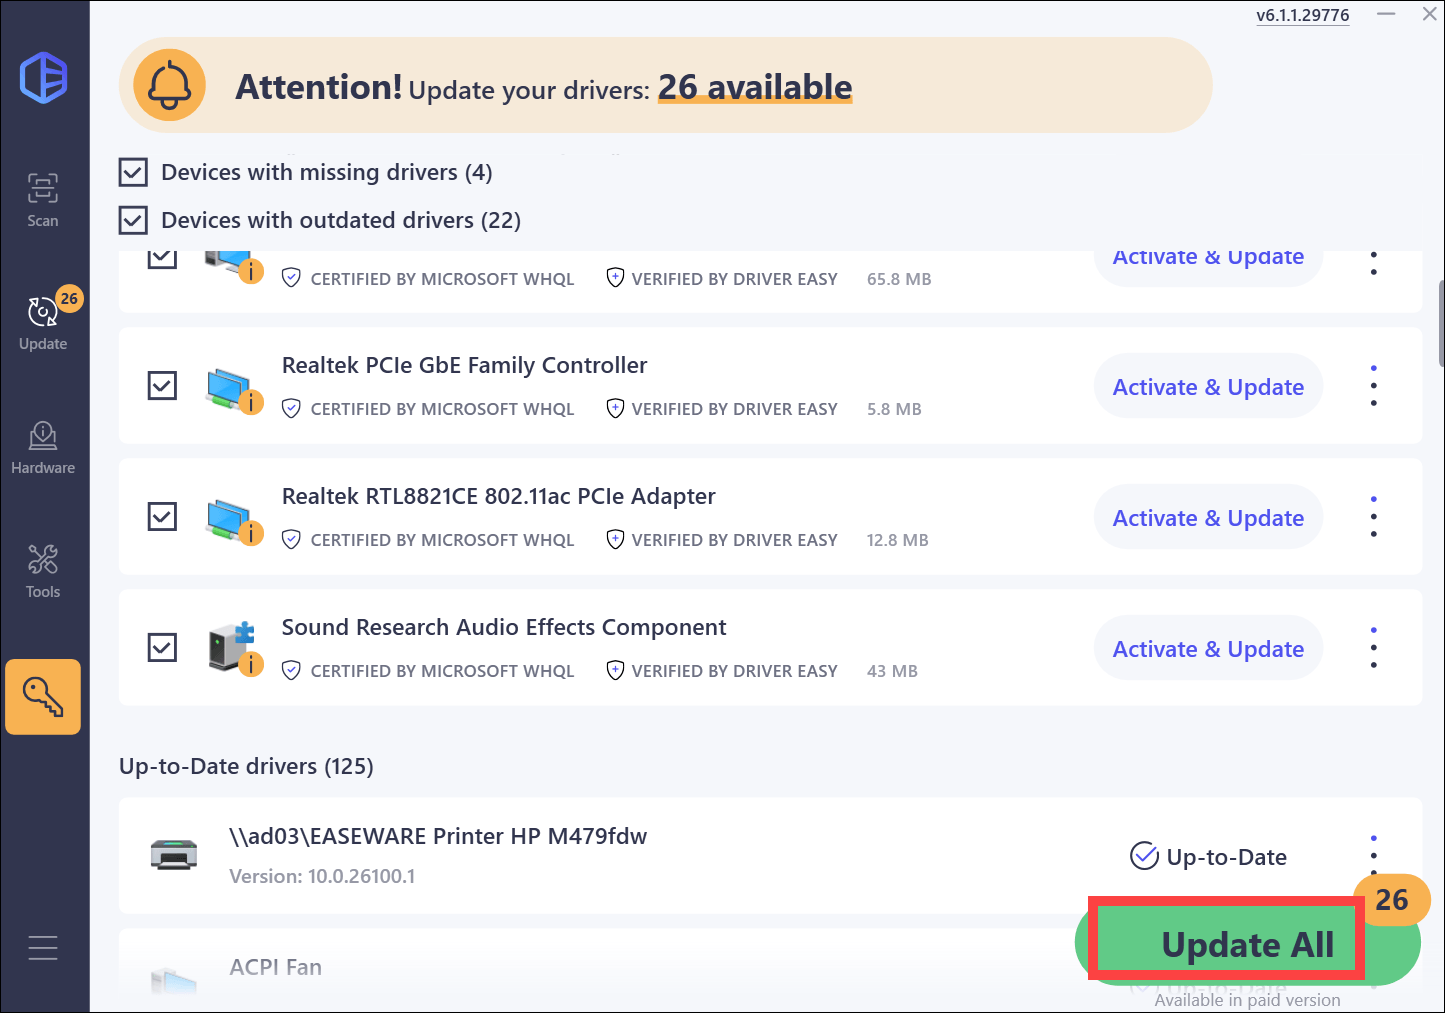
3) Click Update All to automatically download and install the correct version of all the drivers that are missing or out of date on your system. (This requires the Pro version which comes with full support and a 30-day money-back guarantee.
If you’re not ready to buy the Pro version, Driver Easy offers a 7-day free trial which includes access to all the Pro features such as high-speed download and one-click install. You won’t be charged until your 7-day trial has ended.)
4) After updating driver, restart your PC, and open your game/application to see if it works now.
This should solve your problem. If the error still appears, don’t worry. There’s one more solution you can try.
Fix 3: Reinstall Visual C++ Redistributables
To fix Failed to initialize Direct3D error, you can also try to reinstall the Visual C++ Redistributables packages on your computer. It may lack the .dll files in the program files, so reinstalling the Visual C++ Redistributables can download the missing dll files to your computer, and the problem can be solved.
1) On your keyboard, press the Windows logo key + R at the same time.
2) Type appwiz.cpl in the Run box, and click OK.

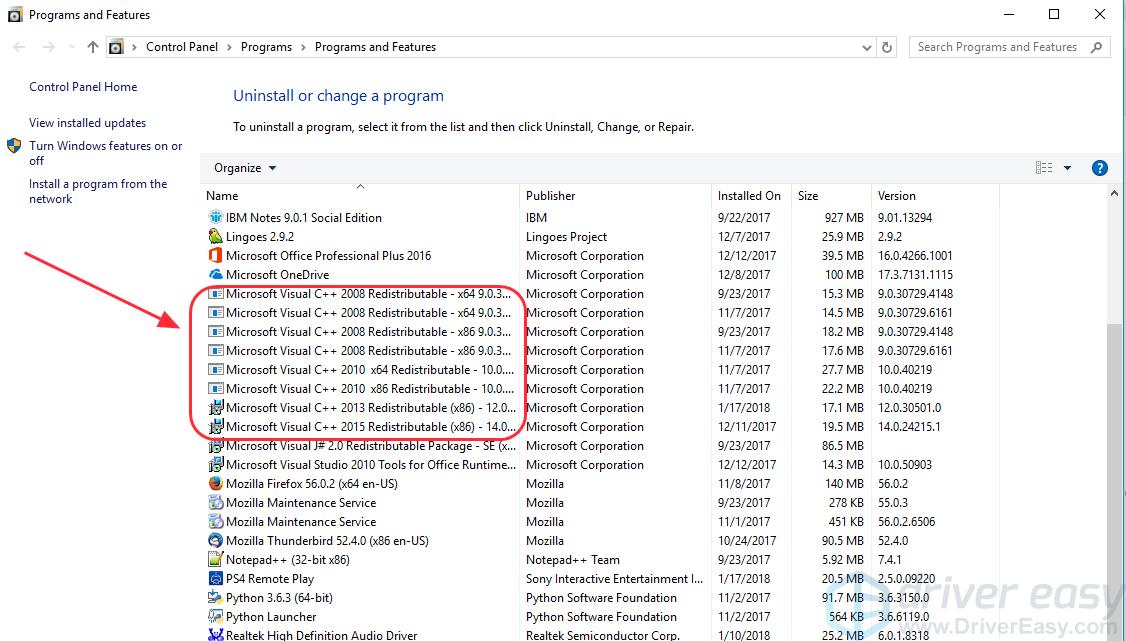
3) You’ll see all the Microsoft Visual C++ Redistributable packages installed in your computer. Right click the one you want to uninstall, and click Uninstall, then follow the wizard to uninstall it.
4) After uninstalling, go to the Windows download page to download the corresponding Visual C++ Redistributable packages.
5) Run the downloaded file, and follow the wizard to install it on your computer.
6) After reinstallation, restart the computer and try to open the program that gives the error.
These are the best 3 solutions to fix Failed to initialize Direct3D in your Windows. If you have any questions or need any help, feel free to comment below and we’ll see what more we can do to help.