


Feature update to Windows 10 version 1803 failed to install? Don’t worry… Although it’s incredibly frustrating, you’re definitely not the only person to experience this problem. Thousands of Windows 10 users have recently reported the very same issue. More importantly, you should be able to fix it pretty easily…
Here’s a list of fixes that have resolved this issue for other Windows 10 users. You don’t have to try them all. Just work your way through the list until you find the one that does the trick for you.
- Run the Windows Update Troubleshooter
- Reset Windows Update components
- Run the DISM tool
- Run System File Checker
- Update your drivers
- Update Windows from the Windows 10 ISO file
Fix 1: Run the Windows Update Troubleshooter
Windows Update troubleshooter is a built-in tool that can help you analyze and resolve issues related to Windows update. Try running Windows Update troubleshooter to see if you can resolve this issue. Here is how to do it:
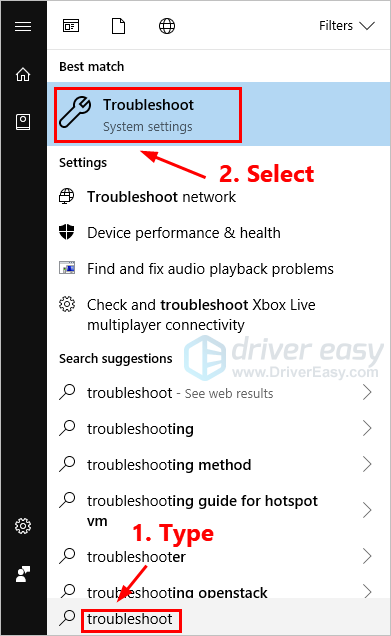
1) On your keyboard, press the Windows logo key and type troubleshoot. In the list of search results, select Troubleshoot.
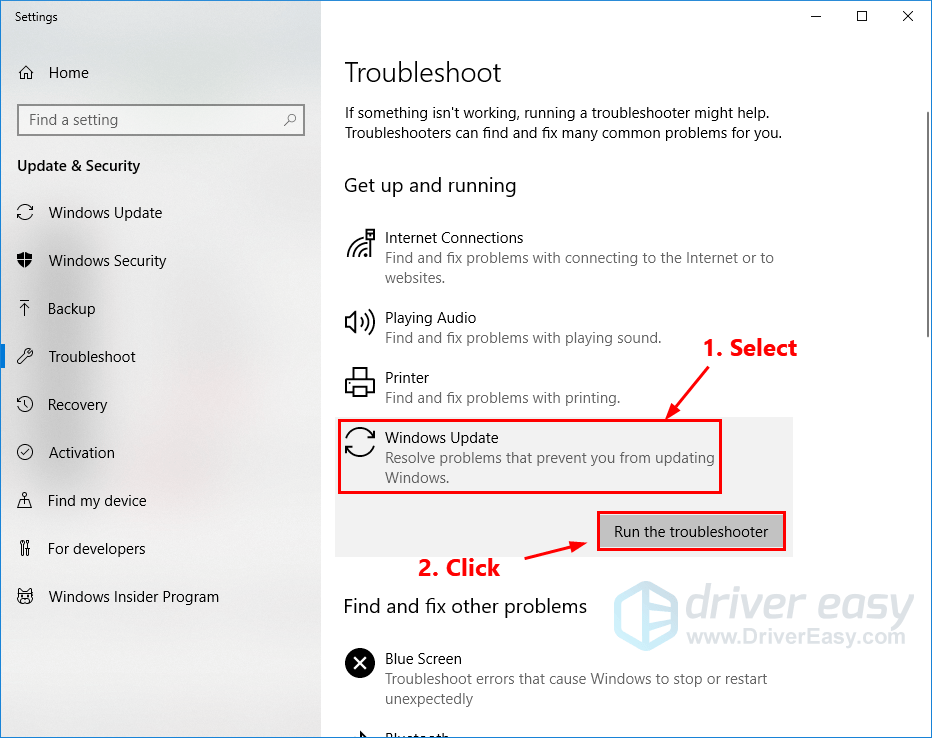
2) In the pop-up window, select Windows Update and click Run the troubleshooter. You’ll be prompted for permission. Click Yes to run Windows Update troubleshooter.
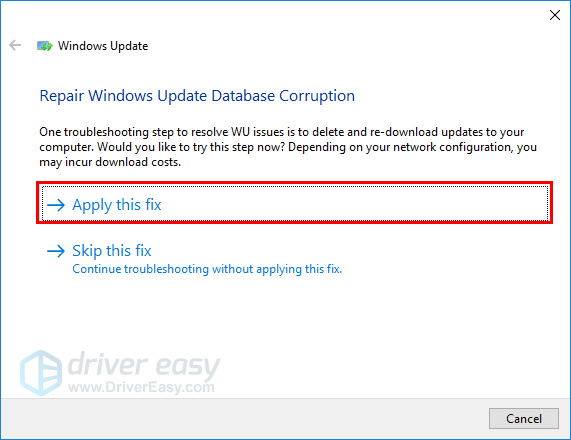
3) Click Apply this fix to continue.
4) Follow the on-screen instructions to troubleshoot this issue.
Perform Windows update again to see if you can install the update. If not, try the next fix, below.
Fix 2: Reset Windows Update components
This issue may occur if there’s something wrong with Windows Update components. If Windows Update components corrupted, Windows Update may not work properly. In this case, try resetting Windows Update components. Here is how to do it:
1) On your keyboard, press the Windows logo key and R at the same time to open the Run dialog. Type cmd and press Ctrl, Shift and Enter at the same time to run Command Prompt as administrator. You’ll be prompted for permission. Click Yes to open Command Prompt.
2) In Command Prompt, type the command lines below and press Enter on your keyboard after typing each:
net stop bits

net stop wuauserv

net stop appidsvc

net stop cryptsvc
3) In Command Prompt, type the following command lines and press Enter after typing each:
ren %systemroot%\SoftwareDistribution SoftwareDistribution.old

ren %systemroot%\system32\catroot2 catroot2.old
4) In Command Prompt, type the following command lines and press Enter after each:
net start bits

net start wuauserv

net start appidsvc

net start cryptsvc
Check to see if this resolved your Windows Update problem. Hopefully it did. But if not, try the next fix, below.
Fix 3: Run the DISM tool
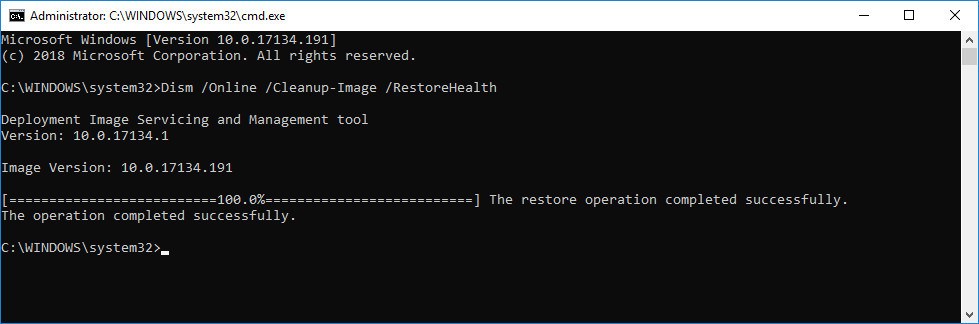
This issue is probably caused by the corrupted Windows update files. In this case, running the Deployment Image Servicing and Management (DISM) tool may resolve this issue. Just follow the step-by-step instructions to run the DISM tool:
1) On your keyboard, press the Windows logo key and R at the same time to open the Run dialog. Type cmd and press Ctrl, Shift and Enter at the same time to run Command Prompt as administrator. You’ll be prompted for permission. Click Yes to open Command Prompt.
2) On your keyboard, type the command lines below one by one and press Enter.
Dism /Online /Cleanup-Image /ScanHealth

Dism /Online /Cleanup-Image /CheckHealth

Dism /Online /Cleanup-Image /RestoreHealth
3) Close Command Prompt when the restore operation completed.
Try performing a Windows update to see if this fixes works. If this issue persists, try running the System File Checker.
Fix 4: Run System File Checker
System File Checker can scan for corruptions in Windows system files and restore corrupted files. If the feature update to Windows 10 version 1803 failed to install, it may be caused by some corruption error. In this case, running System File Checker may help you resolve this issue.
1) On your keyboard, press the Windows logo key and R at the same time to open the Run dialog. Type cmd and press Ctrl, Shift and Enter at the same time to run Command Prompt as administrator. You’ll be prompted for permission. Click Yes to open Command Prompt.
2) On your keyboard, type the following command and press Enter.
sfc /scannow
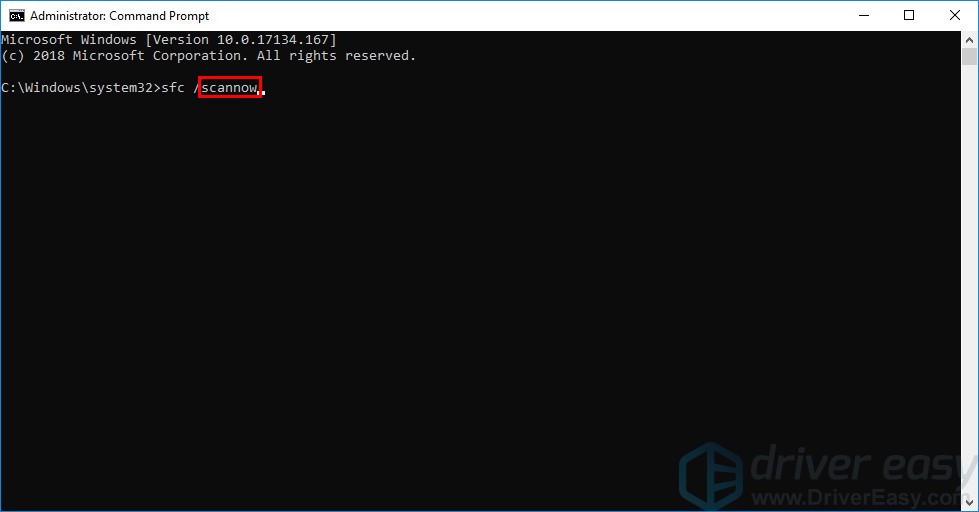
3) When this command operation is completed, close Command Prompt.
Perform a Windows update to check whether this fix works or not. If you still fail to install updates for your Windows system, try the next fix, below.
Fix 5: Update your drivers
This issue may also be triggered by some missing or outdated drivers. Some Windows users reported that this issue is resolved after they update their audio drivers. Try updating your drivers to see if you can fix this issue.
There are two ways to update your drivers: manually and automatically.
Update your drivers manually – You can update your drivers manually by going to the manufacturer’s website, and searching for the latest driver for each device on your PC.
Or
Update your drivers automatically – If you don’t have the time, patience or computer skills to update your drivers manually, you can, instead, do it automatically with Driver Easy. You don’t need to know exactly what system your computer is running, you don’t need to risk downloading and installing the wrong driver, and you don’t need to worry about making a mistake when installing. Driver Easy handles it all.
1) Download and install Driver Easy.
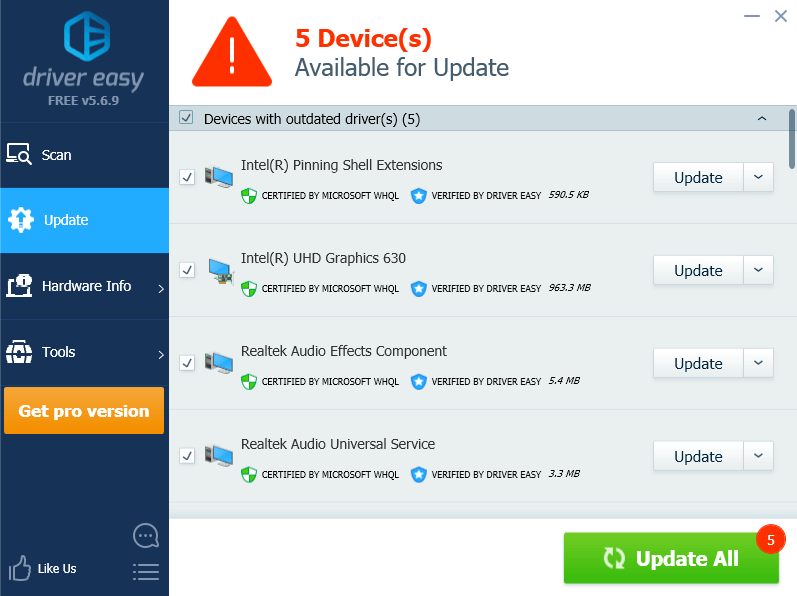
2) Run Driver Easy and click Scan Now. Driver Easy will then scan your computer and detect any problem drivers.

3) Click Update next to any device to automatically download the correct version of its driver, then you can install it manually. Or click Update All to automatically download and install the correct version of all the drivers that are missing or out of date on your system (This requires the Pro version – you’ll be prompted to upgrade when you click Update All. You get full support and a 30-day money back guarantee).
Fix 6: Update Windows from the Windows 10 ISO file
If none of the fixes above works for you, you can try updating Windows form Windows 10 ISO file. You download the ISO file from the official website of Microsoft and then perform an Offline Update. Here is how to do it:
Step 1: Download the Windows 10 ISO file from the Microsoft official website
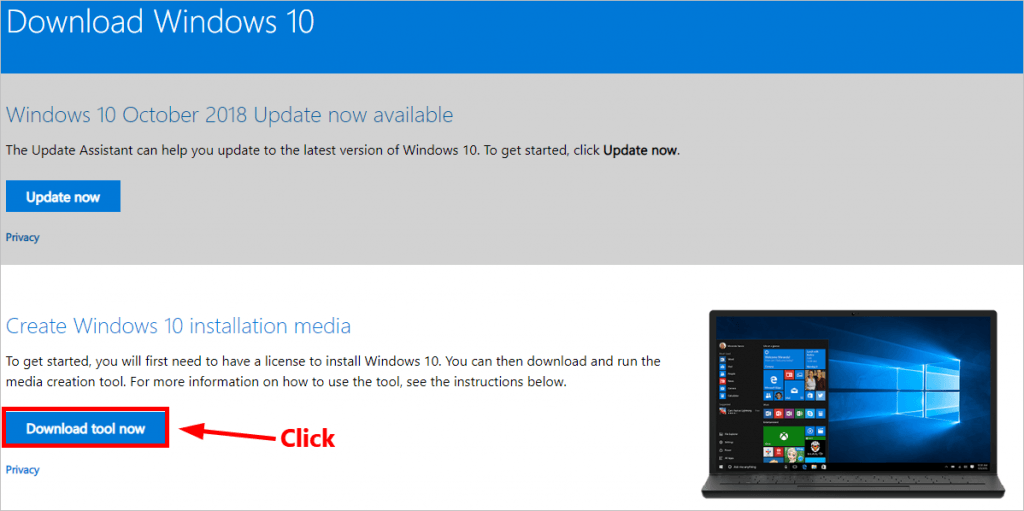
1) Click here to visit the Microsoft official website for downloading Windows 10.
2) Click Download tool now on the web page to download the media creation tool.
3) Double-click the downloaded file to open the media creation tool. Click Yes when you’re prompted for permission.
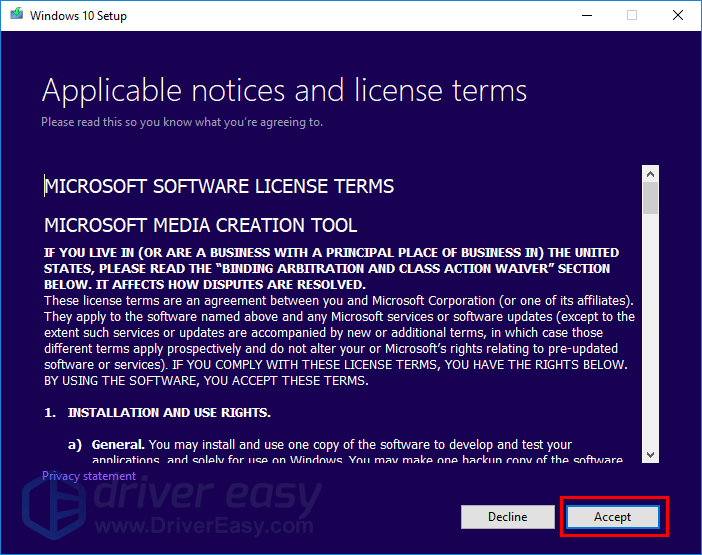
4) Click Accept when you see the window below.
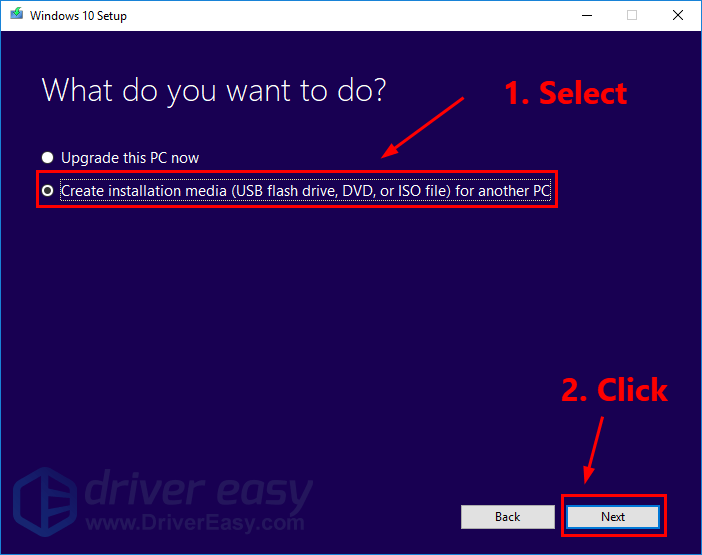
5) Select Create installation media (USB flash drive, DVD, or ISO file) for another PC and click Next.
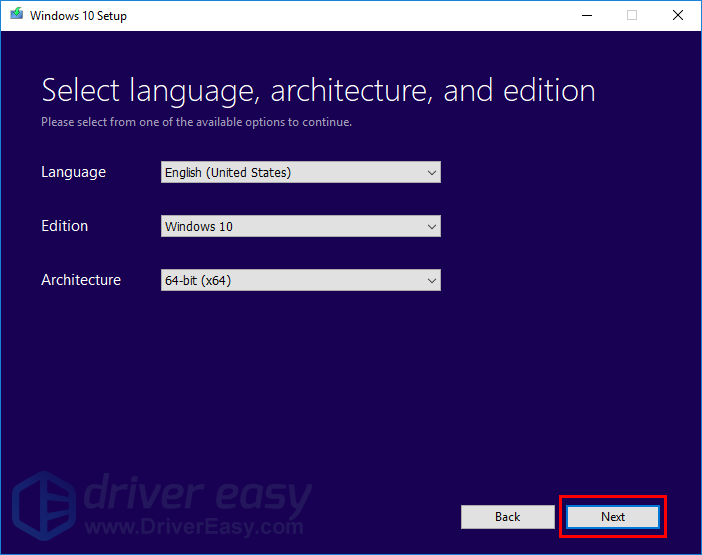
6) Select the language and architecture of your Windows 10 ISO file and click Next.
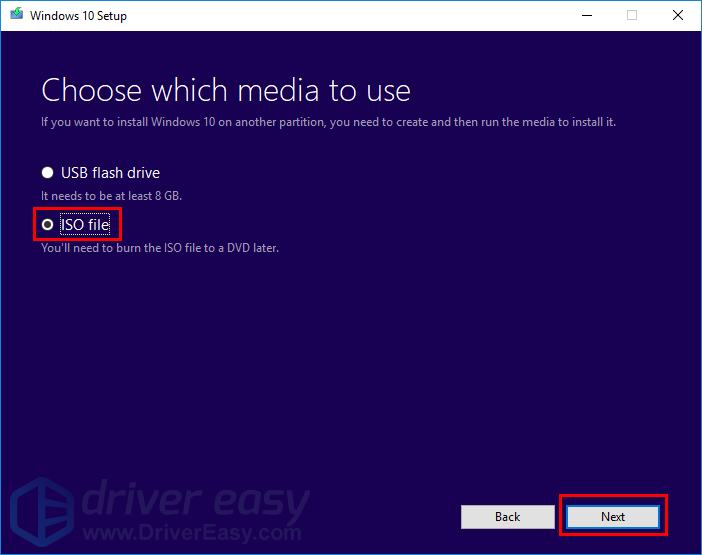
7) Select ISO file and click Next.
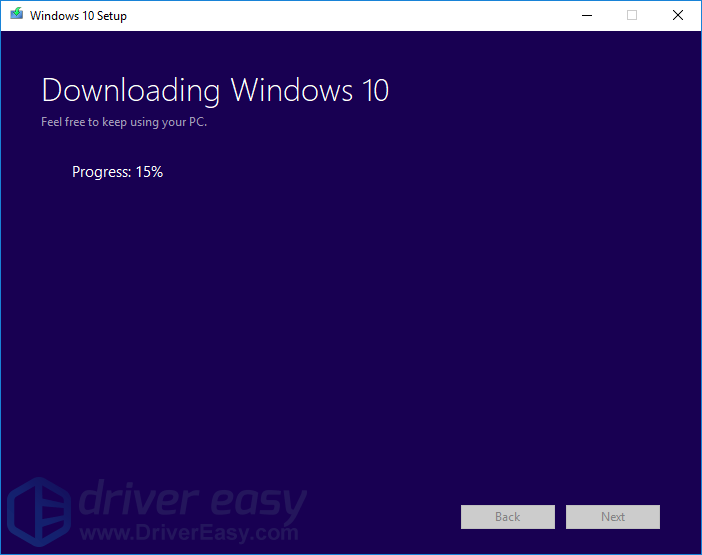
8) Select the location to save the Windows 10 ISO file. After that, the media creation tool will start to download Windows 10 ISO file.
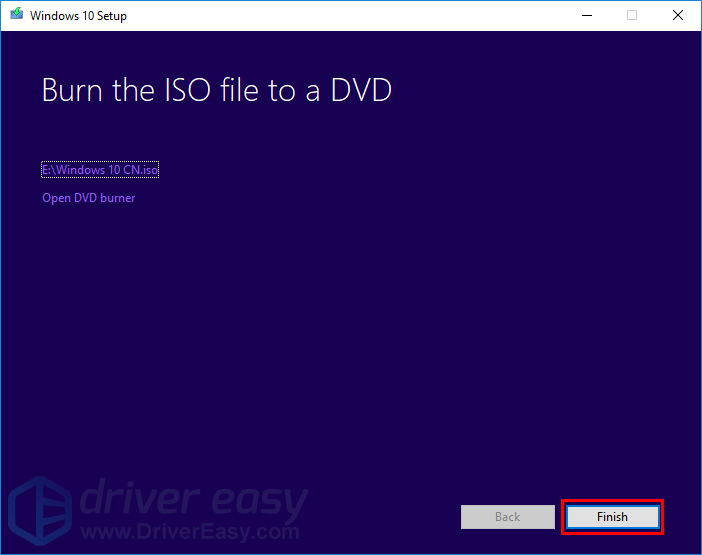
9) Click Finish to close the media creation tool.
Step 2: Start updating
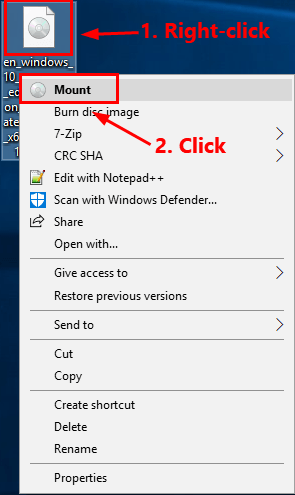
1) Right-click on the downloaded ISO file then select Mount.
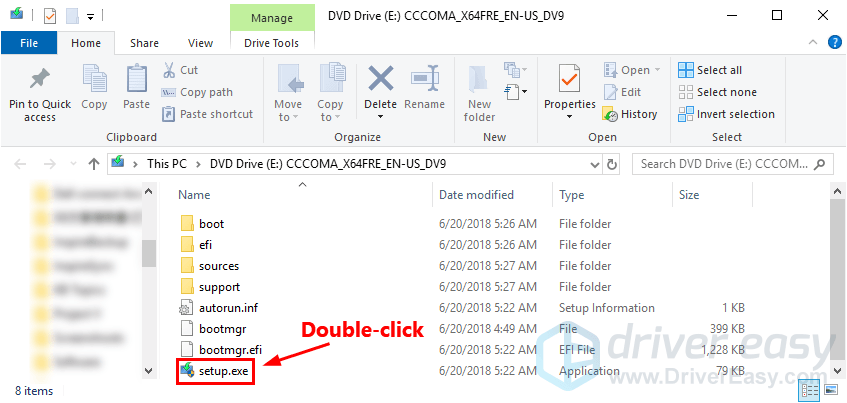
2) In the pop-up window, double-click the file setup.exe. You’ll be prompted for permission. Click Yes to continue.
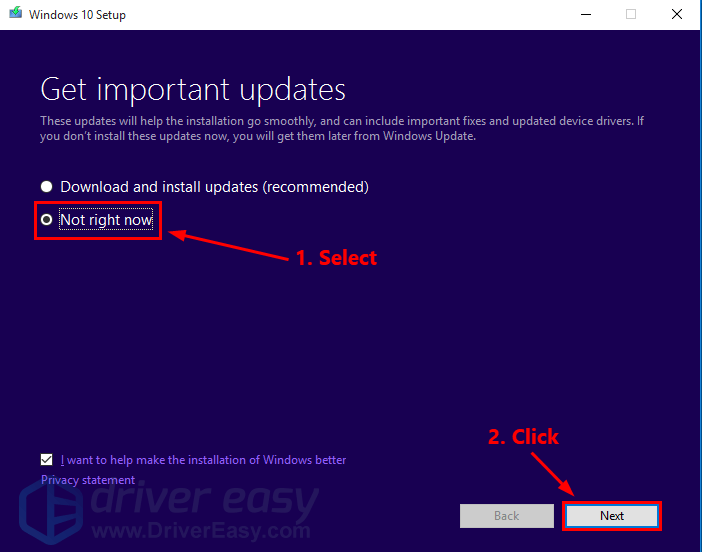
3) When you see the following window, select Not right now then click Next.
4) Follow the on-screen instructions to update your Windows 10 OS. During the installation, your computer will restart several times.
When the Windows 10 feature update is installed, check for Windows Update for latest updates.
Hopefully, one of the fixes above resolved the feature update to Windows 10 version 1803 failed to install issue for you. If you have any questions or suggestions, please leave your comment below.