


Display driver nvlddmkm stopped responding and has successfully recovered
Error “Display driver stopped responding and has successfully recovered” usually occurs when playing games. If you have this problem, you should see the black screen appear randomly. This is very frustrating. But don’t worry. You can use solutions below to fix the problem .
Solution 1: Change Power Supply
The problem can be caused by lower power to the video card. So make sure the power supply are on high performance. Follow steps below to check and change the settings if necessary.
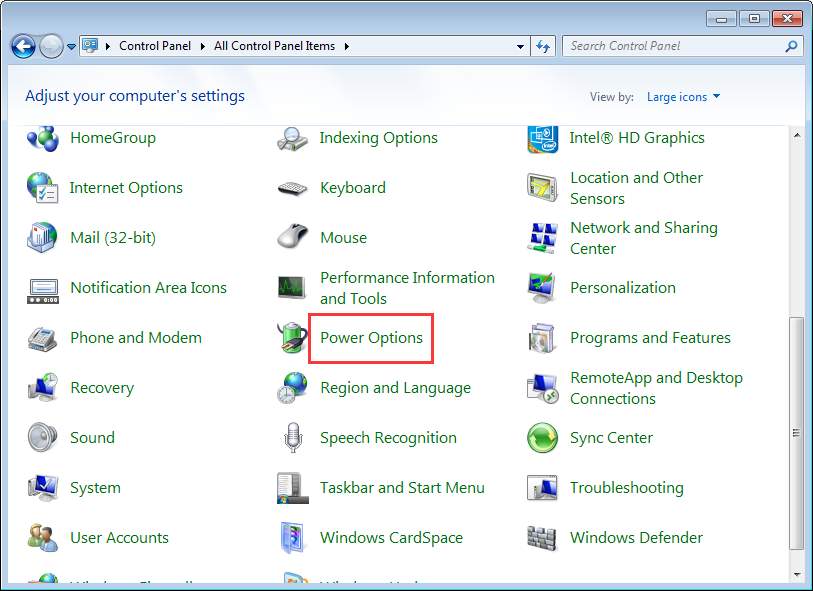
1. Open Control Panel.
2. View by Large icons and select Power Options.
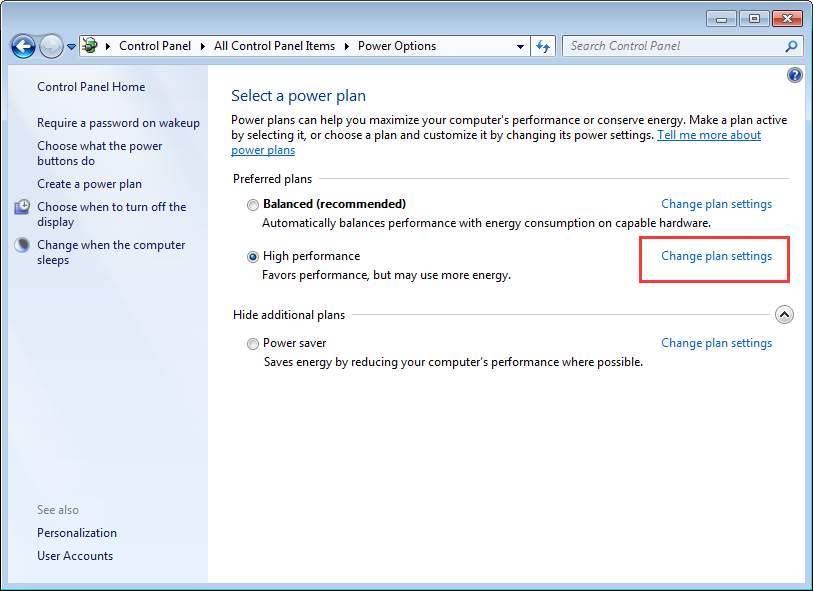
3. Click Change plan settings in the “High performance plan”.
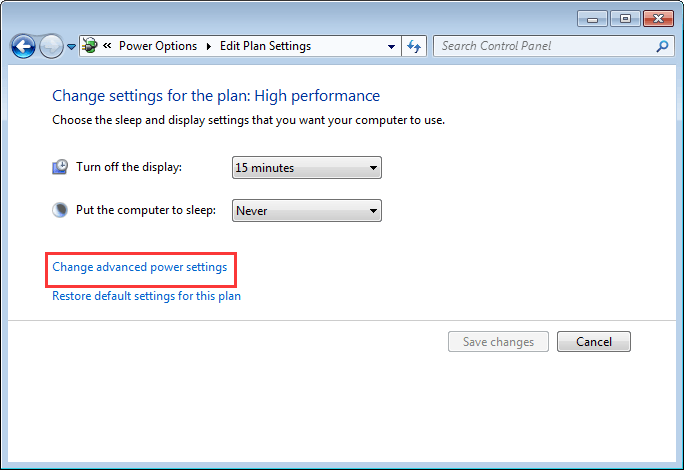
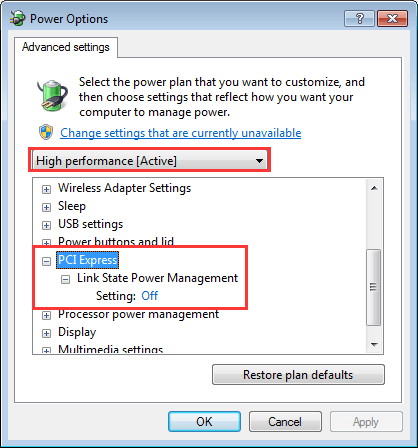
4. Click Change advanced power settings.
5. Expand PCI Express then Link State Power Management. Ensure the Setting is turned Off. If not, set it to Off.
Solution 2: Fix Faulty Graphics Card Driver
The error may be caused by faulty Nvidia graphics driver. So the first thing you can do is uninstall the graphics driver then update the driver to the latest version.
Uninstall the Nvidia Driver
Follow steps below to uninstall the driver.
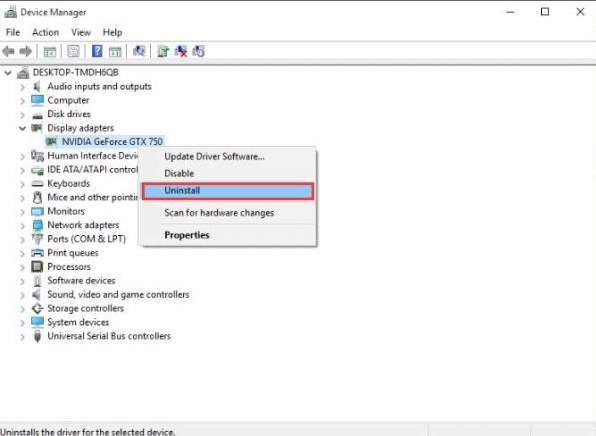
1. Open Device Manager.
2. Expand category “Display adapters”. Right-click on the Nvidia graphics card device name and select Uninstall.
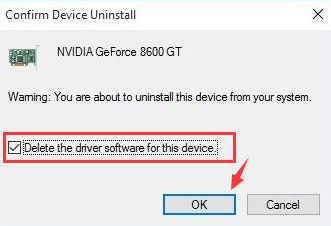
3. When prompted for continue, click the box next to “Delete the driver software for this device” (if you see this), then click OK button.
4. Restart your PC for the change to take effect.
After computer restarts, Windows will install the graphics card driver automatically. Then the problem may resolve. If not, try updating the driver.
Update the Nvidia Graphics Card Driver
You can go to the PC manufacturer’s website to check for and download the latest graphics card driver. Alternatively, you can go to Nvidia’s website to download the driver according to the graphics card model. Before you get started, ensure that you know the PC model or the graphics card model and the operating system that you are using (See How to Get Operating System Version).
Alternatively, download Driver Easy and use it to update the driver automatically. Driver Easy will scan your computer in a few seconds and detect all problem drivers. After that, you will get a list of new drivers. Driver Easy has Free version and Pro version. With Driver Easy PRO version, you can even update all drivers including the Nvidia graphics card driver with just one-click. What’s more, you will enjoy free tech support guarantee and 30-day money back guarantee. Just contact us for further assistance regarding the graphics card crashing issue.

Solution 3: Add Two Related Registry Keys
If neither of Solution 1 and Solution 2 doesn’t work for you, try adding two related registry keys to the this location: HKEY_LOCAL_MACHINE/SYSTEM/CurrentControlSet/Control/GraphicsDrivers.
Before you get started, it is recommended that you back up the registry, so you can restore it if any problem occurs. See How to Back Up and Restore Registry
Follow these steps to add the registry keys:
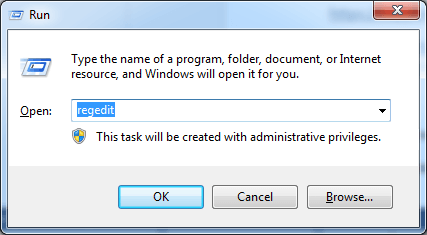
1. Press Win+R (Windows key and R key) at the same time. A Run dialog box will appear.
2. Type regedit in the run box then click OK button. Then the “Registry” Editor will open.
3. Browse to and then click the following registry subkey:
HKEY_LOCAL_MACHINE\SYSTEM\CurrentControlSet\Control\GraphicsDrivers
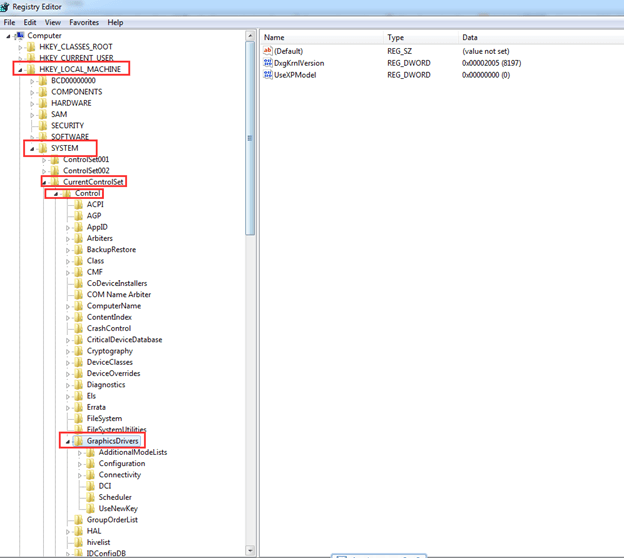
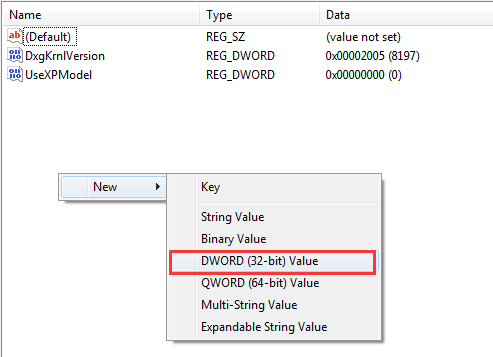
4. On the Edit menu in the right pane, right-click on the blank place. Click New, and then select the following registry value from the drop-down menu specific to your version of Windows.
If your PC is running 32-bit operating system, follow these steps:
a. Select DWORD (32-bit) Value.
b. Type TdrDelay as the Name and click Enter.

c. Double-click TdrDelay and add “20” for the Value data and click OK.
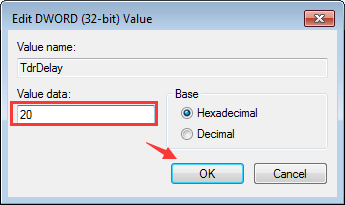
Repeat steps above to add a new DWORD named “TdrDdiDelay” and also add “20” for the Value data.
If your PC is running 64-bit operating system, follow steps below:
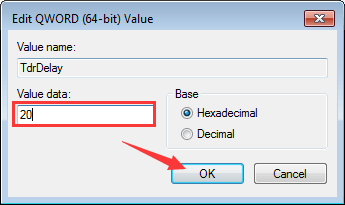
a. Select QWORD (64-bit) Value.
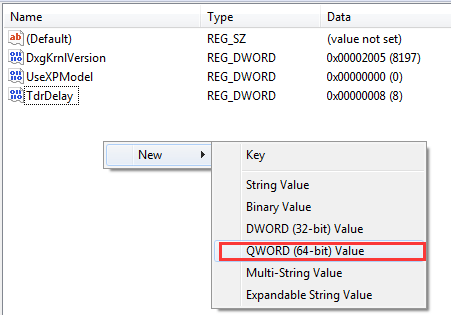
b. Type TdrDelay as the Name and click Enter.
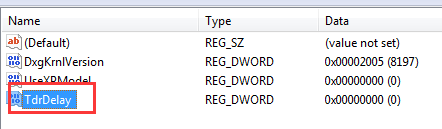
c. Double-click TdrDelay and add “20” for the Value data and click OK.
Repeat steps above to add a new DWORD named “TdrDdiDelay” and also add “20” for the Value data.
4. Restart your PC for the changes to take effect.
Solution 4 : Take out the Graphics Card and Put it back in
If the graphics card is not seated well in the PCI-E slot, the problem may occur. So take out the graphics card and put it back in the slot. It is recommended that you use a soft cloth to clean the slot before you put it back in.
Hope you can solve the problem with all solutions here.
If you are not comfortable with some of these solutions, you can take your computer to the repair store to have it checked.