


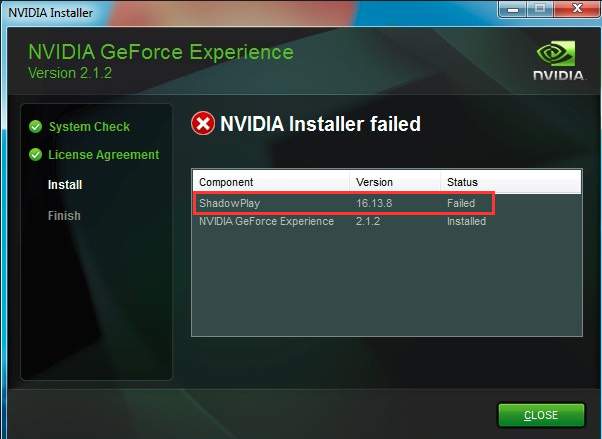
If you can’t install NVIDIA Geforce Experience due to ShadowPlay Failed issue, try to use solutions below to fix it.
Solution 1: Install DirectX
You need to have DirectX installed if you want to use ShadowPlay features. The issue occurred most probably because the DirectX is not installed. So to fix the issue, try to install the DirectX manually.
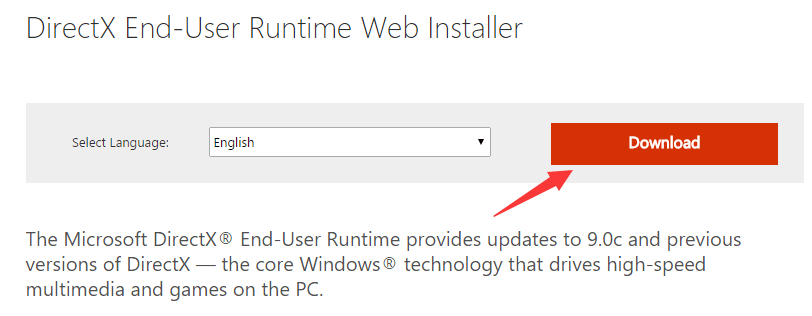
1. Click here to go to Microsoft download page.
2. The Select Language is English by default. You can change the language to the one that you want. Click the Download button.
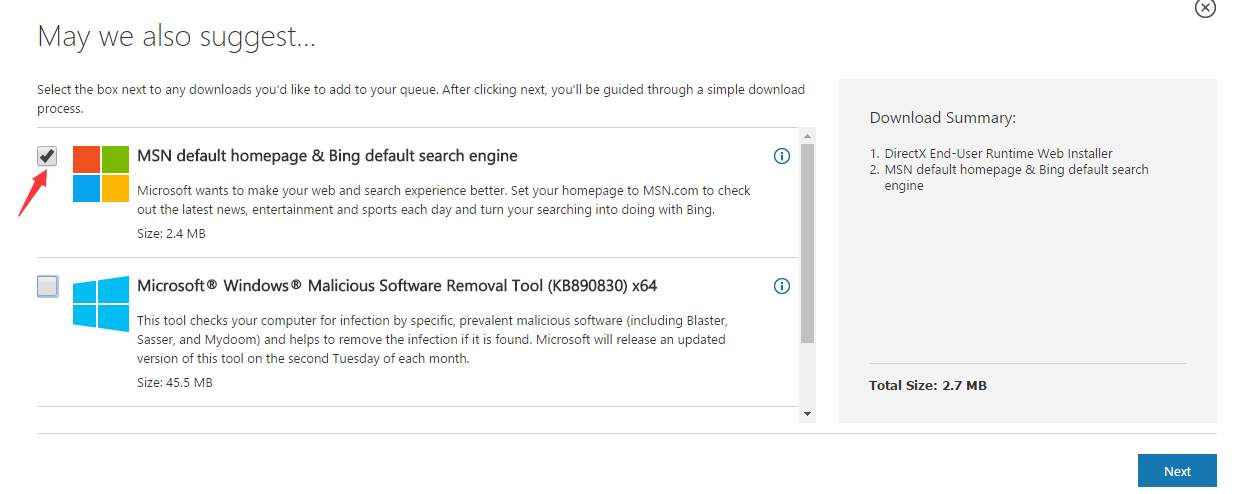
3. Check the box next to MSN default homepage & Bing default search engine. Then click Next button.
5. Run the NVIDIA Geforce Experience setup again.
If you still meet the issue, the DirectX files might be corrupted or misplaced.
Follow below steps to fix it:
1. Navigate to C:\Windows\System32 folder.
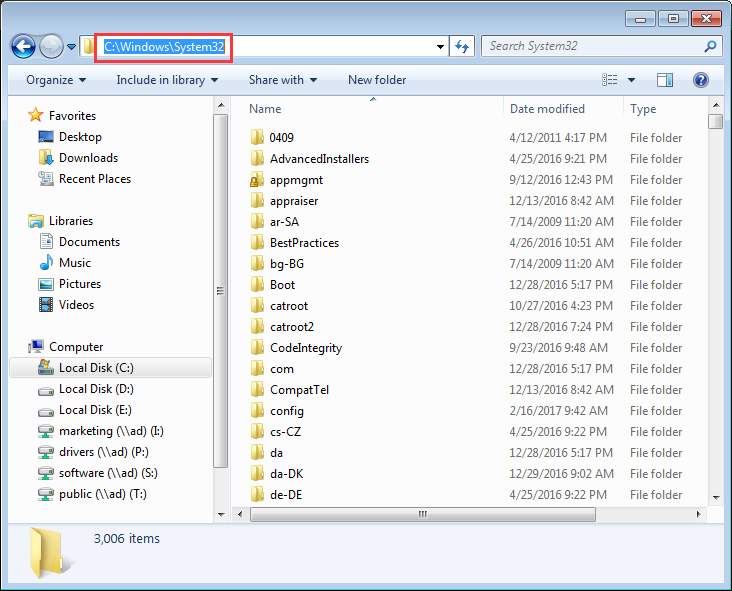
2. Delete any existing DirectX files (d3dx9_43.dll, d3dx10_43.dll and d3dx11_43.dll)
3. Install Geforce Experience again.
Solution 2: Install Windows Media Player
The issue may occur if the system doesn’t have Windows Media Player included.
If that’s the case, you can try to install it manually. Search for the latest version of Windows Media Player using your favorite web browser. After installing it, try to install Geforce Experience again.
Solution 3: Try an Older Version of Geforce Experience
The latest version of Geforce Experience has been updated to 3.0+. Many users has said the V.3.0+ is even worse than previous versions. So you can try to install an older version of Geforce Experience. The latest build of 2.0+ (V2.11.4.0) would be better.
Before you install the older version, you need to uninstall the current version (If you have installed one.).
Below steps are for your reference how to uninstall the Geforce Experience.
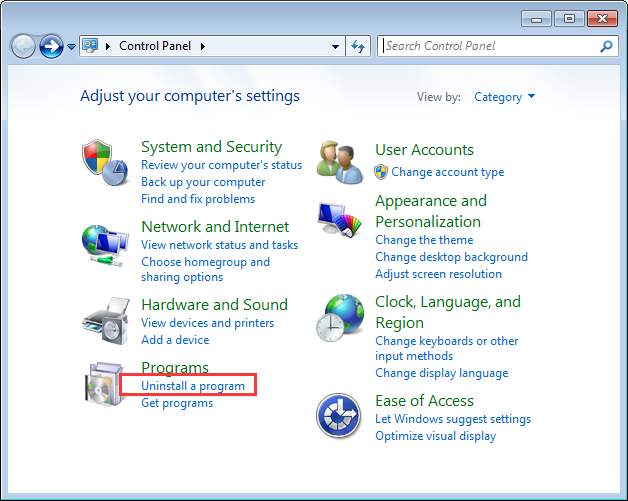
1. Open Control Panel.
2. View by Category, click Uninstall a program.
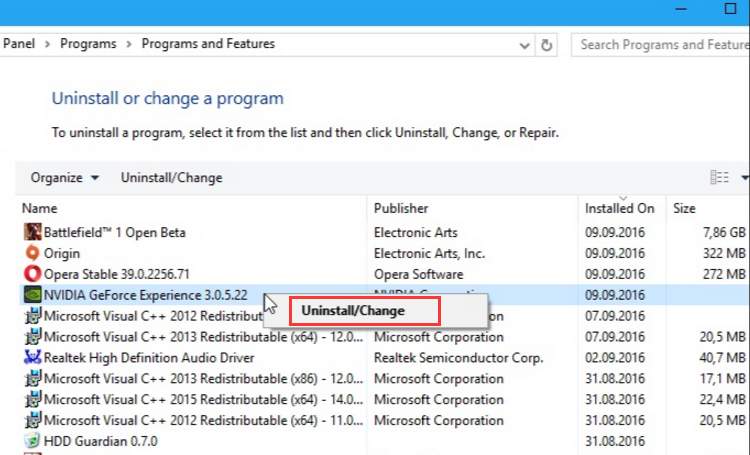
3. Find Geforce Experience from the list. Right-click on it and click Uninstall/Change.
3
3 people found this helpful
0 Comments
Most Voted