


If you are getting this error code 0x80070002 or 80070002 on your Windows PC/laptop, don’t worry! It’s one of the common error codes in Windows.
This error can also display as 80070003 or 0x80070003, and they’re actually the same problem and you can fix 0x80070003 with the solutions in this article as well.
How to Fix Error 0x80070002?
Here are solutions that have helped other users resolve the error 0x80070002. You may not need to try them all; just work your way down the list until everything’s working again.
- Check the Date and Time settings
- Delete the Software Distribution Folder
- Try Windows Update Troubleshooter
- Modify Registry Editor
- Bonus Tip
Why does the error 0x80070002 occur?
This error code may vary from different Windows versions. In Windows XP, you will see the error code 0x80070002. While in Windows 11/10/8/7, you will see the error code 80070002.
This problem happens when some files in the Windows Update are missing or corrupted, even though the update is downloaded and extracted successfully, or the driver faulty issue. So you can work it through by these methods until it solves your problem.
Method 1: Check the Date and Time settings
This may sound unbelievable as a solution to fix 0x80070002 error code, but it does work for many Windows users. One of the major causes of the error is the incorrect time/date settings, so it’s necessary to make sure that your computer’s time synchronizes with the Internet time server.
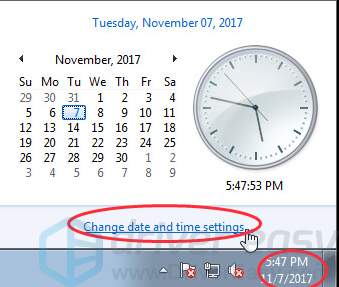
1) Click the Date and Time button at the bottom right, then click Change date and time settings.
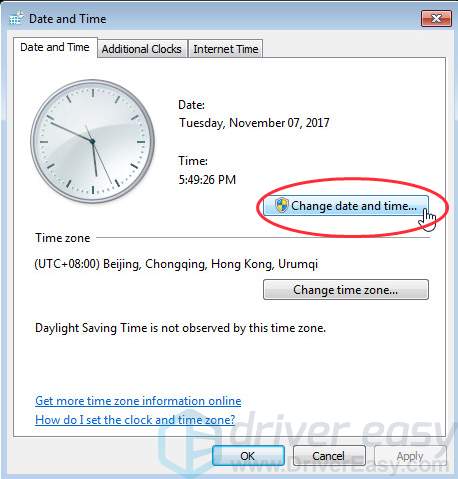
2) Click Change date and time to make sure that the date and time is correct on your Windows, then click OK.
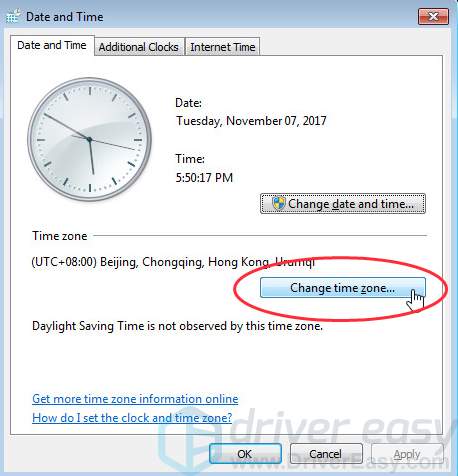
3) Click Change time zone to make sure that the time zone is correct, then click OK.
4) Click the Internet Time tab at the top, then click Change Settings.

5) Make sure to check the box next to Synchronize with an Internet time server, and click Update now, then click OK.
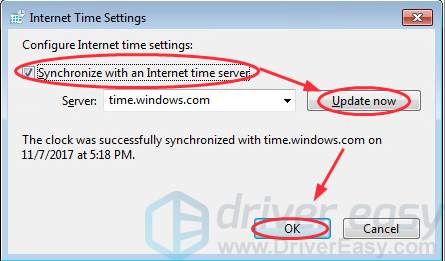
7) Click OK to finish the settings.
8) Restart your computer and try Windows Update again to see if it works.
If you are using Windows 10/11, you can check the date and time setting by Command Prompt.
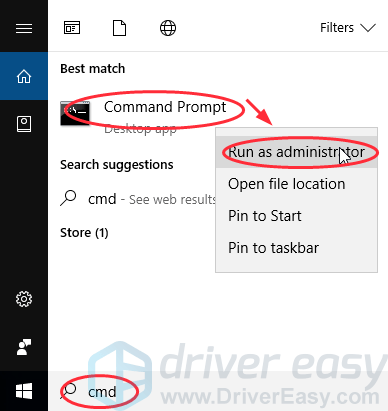
1) Type cmd in the search box, and right click Command Prompt to click Run as administrator, then click Yes.
2) Respectively type time, date, and w32tm/resync in the window, and press Enter after each command. If the time and date are incorrect after running, you can type the correct time and date in the window and press Enter.
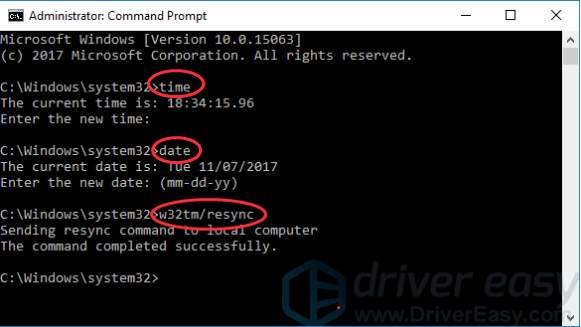
3) After the commands complete, restart your computer and try Windows Update again to see if it works.
Method 2: Modify the Windows Update installation files
Sometimes the error 0x80070002 occurs because the system update process fails, and the Windows Update installation files are corrupted or missing. So you can try to delete the installation files or rename the installation folder to solve the problem.
Before we modify the files or folder, you may need to stop the Windows Update service. Otherwise the files or folder are open in programs and you can’t modify it. So follow the steps below:
Step 1: Disable the Windows Update service
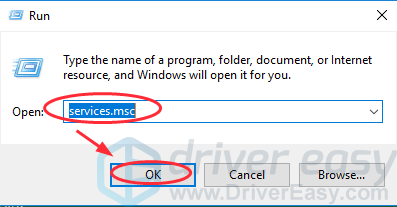
1) On your keyboard, press the Windows logo key + R at the same time to invoke the Run box.
2) Type services.msc, and click OK.
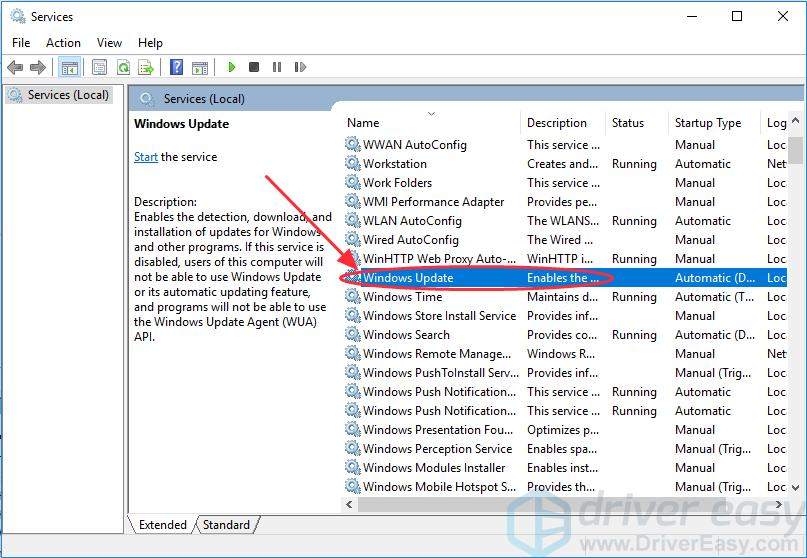
3) Double click Windows Update (if you are using Windows XP, double click Automatic Updates).
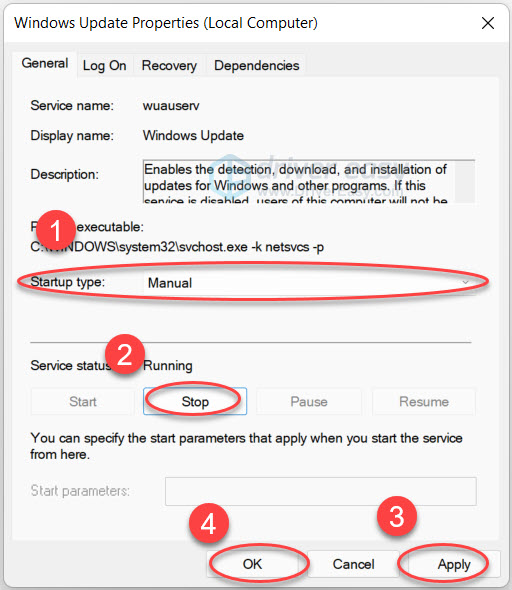
4) Change the Startup type to Automatic. Then, make sure the Service status is set to Stopped. If it’s Running, click Stop then click Apply, and OK to save the changes.
Step 2: Delete the Software Distribution Folder
1) Double-click the drive where your Windows is installed, generally in C drive.
2) Go to folders: Windows > SoftwareDistribution.
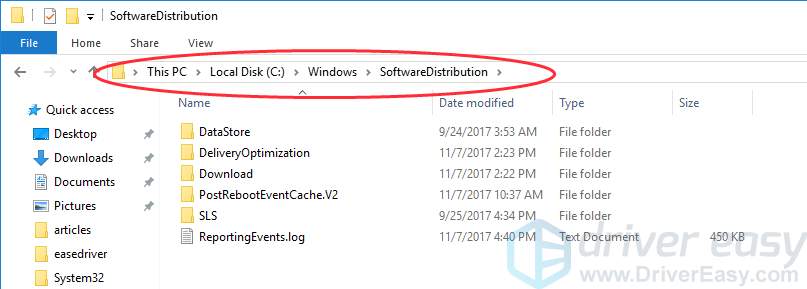
3) Delete the folder named SoftwareDistribution. (If you’re prompted for an administrator password or confirmation, type your password or provide confirmation.)
If you don’t want to delete this folder, you can also rename it with SoftwareDistributionOld.
4) Close all the panes.
Step 3: Re-enable the Windows Update service
1) On your keyboard, press the Windows logo key + R at the same time to invoke the Run box.
2) Type services.msc, and click OK.

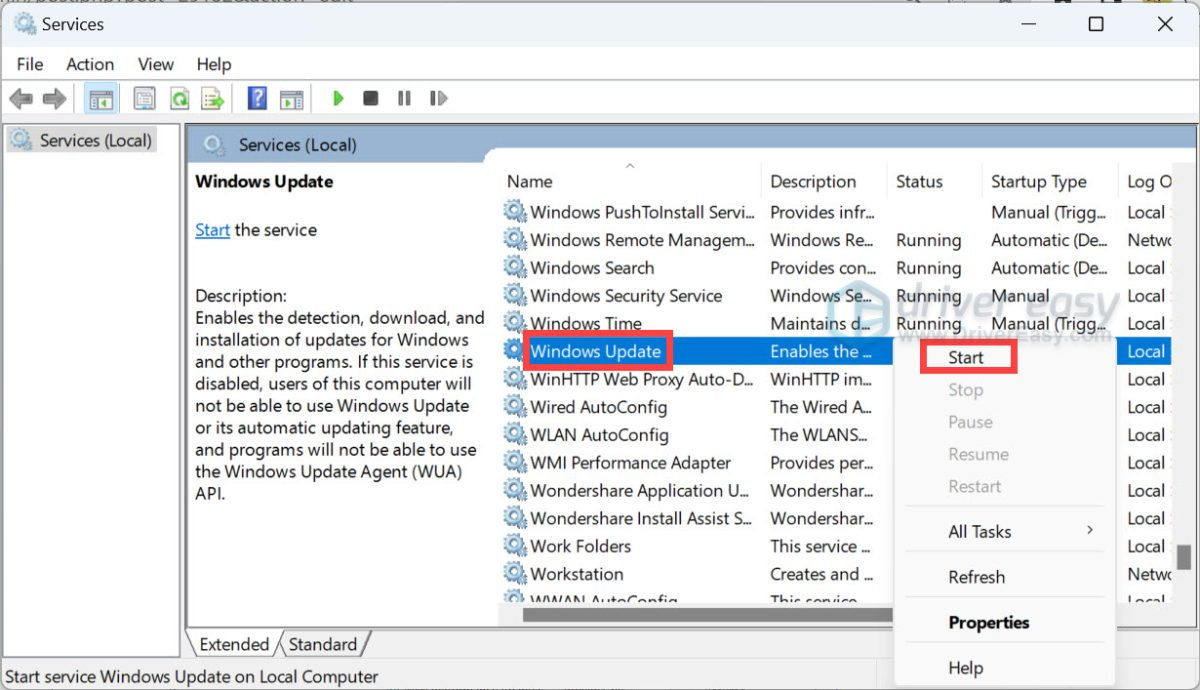
3) Right-click Windows Update (if you are using Windows XP, right-click Automatic Updates), and click Start.
4) Restart your Windows and try Windows Update again to see if it solves the problem.
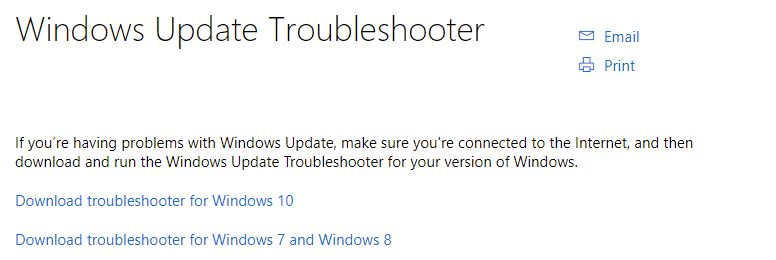
Method 3: Try Windows Update Troubleshooter
The Windows Update Troubleshooter is always a method to consider when you have any problems running Windows Update.
1) Download the troubleshooter from Microsoft.
2) Run the downloaded file.
3) Click Windows Update, and click Next.
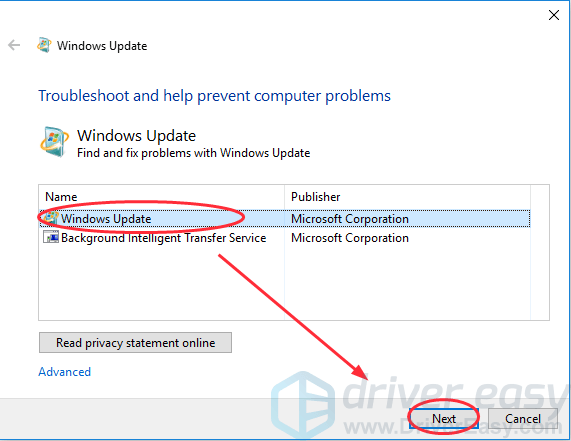
4) Then it will run and try to fix the problem. After completing, restart your computer and try Windows Update again to see if it works.
Method 4: Modify Registry Editor
If you see the error when installing the Windows upgrade: Something happened 0x80070002, you can try this method to solve the issue.
Before going on, you may need to make sure that you select English (United States) in the Language setting. And please run Windows Media Creation Tool as administrator. Right-click it and select Run as administrator option. Then follow the instructions:
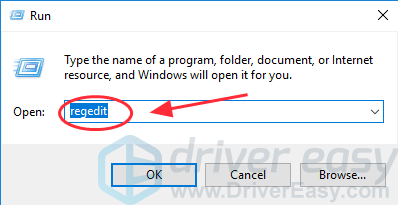
1) Press the Windows logo key + R at the same time on your keyboard.
2) Type regedit and press Enter. You may need to provide the administrative right to open, click Yes to confirm.
3) Go to HKEY_LOCAL_MACHINE\SOFTWARE\Microsoft\Windows\CurrentVersion\WindowsUpdate\OSUpgrade.
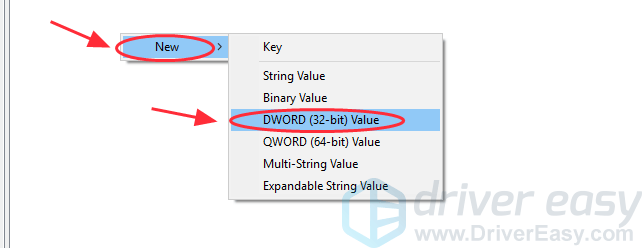
4) Select OSUpgrade key, then right-click the empty area on the right pane of Registry Editor, and click New, then click DWORD (32-bit) Value.
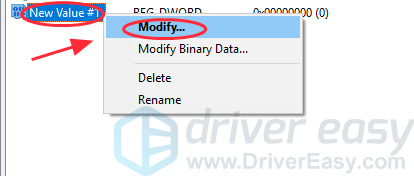
5) Right-click the newly created NewValue#1 and select Modify.
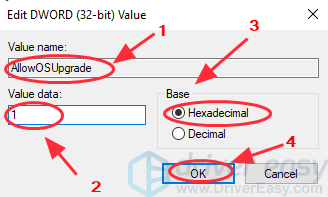
6) Change the value name to AllowOSUpgrade, after which you can double-click the number under Value data and enter 1. Select Hexadecimal and click OK.
7) Restart your computer and try again to see if it works.
Bonus Tip: Update device drivers
Updating your device drivers is so important that you should verify the device drivers are all up to date. By doing so, it can resolve many hardware issues and bring the best possible experience for you.
Option 1 – Manually: You can first uninstall your device drivers in Device Manager, and go to the official website to download the correct drivers matched with your Windows OS. That may require time and computer skills.
Option 2 – Automatically (Recommended): If you don’t have the time or skills to update the drivers manually, you can do it automatically with Driver Easy.
With Driver Easy, you don’t need to figure out the Operating System, and you don’t need to worry about making mistakes while processing. That will tremendously save you time and patience.
You can update your drivers automatically with either the 7-day free trial or the Pro version of Driver Easy. It takes just 2 clicks, and you get full support and a 30-day money-back guarantee with the Pro version:
1) Download and install Driver Easy.
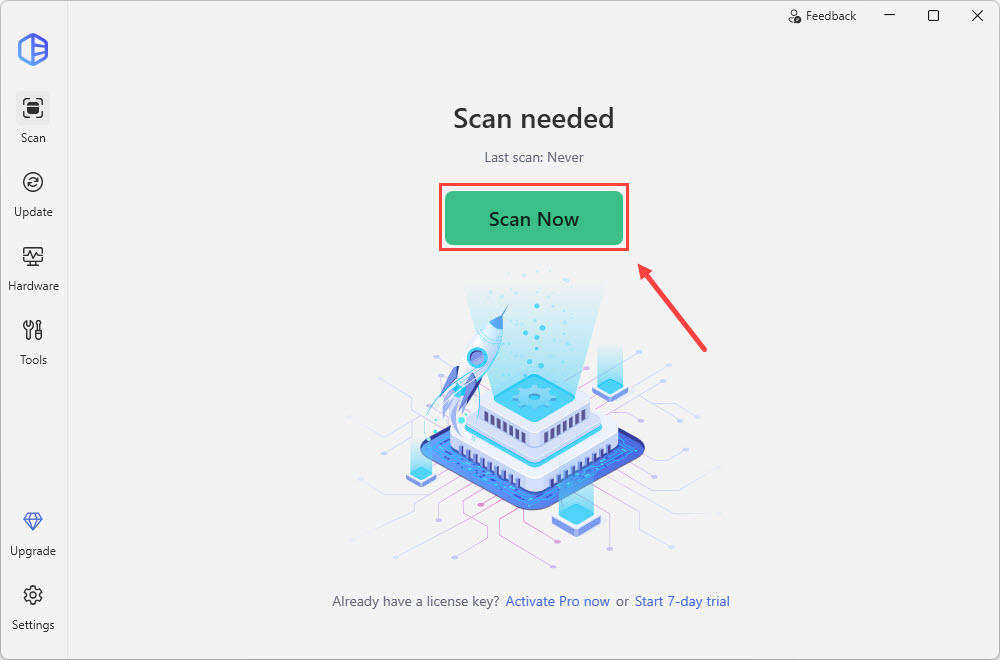
2) Run Driver Easy and click the Scan Now button. Driver Easy will then scan your computer and detect any problem drivers.
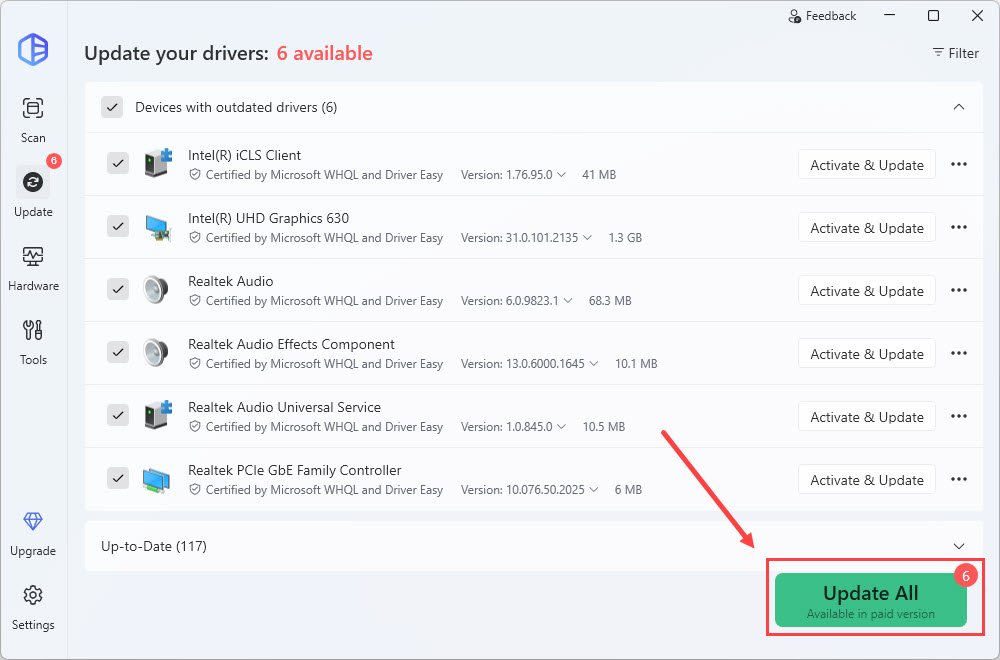
3) Click Update All to automatically download and install the correct version of all the drivers that are missing or out of date on your system (this requires the Pro version – you’ll be prompted to upgrade when you click Update All).
4) After updating, restart your computer and try the Windows Update again.
These are the most common and helpful methods to fix 0x80070002 error code in Windows Update. Which method helps solve your problem? If your problem persists, feel free to comment below and we will see what more we can do to help.