


Lately many gamers have been reporting that they got stuck on “Joining Game Session” in Warzone. While this might be an annoying issue, it’s not that hard to fix at all.
Try these fixes:
You might not need to try them all. Simply work your way down until you find the one that gives you luck.
- Restart your network
- Scan and repair your game files
- Make sure your network driver is up to date
- Temporarily disable your firewall
- Rename the config file
Fix 1: Restart your network
Since the issue is network-related, so in order to get things back on track, first you can start with restarting your network equipment. This will refresh the IP address, free up RAM and purge the cache.
Here’s how:
- At the back of your modem and router, unplug the power cords.
Modem 
Router - Wait at least 30 seconds, then plug the cords back in. Make sure the indicators are back to their normal state.
- Open your browser and check the connection.
Once you’re back online, launch Warzone and check if the problem has gone.
If this fix doesn’t work for you, take a look at the next one below.
Fix 2: Scan and repair your game files
Noting being able to join a game session could mean that certain files are corrupted or missing in your game folder. To check if it’s the cause, you can run a scan to verify:
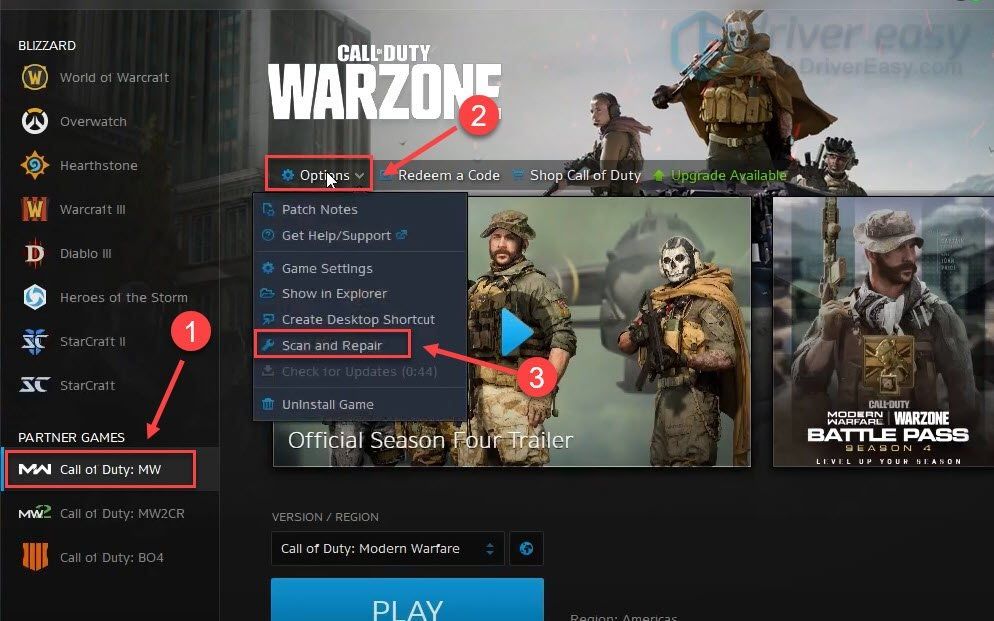
- Open your Battle.net client.
- From the left menu, select Call of Duty: MW. Click Options and select Scan and Repair.
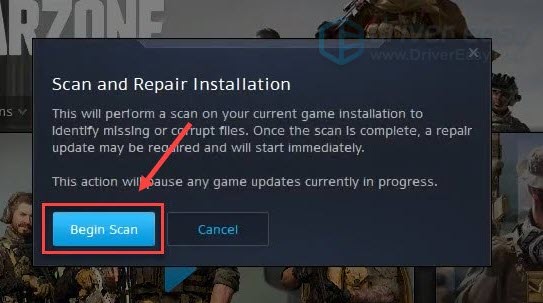
- Click Begin Scan. Then allow the checking to complete.
Once completed, open Warzone and check if you can join a match now.
If scanning game files doesn’t give you luck, you can check out the next fix below.
Fix 3: Make sure your network driver is up to date
This error can also be triggered by a faulty or outdated network driver. So you should definitely try updating your network driver before digging into anything more complicated.
There’re mainly 2 ways you can update your network driver: manually or automatically.
Option 1: Update your network driver manually
If you’re familiar with computer hardware, you can try to update your network driver manually.
To do so, visit your motherboard manufacturer’s support website and search for your model. Be sure to download the latest correct driver installer that’s compatible with your operating system.
Option 2: Update your network driver automatically (Recommended)
If you’re not comfortable playing with device drivers, we recommend using Driver Easy. It’s a tool that detects, downloads and installs any driver updates your computer needs.
- Download and install Driver Easy.
- Launch Driver Easy, then click Scan Now. Driver Easy will then scan your computer and detect any problem drivers.
- Click Update All to automatically download and install the correct version of all the drivers that are missing or out of date on your system.
(This requires the Pro version – you’ll be prompted to upgrade when you click Update All. If you don’t want to pay for the Pro version, you can still download and install all the drivers you need with the free version; you just have to download them one at a time, and manually install them, the normal Windows way.)
Once you’ve updated your network driver, restart your PC and check if the problem persists.
If the latest driver doesn’t do the trick for you, simply continue to the next fix.
Fix 4: Temporarily disable your firewall
Normally you don’t need to touch firewall settings on Windows. But since we all have different use cases, chances are your firewall might be misconfigured by certain programs and thus causing your game to disconnect. To check if it’s the case, you can try to temporarily disable your firewall:
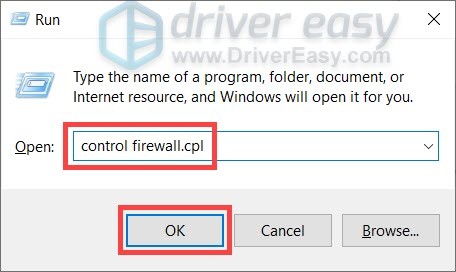
- On your keyboard, press the Windows logo key and R at the same time to invoke the Run box. Then Type or paste control firewall.cpl and click OK.
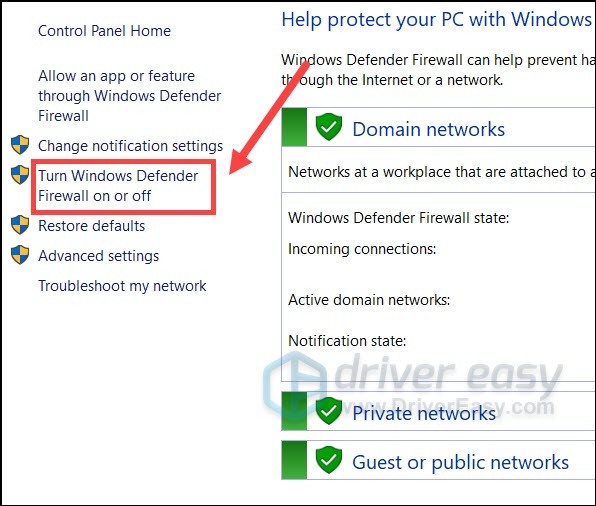
- From the left menu, select Turn Windows Defender Firewall on or off.
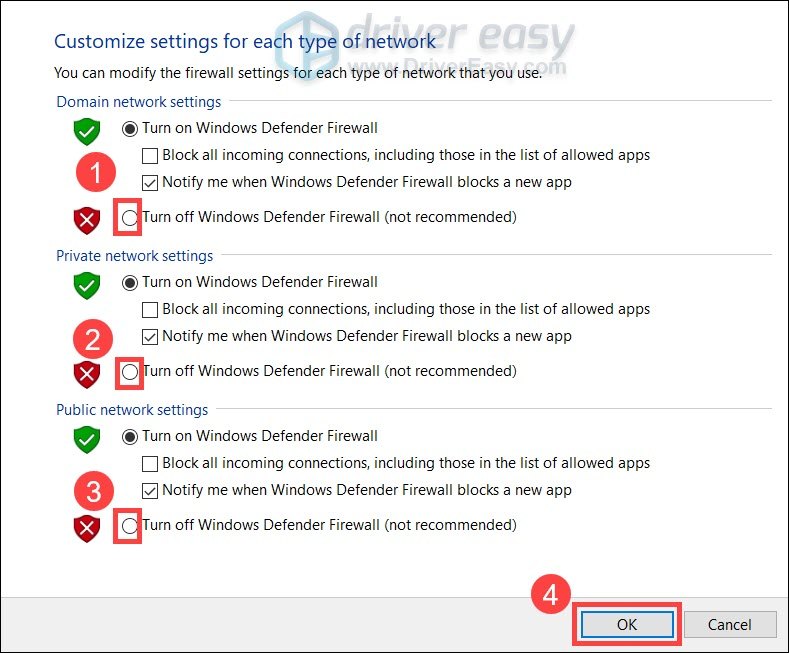
- Select Turn off Windows Defender Firewall (not recommended) for Domain network, Private Network and Public network. Then click OK.
When the firewall’s disabled, you can launch Warzone and check if things go back to normal.
If this method doesn’t fix your problem, restore the settings and continue to the next solution.
Fix 5: Rename the config file
Some gamers reported on Reddit that they managed to solve the issue by modifying certain game config files. Though we usually don’t recommend altering these presets, you can try this only when none of the fixes above work for you.
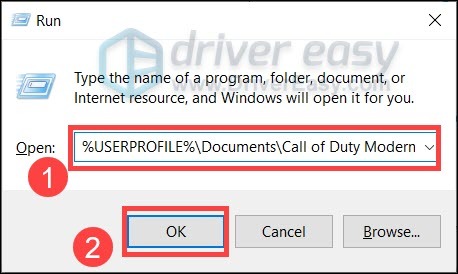
- On your keyboard, press Win+R (the Windows logo key and the r key) to invoke the run box. Type or paste %USERPROFILE%\Documents\Call of Duty Modern Warfare\players and click OK.
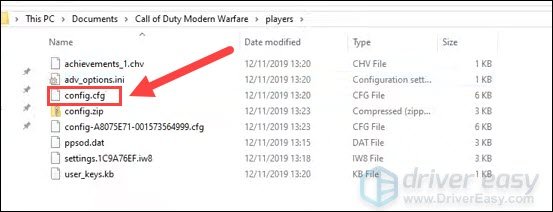
- Instead of deleting, rename config.cfg to config.cfg.backup in case things go south.
- Once done, restart your game and it should reinstall shaders. Now check if your problem is still there.
So these are the fixes to fix your stuck on “Joining Game Session” in Warzone. If you have any questions or ideas, feel free to jot them down in the comments down below.