


Many users have reported that they are having trouble using their Wi-Fi after upgrading to Windows 10. There could be many different causes to this problem: interference, signal range limits, hardware problems and operator errors could be the culprit to your Wi-Fi problems.
So it is suggested that you follow the instructions below to get Windows 10 wifi not working issue fixed by yourself. There are four methods for you to fix the issue. You may not have to try them all; just work your way down the list until you find the one that works for you.
Option One: Manually Re-install Wi-Fi Driver
Option Two: Update Wi-Fi Drivers
Option Three: Reset Network Connection Settings
Other options
Before we begin
Before we go any further, please make sure that you have tried things listed below. This will help us narrow down the cause of your Wi-Fi problem.
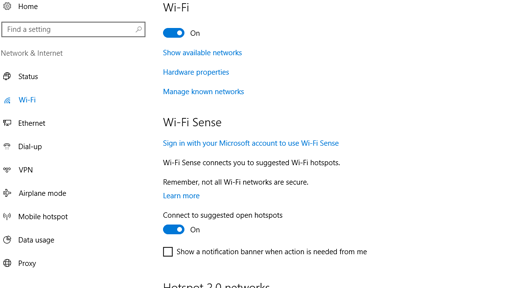
1) Make sure your Wi-Fi is on. Follow the path Start button > Settings > Network & Internet > Wi-Fi to check.
2) Make sure your physical Wi-Fi switch on your laptop is turned on. The place of this witch differs, and you might need to refer to your PC manuscript for more information. You should be able to see a Wi-Fi icon on the switch. If you can see an indicator light, your Wi-Fi is on.
3) Make sure the airplane mode is off. Follow the path: Start button > Network & Internet > Airplane mode. Turn airplane mode off if it’s on.
4) If you have not restarted your router yet, please restart it.
5) Make sure that it is not a problem with your cable modem or Internet service provider (ISP).
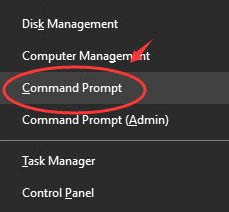
a. Press Windows key and X at the same time, then choose Command Prompt.
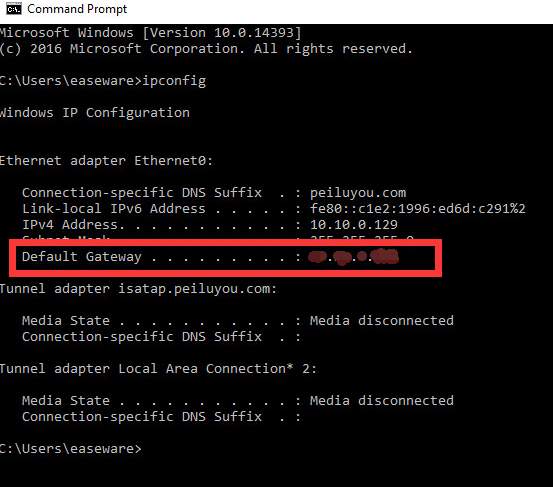
b. Type in ipconfig and hit Enter. Then locate category Default gateway. Write down the address for later use. The address could be like this: 192.168.1.1.
c. Now type in the following command:
ping <Default gateway>
and press Enter.
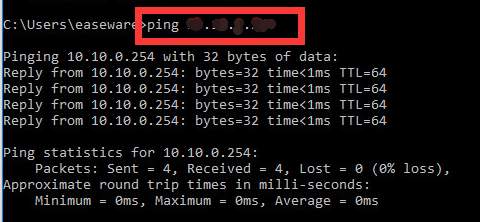
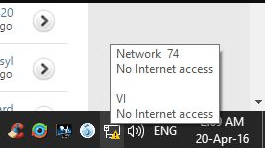
If you are seeing similar result and still cannot connect to the Internet, the problem could be your modem or ISP. Please contact your ISP for more support.
Option One: Manually Re-install Wi-Fi Driver
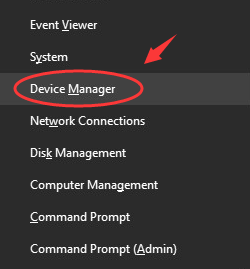
1) Press Windows key and X at the same time, then choose Device Manager.
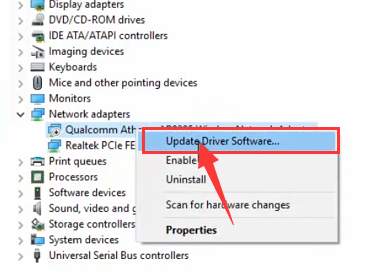
2) Locate category Network adapters. And then right click the Wi-Fi driver you have on your PC and choose Update Driver Software. The Wi-Fi driver we have is Qualcomm Atheros Wireless Adapter. Yours could be different.
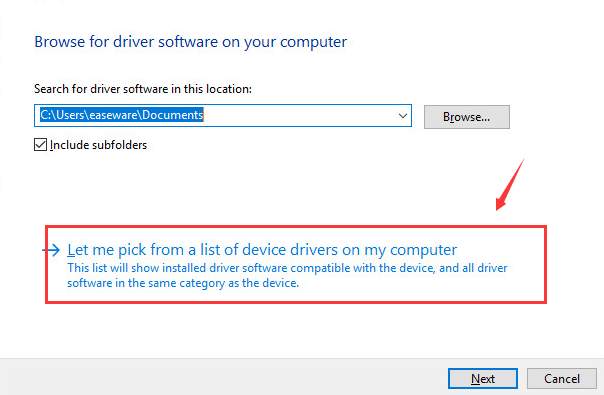
3) Choose Browse my computer for driver software.

4) Then choose Let me pick from a list of device drivers on my computer.
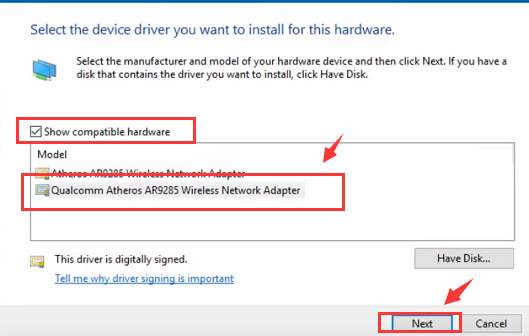
5) Tick the box for Show compatible hardware. Then choose the option with the same name as the your Wi-Fi driver. Then click Next to continue.
6) Now just wait for the following notification to appear:
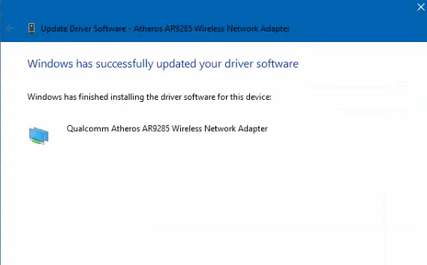
7) Check to see if you can use your Wi-Fi now.
Option Two: Update Wi-Fi Drivers
1) Press Windows key and X at the same time, then choose Device Manager.
2) Locate category Network adapters. And then right click the Wi-Fi driver you have on your PC and choose Update Driver Software.
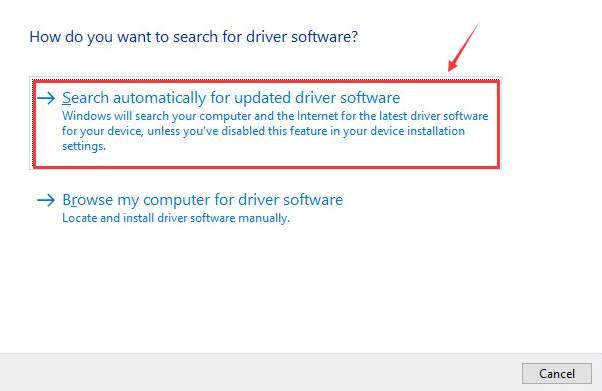
3) Choose Search automatically for updated driver software.
4) Then wait for Windows to locate the correct driver for you.
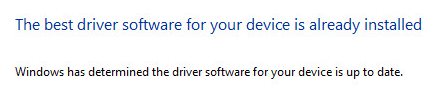
If this is what you are seeing, then you need to find an alternative option to update your Wi-Fi driver.
It is suggested that you have a try at Driver Easy, a program that automatically helps you detect, download and install the device drivers you need. You have full control in the whole process.
All it takes is just two clicks to get your device drivers updated:
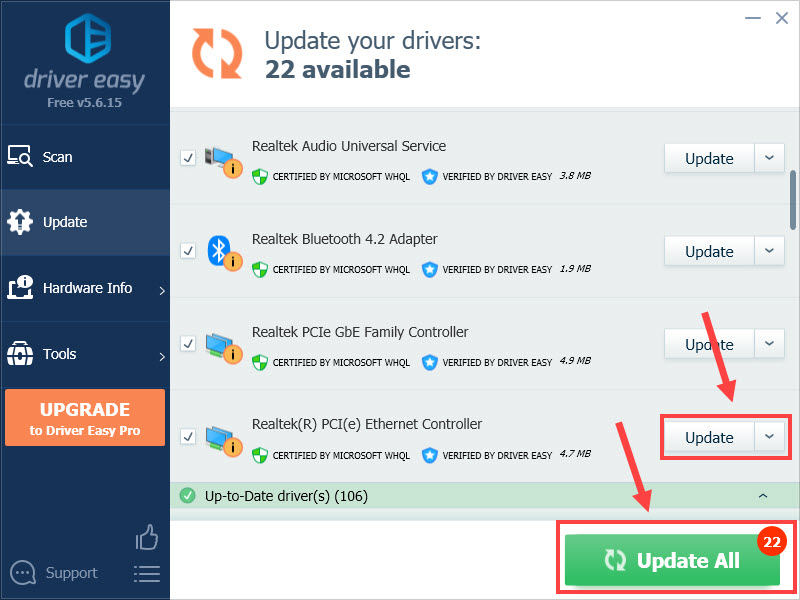
1) Click the Scan Now button for Driver Easy to detect the needed driver for you.

2) Click the Update button next to the driver you want to update. Or you can click Update All to update outdated drivers all at once.
That’s it! Your drivers are updated to the latest version now.
If you are interested, feel free to give Driver Easy a shot! If you are looking for more features and the amazing download and update speed, by all means, have a try at the professional version of Driver Easy. What’s more, we provide professional tech support to help you with any driver problems that you are having now.
If you find the pro version not meeting your needs, just ask for a refund 30 days within the purchase. Guarantee!
Option Three: Reset Network Connection Settings
If the above methods do not help, please try rest the settings of your network connections in Command Prompt.
1) Press Windows key and R at the same time, then choose Command Prompt (Admin).
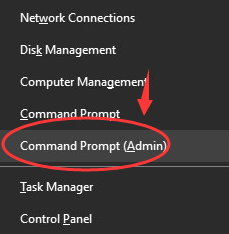
When asked for administrator permission, click Yes to continue.
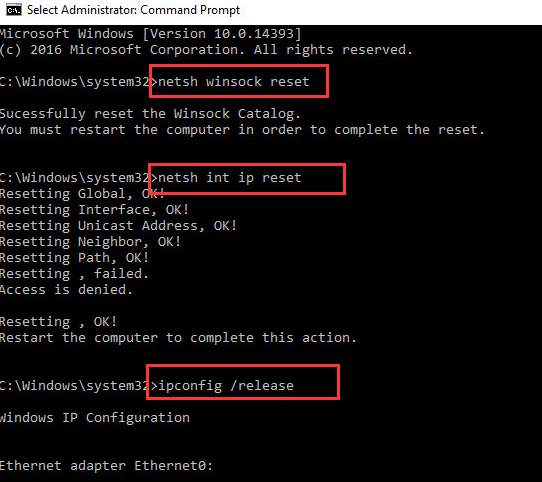
2) In the Command Prompt window, type in the following command in order.
- Type netsh winsock reset and press Enter.
- Type netsh int ip reset and press Enter.
- Type ipconfig /release and press Enter.
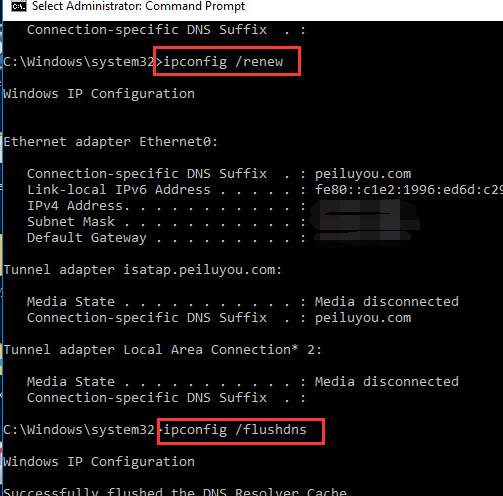
- Type ipconfig /renew and press Enter.
- Type ipconfig /flushdns and press Enter.
Other options
You can also give the following options a try to see if they are able to help you with this problem.
1) Temporarily turn off firewalls.
2) Temporarily shut turn off your antivirus or malware-protection software.
3) Roll back your Wi-Fi driver. If this problem happened after you updated your Wi-Fi driver, you may need to consider getting the old driver back by rolling it back in Device Manager to make your Wi-Fi work again.