


It’s 3 AM, and you were sleeping safe and sound. A light flashed in your room, jolting you out of your slumber. You were surprised to see your computer light up, but you swear to God that you shut it down before you went to bed.
It can be really annoying (and sometimes scary) to see your computer turn on by itself. Don’t worry, you’re not alone.
The easiest way to stop your computer from turning on by itself is to unplug your PC or take off your laptop battery. Except for this, the article provides other methods to easily fix the problem.
Prep work: Diagnose your PC with Command Prompt
Before you start, let’s do a self-check. You can use Command Prompt to check what woke your computer. By following the below steps, you can know what device can wake up your PC and help you determine whether the problem is caused by hardware or software.
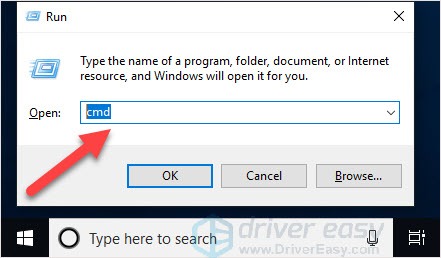
- On your keyboard, press the Windows logo key and R key at the same time to invoke the Run box.
- Type “cmd” in the search box and press Shift+Ctrl+Enter together to open Command Prompt in the administrator mode.
Note: Do NOT click OK or just press the Enter key as that won’t allow you to open Command Prompt in the administrator mode.
- Type “powercfg –lastwake” and press Enter. This will show you the last device which woke up your PC.
Type “powercfg –devicequery wake_armed” and press Enter. This will show you the list of devices that can wake up your PC.
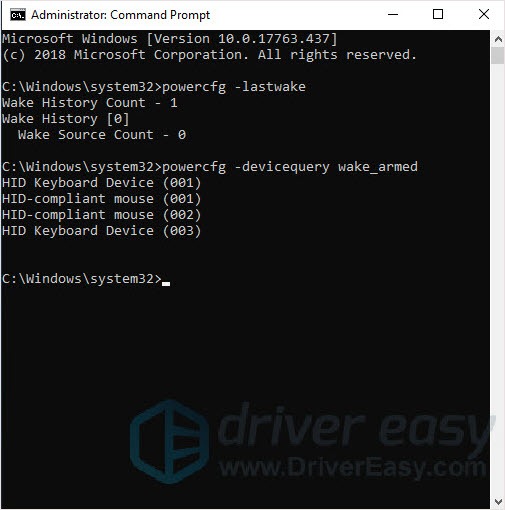
If you see the device that last wakes up the PC, that could be the reason for the PC’s self-boot. You can use Method 3 to solve it.
If the problem isn’t on the hardware level, there are still a few things to try.
Try Fixes below
- Disable Fast Startup
- Change system settings
- Disable hardware wake up settings in the Device Manager
- Disable scheduled tasks
- Disable automatic maintenance
Method 1: Disable Fast Startup
Fast Startup is a default setting in Windows10. By saving the operating system state to a hibernate option, it can help your PC boot up faster to save time. But it could be the reason for the computer turns on by itself. Disable Fast Startup mode to solve this issue.
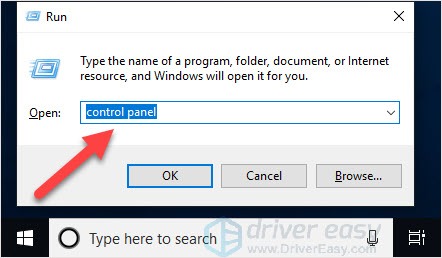
- On your keyboard, press the Windows logo key and R key at the same time to invoke the Run box.
- Type “control panel” in the search box and press Enter.
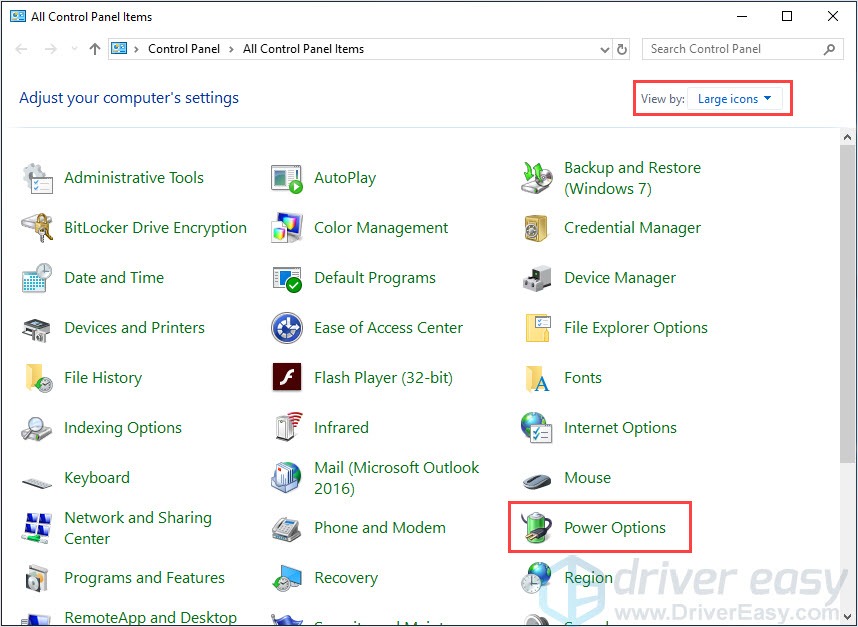
- Set Control Panel view by Large icons and click Power Options.
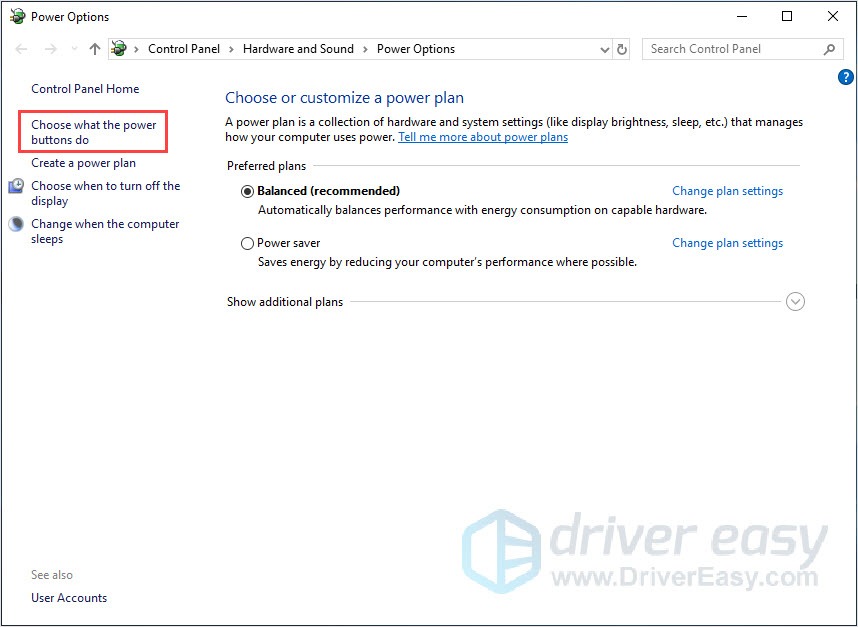
- Click Choose what the power buttons do.
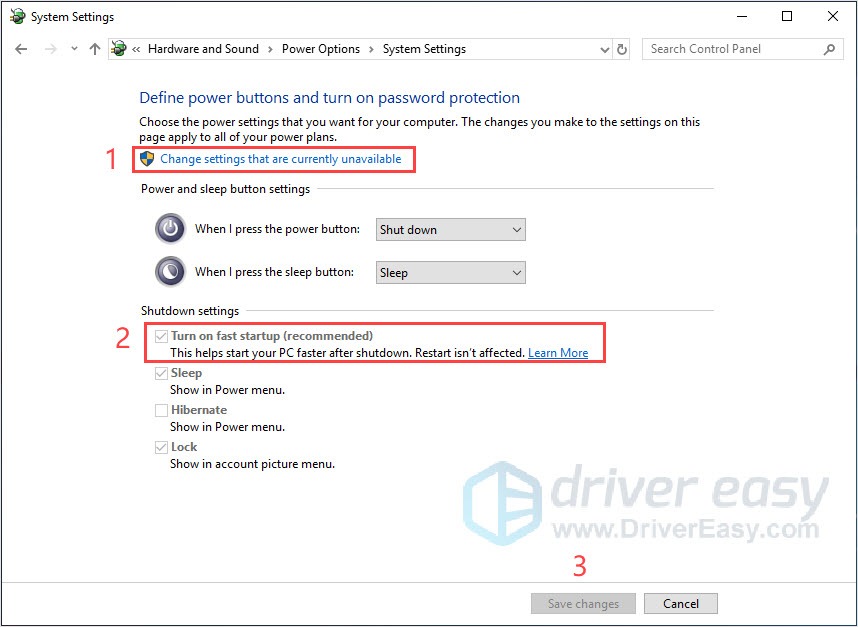
- Click Change settings that are currently unavailable. Then you’re able to uncheck Turn on fast startup (recommended). Click Save changes.
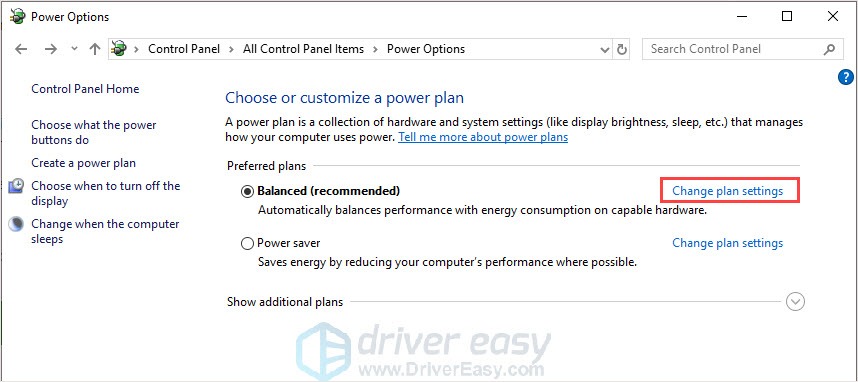
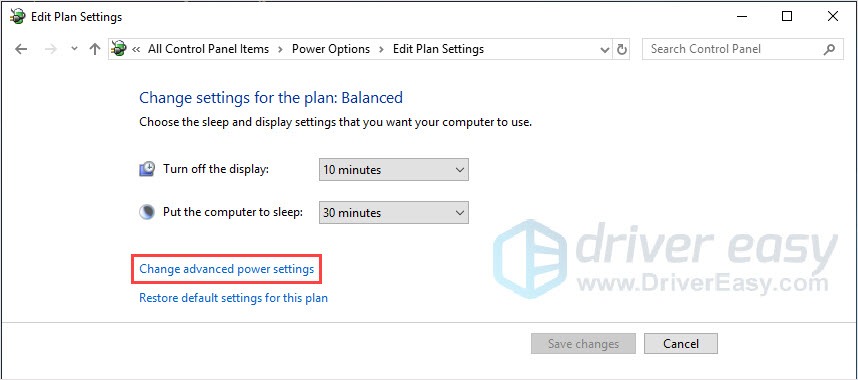
- Back to the Power Options window. Click Change plan settings.
- Click Change advanced power settings.
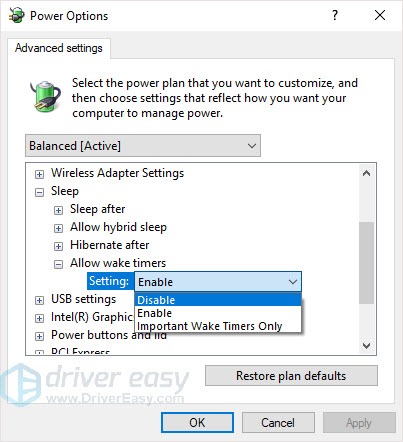
- In the pop-up window, click Sleep > Allow wake timers > Disable. Then click OK.
Your PC should not turn on by itself again. If it does, try the next solution.
Method 2: Change system settings
In the System settings, there’s a default option that will automatically restart your PC in case of system failure. This could be the reason why the PC turns on by itself. So, turning off the automatic restart option can solve it.
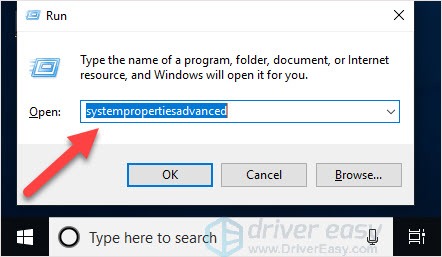
- On your keyboard, press the Windows logo key and R key at the same time to invoke the Run box.
- Type “systempropertiesadvanced” in the search box and press Enter.
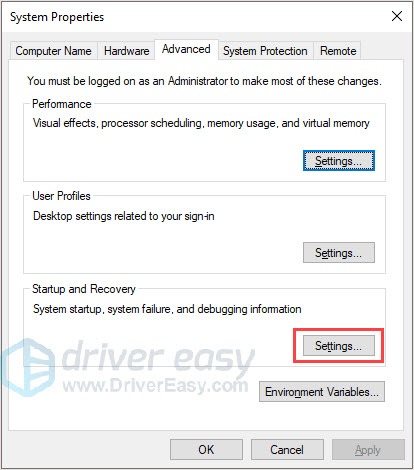
- Click Settings under Startup and Recovery section.
- Uncheck Automatically restart under System failure and then click OK.
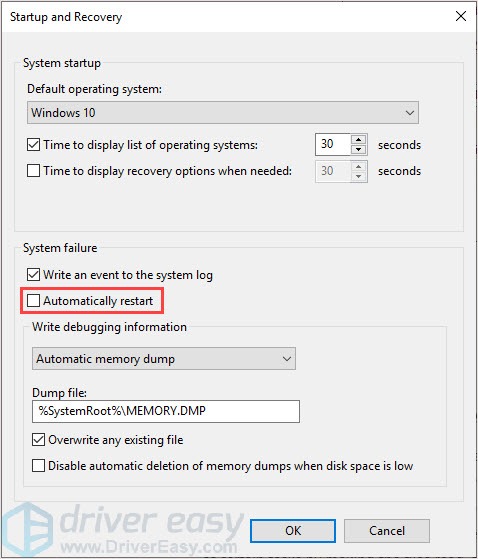
- Click Apply then click OK in the System Properties window to finish setting.
The problem should be fixed.
Method 3: Disable hardware wake up settings in Device Manager
In the “Use Command Prompt to diagnose your PC” paragraph, you see the list of devices that can wake up your PC after diagnosing. You can go to the Device Manager to disable these devices.
In the below content, we’ll take the keyboard as an example.
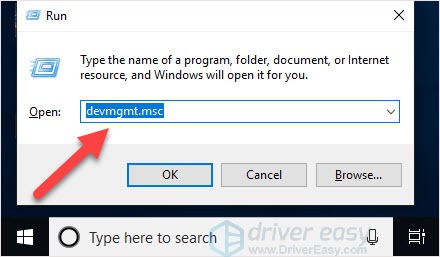
- On your keyboard, press the Windows logo key and R at the same time to invoke the Run box.
- Type “devmgmt.msc” in the search box and click OK.
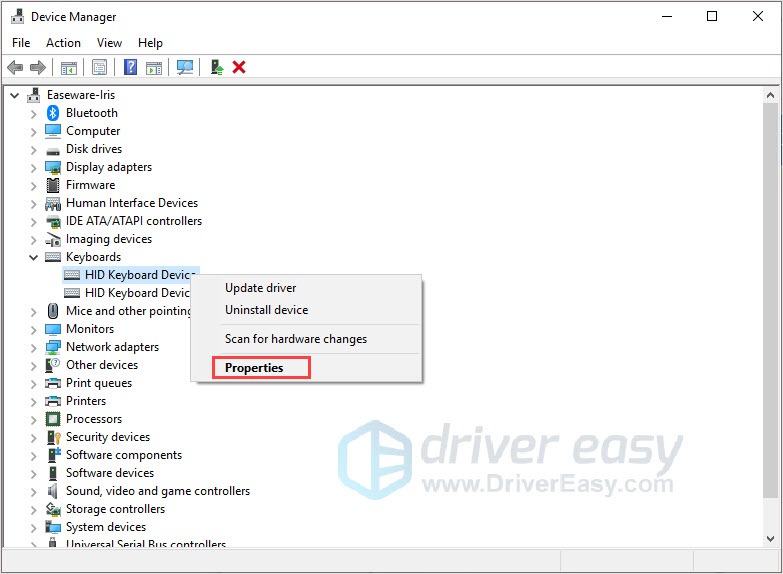
- Click Keyboards and right-click on the device name. Click Properties.
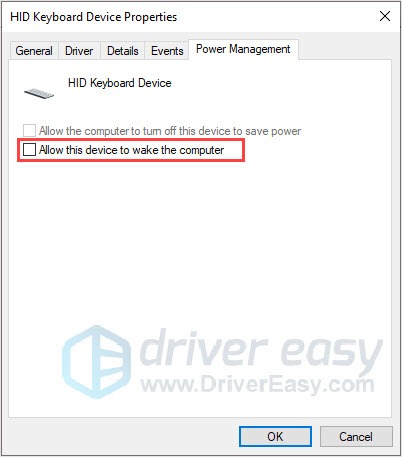
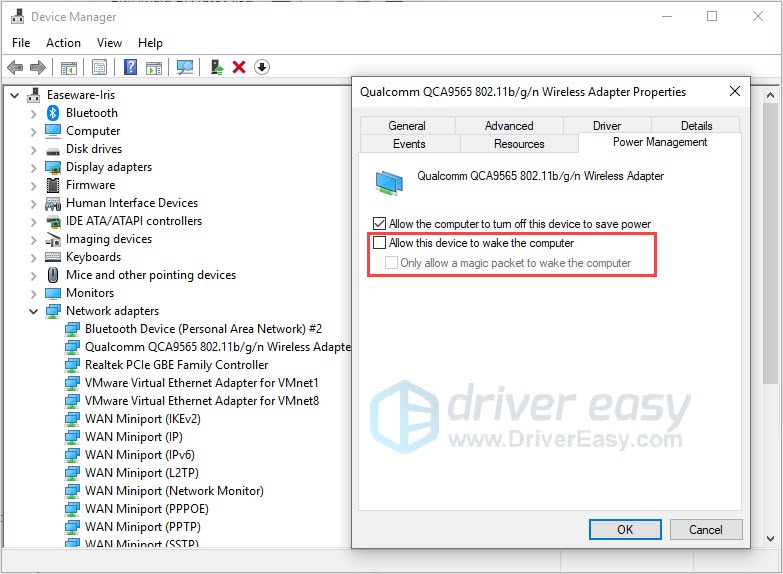
- In the Power Management tab, uncheck Allow this device to wake the computer.
Repeat the above steps to disable all your devices on the diagnosed list.
It is possible that you may see the network connection in the diagnosed list. The way to disable it is the same as the above steps.
Click Network adapters in Device Manager. Then find the network connection and open its properties to change Power Management setting.
Your PC should not wake up by itself again.
Method 4: Disable scheduled tasks
The Task Scheduler enables you to automatically get some of your work done at a specific time of the day or multiple time of the day. To complete its job, it has to wake the system up and perform routine tasks. So your computer could be turning on by itself because of your previous scheduled tasks.
Follow the steps below to disable scheduled tasks.
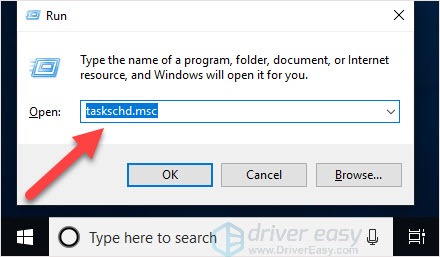
- On your keyboard, press the Windows logo key and R key at the same time to invoke the Run box.
- Type “taskschd.msc” in the search box and press Enter.
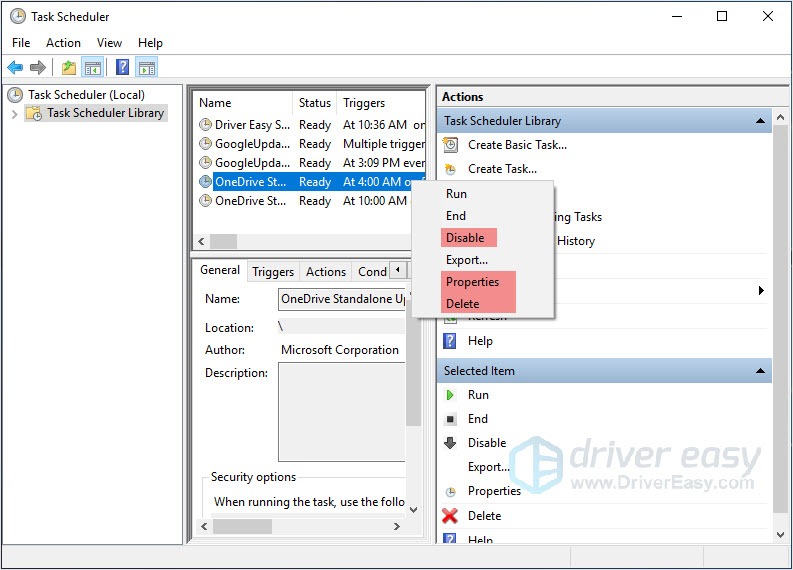
- Check your Task Scheduler Library. If you see the task that will run every morning at 3 AM something like that, you can disable it, delete it or change its Conditions.
- Right-click on the task, click Disable/Delete to end it. There will be one more step if you click Properties.
- In the Conditions tab, uncheck Wake the computer to run this task. Then click OK.
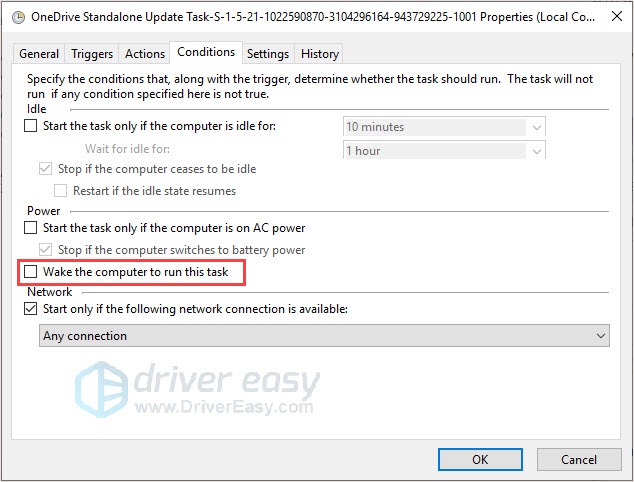
Your PC should not wake up by itself again.
Method 5: Disable automatic maintenance
Windows has in-built Automatic Maintenance to keep your PC updated. But it may lead your PC to turn it on by itself in order to finish updating.
So, disable automatic maintenance to prevent your computer from waking up by itself.
- On your keyboard, press the Windows logo key and R key at the same time to invoke the Run box.
- Type “control panel” in the search box and press Enter.
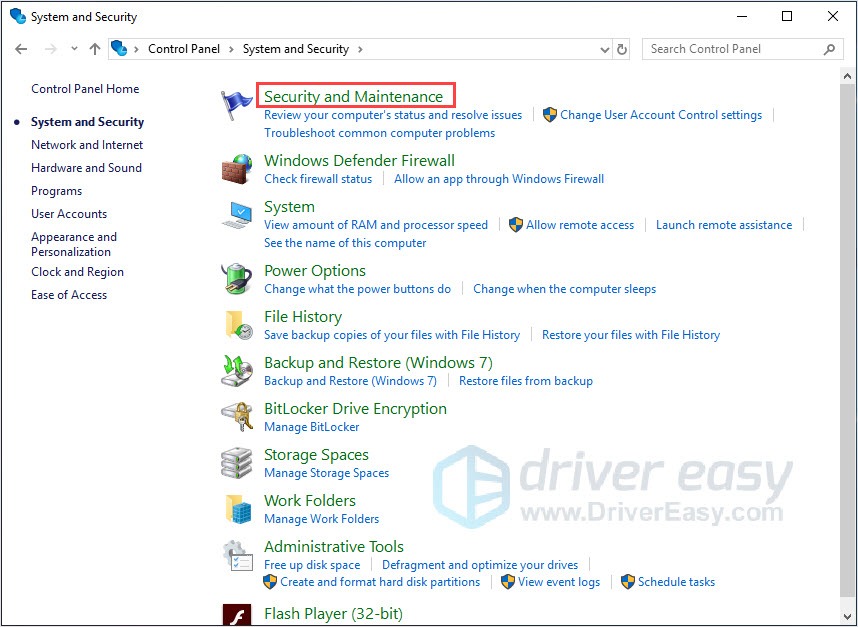
- Set Control Panel view by Category and click System and Security.

- Click Security and Maintenance.
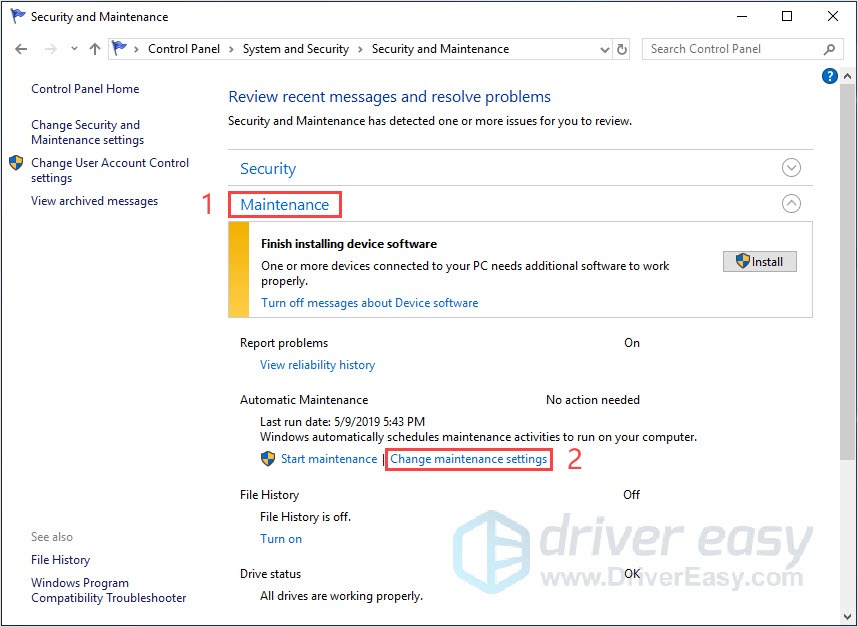
- Click Maintenance and then click Change maintenance settings.
- Uncheck the box says Allow scheduled maintenance to wake up my computer at the scheduled time. Then click OK.
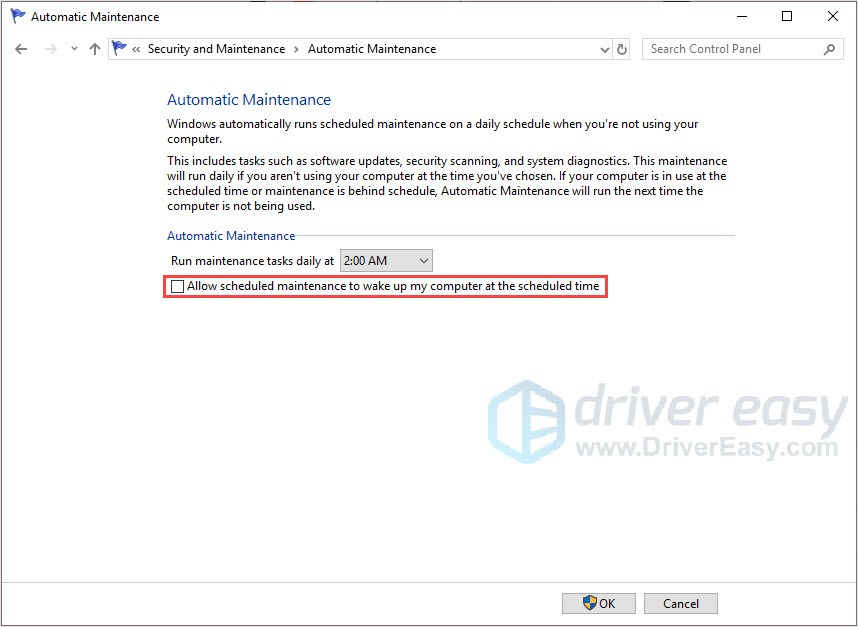
Your PC should not wake up by itself again.
We hope the above methods can help. If you have any questions or suggestions, feel free to comment below.