


When you buy a new Wi-Fi router, you will need to change the network name and password to something that is easier to remember and more personalized. This is quite an easy procedure, the following is the demonstration showing you how to do it fast and easily.
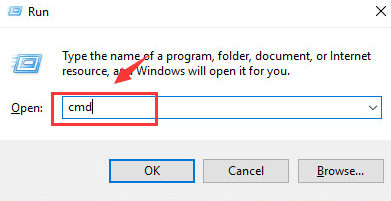
1) On your Windows PC, press Windows key and R at the same time, then type in cmd and hit Enter.
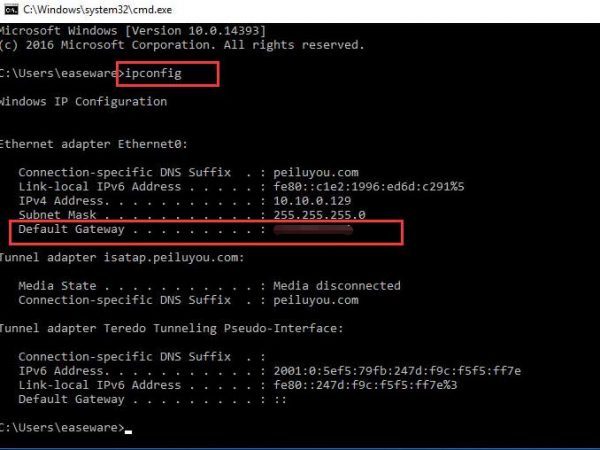
2) Then type in ipconfig and hit Enter when you are sure that you have made no typo. Scroll down a little to find category Default gateway. Mark down the number, which is the router’s IP address.
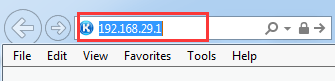
3) Open your browser, type the above IP address in the address bar and hit Enter.
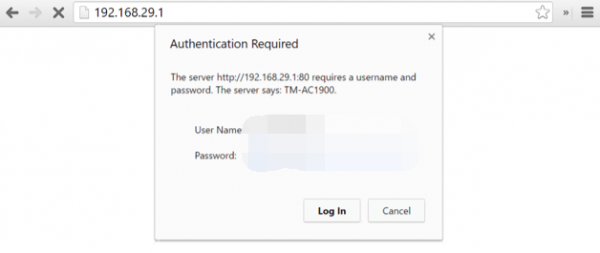
4) You will be asked to enter the router’s username and password in order to log in. If you have not changed the default password, you can have a try at “admin” or just blank. “admin” could also be the user name and the password. You can have a try at the different combination.
5) Once you have logged in, look around for the Wi-Fi settings. The Wi-Fi settings section could be buried in a section named Wi-Fi, Wireless, Wireless Networks, SSID, Network name or something similar to them depending on different routers that you use.
When you find the setting section, you can change the Wi-Fi- network name and the password as you like. It is always suggested that you use a longer and more complicated password for security’s concern.
When you finish setting the Wi-Fi network name and password remember to hit Apply, Save or OK to save your changes.