To start printing right away, you have to connect your printer with your PC or add the printer to your home network first. Follow the guide to install your printer in Windows 10 step-by-step.
Install or add a wireless/ Bluetooth printer
If your printer supports a wireless connection, you can follow the instructions to add the printer to your network. Then Windows can find it easily.
- Turn on your printer and connect it with your home network.
- On your computer, press the Windows logo key + I to open Settings.
- Click Devices.

- Click Printers & scanners. Click Add a printer or scanner.

- Wait till it finds your printer and chooses the one you want. Click Add device.

If you don’t see your printer in the list, you can click The printer that I want isn’t listed or follow the next method to add it manually.

Install or add a local printer
Using a USB cable from your printer to connect with your computer and turn it on.
- On your computer, press the Windows logo key + I to open Settings.
- Click Devices.

- Click Printers & scanners. Click Add a printer or scanner.

- Wait till it finds your printer and chooses the one you want. Click Add device.

Troubleshoot for installing printers in Windows 10
Usually, Windows will download and install the printer’s driver automatically. But if the driver provided by Windows isn’t updated to the latest version, there might be some problems.
There are two ways you can update your printer driver:
Option 1 – Manually– You’ll need some computer skills and patience to update your drivers this way because you need to find exactly the right the driver online, download it and install it step by step.
OR
Option 2 – Automatically (Recommended) – This is the quickest and easiest option. It’s all done with just a couple of mouse clicks – easy even if you’re a computer newbie.
Option 1 – Download and install the driver manually
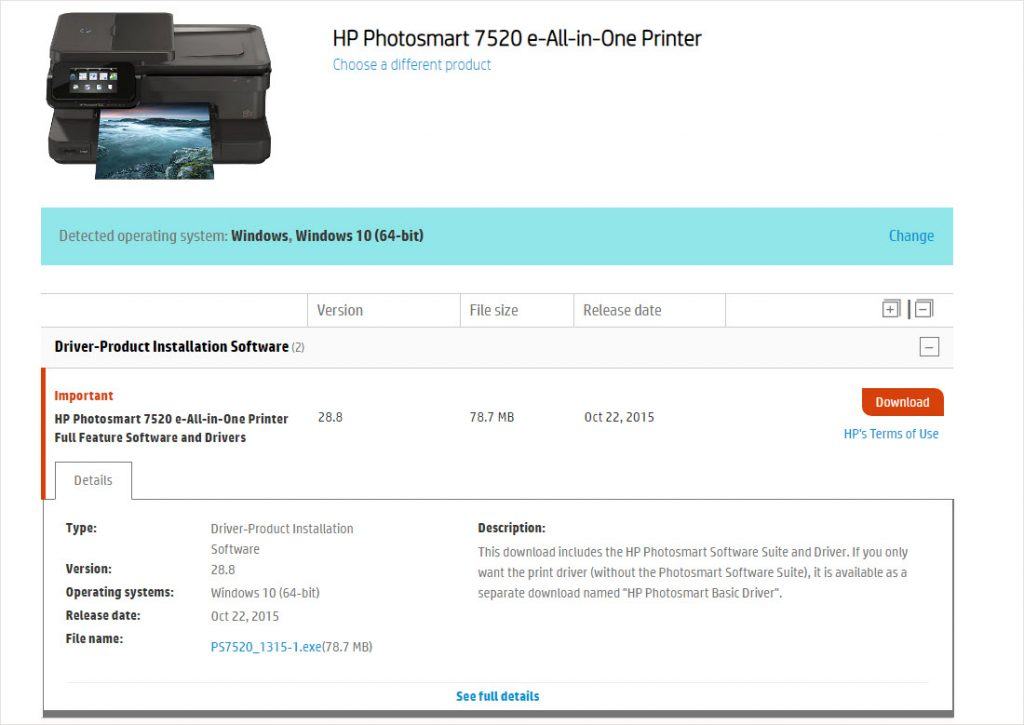
Printers keep updating drivers. To get them, you need to go to the printer’s official website, find the drivers corresponding with your specific flavor of Windows version (for example, Windows 32 bit) and download the driver manually.

Once you’ve downloaded the correct drivers for your system, double-click on the downloaded file and follow the on-screen instructions to install the driver.
Option 2 – Automatically update printer drivers
If you don’t have the time, patience or computer skills to update the printer drivers manually, you can do it automatically with Driver Easy.
Driver Easy will automatically recognize your system and find the correct drivers for it. You don’t need to know exactly what system your computer is running, you don’t need to risk downloading and installing the wrong driver, and you don’t need to worry about making a mistake when installing.
You can update your drivers automatically with either the FREE or the Pro version of Driver Easy. But with the Pro version it takes just 2 clicks (and you get full support and 30-day money back guarantee):
- Download and install Driver Easy.
- Run Driver Easy and click the Scan Now button. Driver Easy will then scan your computer and detect any problem drivers.
- Click the Update button next to the audio driver to automatically download the correct version of that driver, then you can manually install it (you can do this with the FREE version).
Or click Update All to automatically download and install the correct version of all the drivers that are missing or out of date on your system. (This requires the Pro version which comes with full support and a 30-day money back guarantee. You’ll be prompted to upgrade when you click Update All.)
Hope this article will meet your needs. If you have any questions, please leave comments below, we’ll try our best to help.


